Stiletto gray nails are a chic, versatile, and sophisticated choice for any fashion-forward individual. This guide will show you how to achieve this stunning look, offering simple steps and essential tips for a flawless manicure that elevates your style and expresses your unique personality with confidence.
Tired of basic manicures that just don’t feel “you”? Dreaming of nails that are both elegant and a little bit edgy? You’re not alone! Finding that perfect nail color and shape can feel like a quest. But what if I told you we could achieve a look that’s universally flattering, endlessly stylish, and surprisingly easy to create at home? Get ready to fall in love with stiletto gray nails. They’re the perfect blend of modern sophistication and timeless appeal. We’ll break down everything you need, from choosing the right shade of gray to getting that flawless stiletto shape, making this a fun and achievable DIY project. Let’s dive into creating a manicure that will make heads turn!
Why Stiletto Gray Nails Are a Must-Have
Gray is often called the “new black” in fashion, and for good reason! It’s a neutral powerhouse that pairs with virtually everything. When you combine this versatile color with the dramatic, elongating effect of the stiletto shape, you get a manicure that’s nothing short of iconic. Stiletto gray nails offer a sophisticated edge that’s perfect for everything from a day at the office to a glamorous night out. They’re modern, chic, and instantly elevate any outfit. Plus, the stiletto shape can make your fingers appear longer and more slender, adding an extra touch of elegance.
The Appeal of Gray
- Versatility: Gray acts as a fantastic neutral, complementing a wide range of colors and styles.
- Sophistication: It exudes a polished and mature vibe, perfect for professional settings or elegant events.
- Modernity: Gray is a contemporary choice that keeps your look fresh and on-trend.
- Subtlety & Impact: It’s eye-catching without being overly loud, striking a perfect balance.
The Power of the Stiletto Shape
- Elongation: The pointed tip visually lengthens the fingers, creating a graceful appearance.
- Drama: It’s a bold shape that makes a statement and adds a fierce touch to your style.
- Elegance: It offers a sharp, refined silhouette that’s both modern and timeless.
- Unique: It stands out from more common nail shapes, showcasing your adventurous side.
Choosing Your Perfect Gray Shade
Gray isn’t just one color; it’s an entire spectrum! From the lightest, almost-white hues to the deepest charcoals, there’s a gray for every mood and occasion. Think of it like choosing a neutral for your wardrobe – you’ll have different grays that work for different looks and skin tones. Let’s explore some popular options:
- Light Gray/Dove Gray: Soft, airy, and incredibly chic. This shade is subtle and can feel almost like a very light, cool-toned neutral. It’s perfect for a minimalist look or as a base for lighter nail art.
- Medium Gray/Slate Gray: This is your classic, go-to gray. It’s balanced, sophisticated, and works well for almost any occasion. It offers a bit more depth than light gray but is still very versatile.
- Charcoal Gray: A deep, dark gray that borders on black. This shade is dramatic, moody, and incredibly stylish. It offers a bold statement while still maintaining a neutral elegance.
- Greige (Gray-Beige): For those who love neutrals, greige offers the best of both worlds! It’s a warm gray with beige undertones, making it incredibly flattering and surprisingly warm for a gray.
- Blue-Gray: This shade has cool, blue undertones, giving it a slightly more distinct and modern feel. It can feel very serene and is a beautiful alternative to a basic gray.
- Green-Gray: Think of a muted, earthy sage or olive tone with a significant gray component. This offers a sophisticated, natural vibe.
When selecting your polish, consider your skin tone. Cooler grays (those with blue or purple undertones) often look great on cooler skin tones, while warmer grays (like greige or those with brown undertones) can complement warmer skin tones. However, the beauty of gray is its adaptability, so don’t be afraid to experiment! You can find inspiration from reputable sources like Pantone, the authority on color, to see trending palettes and understand color theory.
Gathering Your Stiletto Gray Nail Essentials
To achieve those flawless stiletto gray nails at home, you’ll need a few key tools and products. Don’t worry, you don’t need a professional kit; most of these are readily available at drugstores or beauty supply stores. Having the right supplies makes the process smoother and the results so much better!
Essential Tools:
- Nail File: A good quality file (180-240 grit is ideal for natural nails) is crucial for shaping. A glass file is a great option for gentle shaping and preventing breakage.
- Nail Clippers: To trim nails to a manageable length before filing into shape.
- Cuticle Pusher/Orange Stick: For gently pushing back and tidying up the cuticles.
- Buffer Block: To smooth the nail surface before applying polish.
- Base Coat: Essential for protecting your natural nail and helping polish adhere.
- Top Coat: For shine, protection, and to prevent chipping. A quick-dry top coat is a lifesaver!
- Your Chosen Gray Nail Polish: Make sure it’s a formula you love – glossy, matte, or even a special effect!
- Cotton Balls/Pads & Nail Polish Remover: For cleaning up any mistakes and removing old polish.
- Optional: Cuticle Oil: To nourish and hydrate cuticles for a polished look.
- Optional: Nail Glue or Tip Adhesives: If you’re using nail tips for a more dramatic length or shape.
Step-by-Step Guide to Perfect Stiletto Gray Nails
Ready to transform your nails? Follow these simple steps to get stunning stiletto gray nails. We’ll focus on achieving the shape and applying the polish beautifully.
Step 1: Prepare Your Nails
Start with clean, dry nails. Remove any old polish thoroughly. Gently push back your cuticles using a cuticle pusher or an orange stick. You can trim any excess dead skin around the cuticle if needed, but be gentle! Then, use a buffer block to lightly buff the surface of each nail. This creates a smooth canvas for the polish and helps it adhere better. Don’t over-buff, as this can weaken the nail.
Step 2: Shape Your Nails into Stilettos
This is where the magic happens! If you’re starting with longer nails, you might want to trim them down slightly before shaping.
- Trim to Length: Use nail clippers to cut nails to a desired, manageable length. Don’t cut them too short, or you won’t have enough nail to work with for the stiletto shape.
- Create the Center Point: Imagine a straight line down the center of your nail.
- File the Sides: Using your nail file, start filing from the outer edge of the nail towards the center point you imagined. Work slowly and file at a slight angle, shaping one side at a time.
- Refine the Tip: Continue filing towards the center until you meet the other side, creating a sharp point. Aim for symmetry on both sides so the point is centered.
- Smooth the Tip: Gently file the very tip to smooth any rough edges, but keep it sharp! Avoid over-filing, which can make the tip weak.
- Repeat: Do this for all your nails, aiming for consistent length and shape.
A handy tip from the pros: you can often find nail shaping guides online that show the angles at which to file for different shapes. For stilettos, the key is the inward angle from both sides to meet at a sharp point.
Step 3: Apply Base Coat
Once your nails are perfectly shaped, it’s time for a protective base coat. Apply one thin layer of your chosen base coat to each nail. This step is crucial for preventing staining from darker polishes (like some grays) and provides a smooth surface for your color application. Let it dry completely.
Step 4: Apply Your Gray Polish
Now for the star of the show!
- First Coat: Apply a thin, even layer of your chosen gray nail polish. Start with a thin coat to avoid clumping and ensure it dries faster. Use three strokes: one down the center, then one on each side. You might have some nail showing through, and that’s okay!
- Dry Time: Let this first coat dry for at least a minute or two. Patience here pays off!
- Second Coat: Apply a second thin coat. This coat should provide full opacity and rich color. If any areas look streaky, add a little more polish, but keep the coat thin.
- Third Coat (Optional): If needed for complete coverage or a richer shade, apply a third thin coat.
Remember, thin coats are always better than one thick, gloopy coat!
Step 5: Apply Top Coat
Once your gray polish is completely dry (this is important!), apply a generous layer of your top coat. Make sure to cap the free edge by running the brush along the very tip of your nail. This seals in the color and prevents chips. A good top coat will add incredible shine and a smooth finish. If you have a fast-drying top coat, this is where it really shines!
Step 6: Clean Up and Finish
Dip a small brush (an old, clean makeup brush works well) or an orange stick wrapped in cotton into nail polish remover to clean up any polish that may have gotten on your skin around the nails. This is what gives your manicure that super clean, professional look. Finally, once the top coat is dry to the touch, apply a drop of cuticle oil to each nail and massage it in. This hydrates your cuticles and makes the whole manicure look polished and cared for. You can also gently buff the very tip of the stiletto with a fine grit buffer or even a piece of paper if it feels too sharp.
Nail Care Tips for Stiletto Wearers
Stiletto nails, especially with a dramatic point, require a little extra care to keep them looking fabulous and to protect your natural nails. Let’s talk about how to maintain that gorgeous stiletto gray look.
Keeping Your Stilettos Strong:
- Be Mindful of Your Hands: The sharp points can snag. Try to avoid using your fingertips for tasks like peeling labels, typing aggressively, or prying things open.
- File, Don’t Clip: If a nail snags or the tip breaks slightly, reach for your nail file rather than clippers. Filing will help you maintain the shape without causing further damage.
- Reinforce the Tip: If you find your stilettos are breaking easily, consider adding a thin layer of nail glue or a nail strengthener to the underside of the tip, or even apply nail tips for added durability.
- Regular Hydration: Keep your cuticles and nails moisturized with cuticle oil. Healthy nails are strong nails.
- Gentle Removal: When it’s time to change your polish, use an acetone-free remover if possible to minimize drying. Soak your nails rather than scrubbing aggressively.
Maintaining the Gray Color:
- Seal with Top Coat: Regularly touch up with a layer of top coat every few days to maintain shine and protect the color.
- Avoid Harsh Chemicals: Wear gloves when doing household chores, especially those involving cleaning products, as they can dull the polish and weaken nails.
- Sunscreen Protection: Did you know that UV rays can affect polish color over time? While less of an issue for opaque grays, it’s a good practice to be mindful if you spend a lot of time in the sun.
Stiletto Gray Nail Design Ideas
While a solid stiletto gray nail is stunning on its own, don’t be afraid to get creative! Gray is a fantastic base for a variety of nail art.
Simple & Chic Enhancements:
- Ombre/Gradient: Blend two shades of gray, or gray with white or black, for a seamless gradient effect.
- Glitter Accents: A dusting of silver or holographic glitter on the tips or a single accent nail adds sparkle.
- Metallic Tips: Paint the pointed tips with a silver, gold, or chrome polish for a striking contrast.
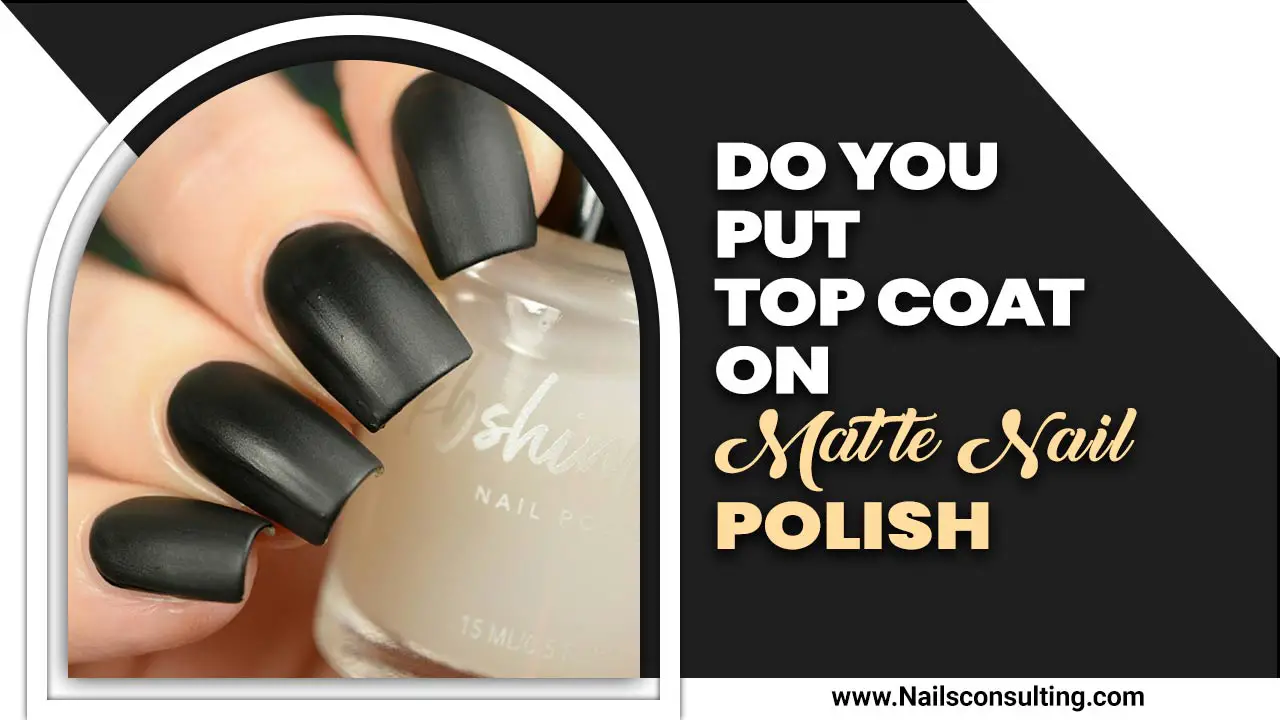
- Matte Finish: Apply a matte top coat over your gray polish for a sophisticated, velvety look.
- Minimalist Lines: Use a fine brush to draw thin black or white geometric lines on an accent nail.
Making a Statement:
- Marble Effect: Gray marble nails are incredibly elegant and sophisticated.
- Geometric Patterns: Create sharp, modern designs with lines, triangles, and squares.
- Dark Accents: Pair your gray with black details like leopard print spots, abstract designs, or tiny skulls for an edgier vibe.
- Jewel Tones: A deep emerald green, sapphire blue, or rich burgundy accent nail can pop beautifully against a charcoal gray base.
- Chrome Powder: For ultimate shine, try a silver or gray chrome powder applied over a black or dark gray gel polish.
When exploring designs, look for inspiration on platforms like Pinterest or Instagram. Following nail artists can give you endless ideas! Consider trends from fashion weeks or color authority sites like Searles Graphics (for color theory basics) to see how colors are being paired.
Tools for Different Glaze Finishes
The finish of your nail polish can dramatically change the look of your stiletto gray nails. Here’s a quick look at how different finishes are achieved and what to look for:
| Finish Type | Description | How to Achieve | Best for Stiletto Gray |
|---|---|---|---|
| Glossy/Cream | The classic, high-shine finish. Smooth and opaque. | Standard nail polish formula without shimmer or special effects. Applied with a good glossy top coat. | Provides a sleek, polished look. Very versatile. |
| Matte | A flat, velvety finish with no shine. | Use a dedicated matte top coat over your dried gray polish. | Creates a sophisticated, modern, and understated elegance. Great for deeper grays. |
| Metallic/Chrome | Mirrored, highly reflective finish. | Special metallic polishes or (more commonly) chrome powder applied over a gel polish base and sealed with a gel top coat. | Adds incredible drama and a futuristic feel. Silver or gunmetal chrome works stunningly. |
| Shimmer/Glitter | Contains fine particles that reflect light, adding subtle sparkle or full-on glitter. | Polishes with shimmer mixed in, or glitter polishes applied on their own or over a base color. | A subtle shimmer can add depth, while glitters on the tip or accent nail create festive accents. |
| Sheer | Translucent color that allows the natural nail to show through. | Sheer gray polishes or applying a thinner coat of an opaque gray. | For a very delicate, natural-looking gray tint. Best for those who prefer a subtle effect. |
Choosing the right polish finish can really elevate your stiletto gray nails from simple to spectacular. For beginners, glossy or cream finishes are the easiest to work with and always look chic. Matte finishes are also quite straightforward with a good top coat.
Frequently Asked Questions About Stiletto Gray Nails
Q1: Are stiletto nails bad for your natural nails?
When done correctly and with proper care and hydration, stiletto nails (especially if you’re using enhancements like tips or gel) don’t have to be bad for your natural nails. The key is a gentle shaping process, avoiding over-filing, and supporting the free edge. If you opt for length, using nail tips for support is often better than over-filing your natural nail down to a point. Also, ensure you’re using a good base and top coat and removing polish gently.
Q2: How do I make my stiletto gray nails last longer?
To make them last, always start with clean, prepped nails and use a good base and top coat. Re


