Stiletto gold nails are a chic and dazzling nail shape and color combination that adds instant glamour and sophistication to any look. This guide breaks down exactly how to achieve this stunning style, from understanding the stiletto shape to perfecting the metallic finish, empowering you to create salon-worthy nails at home.
Are you dreaming of nails that sparkle and shine? Stiletto gold nails are a total showstopper! They combine the dramatic flair of the stiletto shape with the luxurious allure of gold. But maybe you’re wondering if they’re too tricky to do yourself, or if they’ll even suit your style. Don’t worry! Achieving this fabulous look is totally doable, even for beginners. We’ll walk through every step, from shaping your nails to getting that perfect golden gleam. Get ready to transform your fingertips into dazzling works of art!
Why Stiletto Gold Nails Are a Must-Have
Gold nails, in general, are a fantastic choice for almost any occasion. They ooze sophistication, warmth, and a touch of opulence. When you pair this luxurious color with the striking stiletto shape, you get a manicure that’s both elegant and bold.
The stiletto nail shape itself is characterized by its long, tapered sides that meet at a sharp point. It’s a more dramatic shape than your everyday oval or square nails, and it’s incredibly flattering, often making fingers look longer and slimmer. But why gold, specifically? Gold hues can range from soft, champagne tones to rich, deep metallics, meaning there’s a perfect gold for every skin tone and personal style. It’s a metallic that feels universally chic and never goes out of fashion.
Think about it: a touch of gold can elevate even the simplest outfit. For a night out, stiletto gold nails are the ultimate accessory, catching the light with every movement. But they’re not just for special occasions! A subtle, glittery gold stiletto can be surprisingly versatile for everyday wear, adding a hint of sparkle to your routine. They’re a confidence booster and a beautiful way to express your personal style.
The Allure of the Stiletto Shape
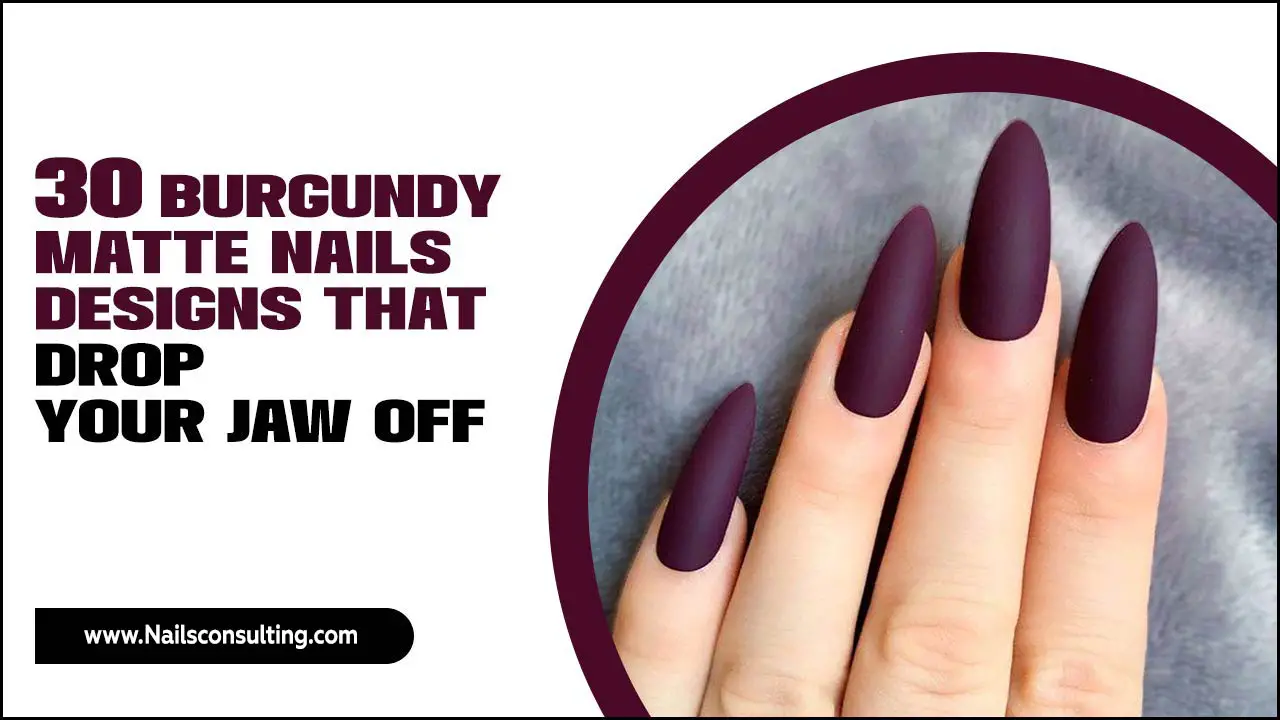
The stiletto nail shape is named after the sleek, pointed heel of a stiletto shoe. It’s a dramatic, eye-catching shape that has graced many a celebrity and fashion runway.
Key characteristics of the stiletto shape include:
- Long Length: Stilettos are typically worn at a longer length to showcase the tapered shape effectively.
- Tapered Sides: The sides of the nail are filed inwards to create a gradual slope.
- Sharp Point: The tip of the nail comes to a distinct, sharp point.
- Elegant Silhouette: This shape can make fingers appear longer and more slender.
While the sharp point is defining, it can also be slightly rounded very subtly to avoid snagging or breakage, creating a “soft stiletto.” This is often a more practical approach for everyday wear.
The Magic of Gold
Gold is more than just a color; it’s a statement. It signifies wealth, luxury, and power. On your nails, it translates to an instant dose of glamour.
Gold nail polish comes in a variety of finishes:
- Metallics: These offer a smooth, foil-like shine, reflecting light beautifully.
- Glitter: From fine micro-glitter to chunky holographic flecks, glitter adds texture and intense sparkle.
- Chrome: A highly reflective, mirror-like finish that is incredibly modern and chic.
- Shimmer: A softer, more diffused shine than a full metallic, often with subtle color undertones.
The beauty of gold is its adaptability. A bright, yellow-gold is bold and classic, while a rose-gold offers a softer, warmer feel, and a champagne or antique gold provides understated elegance. For stiletto nails, the shimmer and reflection of gold really emphasize the sharp, elegant lines of the shape.
Essential Tools for Stiletto Gold Nails
Before you start, having the right tools makes all the difference. Don’t worry if you don’t have professional equipment; many of these can be found at your local drugstore.
Here’s a list of what you’ll need to create stunning stiletto gold nails:
- Nail File: A fine-grit file (180-240 grit) is best for shaping natural nails and gently smoothing any rough edges. For acrylics or gel extensions, you might need coarser grits, but start with fine for shaping tips.
- Nail Clippers: To trim nails down to a manageable length before shaping.
- Buffer: A multi-sided buffer is great for smoothing the nail surface before polish and for buffing out any imperfections.
- Cuticle Pusher/Orange Stick: To gently push back your cuticles for a clean canvas.
- Top Coat: A good quality, chip-resistant top coat is essential for sealing in your design and adding shine.
- Base Coat: Protects your natural nails and helps your polish adhere.
- Gold Nail Polish: Choose your favorite shade and finish – metallic, glitter, or chrome!
- Optional: Nail Glue and Tips: If you want to achieve the stiletto shape with added length or strength, artificial tips are usually necessary.
- Optional: Gel Polish and UV/LED Lamp: For a durable, long-lasting finish.
- Optional: Acetone or Nail Polish Remover: For cleanup and mistakes. A precision brush dipped in remover is great for tidying edges.
Having these items on hand will make the process smooth and enjoyable. Remember to always work in a well-ventilated area, especially if using artificial tips or stronger polishes.
Step-by-Step Guide to Achieving Stiletto Gold Nails
Let’s get those gorgeous stiletto gold nails! This guide assumes you’re working with your natural nails or applying tips for added length.
Step 1: Prep Your Nails
A good manicure starts with clean, healthy nails.
- Remove Old Polish: If you have any old polish on, remove it completely with nail polish remover.
- Shape Your Nails: Clip your nails down to a shorter, manageable length if needed. Then, using your nail file, begin to shape your nails into the stiletto form. File the sides inward at an angle towards the center, creating a point. Aim for symmetry. Gently file the free edge to create the point. You can then slightly round the very tip for a “soft stiletto” if you prefer. Work slowly and file in one direction to avoid weakening the nail.
- Push Back Cuticles: Gently push back your cuticles using a cuticle pusher or an orange stick.
- Buff the Surface: Lightly buff the surface of your nails to create a smooth base for polish. This also helps polish adhere better.
- Cleanse: Wipe your nails with a lint-free cloth or alcohol pad to remove any dust or oils.
Step 2: Apply Nail Tips (If Using)
If you desire more length or want to achieve the stiletto shape more easily, nail tips are your best friend.
- Select Tips: Choose artificial nail tips that fit your nail beds comfortably.
- Apply Glue: Apply a small amount of nail glue to the well of the tip and gently press it onto your natural nail, aligning it with your cuticle and ensuring no air bubbles. Hold in place for a few seconds until secure.
- Trim and Shape: Once the glue is dry, carefully trim the tips to your desired overall length. Then, use your nail file to shape them into the stiletto point as described in Step 1. Take your time to ensure both hands are symmetrical.
Step 3: Apply Base Coat
A base coat is crucial for protecting your natural nails from staining and for helping your polish last longer.
- Apply one thin coat of your chosen base coat evenly over each nail.
- Allow it to dry completely.
Step 4: Apply Gold Nail Polish
This is where the magic happens!
- First Coat: Apply a thin, even layer of your gold nail polish. Start from the cuticle and sweep the brush down to the tip. Avoid getting polish on your cuticles.
- Allow to Dry: Let the first coat dry for a few minutes. This prevents smudging.
- Second Coat: Apply a second thin coat for more opaque coverage and to enhance the metallic sheen or glitter.
- Third Coat (Optional): If you want a more intense color or a flawless chrome look achievable with specific polishes, a third coat might be necessary.
A handy tip for metallic and chrome polishes: some people find applying them in a single, smooth, slightly thicker coat works best for a streak-free finish. Experiment to see what works with your chosen polish!
Step 5: Add Nail Art or Accents (Optional)
Want to take your stiletto gold nails to the next level?
Consider these enhancements:
- Gold Glitter Accent Nail: Apply a glittery gold polish on one or two nails.
- Geometric Designs: Use black or white striper polish to add simple lines or geometric shapes over the gold.
- Rhinestones: Attach small rhinestones or crystals near the cuticle or accenting the tip with nail glue for extra sparkle.
- Different Gold Shades: Layer a glitter top coat over a metallic gold base for a unique textured effect.
For detailed work, a fine-tipped art brush and some patience are all you need.
Step 6: Apply Top Coat
This seals everything in, adds incredible shine, and protects against chips.
- Apply a generous, even coat of your favorite top coat over your dried gold polish. Make sure to cap the free edge by sweeping the brush across the tip of the nail.
- Allow the top coat to dry completely. This is the most important step for longevity!
For gel polish users, follow your lamp’s curing times after applying your top coat.
Maintaining Your Stiletto Gold Nails
Keeping your stunning nails looking fabulous for as long as possible is key.
Here are some tips for maintenance:
- Wear Gloves: When doing chores like washing dishes or cleaning, wear rubber gloves to protect your nails from harsh chemicals and prolonged water exposure, which can weaken polish and natural nails.
- Moisturize: Keep your hands and cuticles moisturized with cuticle oil or hand cream. This prevents dryness and keeps the skin around your nails looking healthy.
- Gentle Filing: If a nail snags or breaks, use a fine-grit file to gently reshape it. Avoid using clippers on gel or acrylic nails, as this can cause damage.
- Reapply Top Coat: Every few days, you can reapply a layer of top coat to refresh the shine and add extra protection.
- Avoid Using Nails as Tools: Resist the urge to use your nails to open cans, scratch surfaces, or pick at things. This is a surefire way to cause chips and breaks.
Proper care will ensure your stiletto gold nails remain a beautiful statement piece for days to come.
Stiletto Gold Nails: Pros and Cons
Like any beauty trend, stiletto gold nails have their advantages and disadvantages.
| Pros | Cons |
|---|---|
| Chic and Luxurious Appearance: Gold is inherently elegant, and the stiletto shape adds drama. | May Not Be Practical for Everyone: The sharp point and longer length can be difficult for everyday tasks. |
| Flattering Shape: The tapered style elongates fingers, creating a visually slimming effect. | Prone to Snagging or Breaking: The sharp tip can catch on clothing or surfaces, leading to damage if not carefully done or maintained. |
| Versatile Color: Gold complements a wide range of skin tones and outfits, from casual to formal. | Can Be Time-Consuming to Create: Achieving the perfect stiletto shape requires patience and precision, especially for beginners. |
| Confidence Booster: A statement manicure can significantly boost self-esteem and add a touch of glamour. | Requires More Maintenance: Longer nails and sharp points may need more frequent touch-ups or careful handling. |
| Excellent Base for Nail Art: The clean lines of the stiletto shape are perfect for showcasing intricate designs or simple accents. | Potential for Natural Nail Damage: If using artificial tips or filing techniques that are too harsh, natural nails can weaken over time. Always prioritize nail health. |
Understanding these points can help you decide if stiletto gold nails are the right choice for your lifestyle and preferences. Many of the cons can be mitigated with proper technique and care.
The Science Behind Nail Polish Adhesion and Longevity
Ever wondered why some nail polishes last for days while others chip in mere hours? It all comes down to the science of adhesion and proper application.
Nail polish is essentially a suspension of pigments and glitter in a solvent-based lacquer. When you apply it, the solvents evaporate, leaving behind a hard, glossy film. The layers work together:
- Base Coat: This layer is formulated to bond with the natural nail’s keratin and provide a slightly “sticky” surface for the color coat to adhere to. It also seals the nail plate, preventing staining from pigments, especially darker or metallic shades like gold. For more information on nail health, the American Academy of Dermatology Association offers comprehensive resources.
- Color Coat: Each layer of color polish adds to the film that creates your design. Multiple thin coats allow for even pigment distribution and better evaporation of solvents, leading to a harder finish.
- Top Coat: This is the sealant. A good top coat contains different polymers and solvents designed to provide a durable, glossy finish. It “locks in” the color by creating a protective barrier over the pigment. Many top coats also contain UV inhibitors to prevent yellowing and enhance shine.
The key to longevity is surface prep (clean, oil-free nails), thin layers that dry thoroughly between coats, and a good quality top coat that seals the edges. For even more advanced durability, gel polish systems cure under UV or LED light, creating a much harder, more chemical-resistant bond. The process involves UV-curable monomers and photochemical reactions, making the polish incredibly resilient compared to traditional lacquers.
Frequently Asked Questions About Stiletto Gold Nails
Here are some common questions beginners have about stiletto gold nails:
Q1: Can I achieve stiletto gold nails on short, natural nails?
Yes! While stilettos are often worn long, you can file your natural nails into a shorter stiletto shape. The point will be less pronounced, but the tapered sides will still create a stylish look. You can also use nail tips for added length if desired.
Q2: How do I prevent my stiletto nails from breaking?
Be gentle! Avoid using your nail tips as tools. When typing or doing manual tasks, try to use the pads of your fingers. For added strength, consider using gel polish or acrylics. Keeping your nails moisturized also helps prevent brittleness.
Q3: Is the stiletto shape difficult to file myself?
It can take a little practice! The key is to file the sides inward towards the center at an angle, creating a point. File slowly and evenly, and compare both sides to ensure symmetry. Watching video tutorials can be very helpful.
Q4: What kind of gold polish is best for a high-shine finish?
For a true high-shine, mirror-like look, a chrome gold polish or a metallic gold polish is usually your best bet. Glitter gold will give sparkle but not the sleek metallic reflection. Ensure your base is perfectly smooth for the best chrome effects.
Q5: How long do stiletto gold nails typically last?
With regular nail polish and good care, you can expect them to last 3-7 days before chipping. If you opt for gel polish or acrylics, they can last 2-3 weeks, though growth will become visible at the cuticle.
Q6: Are stiletto nails painful?
They shouldn’t be! If you feel any pain or discomfort, it usually means something is wrong with the application, most commonly with glue or tips not applied correctly, or perhaps a too-aggressive filing technique. Ensure your natural nails are healthy and that any tips are applied smoothly without air bubbles.
Q7: How do I remove stiletto gold nail polish or extensions safely?
For regular polish, use acetone-based nail polish remover and cotton pads. For gel polish or acrylics, soaking in acetone (often with foil wraps) or visiting a salon for safe removal is recommended to avoid damaging your natural nails.
Conclusion
There you have it! Stiletto gold nails are an incredibly chic and empowering choice that can truly elevate your style. From the dramatic elegance of the stiletto shape to


