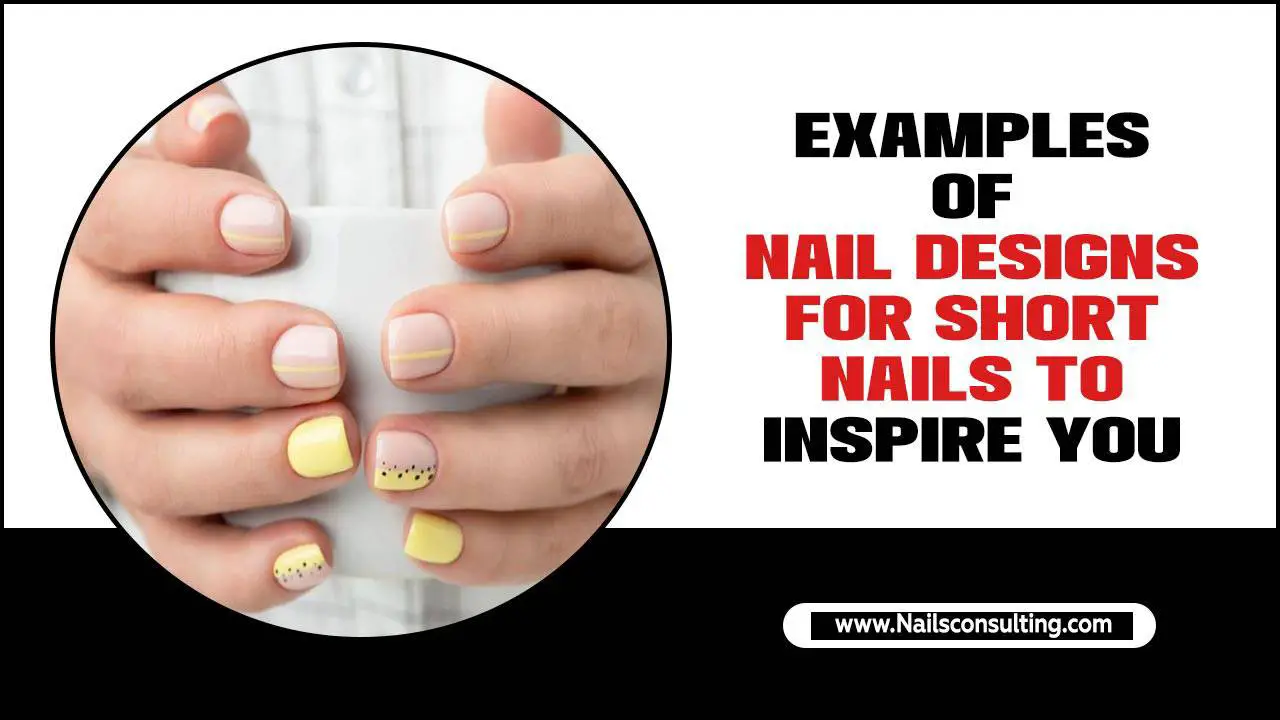
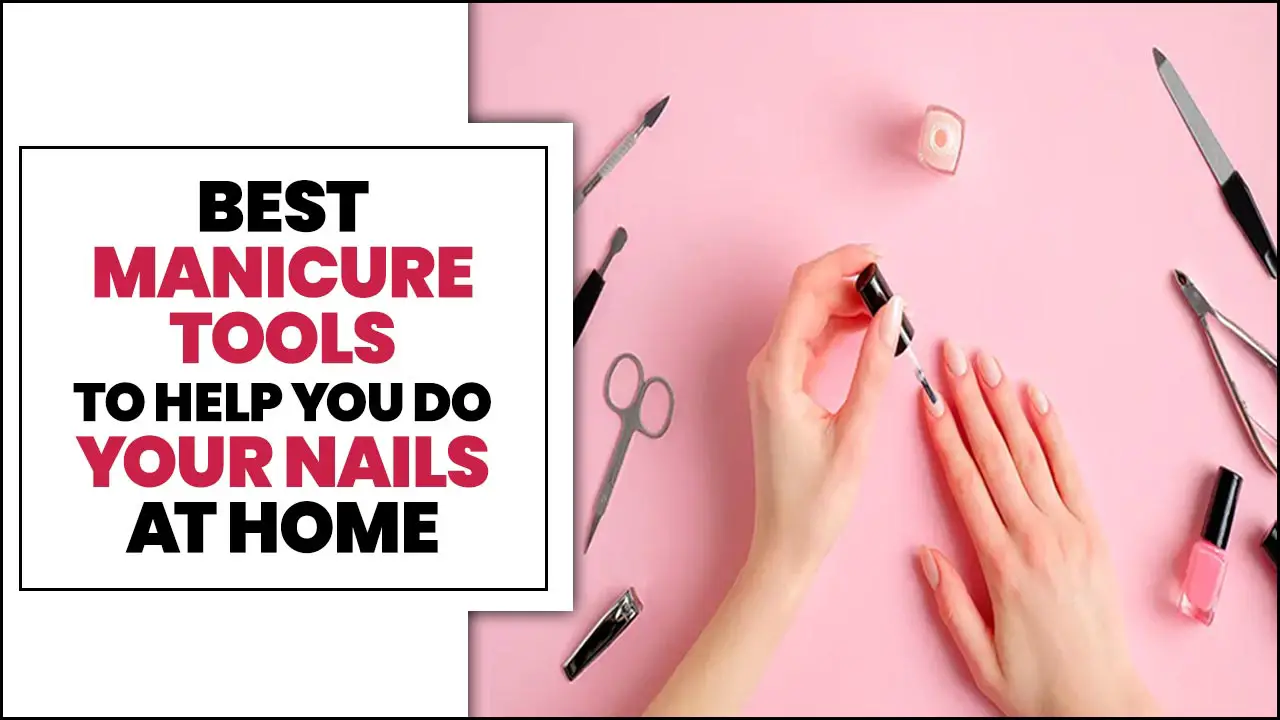
Stiletto glitter nails are a dazzling way to add a touch of glamour and sparkle to any look. This beginner-friendly guide will walk you through creating these eye-catching nails at home, covering everything from essential tools to achieving that perfect shimmer. Get ready to elevate your nail game with a touch of fabulous bling!
Are you ready to add some serious sparkle to your fingertips? Stiletto glitter nails are all the rage, and for good reason! They’re glamorous, eye-catching, and can instantly make any outfit feel more special. But if you’re new to nail art, diving into glitter and dramatic shapes might seem a little daunting. Don’t worry! Creating stunning stiletto glitter nails at home is totally achievable. This guide is here to break it all down for you in a simple, fun way. We’ll cover the must-have tools, the easy-to-follow steps, and plenty of tips to make sure your nails shine. Get ready to unleash your inner nail artist and rock some truly fabulous nails!
Your Essential Stiletto Glitter Nail Toolkit
Before we dive into the sparkle, let’s make sure you have everything you need. Building a good nail toolkit doesn’t have to break the bank, and having the right supplies makes all the difference. Think of these as your magic wands for creating beautiful nails!
The Must-Haves:
- Nail Polish: Choose your base color and a glitter polish or loose glitter.
- Top Coat: A good quality top coat is crucial for shine and longevity.
- Nail File: To shape your nails into that iconic stiletto point.
- Buffer: To smooth the nail surface.
- Cuticle Pusher or Orangewood Stick: For neatening the cuticle area.
- Glitter: Loose glitter, glitter polish, or even chunky glitter for a bolder statement.
- Tweezers or Small Brush: To pick up and place glitter precisely.
- Rubbing Alcohol or Nail Polish Remover: As a final cleanse before polish application.
- Cotton Pads or Balls: For cleaning and removing polish.
- Optional: Nail Glue: If you’re applying loose glitter and want extra hold.
- Optional: Stencil or Tape: If you plan on creating glitter gradients or patterns.
Having these items on hand will make your stiletto glitter nail journey smooth and enjoyable. You can find most of these at your local drugstore or beauty supply store. Don’t be afraid to experiment with different colors and types of glitter as you get more comfortable!
Step-by-Step: Creating Your Stiletto Glitter Nails
Let’s get this sparkle party started! Follow these simple steps to achieve salon-worthy stiletto glitter nails right at home.
Step 1: Prep Those Nails!
A good manicure starts with proper prep. This ensures your polish lasts longer and looks its best.
- Cleanse: Start by removing any old nail polish with a good nail polish remover. Wash your hands thoroughly with soap and water.
- Shape: Gently file your nails into the classic stiletto shape. This means filing from the sides towards the center, creating a sharp point. Aim for symmetry! You can use a guide from the reputable NailPro for safe filing techniques.
- Buff: Lightly buff the surface of your nails to create a smooth canvas for polish. This also helps with adhesion.
- Cuticle Care: Gently push back your cuticles with a cuticle pusher or orangewood stick. Avoid cutting them unless you are very experienced, as this can lead to infection.
- Cleanse Again: Wipe your nails with rubbing alcohol or a nail polish remover to remove any dust or oils. This is key for polish to adhere properly.
Step 2: Base Coat for a Strong Foundation
Apply a thin layer of your favorite clear base coat. This protects your natural nail from staining and helps your polish adhere better. Let it dry completely.
Step 3: The Glamorous Glitter Application
Here’s where the magic happens! You have a few fun options for applying glitter.
Option A: Full Glitter Coverage
- Apply your chosen base color polish. Let it dry slightly, but not completely (it should still be a little tacky).
- If using loose glitter, carefully pour or sprinkle it onto your nail, pressing gently with a brush or your fingertip to ensure it sticks to the still-tacky polish. Excess glitter can be tapped off once slightly dry.
- If using a glitter polish, apply one or two coats. For an opaque glitter look, you might need 2-3 coats.
- If you want a glitter gradient (more glitter at the tip and fading down), apply your base color, let it dry, then apply your glitter polish just to the tip of the nail, blending downwards with a brush or sponge.
Option B: Glitter Accent Nails
- Paint all your nails with your chosen base color.
- Let them dry completely.
- Choose one or two accent nails. For these nails, apply a coat of clear polish or nail glue where you want the glitter to appear (e.g., just the tip, a stripe, or the whole nail).
- Use tweezers or a small brush to carefully place the loose glitter onto the glued area. Press gently.
- Alternatively, use a glitter polish on your accent nails.
Step 4: Seal the Sparkle with a Top Coat
Once your glitter is applied and the polish is mostly dry, it’s time for the top coat! This is super important to lock in the glitter and prevent it from smudging or falling off. Apply one or two generous coats of a good quality, quick-drying top coat. Make sure to cap the free edge of your nail (paint along the very tip) to further seal it.
Step 5: The Final Finish
Let your nails dry completely. If you notice any rough edges from the glitter, you can gently buff them down before applying the final top coat. Avoid touching anything for at least an hour to ensure your manicure is fully hardened.
Choosing Your Glitter Style: A Sparkle Spectrum
Glitter isn’t just glitter! There’s a whole universe of sparkle out there to explore. Choosing the right type can completely change the vibe of your stiletto glitter nails.
Types of Glitter for Nails:
- Fine Glitter: This is the most common type, offering a subtle, shimmery effect. It’s perfect for all-over coverage or delicate accents.
- Chunky Glitter: These are larger particles that create a more dramatic, reflective look. They’re great for bold statements or for adding texture.
- Glitter Polish: This is glitter suspended in a clear or colored polish. It’s the easiest to apply for beginners, offering a quick way to get sparkle.
- Loose Glitter: This comes in a pot and needs to be applied with adhesive (like nail glue or wet polish). It offers the most control and can be used for intricate designs and full coverage.
- Holographic Glitter: This glitter reflects light in rainbow colors, adding an extra dimension of dazzling shine.
- Flakes: These are thin, iridescent pieces that catch the light beautifully, creating a multi-dimensional effect.
When selecting your glitter, consider the overall look you’re going for. Fine glitter polishes are fantastic for everyday elegance, while chunky or loose glitters are perfect for a night out or a special occasion. Don’t be afraid to mix and match different types for unique effects!
Stiletto Glitter Nail Design Ideas to Inspire You
The basic stiletto glitter nail is stunning, but there are so many ways to play with this design! Here are a few ideas to get your creative juices flowing:
Design Inspiration:
- Full Sparkle: Cover all nails in a gorgeous glitter polish or loose glitter for maximum impact.
- Accent Nail Magic: Keep most nails a solid color and let one or two accent nails steal the show with full glitter coverage.
- Glitter Ombre: Create a beautiful fading effect by applying more glitter at the tip of the nail and blending it down towards the cuticle.
- French Tip Sparkle: Instead of white tips, create glitter French tips for a glamorous twist on a classic.
- Geometric Glitter: Use tape or stencils to create clean lines and geometric shapes with glitter on a solid background.
- Dual-Tone Glitter: Combine two different glitter colors on each nail, perhaps an ombre effect with two shades, or a split design.
Think about your personal style and the occasion when choosing a design. You can go subtle and sophisticated or bold and blindingly brilliant!
Nail Care Tips for Long-Lasting Stiletto Glitter
Want your fabulous stiletto glitter nails to last as long as possible? A little TLC goes a long way!
Best Practices for Longevity:
- Protect Your Nails: Wear gloves when doing chores, washing dishes, or using cleaning products. This prevents the polish from chipping and protects your natural nails.
- Moisturize: Keep your cuticles and hands hydrated with a good cuticle oil and hand cream. Healthy cuticles make your manicure look polished.
- Avoid Using Nails as Tools: Resist the urge to use your nails to pry open cans or scrape things. This is a quick way to chip or break them, especially with the sharper stiletto shape.
- Touch-Ups: If you notice a tiny chip or loose piece of glitter, you can often fix it with a dab of clear polish or a tiny bit of nail glue and a sprinkle of matching glitter, followed by a top coat.
- Gentle Removal: When it’s time to take them off, soak your nails in acetone-based nail polish remover. Avoid aggressively filing or peeling the polish, which can damage your natural nails. For stubborn glitter, try soaking cotton balls in remover, placing them on your nails, wrapping them in foil, and letting them sit for 10-15 minutes.
Proper nail care not only helps your manicure look its best but also keeps your natural nails healthy beneath the polish. It’s all about balance and giving your nails the attention they deserve!
Table: Glitter Polish vs. Loose Glitter – Pros and Cons
Choosing between glitter polish and loose glitter can depend on your experience and desired outcome. Here’s a quick comparison:
| Feature | Glitter Polish | Loose Glitter |
|---|---|---|
| Ease of Use | Very easy, beginner-friendly. Apply like regular polish. | Moderately easy to challenging, requires adhesive and careful application. |
| Control | Less control over placement and density. | High control over placement, density, and layering. |
| Finish | Can be smooth or textured depending on glitter size. | Can achieve a smooth, even coat or a textured, dimensional look depending on application. |
| Longevity | Good, especially with a strong top coat. | Can be excellent, but effectiveness depends heavily on adhesive and top coat. |
| Versatility | Good for simple sparkle, gradients, and full coverage. | Excellent for intricate designs, full coverage, accents, and mixed media effects. |
| Mess Factor | Low. | Can be high if not careful. |
For absolute beginners, starting with a glitter polish is an excellent way to get acquainted with the sparkle factor. As you gain confidence, you can experiment with loose glitter for more customized and dramatic results.
Table: Stiletto Nail Shape Maintenance
The stiletto shape is iconic, but it requires a little attention to keep it looking sharp and pristine.
| Aspect | How to Maintain | Tips & Tricks |
|---|---|---|
| The Point | Gently file any snags or dullness towards the center. | Use a fine-grit file. File in one direction to avoid damage. |
| Sides | Keep the sides straight and refined. | Focus on symmetry. If one side starts to curve, gently file it to match the other. |
| Length | Trim if they become too long or problematic. | Only trim when necessary and file to reshape immediately after. |
| Chips/Snags | If a snag occurs, immediately file it smooth. | Carry a small emery board for quick touch-ups on the go. |
| Weakness | Apply nail strengtheners between manicures. | Consider a gel top coat for added structural support. |
The stiletto shape can be dramatic, so ensuring the structural integrity of your nail is key. Regular, gentle maintenance will keep them looking fierce!
Frequently Asked Questions About Stiletto Glitter Nails
Q1: Are stiletto glitter nails hard to do at home?
Not at all! With the right tools and a little patience, anyone can create beautiful stiletto glitter nails at home. Starting with glitter polish makes it very beginner-friendly.
Q2: How do I get glitter to stick evenly?
For loose glitter, apply it over a slightly tacky base color polish or use a thin layer of nail glue. Press the glitter gently with a brush or fingertip. A good top coat will also help smooth any texture.
Q3: Will glitter stain my nails?
Some highly pigmented glitters, especially dark or metallic ones, could potentially stain if applied directly to the nail without a base coat. Always use a base coat to protect your natural nails.
Q4: How long do stiletto glitter nails typically last?
With proper application and care, stiletto glitter nails can last anywhere from 5-14 days. Using a good base coat and a quality top coat is essential for longevity.
Q5: Can I mix different types of glitter?
Absolutely! Mixing fine glitter with chunky glitter or adding flakes can create stunning, unique effects. Just apply them in layers or strategically to achieve your desired look.
Q6: Is the stiletto shape difficult to achieve?
It takes a bit of practice to get perfect, symmetrical stiletto shapes. Focus on filing from the sides towards a central point. Don’t be discouraged if your first attempt isn’t flawless; practice makes perfect!
Conclusion
There you have it! Creating dazzling stiletto glitter nails at home is a fun and rewarding process. From choosing your sparkliest shades to mastering the iconic stiletto shape, you’re now equipped with all the knowledge you need to achieve show-stopping nails that reflect your unique style. Remember to prep properly, apply with care, seal with a strong top coat, and show your fabulous creations some love with consistent nail care. So go ahead, embrace the glitter, and let your nails do the talking! Your journey into the world of glamorous nail art has just begun, and the possibilities for sparkle are endless. Have fun creating your own signature stiletto glitter looks!


