Stiletto daisy nails combine the fierce elegance of stiletto shape with the sweet charm of daisy designs, offering a trendy and expressive manicure. This guide breaks down how to achieve this look, from prepping your nails to the final top coat, making it simple for beginners to nail this essential style.
Ever scrolled through your feed and marveled at those perfectly painted nails, wishing you could recreate the magic? It’s easy to feel a little intimidated by striking nail art, especially when you’re just starting out. But guess what? Gorgeous nails are totally within reach! Today, we’re diving into a look that’s both chic and cheerful: stiletto daisy nails. Think of bold, elegant stiletto shapes meeting the delicate, happy vibe of daisies. It’s a combination that’s surprisingly adaptable and sure to turn heads. We’ll walk through every step, so you can feel confident creating this essential style right at home. Get ready to unleash your inner nail artist!
Stiletto Daisy Nails: Your Guide to This Essential Style
The stiletto nail shape is iconic. It’s dramatic, elongating, and instantly adds a touch of glamour. When paired with the universally loved daisy motif, it creates a manicure that’s both playful and sophisticated. This style is perfect for anyone looking to add a pop of personality to their look, whether for a special occasion or just to brighten up your everyday. At Nailerguy, we believe nail art should be fun and accessible, and stiletto daisy nails are a fantastic example of how you can express your style without needing pro-level skills.
Why Choose Stiletto Daisy Nails?
This nail design isn’t just a fleeting trend; it’s become an essential style for a reason. It bridges the gap between bold fashion statements and sweet, feminine details. The stiletto shape itself is known for its confidence-boosting qualities, lengthening the fingers and adding a sharp, polished finish. Daisies, on the other hand, bring an element of innocence, nature, and understated joy. Together, they offer a unique contrast that’s both eye-catching and versatile.
- Chic Silhouette: The stiletto shape is inherently stylish, reminiscent of classic Hollywood glamour.
- Whimsical Touches: Daisies add a touch of sweetness and a connection to nature.
- Versatile Design: You can adapt the daisy design – minimalist outlines, fully painted petals, or even tiny accent daisies.
- Expressive: Perfect for showing off your personality and love for floral motifs.
- Confidence Booster: The combination of a strong shape and a cheerful design can make you feel fabulous!
Understanding the Stiletto Nail Shape
Before we get to the daisies, let’s talk about the stiletto shape. It’s characterized by its sharp, pointed tip, with the sides tapering inwards. This shape is often achieved using acrylics or gel extensions, but you can also file natural nails into a similar, albeit shorter, shape with care. The key is the dramatic taper that culminates in a fine point.
For beginners, achieving a perfect stiletto with natural nails can be challenging due to the risk of breakage. It’s often best to start with nail tips or extensions for this shape. However, you can experiment with a softer, less pointed version on your natural nails, focusing on the inward taper from the sides of your nail bed.
A crucial aspect of maintaining any nail shape, especially a pointed one like the stiletto, is nail health. Ensuring your nails are strong and healthy will make them more resilient to breakage. According to the NHS (National Health Service), good nutrition and proper nail care are fundamental for strong nails.
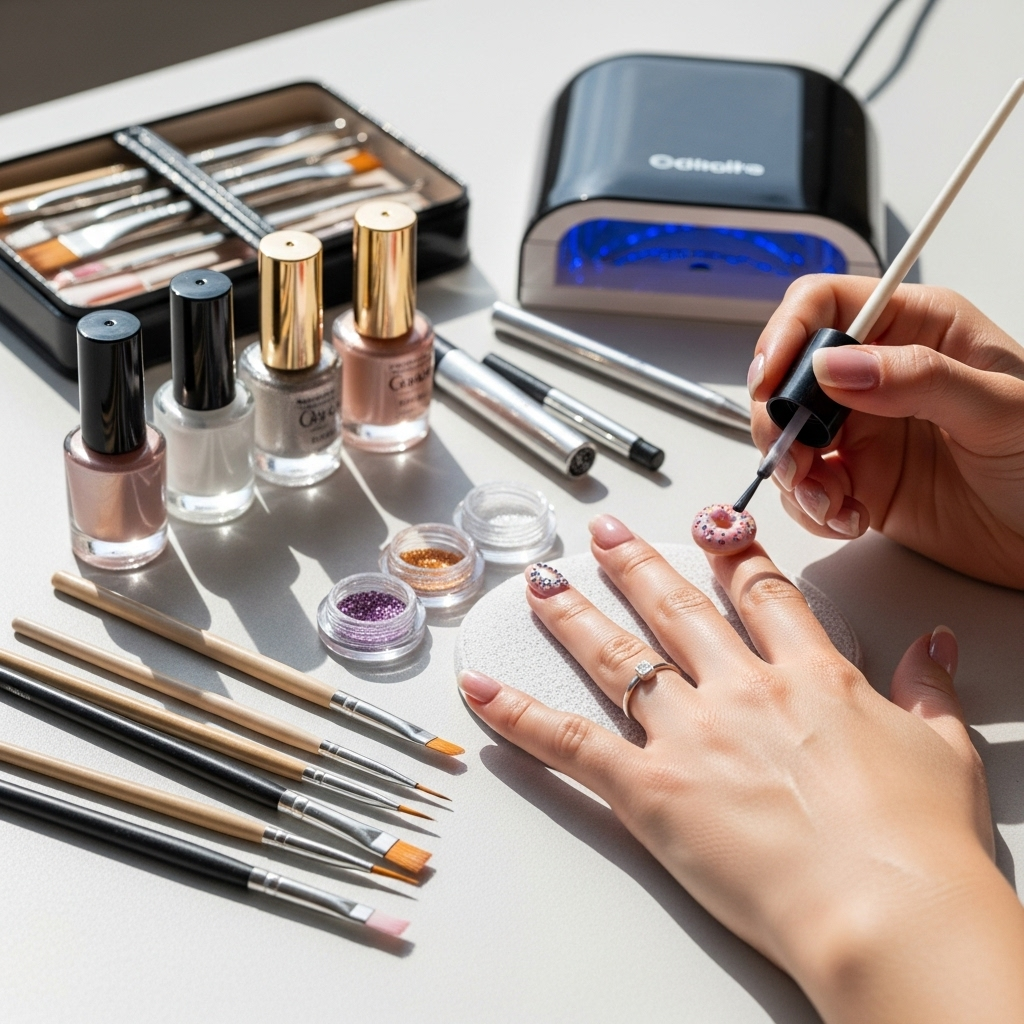
Gathering Your Stiletto Daisy Nail Essentials
To create stunning stiletto daisy nails, you’ll need a few key tools and products. Don’t worry if you don’t have everything right away; you can build your nail art kit over time!
Tools You’ll Need:
- Nail File (180-240 grit): For shaping and refining natural nails or tips.
- Nail Clippers: If you’re working with nail tips.
- Nail Glue: For applying nail tips.
- Buffer Block: To smooth the nail surface.
- Cuticle Pusher/Orange Stick: To gently push back cuticles.
- Dotting Tools: Essential for creating the daisy centers and delicate petal details. A set with various sizes is ideal.
- Fine-Tipped Nail Art Brush: For drawing delicate petal outlines or adding fine lines.
- Tweezers: Helpful for picking up small embellishments if you choose to add them.
Products You’ll Need:
- Base Coat: To protect your natural nails and help polish adhere.
- Top Coat: To seal your design and add shine.
- Nail Polish Colors:
- A base color for your nails (e.g., nude, pastel pink, white, or a bold color).
- Yellow or gold for daisy centers.
- White for daisy petals.
- Nail Polish Remover: For cleaning up mistakes.
- Cotton Pads/Balls: For using with remover.
- Cuticle Oil: For moisturizing after your manicure.
- (Optional) Nail Tips or False Nails: If you want to create a more dramatic stiletto shape.
Step-by-Step: Creating Stiletto Daisy Nails
Let’s get painting! Follow these steps to achieve your beautiful stiletto daisy nails.
Step 1: Nail Preparation is Key
Start with clean, dry nails. Gently push back your cuticles using an orange stick or cuticle pusher. This creates a clean canvas and prevents polish from creeping onto the skin, which can cause chipping. Buff your nails lightly with a buffer block to remove any natural shine and create a smooth surface for the polish to adhere to. If you’re using nail tips for the stiletto shape, this is the time to apply them according to the product’s instructions, ensuring they are securely glued.
Step 2: Achieve the Stiletto Shape
If you’re using natural nails, carefully use a nail file to shape them into the stiletto. Start by filing the sides of your nail inwards towards the center, creating a sharp point at the tip. Be gentle and file in one direction to avoid weakening the nail. Aim for a shape that’s elegant, not excessively sharp if you’re worried about breakage. If you’ve applied nail tips, file them down to your desired stiletto length and shape. Smooth the surface with a fine-grit file (around 240 grit).
Step 3: Apply Your Base Coat and Color
Apply a thin, even layer of your chosen base coat. Let it dry completely. This step is crucial for protecting your natural nails and ensuring your color coat lasts longer. Once the base coat is dry, apply 1-2 coats of your primary nail polish color. Allow each coat to dry thoroughly before applying the next. A clean, even color application will make your daisy design pop!
Step 4: The Daisy Design – Simple & Sweet
Now for the fun part! You have a few options for creating your daisies:
- Method 1: Dotting Tool Daisies (Easiest for Beginners)
- Dip a medium-sized dotting tool into your white nail polish.
- Create small, circular dots around the nail or on accent nails for the daisy petals. You can make them slightly curved or round. For a classic daisy, aim for about 5-7 petals around a central point.
- Immediately after placing the white dots, use a smaller dotting tool dipped in yellow or gold polish to create a single dot in the center of your white “petals.”
- Clean your dotting tools between uses.
- Method 2: Painted Petal Daisies
- Clean your fine-tipped nail art brush and dip it into white polish.
- Gently paint small, oval or tear-drop shapes around a central point to form the petals.
- Once the white petals are dry, use the tip of your brush or a small dotting tool to add a yellow or gold center.
- Method 3: Minimalist Outline Daisies
- Using a very fine nail art brush dipped in white polish, draw simple outlines of petals.
- Add a small yellow dot in the center. This gives a delicate, modern look.
Decide if you want daisies on all nails or just accent nails. A common approach is to have a few daisies on the ring finger and perhaps the middle finger against a neutral background. You can also create a “constellation” of tiny daisies across the nail!
Step 5: Adding Details (Optional)
If you want to elevate your stiletto daisy nails further, consider these:
- Leaves: Use a fine brush and green polish to add small leaf shapes near the daisies.
- Glitter Centers: Instead of yellow polish, use a dab of glitter glue and fine gold or iridescent glitter for the daisy centers.
- Subtle Shimmer: Apply a thin coat of a shimmery top coat over your base color before adding daisies for an extra dimension.
Step 6: Apply Your Top Coat
Once your daisy design is completely dry, apply a generous layer of your favorite top coat. Ensure you cap the free edge of your nail by running the brush along the tip. This helps prevent chipping and seals your design, making it last longer. For stiletto nails, capping the edge is especially important due to the pointed shape.
Step 7: Final Touches
After the top coat has dried (give it a few minutes to be sure), apply cuticle oil to your nail beds and massage it in. This will rehydrate your skin, making your manicure look polished and complete. Clean up any polish smudges around your nails with a small brush dipped in nail polish remover.
Stiletto Daisy Nail Variations to Inspire You
The beauty of stiletto daisy nails is their adaptability. Here are a few ways you can play with the design:
The Classic Look
A clean white or pastel base with simple, perfectly formed white daisies and bright yellow centers. This is timeless and elegant, perfect for any occasion.
Bold & Bright
Try a vibrant base color like a coral, teal, or even black. The contrast with white daisies can be incredibly striking. You could even use colored polish for the daisy petals!
Minimalist Chic
Focus on super fine lines for the petals and a tiny dot for the center. This whisper-light design is modern and chic, letting the stiletto shape speak for itself.
Glow Up Daisies
Use neon or pastel pink polishes for the daisy petals, or add tiny rhinestone “stamens” to the centers for a touch of sparkle. A glossy top coat will make these truly shine.
French Tip Daisies
Incorporate daisies into a French tip design. You could have a tiny daisy at the point of each French tip, or place them along the white tip line.
Maintaining Your Stiletto Daisy Nails
To keep your stiletto daisy nails looking fabulous for as long as possible, follow these simple care tips:
- Be Mindful of the Points: The sharp tips of stilettos can snag. Be careful when reaching into pockets, bags, or brushing your hair.
- Wear Gloves: When doing chores, especially those involving water or chemicals, wear rubber gloves. This protects both your polish and your natural nails.
- Moisturize: Regularly apply cuticle oil and hand cream to keep your nails and skin healthy and hydrated. Dry, brittle nails are more prone to breaking.
- Avoid Using Nails as Tools: Never use your nails to pry, scrape, or open things. This can cause chips, breaks, and lift your polish.
- Touch-Ups: If you notice a tiny chip or wear along the tip, you can sometimes carefully file it down and add a fresh layer of top coat to extend wear.
Pros and Cons of Stiletto Daisy Nails
Like any nail style, stiletto daisy nails have their advantages and disadvantages, especially for beginners.
| Pros | Cons |
|---|---|
| Fashion-Forward: Stiletto shape is undeniably chic and elongates fingers. | Potential for Breakage: The pointed shape can be prone to snagging and breaking, especially on natural nails. |
| Versatile Design: Daisies add a feminine, cheerful touch that can be adapted to many styles. | Learning Curve for Shape: Achieving a perfect, symmetrical stiletto shape can take practice, often requiring extensions. |
| Expressive: A great way to showcase personality and creativity. | Maintenance: Requires careful handling to avoid damage. |
| Confidence Boost: The dramatic shape and pretty details can make you feel amazing. | Not for Everyone: May not be practical for those with very active or hands-on jobs. |
| Achievable DIY: While the shape can be challenging, the daisy art itself is relatively simple to learn. | Tool Investment: Some specialized tools like dotting tools are needed for best results. |
Frequently Asked Questions About Stiletto Daisy Nails
Q1: Can I achieve stiletto daisy nails on short, natural nails?
A1: You can create a short stiletto shape on natural nails by filing them to a point. However, for the dramatic, long stiletto shape, nail extensions (like acrylics or gels) are usually necessary to avoid excessive breakage.
Q2: What’s the easiest way to paint daisies for beginners?
A2: The easiest method is using a dotting tool. Create small white dots for petals around a central point, and then add a yellow dot in the middle while the white is still wet. It’s forgiving and quick!
Q3: How long do stiletto daisy nails typically last?
A3: With proper application and care, stiletto daisy nails can last from 1 to 3 weeks. This depends on the type of polish used (regular polish vs. gel), how well you prep and seal them, and how careful you are with your hands.
Q4: Do I need special tools for stiletto daisy nails?
A4: While you can attempt daisies with a regular fine-tipped brush, a dotting tool is highly recommended for creating perfect little centers and consistent petals. A good nail file is essential for shaping the stiletto form.
Q5: Can I wear stiletto daisy nails to work?
A5: It depends on your workplace dress code. The stiletto shape can be seen as bold or even slightly aggressive in some professional settings. However, if you opt for a softer stiletto shape with a neutral base color and delicate daisies, it can often be office-appropriate. Always consider your specific work environment.
Q6: How do I prevent my stiletto nail tips from breaking?
A6: Ensure your nails are strong and healthy. If you have extensions, make sure they are applied correctly with proper structural support. Be mindful of your pointed tips and avoid using them to pick or scrape. Wearing gloves for chores also significantly reduces the risk of breakage.
Conclusion
There you have it! Stiletto daisy nails are a fantastic way to blend bold elegance with sweet charm. Whether you’re a seasoned nail art enthusiast or just dipping your toes into DIY manicures, this style is achievable and endlessly customizable. Remember to prep your nails well, take your time with the shaping and painting, and seal everything with a great top coat. Don’t be afraid to experiment with colors and placements to make these nails uniquely yours. From simple dots to intricate painted designs, the stiletto daisy is an essential style that’s sure to bring a smile to your face and a boost to your confidence with every flick of your beautifully adorned fingers. Happy painting from Nailerguy!