Stiletto cherry nails offer a bold, sophisticated look with a vibrant pop of color, perfect for those wanting to make a chic statement. They combine the dramatic shape of stiletto nails with rich, deep red tones reminiscent of ripe cherries for an elegant yet playful manicure. This guide provides beginner-friendly steps to achieve this stunning style.
Hey nail lovers! Lisa Drew here, your go-to for all things nails. Are you ready to elevate your nail game with a look that’s both elegant and exciting? If you’ve ever admired those perfectly shaped nails in a deep, luscious red and wished you could have them, you’re in the right place! Stiletto cherry nails are a fantastic way to express your style, adding a touch of sophistication and a hint of playful allure. Don’t worry if you’re new to nail shapes or DIY manicures; I’m going to walk you through everything you need to know to get these gorgeous nails. Get ready to transform your fingertips into a work of art that’s as chic as it is fun!
What Are Stiletto Cherry Nails?
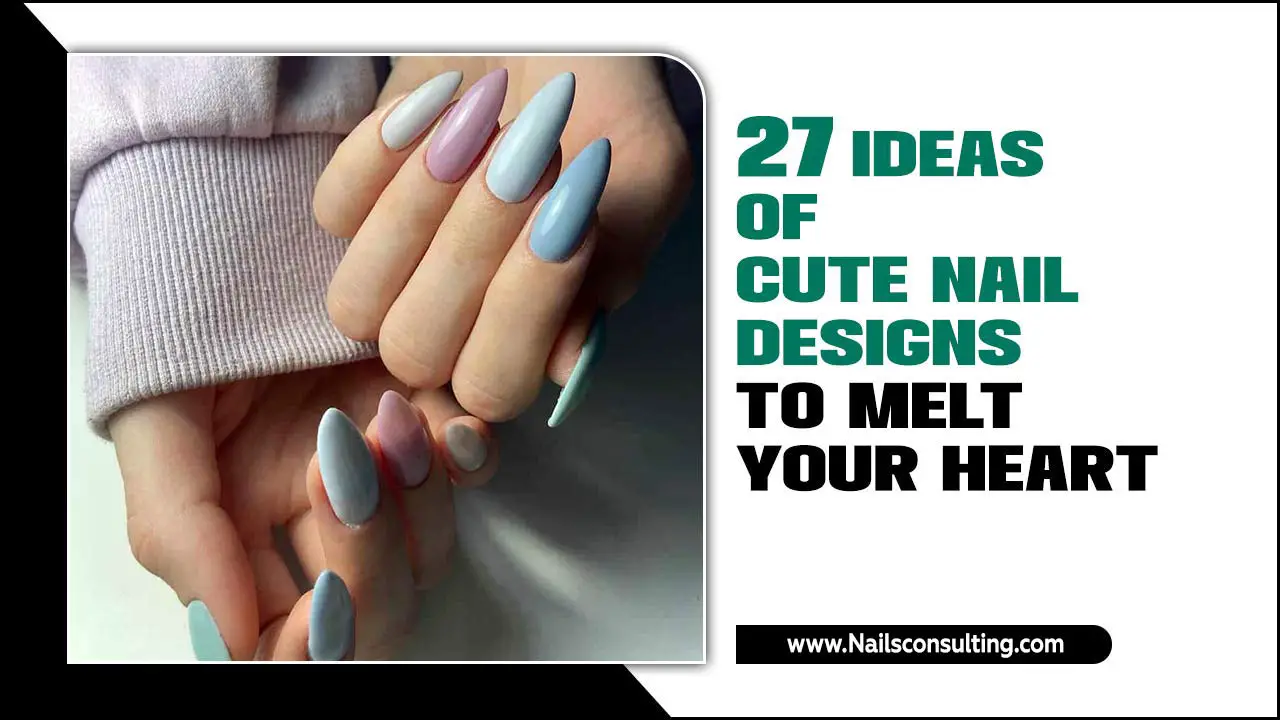
Stiletto cherry nails are a striking manicure that marries two distinct elements: the shape and the color. The “stiletto” refers to the nail shape. This is a long, sharply pointed nail that tapers to a fine tip, much like the heel of a stiletto shoe. It’s a dramatic and eye-catching silhouette. The “cherry” aspect refers to the color palette, which typically involves shades of deep, rich red. Think of the color of ripe, juicy cherries – it’s a vibrant, yet sophisticated hue that exudes confidence and glamour. Together, stiletto cherry nails create a look that is both fashion-forward and timelessly elegant, perfect for anyone wanting a memorable manicure.
Why Choose Stiletto Cherry Nails?
This manicure is a power move! Here’s why you might fall in love with stiletto cherry nails:
- Chic & Sophisticated: The stiletto shape is inherently glamorous, and the deep red color adds a touch of luxury.
- Statement Maker: These nails are not for the faint of heart. They’re designed to be noticed and admired.
- Versatile Shade: While “cherry” implies red, this color can range from a bright true red to a deeper, almost burgundy shade, making it adaptable to your skin tone and personal preference.
- Confidence Booster: There’s something undeniably empowering about wearing a bold, well-executed manicure. The stiletto shape and rich color work together to make you feel fantastic.
- Timeless Appeal: Red is a classic color, and the stiletto shape, while dramatic, has been a popular choice for years.
Getting Started: Essential Tools and Supplies
Before we dive into the how-to, let’s gather our supplies. Having the right tools makes all the difference when creating beautiful nails at home. Don’t be intimidated; many of these are standard nail care items you might already have!
For Shaping:
- Nail Clippers: To trim your natural nails down to a manageable length to begin with.
- Nail File: A medium-grit file (around 180-240 grit) is ideal for shaping. A glass file is also excellent for shaping and smoothing.
- Buffer Block: To smooth out any ridges on your natural nail and create a perfect canvas.
- Optional: Nail Drill (with appropriate bits): For those more experienced; a nail drill can speed up shaping, especially if working with acrylics or gels. For beginners, a good old-fashioned file is perfect.
For Application (if using polish or gel):
- Base Coat: Crucial for protecting your natural nails and helping polish adhere better.
- Cherry Red Nail Polish/Gel: Choose your perfect shade!
- Top Coat: To seal in the color, add shine, and prevent chipping.
- Cuticle Oil: To keep your cuticles hydrated, which is essential for healthy-looking nails.
- Rubbing Alcohol or Nail Polish Remover: For cleaning the nail surface before applying polish.
- Cotton Pads or Lint-Free Wipes: For cleaning.
For Achieving the Stiletto Shape:
You have a few options here, depending on whether you want to achieve this shape on your natural nails or with enhancements like tips or extensions. If you’re working with your natural nails, it’s best to have them grow a bit longer first. The stiletto shape requires length to achieve its dramatic taper.
- Artificial Nail Tips: These are pre-shaped plastic tips that you glue onto your natural nails to add length and the desired shape.
- Nail Forms: These are stickers you place under the free edge of your natural nail to sculpt gel or acrylic extensions into the stiletto shape.
- Gel or Acrylic Products: If you’re building length, you’ll need UV/LED gel builder or acrylic monomers/polymers.
External Resource: Understanding nail anatomy is key to healthy nail growth and application. For more on nail structure, check out resources from the American Academy of Dermatology Association (AAD) on nail care: AAD Nail Care Information.
Step-by-Step: Creating Your Stiletto Cherry Nails
Ready to get started? Let’s break down how to achieve those gorgeous stiletto cherry nails. We’ll cover options for natural nails and extensions.
Option 1: Natural Nails (Requires Length)
This method works best if your natural nails are already long enough to file into the stiletto shape. If they’re shorter, you might consider extensions.
- Prep Your Nails: Start with clean, dry nails. Remove any old polish. Gently push back your cuticles. You can trim any excess, but be careful not to cut your skin.
- Shape the Stiletto:
- First, gently file the sides of your nail straight down towards the center to create parallel lines.
- Then, carefully file the tip to a point. Do this slowly, filing from one side towards the center, then the other side towards the center. Your file should meet at a sharp point.
- Ensure both sides are symmetrical. You want a sharp, elegant point, not a rounded one.
I always recommend filing in one direction to avoid weakening the nail.
- Smooth and Buff: Use a buffer block to gently smooth the surface of your nail. This also helps remove any fine dust from filing and prepares the nail for polish.
- Cleanse: Wipe your nails with rubbing alcohol or a nail polish remover-soaked cotton pad to remove any oils or dust. This ensures your polish will adhere well.
- Apply Base Coat: Apply a thin, even layer of base coat. Let it dry completely. This protects your nails and helps prevent staining from the dark polish.
- Apply Cherry Red Polish:
- Apply the first coat of your cherry red polish. Start from the cuticle and brush upwards towards the tip. Avoid getting polish on your cuticles.
- Let the first coat dry as much as possible before applying the second.
- Apply a second coat for opaque coverage.
- If needed, a third thin coat can add depth, but be careful not to make the polish too thick.
Dark colors can be tricky, so patience is key!
- Apply Top Coat: Once the color layers are dry, apply a generous layer of top coat. Make sure to cap the free edge by sweeping the brush along the very tip of your nail. This helps prevent chipping.
- Cure (if using gel): If you’re using gel polish, you’ll need to cure each layer (base, color, top) under a UV/LED lamp according to the product’s instructions.
- Hydrate: Once your top coat is completely dry (or cured), apply cuticle oil around your nails and gently massage it in.
Option 2: With Nail Tips or Extensions (Recommended for Beginners)
Using nail tips or extensions is a fantastic way to achieve the stiletto shape consistently, especially if your natural nails are prone to breaking or are shorter. This method provides a sturdier base for the dramatic shape.
- Prep Natural Nails: Start with clean, dry nails. Gently push back cuticles. You can lightly buff the surface of your natural nail to remove shine, which helps adhEsion.
- Apply Nail Tips (for tips method):
- Select the correct size nail tip for each finger.
- Apply a small amount of nail glue to the well of the tip and press it firmly onto the free edge of your natural nail. Hold for a few seconds until secure.
- Ensure there are no air bubbles.
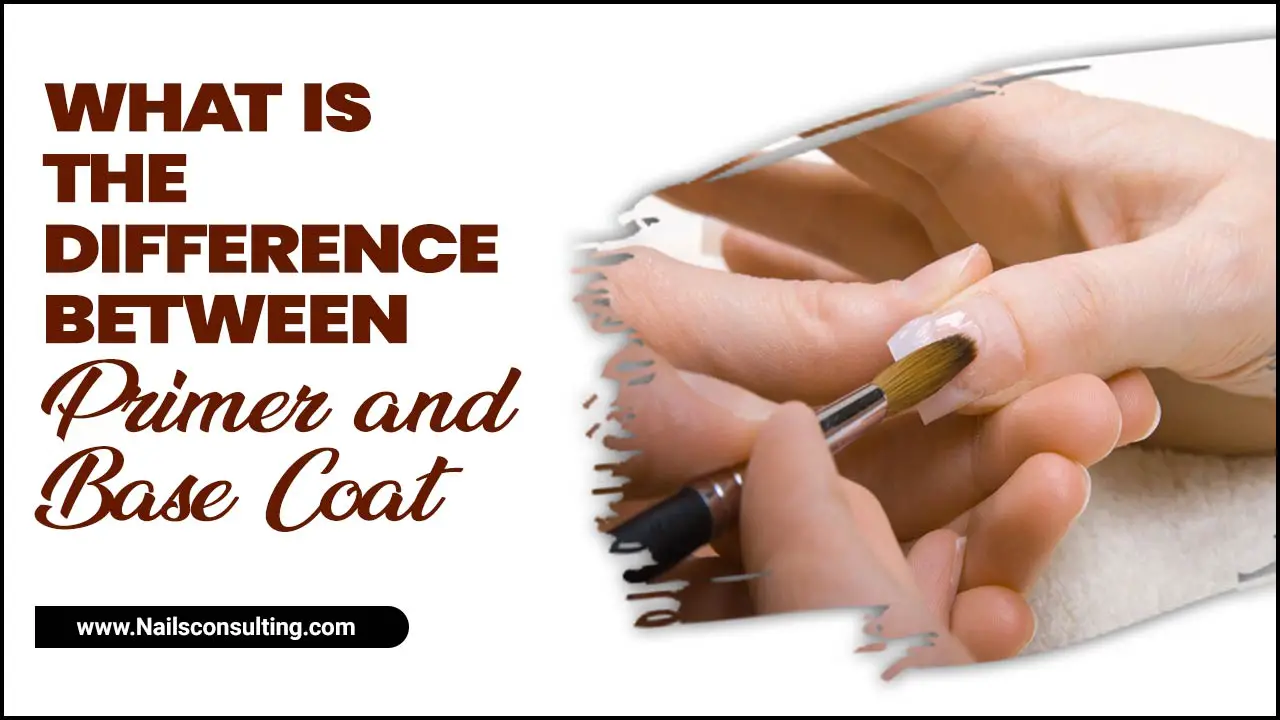
Use a good quality nail glue!
- Shape the Tip: Now, you’ll shape the glued-on tip into your desired stiletto point using your nail file, just as described in Step 2 of Option 1.
- Or, Apply Nail Forms (for sculpting method):
- Place the nail form snugly under the free edge of your natural nail. The center guide on the form helps you align it to create the apex of your stiletto.
- Secure the form so it’s stable.
This creates an extension without a pre-made tip.
- Apply Gel or Acrylic:
- Apply builder gel or acrylic to sculpt the desired length and stiletto shape over the natural nail and the nail form.
- Focus on creating a smooth apex along the nail.
This is where the real shaping happens!
- File and Shape: Once the gel or acrylic is cured, remove the nail form. Now, use your file to refine the shape. File the sides straight towards the center and shape the tip to a sharp point, similar to Step 2 in Option 1.
- Smooth and Buff: Use a buffer block to smooth the entire surface of the extension and natural nail.
- Cleanse: Wipe nails with rubbing alcohol to remove dust and oils.
- Apply Base Coat: Apply a thin layer of base coat, ensuring it covers the entire nail surface, including the extension. Let it dry (or cure if using gel).
- Apply Cherry Red Polish/Gel: Carefully apply your cherry red polish or gel. Two to three thin coats are usually best for full, even coverage. Ensure you cap the free edge.
- Apply Top Coat: Seal the deal with a clear top coat for shine and protection. Cap the free edge.
- Cure (if using gel): Cure under your UV/LED lamp as required.
- Final Touch: Apply cuticle oil and massage it in for a polished, hydrated finish.
Pro Tips for Stiletto Cherry Nails
Even with step-by-step instructions, a few extra tips can help you achieve salon-worthy stiletto cherry nails:
| Tip | Description | Why It Matters |
|---|---|---|
| Start with Healthy Nails | Ensure your natural nails are in good condition before applying extensions or polish. Hydrate cuticles regularly. | Healthy nails are less prone to breakage and provide a better base for any manicure. |
| Symmetry is Key | Take your time when filing the sides and the tip to ensure both sides are mirror images and the point is sharp and centered. | Asymmetry can make the stiletto shape look uneven and less elegant. |
| Don’t Over-File | Be gentle when filing, especially with natural nails. Excessive filing can weaken the nail. | Maintains nail strength and prevents painful thinning. |
| Cap the Free Edge | When applying polish and top coat, swipe the brush horizontally along the very tip of your nail. | This seals the edge and significantly reduces the chance of polish chipping. |
| Clean Cuticles Shine | Keep your cuticles tidy and moisturized. Clean cuticle areas make the nail polish application look neater and more professional. | A clean cuticle line creates a flawless finish and makes the nail appear longer. |
| Dark Color Application | Apply dark polishes in thin coats. Thicker coats can lead to uneven drying, bubbles, or a streaky appearance. | Ensures smooth, even coverage and a professional finish. |
| Patience with Drying/Curing | Allow each layer of polish to dry sufficiently before applying the next, or follow gel curing times precisely. | Prevents smudging, dents, and ensures the polish lasts longer. |
Maintaining Your Stiletto Cherry Nails
Once you’ve achieved your stunning stiletto cherry nails, you’ll want them to last! Here’s how to keep them looking fabulous:
- Moisturize, Moisturize, Moisturize! Keep cuticle oil and hand lotion handy. Apply regularly, especially after your hands have been in water. Well-hydrated cuticles and skin make your manicure look pristine.
- Wear Gloves: When doing chores like washing dishes, cleaning, or gardening, wear rubber gloves. This protects your nails from harsh chemicals and excessive water exposure, which can weaken them and cause polish to lift.
- Be Mindful: Stiletto nails are pointy! Be mindful of your surroundings and avoid using your nails as tools. For example, don’t use them to scrape or pry things open.
- Avoid Hot Water Soaks: Prolonged soaking in hot tub water or very hot baths can sometimes soften the nail polish or gel, potentially leading to quicker wear.
- Touch-Ups: If you notice a tiny chip or scuff, a small dab of top coat can often seal it and blend it in. For more significant issues, it might be time for a refresh.
The lifespan of your manicure will depend on whether you used regular polish or gel, and how well you care for them. Typically, regular polish might last 5-7 days, while gel polish or acrylics can last 2-3 weeks with proper care.
Frequently Asked Questions (FAQ) about Stiletto Cherry Nails
Here are some common questions beginners have about this trendy nail style:
Q1: Are stiletto nails bad for your natural nails?
Stiletto nails themselves, particularly if they are very long and pointed, can put stress on your natural nails. If you apply them to your natural nails and they break, it can be quite painful. Using nail tips or extensions, or keeping lengths moderate, can mitigate this risk. Proper application and removal are also key to maintaining nail health.
Q2: How do I file my nails into a stiletto shape without them breaking?
Start with nails that have some length. File gently in one direction, from the side of the nail towards the center point, on both sides. Avoid sawing back and forth, as this weakens the nail. If your natural nails are too weak or short, consider using nail tips or extensions.
Q3: Can I achieve stiletto cherry nails with short nails?
To achieve a true stiletto shape, you need significant length to create the taper. While you can file shorter nails into a “soft” stiletto point, it won’t have the dramatic effect. For short nails, it’s best to use nail tips or gel/acrylic extensions to build the required length and shape.
Q4: What’s the best type of polish for stiletto cherry nails?
For longevity and a high-gloss finish, gel polish is excellent. Regular nail polish can also work, but might chip more easily. Acrylic or hard gel extensions can be shaped and then painted or have colored acrylic/gel applied directly.
Q5: How often should I reapply cuticle oil?
It’s beneficial to apply cuticle oil at least once or twice a day. More is always better, especially if your hands tend to get dry or if you work with your hands a lot. Applying it before bed is a great habit.
Q6: My dark red polish looks streaky. What can I do?
Dark polishes often require thin, even coats. Ensure your brush isn’t overloaded, and apply the polish evenly. If you’re still getting streaks, try a slightly thicker second coat or a third thin coat. Sometimes, a good quality top coat can help smooth out minor imperfections.
Conclusion
And there you have it! Stiletto cherry nails are a fabulous blend of bold shape and captivating color, perfect for adding a touch of chic drama to your look. Whether you’re opting for the elegant taper on natural nails (if they’re long enough!) or building them up with extensions, the process is achievable with a little patience and the right tools. Remember to prep well, take your time with the shaping and application

