Mastering Step-by-Step Nail Design: Your Easy Beginner’s Guide to Stunning Nails.
Hello, nail lovers! Are you dreaming of beautiful, creative nails but feel like intricate designs are out of reach? It’s totally normal to feel a little intimidated when you’re starting. Messy polish or designs that just don’t turn out as planned can be frustrating. But guess what? You don’t need to be a pro to create gorgeous nail art! This guide will break down everything you need to know, step by step, to unlock your inner nail artist. Get ready to transform your fingertips into tiny canvases of self-expression and have tons of fun doing it!
<h2>Why Nail Art? More Than Just Pretty Polish</h2>
Nail art is a fantastic way to express your personality, match your outfit, celebrate a holiday, or simply add a pop of fun to your day. It’s a creative outlet that’s accessible to everyone, and as you get more comfortable, you’ll find it becomes a relaxing and rewarding hobby. Think of your nails as miniature billboards for your mood and style! Plus, mastering a few simple techniques can save you money compared to salon manicures, all while you’re learning a new skill.
<h2>Gather Your Beginner Nail Art Toolkit</h2>
Don’t worry, you don’t need a whole salon’s worth of fancy tools to get started. Here are the essentials that will make your nail art journey so much easier and more enjoyable:
<h3>The Must-Haves:</h3>
<ul>
<li><strong>Nail Polish:</strong> Start with a few basic colors you love, plus a good clear top coat and a base coat. A white polish is also incredibly useful as a base for brighter colors.</li>
<li><strong>Nail Polish Remover & Cotton Pads:</strong> For easy cleanup and starting with a clean slate.</li>
<li><strong>Buffer Block:</strong> A gentle buffer helps smooth out ridges and provides a nice surface for polish to adhere to.</li>
<li><strong>Orange Stick or Cuticle Pusher:</strong> To gently push back your cuticles before painting, creating a cleaner canvas.</li>
</li><strong>Thin Detail Brush or Toothpick:</strong> For drawing fine lines, dots, and simple shapes. A toothpick is a surprisingly effective tool for beginners!</li>
<li><strong>Dotting Tools (Optional but Recommended):</strong> These come with different-sized balls on the end, perfect for creating polka dots and simple floral patterns. You can often find affordable sets online.</li>
<li><strong>Sticky Tape or Painter’s Tape:</strong> Fantastic for creating crisp lines and geometric patterns. Ensure it’s a type that won’t pull off your polish too harshly.</li>
<li><strong>Gloves (Optional):</strong> If you’re worried about getting polish on your hands, consider wearing thin, disposable gloves while you practice.</li>
</ul>
<h3>Optional Extras to Grow Your Collection:</h3>
<ul>
<li>
<strong>Striping Tape:</strong> Ultra-thin metallic tapes that add a professional touch.</li>
<li><strong>Nail Art Pens:</strong> Similar to markers, these offer a different way to draw and create designs.</li>
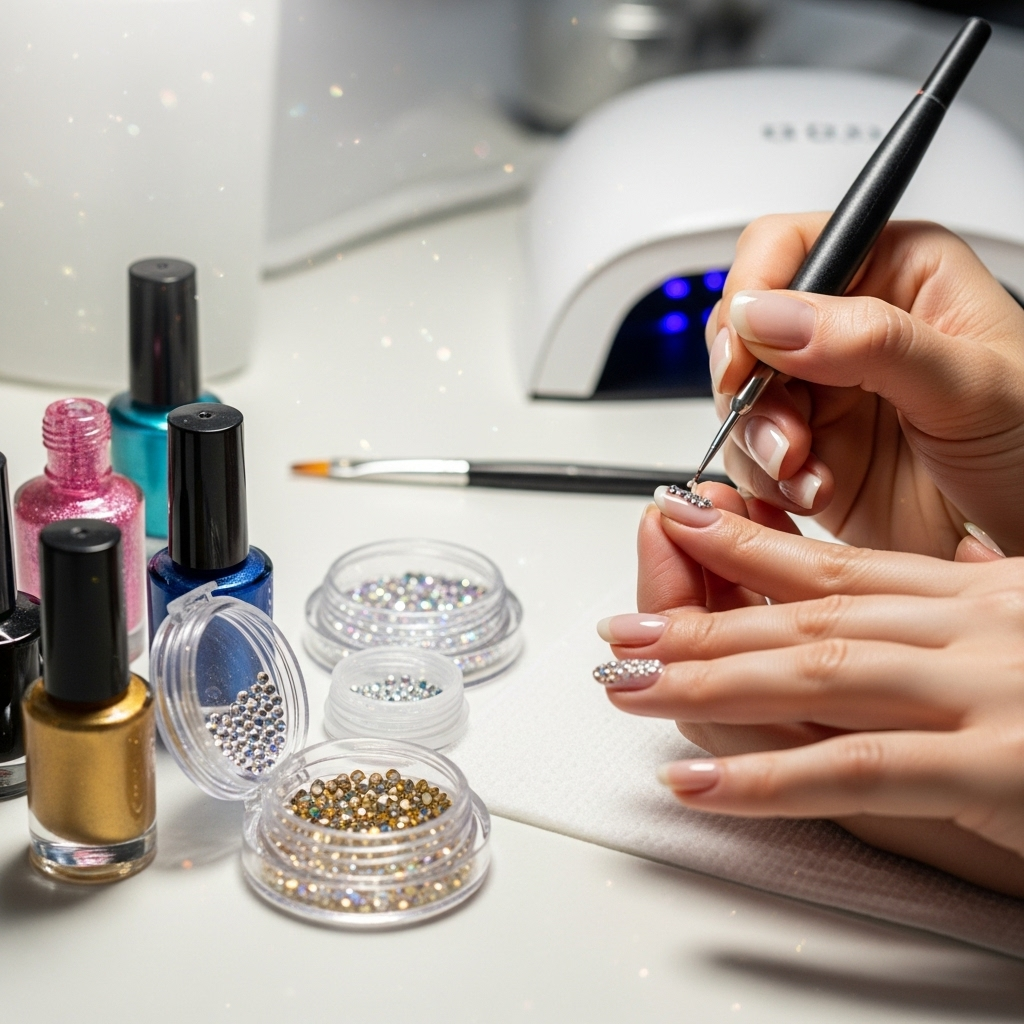
<li><strong>Rhinestones/Gems:</strong> For a bit of sparkle and dimension.</li>
<li><strong>Stencils:</strong> Pre-cut designs that you paint over.</li>
</li><strong>Dotting Tool Holders:</strong> To keep your dotting tools organized and clean.</li>
</ul>
<h2>The Foundation: Perfect Nails Start with Good Prep</h2>
Before you even think about adding a design, preparing your nails is crucial for a smooth application and a long-lasting manicure. This is where the magic really begins!
<h3>Step 1: Clean and Shape</h3>
<p>Start with clean, dry nails. Gently remove any old polish. Use your nail file to shape your nails. For beginners, a simple classic shape like a square or squoval (a softened square) is easy to maintain and looks great.</p>
<h3>Step 2: Buff Away Imperfections</h3>
<p>Take your buffer block and gently buff the surface of your nails. This removes any shine and creates a slightly rough texture. This helps the polish grip better, preventing chipping. Don’t over-buff, just a few gentle passes are enough.</p>
<h3>Step 3: Tidy Up Your Cuticles</h3>
<p>Use your orange stick or cuticle pusher to gently push back your cuticles. Healthy cuticles frame your nail beautifully and give you more flat surface to paint on. Never cut your cuticles at home, as this can lead to infection.</p>
<h3>Step 4: Apply Base Coat</h3>
<p>A base coat is your best friend! It protects your natural nail from staining (especially from dark or vibrant polishes) and creates a smooth surface for your color. Apply one thin coat and let it dry completely.</p>
<h2>Beginner-Friendly Techniques: Easy Nail Designs Step-by-Step</h2>
Now for the fun part! Let’s dive into some super simple yet stylish nail designs that any beginner can master.
<h3>Design 1: The Classic French Tip with a Twist</h3>
<p>The French manicure is timeless, but we’re adding a touch of color!</p>
<ol>
<li><strong>Base Color:</strong> Apply two thin coats of your chosen base color. This could be a sheer nude, a pale pink, or even a subtle pastel. Let each coat dry fully.</li>
<li><strong>The Tip:</strong> Here’s where the twist comes in! Instead of white, use a bright color, metallic, or even a glitter polish for your tip. To get a clean line, you can use tape: place a piece of sticky tape across your nail, leaving a small gap at the tip where you want your new color to go. Paint within that gap. Alternatively, for a freehand approach, gently rest your pinky finger on your desk and use a steady hand to paint a curved line across the tip of your nail.</li>
<li><strong>Clean Up:</strong> If you’re free-handing and make a mistake, dip a small brush or a toothpick into nail polish remover and carefully clean up the edges.</li>
<li><strong>Top Coat:</strong> Once the tips are dry to the touch, apply a clear top coat to seal everything in and add shine.</li>
</ol>
<h3>Design 2: Simple Polka Dots</h3>
<p>Polka dots are playful and incredibly easy to achieve with a toothpick or dotting tool.</p>
<ol>
<li><strong>Base Color:</strong> Apply two coats of your desired polish. A contrasting color for the dots will pop more! Let it dry completely.</li>
<li><strong>Dotting Time:</strong> Dip the tip of your toothpick (dip it in the polish, not the bottle!) or your dotting tool into a contrasting polish color. Gently press the tip onto your nail to create a dot. Clean the tip of your toothpick or tool in between each dot to keep them neat.</li>
<li><strong>Placement:</strong> You can make simple rows of dots, stagger them for a more random look, or even create patterns like flowers or ladybugs by varying the size and color.</li>
<li><strong>Seal It:</strong> Once all your dots are dry, apply a clear top coat to protect your design.</li>
</ol>
<p>Tip: For perfectly sized dots every time, practice on a piece of paper first to get a feel for how much polish you’re picking up.</p>
<h3>Design 3: Striped Accent Nail</h3>
<p>Stripes add a sophisticated touch and are easier than you think!</p>
<ol>
<li><strong>Accent Nail Prep:</strong> Choose one nail on each hand (or all of them if you’re feeling brave!) as your accent nail. Paint it with your base color and let it dry completely.</li>
<li><strong>The Stripes (Option A – Tape):</strong> Carefully apply pieces of sticky tape or painter’s tape diagonally or horizontally across your dry base color. Press the edges down firmly to prevent polish from bleeding underneath. Paint over the tape with your contrasting stripe color. Let the paint dry for a few minutes until it’s slightly tacky but not wet. Then, carefully peel off the tape. This reveals crisp, clean lines!</li>
<li><strong>The Stripes (Option B – Freehand Brush/Toothpick):</strong> Dip a thin detail brush or toothpick into your stripe color. Start from one side of the nail and draw a steady line across. It might take a few tries to get it perfectly straight, and that’s okay! You can easily clean up mistakes with a brush dipped in remover. For multiple stripes, ensure the first one is dry enough before adding the next.</li>
<li><strong>Top Coat:</strong> Once the stripes are dry, apply a protective top coat.</li>
</ol>
<h3>Design 4: Glitter Ombre Gradient</h3>
<p>This is a stunning way to use glitter and create a beautiful fading effect.</p>
<ol>
<li><strong>Base Color:</strong> Apply one or two coats of a sheer or light-colored polish as your base. Let it dry.</li>
<li><strong>Glitter Application:</strong> Take a glitter polish. Start by applying it densely at the tip of your nail. Then, with less pressure, brush upwards towards the cuticle, fading the glitter out as you go. Concentrate the glitter at the free edge and let it naturally become sparser as it goes down the nail.</li>
<li><strong>Build it Up:</strong> You might need a second application to achieve the desired gradient. Apply a little more glitter at the tip and blend upwards again. The key is to gradually build the color and fade it out.</li>
<li><strong>Smooth Finish:</strong> Sometimes glitter can feel bumpy. Apply a generous coat of top coat. For very chunky glitters, you might want to apply two top coats to ensure a smooth, even finish.</li>
</ol>
<h3>Design 5: Simple Leaf/Petal with a Dotting Tool</h3>
<p>This creates a delicate floral or leaf-like pattern.</p>
<ol>
<li><strong>Base Polish:</strong> Paint your nail with your base color and let it dry completely.</li>
<li><strong>Create the Shape:</strong> Dip the largest dotting tool in a contrasting polish color. Gently press down on the nail, then pull the tool sideways slightly to create a petal or leaf shape. For a more rounded petal, press and lift straight up. For a more pointed leaf, press and drag slightly at the end.</li>
<li><strong>Repeat:</strong> Place several of these shapes next to each other to form a flower, or create a pattern of leaves.</li>
<li><strong>Center (Optional):</strong> Use a smaller dotting tool or toothpick to add a tiny dot in the center of your flower for a finishing touch.</li>
<li><strong>Top Coat:</strong> Once dry, seal your design with a clear top coat.</li>
</ol>
<h2>Essential Polish Application Tips for Beginners</h2>
Good polish application is the backbone of great nail art. Here are some tips to help you achieve a smooth, professional-looking finish:
<h3>The Three-Stroke Method:</h3>
<p>For a perfect coat of polish, use the three-stroke method:
<ul>
<li>Start with a bead of polish on your brush.</li>
<li>Stroke one side of the nail, down to the cuticle.</li>
<li>Stroke the other side of the nail, down to the cuticle.</li>
<li>Make one final stroke right up the middle of the nail.</li>
</ul>
This helps ensure even coverage without too much polish pooling at the cuticle.</p>
<h3>Thin Coats Are Key:</h3>
<p>It’s always better to apply two or three thin coats of polish than one thick, gloopy coat. Thin coats dry faster and are less likely to smudge or bubble. Let each coat dry for at least a minute or two before applying the next.</p>
<h3>Don’t Forget the Free Edge:</h3>
<p>When applying each coat (base, color, and top), swipe the brush lightly across the very tip edge of your nail. This “caps” the edge and helps prevent chips, making your manicure last longer.</p>
<h3>Clean Up Mistakes Immediately:</h3>
<p>Have a small brush or even a toothpick dipped in nail polish remover handy. If you get polish on your skin, clean it up right away before it dries. It’s much easier to fix when it’s fresh.</p>
<h3>Let It Dry Thoroughly:</h3>
<p>Patience is a virtue, especially with nail polish! Resist the urge to do things with your hands too soon after painting. Give your nails ample time to dry completely before touching anything. For even faster drying, try quick-dry top coats or even by placing your hands in a bowl of ice-cold water (after the polish is slightly set, not wet!).</p>
<h2>Understanding Nail Polish Finishes and Types</h2>
As you explore nail art, you’ll encounter different types of polishes. Knowing what they are will help you choose the right ones for your designs