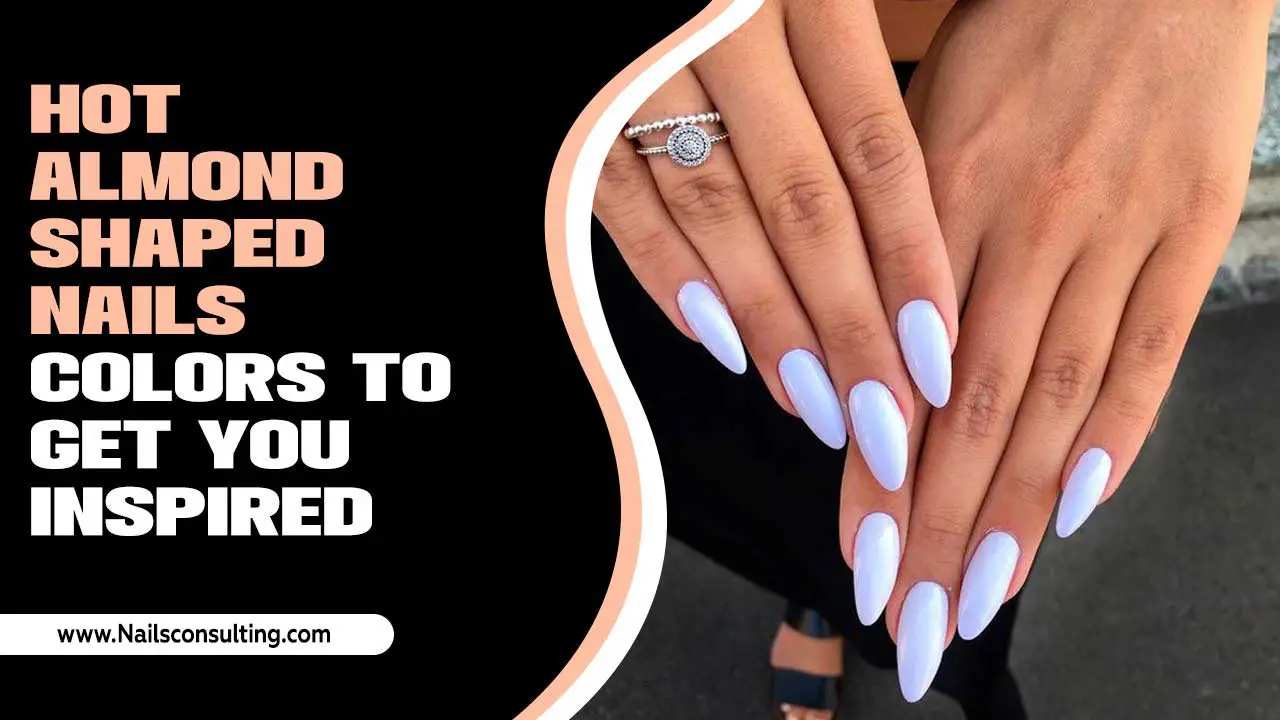
Square nail designs offer a chic, modern silhouette that’s perfect for achieving a sharp, professional appearance. These clean lines and defined edges exude sophistication, making them an ideal choice for various settings, from the office to special events. Discover simple yet impactful design ideas to elevate your square nails and boost your confidence.
Getting your nails to look polished and professional doesn’t have to be complicated. If you’re looking for a nail shape that’s both elegant and easy to manage, square nails are a fantastic choice! They give a clean, crisp finish that everyone loves. But sometimes, you want a little something extra to make them stand out. You might think nail art is tricky, but it’s actually super fun and easier than you think, especially for square shapes. We’re here to show you how to get those sharp, professional-looking square nail designs without any fuss. Get ready to fall in love with your fingertips!
Why Square Nails Are a Go-To for Professionals
Square nails have a timeless appeal for a reason. Their straight edges and rounded corners create a balanced look that’s universally flattering. This shape is particularly well-suited for those with longer nail beds, but with the right technique, it can look stunning on almost any hand. The straight side walls and flat free edge offer a perfect canvas for a variety of designs, from minimalist chic to subtle accents.
One of the biggest advantages of square nails is their durability. Unlike some other shapes that can be more prone to breaking or snagging, the straight edges of square nails tend to be sturdier. This is especially important for professionals who are often using their hands throughout the day. They’re less likely to catch on things or chip, meaning your manicure stays looking fresh for longer.
When it comes to a professional setting, subtlety often reigns supreme. Square nails naturally lend themselves to this aesthetic. They appear neat and put-together, contributing to an overall polished image. Plus, the clean lines create a sense of order and precision, which can subconsciously align with a professional mindset. For easy maintenance and a consistently chic look, square nails are hard to beat.
Choosing Your Square Nail Style
Before diving into designs, let’s talk about the nuances of the square shape itself. There are actually a couple of variations that can slightly alter the look and feel:
- The Classic Square: This is the true square shape with sharp, 90-degree corners. It’s bold and striking but can sometimes be more prone to chipping on the corners if not maintained well.
- The Squoval (or Soft Square): This is a very popular adaptation. It features the straight sides of a square but with slightly rounded corners. This softens the look and is generally more durable and less prone to snagging than the classic square. For beginners and those seeking a more practical yet stylish look, the squoval is often the preferred choice.
Your choice between classic square and squoval will slightly influence how designs appear, but both offer a fantastic base for professional-looking manicures. The squoval is often recommended for its practicality, especially if you find your nails snag easily. You can achieve this shape by filing the corners gently after filing into a square, or by asking your nail technician for a “soft square.”
Essential Tools for Your Square Nail Designs
You don’t need a professional salon to create beautiful square nail designs. With a few basic tools, you can achieve salon-worthy results at home. Here’s what you’ll want to have on hand:
- Nail File: Essential for shaping your nails into that perfect square or squoval. Look for a medium-grit file for shaping and a finer-grit file for smoothing.
- Nail Buffer: To smooth out any ridges and give your nails a natural shine before applying polish.
- Cuticle Pusher/Orange Stick: To gently push back your cuticles for a clean nail bed.
- Base Coat: Protects your natural nail and helps polish adhere better.
- Top Coat: Seals your design, adds shine, and protects against chipping.
- Nail Polish Colors: Choose your favorite neutrals, classic reds, deep blues, or sophisticated grays.
- Detailing Brushes/Dotting Tool: For creating fine lines, dots, and other intricate elements.
- Tweezers: Useful for applying small nail art embellishments like rhinestones or glitter confetti.
- Acetone-Free Nail Polish Remover: For clean-up without drying out your nails.
Having these tools readily available will make the design process much smoother and more enjoyable. For instance, a good quality nail file is your best friend when it comes to achieving those crisp, straight lines that define the square shape. A fine-grit buffer can also make a huge difference in the final finish.
Achieving the Perfect Square Shape: A Step-by-Step Guide
Before we get to the fun designs, mastering the shape is key. Here’s how to get those flawless square nails at home:
- Prep Your Nails: Start with clean, dry nails. Remove any old polish. Gently push back your cuticles using a cuticle pusher or an orange stick. If you have any hangnails, carefully trim them.
- Trim to Length: If your nails are long, trim them down to your desired length using nail clippers. It’s easier to file into shape when they are closer to the final length.
- File into a Square: Take your nail file and hold it perpendicular to your nail. Carefully file straight across the tip of your nail. Avoid sawing motions; use smooth, unidirectional strokes.
- Create Straight Sides: Once the tip is straight, file the sides of your nails in straight, vertical strokes. Imagine you are filing down edges from the cuticle to the tip.
- Soften Corners (Optional – for Squoval): If you’re going for a squoval look, gently round the sharp corners with your file. Just a few light strokes should do it.
- Smooth and Buff: Use a nail buffer to smooth out any rough edges and your nail surface. This also prepares the nail for polish and makes it look naturally healthy.
- Clean and Dry: Wipe away any dust with a damp cloth or a nail brush. Ensure your nails are completely dry before applying polish.
Taking your time with this shaping process is crucial. A well-shaped nail is the foundation of any good manicure. You might find it helpful to watch a quick video tutorial on shaping square nails. Many resources, like those offered by beauty experts on platforms like YouTube, can provide visual guidance that complements these written steps. Remember, practice makes perfect!
Simple Square Nail Designs for a Professional Look
Now for the exciting part! These designs are beginner-friendly and perfect for adding a touch of personality while maintaining a sophisticated vibe. We’ll focus on looks that complement the clean lines of square nails.
1. The Sophisticated Solid Color
Sometimes, simplicity is the ultimate sophistication. A perfectly applied solid color on well-shaped square nails is incredibly chic.
- How-to: Apply a base coat, followed by two thin coats of your chosen polish (neutrals like beige, taupe, dusty rose, or classic colors like deep red, navy, or charcoal gray work wonders). Finish with a glossy top coat.
- Why it works: A flawless application of a great color makes a statement without being loud. The square shape enhances the clean, modern feel.
2. The Subtle French Manicure
The French manicure is a timeless classic, and it looks especially sharp on square nails.
- How-to: Apply a sheer nude or pink base coat. Once dry, use a fine brush or a French tip guide sticker to paint a crisp white line along the free edge of your nail. Let it dry completely, then apply a clear or slightly pink top coat.
- Why it works: The contrast between the natural nail color and the white tip elongates the nail and provides a polished, clean aesthetic that’s perfect for any professional environment.
3. Minimalist Accent Nail
Want a touch of design without going overboard? Focus on one nail, usually the ring finger.
- How-to: Paint all nails your chosen solid color, except for the accent nail. On the accent nail, you can paint a simple line (vertical or horizontal) in a contrasting but complementary color, add a single dot near the cuticle, or apply a thin strip of metallic tape.
- Why it works: It’s a subtle way to add visual interest and personality. The single accent draws the eye without being distracting.
4. The Geometric Accent
Geometric shapes are modern and clean, fitting beautifully with the square nail aesthetic.
- How-to: After applying your base color to all nails, use a fine detailing brush and a contrasting polish to paint a small, clean geometric shape (like a triangle at the base, a thin stripe, or a small square) on one or two nails.
- Why it works: Clean lines and simple shapes add a contemporary edge that looks intentional and stylish.
5. The Negative Space Design
Negative space nails are very trendy and look incredibly sophisticated. They play with sheer polish and unpainted areas.
- How-to: Apply a clear or sheer polish. Once dry, use striping tape or a fine brush to create a design, leaving some areas of the nail unpainted (the “negative space”). You can then fill in the taped-off sections with a solid color or a metallic shade. Remove tape carefully to reveal clean lines.
- Why it works: This design feels airy and modern. It’s subtle enough for work but visually interesting enough to be a fashion statement.
6. Gradient or Ombre
A soft gradient adds dimension without being too busy.
- How-to: Use a makeup sponge to gently blend two complementary colors from the cuticle to the tip, or from side to side. Start by painting stripes of color onto the sponge and dabbing it onto the nail. Clean up the edges with a brush dipped in remover.
- Why it works: The smooth transition of color looks very chic and up-to-date. It’s a less obvious way to incorporate multiple shades.
7. Understated Glitter or Shimmer
A touch of sparkle can elevate a look for evening events or add a hint of glamour to your everyday.
- How-to: Apply a solid base color. Then, use a sheer glitter polish over the entire nail, or apply it just to the tips or as an accent on one nail. Alternatively, use tweezers to place a few small pieces of glitter strategically.
- Why it works: A subtle shimmer catches the light beautifully, adding a touch of elegance. The square shape keeps the glitter from looking overwhelming.
Applying Designs Like a Pro: Tips for Beginners
Even simple designs can be tricky if you’re new to nail art. Here are some pro tips to make your DIY manicures shine:
- Work in Layers: Always let each layer of polish dry thoroughly before applying the next. This prevents smudging and ensures clean lines.
- Thin Coats are Key: Applying multiple thin coats of polish is better than one thick coat. It dries faster and looks smoother.
- Clean Up as You Go: Keep a small brush dipped in acetone-free nail polish remover handy. Use it to clean up any stray marks or smudges around your cuticles and sidewalls immediately.
- Use Tape for Straight Lines: For crisp lines, whether for French tips or geometric designs, use striping tape or even regular Scotch tape. Apply it over dry polish, paint your new layer, and carefully peel the tape off while the new polish is still slightly wet.
- Practice on Artificial Nails: If you’re nervous about messing up your actual manicure, buy some inexpensive practice tips and try out designs on those first.
- Invest in a Good Top Coat: A high-quality, quick-drying top coat is essential. It seals your design, adds shine, and helps prevent chipping. Some top coats also have a thicker consistency that can “even out” slight imperfections in your design.
Remember that consistency is important for any nail shape. For instance, when filing, always move in one direction to prevent weakening the nail edge, which you can learn more about from resources like the NHS guide on nail health, which covers good practices for nail care that directly impact how well your manicures turn out.
Table: Square Nail Design Ideas & Their Professional Appeal
Here’s a quick look at different square nail designs and why they work well in professional settings:
| Design Idea | Description | Professional Appeal | Beginner Difficulty |
|---|---|---|---|
| Solid Color | One uniform shade across all nails. | Classic, clean, and versatile. Neutrals and deep tones are excellent. | Very Easy |
| French Manicure | Natural pink/nude with a white tip. | Timeless, elegant, and understated. | Easy |
| Accent Nail | One nail with a simple design. | Subtle pop of personality without being distracting. | Easy |
| Geometric Accents | Small, clean lines or shapes. | Modern, precise, and sophisticated. | Medium |
| Negative Space | Unpainted areas creating patterns. | Trendy, airy, and artistic. | Medium |
| Gradient/Ombre | Seamless blend of two colors. | Soft, dimensional, and stylish. | Medium |
| Subtle Glitter/Shimmer | Light application of sparkle. | Adds refined glamour, suitable for evening or special occasions. | Easy |
Maintaining Your Square Nail Designs
Keeping your square nails looking sharp doesn’t end after the polish dries. A little bit of maintenance goes a long way in preserving your beautiful design.
- Reapply Top Coat: Every 2-3 days, apply another thin layer of your top coat. This will refresh the shine and help protect the polish and any design elements from wear and tear.
- Moisturize: Keep your cuticles and hands hydrated with a good cuticle oil and hand cream. Dry, cracked skin can detract from even the most perfect manicure.
- Be Gentle: Avoid using your nails as tools. Try not to use them to scrape, pry, or open things, as this can lead to chips and breaks, especially on the corners of classic square nails.
- Touch-Ups: For minor chips, you can sometimes carefully touch them up with a bit of polish and another layer of top coat once dry.
- Consider Squoval for Durability: If you find sharp corners are constantly chipping, a squoval shape is generally more resilient and easier to maintain for everyday wear.
Regular touch-ups and general care will ensure your square nail designs keep their polished look for as long as possible, making them a consistently great choice for a professional setting.
Frequently Asked Questions About Square Nail Designs
Q1: Are square nails good for short nails?
A1: Yes! Square nails, especially the squoval shape with rounded corners, can look fantastic on short nails. They create a neat and tidy appearance and help make fingers look a bit longer. Be sure not to trim them too short, leaving enough free edge to create the square shape.
Q2: How do I prevent the corners of my square nails from chipping?
A2: For classic square nails, focus on filing with smooth, unidirectional strokes and always apply a good quality top coat, reapplying every few days. Opting for the squoval shape with slightly rounded corners naturally makes them more durable and less prone to snagging or chipping.
Q3: What nail polish colors are best for a professional look?
A3: Neutrals like beige, taupe, soft pinks, and nudes are always safe and sophisticated. Classic choices like deep reds, navy blues, charcoal grays, and even a clean black can also be very professional depending on your workplace. The key is a flawless application!
Q4: Can I do nail art on square nails if I’m a beginner?
A4: Absolutely! Simple designs like solid colors, a single accent nail, basic French tips, or a minimalist dot are perfect for beginners. The key is to start simple and practice. Our step-by-step guides and


