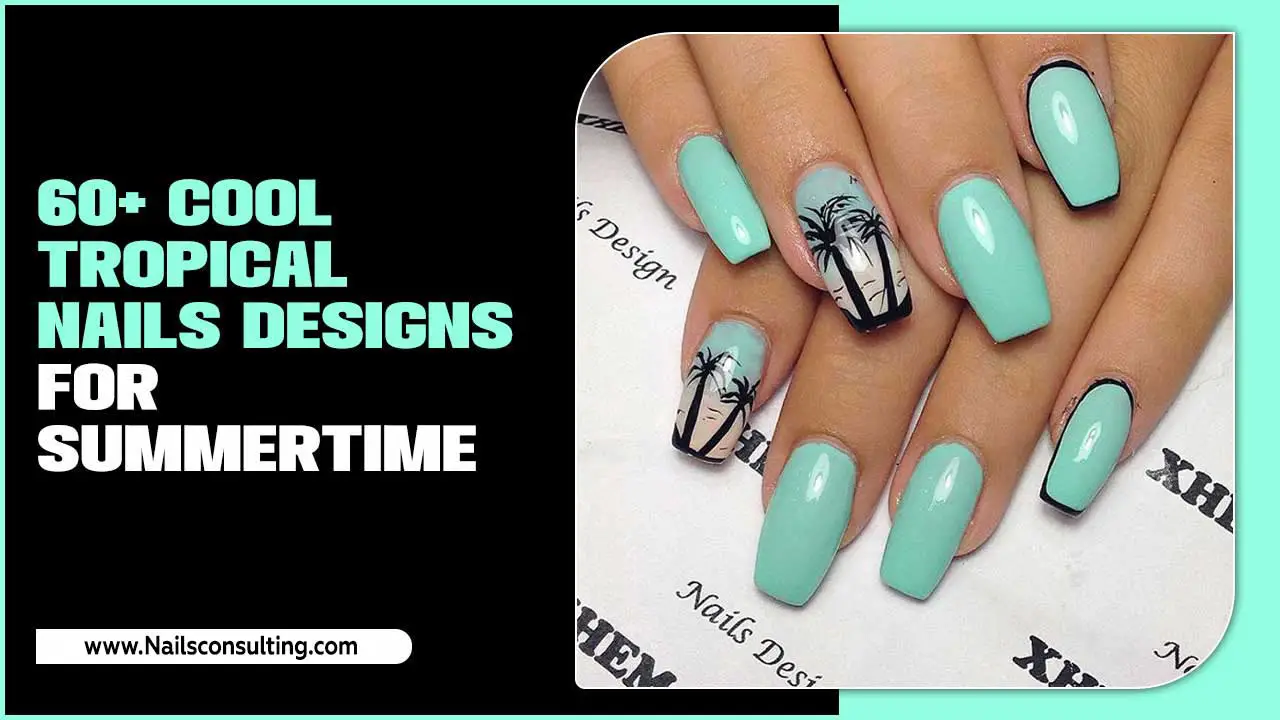
Square nail design ideas are a fantastic way to express your style. From classic chic to modern minimalism, the square shape offers a versatile canvas for stunning looks that are surprisingly easy to achieve. Discover simple, beautiful designs perfect for any occasion.
Ever look at your nails and think, “How can I make them shine?” You love the clean lines of a square shape but feel a bit stuck on how to decorate them. It’s like having a perfect picture frame but no artwork! Don’t worry, fellow nail lovers! Achieving gorgeous square nail designs is totally doable, even if you’re just starting out or short on time. We’re going to dive into some super fun and easy-to-create designs that will make your nails the talk of the town. Get ready to fall in love with your manicure all over again!
Why Square Nails are a Classic Choice
The square nail shape is popular for a reason! It’s universally flattering and offers a great surface for various designs. The straight edges and flat free edge create a strong, chic look that suits almost anyone. Whether you prefer them short and practical or long and dramatic, square nails are a timeless canvas for creativity. They’re robust, less prone to breaking than some other shapes, and offer a modern, clean aesthetic.
Benefits of Square and Squoval Nails
- Versatility: Works well with a wide range of nail polish colors and design complexities.
- Durability: The straight edges are less likely to snag or break, especially on shorter nails.
- Chic Aesthetic: Offers a modern, clean, and sophisticated look.
- Ideal for Wide Nail Beds: Can help to visually elongate or balance wider nail beds.
- Easy Maintenance: Simple to file and maintain at home.
A popular variation is the “squoval” shape, which is essentially a square nail with slightly rounded corners. This offers the best of both worlds – the strong lines of a square with a bit more softness and reduced snagging risk. For this guide, we’ll focus on designs that work wonderfully on both classic square and squoval shapes.
Essential Tools for Square Nail Designs
Before we jump into the fun designs, let’s make sure you have the right tools. Having these on hand will make your DIY manicures a breeze and help you achieve salon-worthy results at home. You don’t need a whole nail art kit to start; a few key items will get you going!
Your Fingernail Toolkit
- Nail File: A good quality file (180-240 grit is great for shaping natural nails) is essential for achieving that perfect straight edge.
- Nail Buffer: To smooth out any ridges and create a shiny surface.
- Base Coat and Top Coat: Non-negotiable! A base coat protects your nail, and a top coat seals your design, adding shine and longevity.
- Nail Polish Remover: For tidying up mistakes and clean-up.
- Cotton Balls or Pads: For polish removal.
- Cuticle Pusher or Orange Stick: To gently push back cuticles for a clean nail canvas.
- Thin Nail Art Brush or Dotting Tool: For details, lines, and dots. You can find these affordably online or at beauty stores.
- Tweezers: Helpful for placing small embellishments like rhinestones or glitter.
- Optional: Nail Tape or Stencils: For creating clean lines and geometric patterns easily.
Getting your nails prepped is half the battle! Clean, filed, and smooth nails are the perfect foundation for any design. For more in-depth nail care tips, you can always refer to resources from dermatologists, like those found on the American Academy of Dermatology. They offer excellent advice on maintaining healthy nails, which is crucial before applying any polish or design.
Stunning & Easy Square Nail Design Ideas for Beginners
Now for the exciting part! These designs are perfect for beginners and can be adapted to your favorite colors and styles. We’ve broken them down so you can follow along with ease.
1. The Minimalist Chic Single French Tip
This is an elegant twist on the classic French manicure, perfect for a sophisticated look. The square shape really highlights the clean line of the tip.
Why it works: It’s subtle, chic, and incredibly easy to execute. The single line adds a modern touch.
How to achieve it:
- Start with a good base coat and let it dry completely.
- Apply one or two coats of your chosen nude, sheer pink, or milky white polish. Let it dry fully.
- Using a very fine nail art brush or the edge of your polish applicator, carefully paint a thin, straight line across the very tip of your nail. You can use a contrasting color like black, gold, silver, or even a vibrant shade. Practice on a piece of paper first if you’re nervous!
- Alternatively, use nail tape laid precisely along the tip of your nail, paint over it, and then carefully peel off the tape once the polish is slightly tacky but not wet.
- Seal with a generous coat of top coat.
2. Color Block Simplicity
This design is all about bold contrasts and clean lines. It’s a fantastic way to play with different color combinations.
Why it works: It’s graphic, modern, and surprisingly simple to create clean sections of color.
How to achieve it:
- Apply your base coat and let it dry.
- Paint your entire nail with your first color. Let it dry completely – this is key to prevent smudging!
- Use nail tape to section off a part of your nail. For example, divide the nail diagonally or vertically into two or three sections. Press the tape down firmly to ensure no polish seeps underneath.
- Paint the exposed section(s) with your second color. Let this layer dry until it’s no longer sticky.
- Carefully peel off the nail tape. If there are any small rough edges, you can gently file them after the polish is dry.
- Apply a top coat over the entire nail, being careful not to disturb the color blocks.
Pro-Tip: Experiment with matte top coats for a sophisticated, velvety finish on one or all of your color blocks!
3. Dot-to-Dot Elegance
Dots are your best friend for adding a playful yet polished touch. They’re incredibly versatile and easy to master with a dotting tool.
Why it works: Dots add visual interest without being overwhelming, and a dotting tool makes application a cinch.
How to achieve it:
- Apply your base coat and your chosen main polish color. Let it dry completely.
- Dip your dotting tool into a contrasting nail polish color. You can use a single dot, a line of dots, or create patterns like constellations or simple smiley faces!
- Gently press the dotting tool onto your nail to create a perfect dot.
- Clean your dotting tool between colors or when the polish starts to build up.
- For a slightly more intricate look, vary the size of your dots by using different-sized dotting tools or the tip of a toothpick.
- Finish with a thorough top coat to seal everything in place.
Design Idea: Create a row of evenly spaced dots along the free edge of your nail for a modern take on the French tip. Or, place a few scattered dots on an otherwise bare nail for a super minimalist vibe.
4. Negative Space Geometry
Negative space designs leave parts of your natural nail visible, creating a modern, airy look. Geometric shapes lend themselves beautifully to the square shape.
Why it works: It looks incredibly chic and artistic, but it’s achievable with simple taping techniques.
How to achieve it:
- Start with a clear base coat. Some people even skip the base color and go straight for the tape on bare nails with a good top coat, but a sheer color can add a subtle glow.
- Apply nail tape in geometric patterns (triangles, squares, stripes) across your nail. Ensure edges are pressed down firmly.
- Paint the sections of your nail that are not covered by tape with your chosen polish color(s).
- Let the polish dry until it’s no longer tacky.
- Carefully peel off the tape to reveal the negative space underneath.
- Once completely dry, apply a generous top coat.
Tip: For ultra-sharp lines, use a thin brush to carefully outline the edges of your taped sections with a matching or contrasting color after removing the tape. This adds an extra layer of polish and definition.
5. Metallic Accents
A touch of metallic polish or foil can elevate any nail design, making it look instantly luxurious.
Why it works: Metallics add a pop of glamour and sophistication without requiring complex art skills.
How to achieve it with polish:
- Apply your base coat and one or two coats of your main polish color. Let it dry completely.
- Using a fine nail art brush, paint a thin metallic line along your free edge, at the cuticle, or as a simple stripe down the center.
- Seal with a top coat.
How to achieve it with foil:
- Apply your base coat and main polish color. Let it dry until it’s slightly tacky, or apply a specific foil adhesive.
- Place a piece of metallic transfer foil (shiny side up) over the tacky area and press firmly.
- Quickly peel off the foil – the metallic design will transfer to your nail.
- Seal with a top coat, ensuring it covers all edges to prevent the foil from peeling.
Design Idea: A full metallic accent nail is a showstopper! Alternatively, try a thin metallic stripe across a bare or nude nail for understated elegance.
6. Ombré Fade Magic
The ombré effect, a gradual blend of colors, looks stunning on square nails, giving them a soft, gradient finish.
Why it works: It’s a popular and beautiful trend that’s easier to achieve than you might think.
How to achieve it:
- Start with your base coat and let it dry.
- Apply your base color (often a lighter shade) to the entire nail. Let it dry.
- For a vertical ombré (color blending from cuticle to tip): Use a makeup sponge or a nail art sponge. Apply your first color to one side of the sponge and your second, darker color next to it.
- Gently dab the sponge onto your nail, rocking it slightly to blend the colors. Repeat until you achieve your desired opacity and blend.
- For a horizontal ombré (color blending side-to-side): Apply your colors in stripes across a palette or piece of foil. Use a thin brush to blend the line where the colors meet. Then, carefully apply this blended stripe to your nail.
- Clean up any excess polish around your cuticles with nail polish remover and a small brush.
- Once dry, apply a generous top coat to smooth out the gradient finish.
Tip: Start with colors that are close in shade for a subtle ombré, or go for strong contrast for a bolder statement.
7. Graphic Lines and Shapes
Sharp, clean lines and geometric shapes are perfect for the defined edges of a square nail. Think minimalist stripes, chevrons, or even abstract squiggles.
Why it works: It’s modern, clean, and draws attention to the shape of the nail itself.
How to achieve it:
- Apply your base coat and main polish color. Let it dry completely.
- Use nail art striping tape for perfectly straight lines. Apply the tape where you want your design, paint over it, and peel off carefully.
- For curves or more complex shapes, use a fine nail art brush to freehand your designs.
- Let the design dry thoroughly.
- Apply a top coat to seal.
Design Idea: A single wide stripe running diagonally across each nail can be incredibly chic and elongating. Or, try a simple outline of your nail’s free edge with a contrasting color.
Square Nail Design Ideas at a Glance
Here’s a quick reference to help you choose your next manicure:
| Design Type | Difficulty | Best For | Key Technique |
|---|---|---|---|
| Minimalist French Tip | Easy | Everyday, Office, Elegant Events | Fine brush or tape for precise tip line |
| color-block Simplicity | Easy-Medium | Bold Looks, Fashion-Forward | Nail tape for clean color separation |
| Dot-to-Dot Elegance | Very Easy | Playful, Cute, Casual | Dotting tool or toothpick |
| Negative Space Geometry | Medium | Modern, Artistic, Chic | Nail tape for creating defined unpainted areas |
| Metallic Accents | Easy | Glamorous, Evening, Special Occasions | Metallic polish line or foil transfer |
| Ombré Fade | Medium | Soft, Trendy, Gradient Appeal | Makeup sponge or blending brush |
| Graphic Lines & Shapes | Easy-Medium | Minimalist, Sharp, Modern | Striping tape or fine art brush |
Tips for Making Your Square Nail Designs Last
You’ve put in the effort to create a beautiful design – let’s make it last! A few simple steps can significantly extend the life of your manicure.
- Prep is Key: Ensure your nails are clean, dry, and free of oils before applying your base coat.
- Quality Base & Top Coat: Don’t skip these! A good base coat prevents staining, and a thick top coat seals your design, adds shine, and protects against chips. Reapply your top coat every 2-3 days for extra protection.
- Cap the Edges: When applying your base, color, and top coats, run the brush gently along the free edge of your nail. This “seals” the polish and helps prevent chipping.
- Avoid Harsh Chemicals: Wear gloves when doing household chores involving water or cleaning agents, as these can break down nail polish.
- File Gently: If you notice a small chip or rough edge, gently file it smooth rather than picking at the polish.
- Hydrate: Keep your cuticles and hands moisturized. Healthy cuticles contribute to overall nail health and appearance.
Frequently Asked Questions About Square Nail Designs
Q1: What is the best base color for square nail designs?
A: Nude, sheer pink, or milky white polishes are fantastic versatile bases for most designs. They create a clean canvas and let the design elements stand out. However, don’t be afraid to experiment with bold colors as your main base too, especially for color-blocking or graphic looks!
Q2: How do I get clean lines for geometric designs?
A: Nail striping tape or liquid latex tape are your best friends! Ensure the tape is pressed down firmly to prevent polish bleed. For freehand


