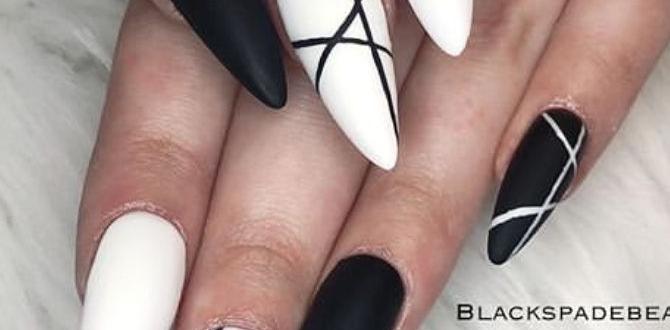
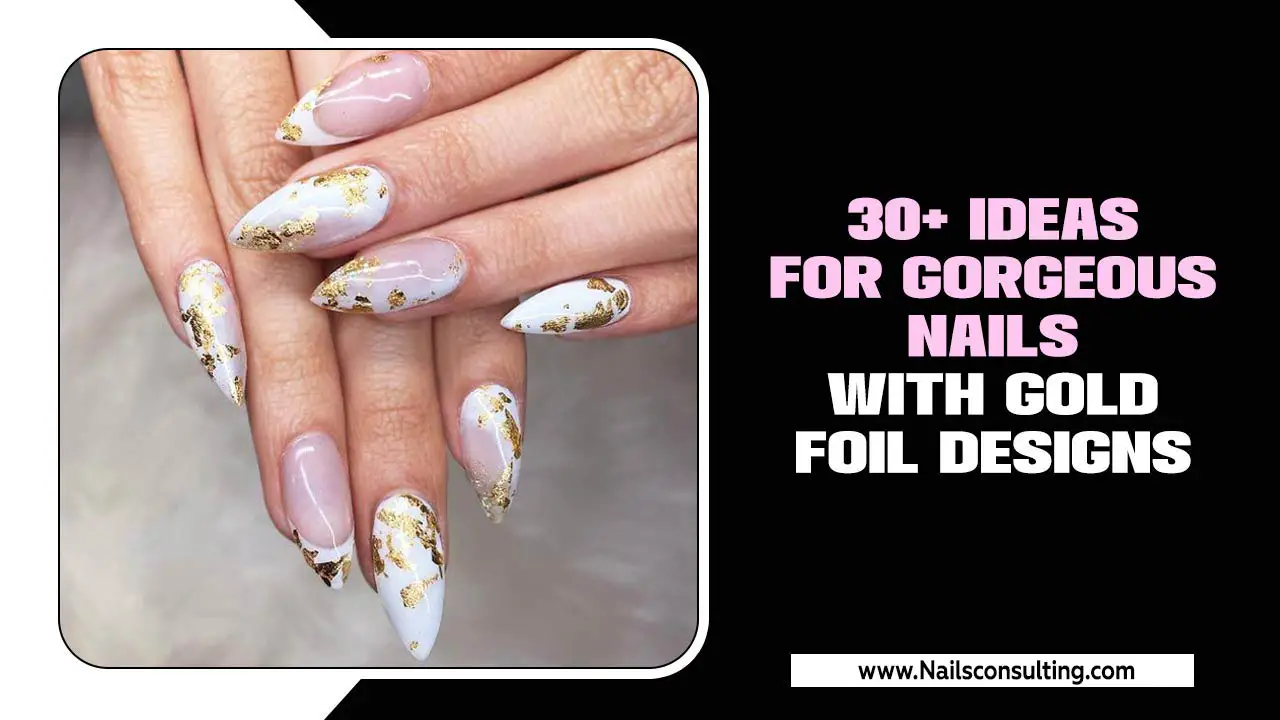
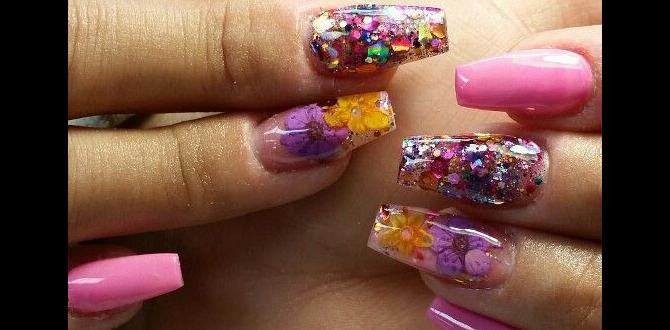
Square marble nails offer a chic, sophisticated look that’s surprisingly easy to achieve at home! This versatile design blends the clean lines of square nails with the elegant, organic patterns of marble, creating a high-fashion manicure perfect for any occasion.
Are you ready to elevate your nail game with a touch of luxury? Sometimes, finding a nail design that looks super chic but is actually simple to do can feel like a quest. You want that sophisticated, marbled effect, but maybe the thought of intricate swirls seems daunting. What if I told you that you can get stunning square marble nails right at your fingertips, with just a few basic supplies and some easy steps? Get ready to transform your nails into little works of art that scream effortless elegance. We’re going to break it all down, making it super fun and totally achievable for everyone!
Why Square Marble Nails Are Your New Go-To Style
Let’s talk about why the “square marble nails” trend is so captivating and why it might just become your favorite look. It’s more than just a pretty design; it’s a statement of modern elegance.
The Allure of Marble and Square
Marble, with its natural veining and intricate patterns, has always been associated with luxury and sophistication. Think of beautiful marble countertops or sculptures – it’s timeless. When we translate this to nails, we get a look that’s both eye-catching and incredibly chic. The organic, flowing lines of marble create a unique pattern on each nail, making your manicure one-of-a-kind.
And then there’s the shape: the square nail. This classic shape offers a clean, defined canvas. It’s strong, modern, and universally flattering. When you pair the bold lines of marble with the sharp edges of a square nail, you get a design that’s perfectly balanced – neither too soft nor too harsh. It’s the best of both worlds!
Effortless Chic, Achievable Style
The best part about square marble nails? They look like you spent hours at a fancy salon, but they’re surprisingly DIY-friendly! The magic of marble is that perfection isn’t the goal; unique, organic patterns are. This means even if your lines aren’t perfectly straight, the overall effect is still stunning. It’s a forgiving design that celebrates imperfection in the most beautiful way. Whether you’re a seasoned nail art pro or a complete beginner, you can master this look.
Versatility for Every Occasion
Square marble nails are incredibly versatile. They can be dressed up or down, making them perfect for:
Everyday Elegance: A subtle marble effect on a nude or white base can add a touch of sophistication to your daily look.
Office Chic: Keep it muted and professional, or opt for bolder colors for a creative workplace.
Special Events: Go for dramatic black and white, or experiment with metallic accents for an evening out.
Bridal Manicures: Soft pinks, whites, and subtle gold veining create a dreamy bridal look.
Essential Tools for Your Square Marble Nail Journey
Before we dive into the how-to, let’s gather our supplies. You don’t need a ton of fancy gadgets; most of these are common nail art staples.
Here’s your checklist for creating fabulous square marble nails:
Base Coat: To protect your natural nails and help polish adhere.
Your Chosen Polish Colors: Typically, a main color (like white, nude, or light grey) and accent colors for veining (like black, grey, gold, or even blush pink).
Top Coat: For shine and durability.
Thin Nail Art Brush or Toothpick: To create the marble veins. A fine-tip brush gives more control, while a toothpick can give a more organic, swirly look.
Non-Porous Surface: A palette, a piece of foil, or even a plastic lid to mix and thin your polishes.
Nail Polish Remover: For clean-up.
Cotton Swabs or Lint-Free Wipes: For precise clean-up around the cuticle.
Orange Stick or Cuticle Pusher: To clean up any mistakes.
Step-by-Step Guide: Creating Stunning Square Marble Nails
Now for the fun part! Follow these simple steps to achieve beautiful square marble nails at home. We’ll cover a popular and easy water marble technique, and then a simpler brush-on method.
Method 1: Easy Water Marble Technique for Beginners
This method creates beautiful, diffused marble patterns by manipulating polish in water. It might sound intimidating, but it’s quite rewarding!
Step 1: Prep Your Nails
Ensure your nails are clean, dry, and free of any old polish.
File them into a clean square shape. You can opt for a soft square (with slightly rounded corners) or a sharp, modern square.
Apply a thin layer of base coat and let it dry completely. This is crucial for preventing staining and ensuring a smooth finish.
Apply your base color (e.g., white or nude) and let it dry. You might need two thin coats for full opacity.
Step 2: Prepare Your Water Station
Fill a small cup or bowl with room-temperature water. Tap water is fine!
Protect your fingers! Wrap tape (painter’s tape or scotch tape) around the cuticle area of your finger, leaving just the nail plate exposed. This prevents polish from sticking to your skin. This is a game-changer for water marbling.
Have your chosen polish colors (e.g., black, grey) and toothpicks ready.
Step 3: Create the Marble Swirls
Open your polish bottles and let them sit for a minute to thicken slightly. This helps them spread on the water.
Gently drop a few drops of your accent color (e.g., black) onto the surface of the water.
Immediately follow with drops of another color (e.g., white or grey). Alternate drops, letting each drop spread.
Use a toothpick to gently swirl the colors together. Don’t over-swirl! Just a few gentle pulls from the center outwards will create beautiful patterns. You want organic-looking veins, not a muddy mess.
Step 4: Dip Your Nail
Once you have a pattern you like, gently dip your taped finger into the water, at an angle, towards the swirling polish.
Try to dip as the pattern is expanding outwards.
Once your nail is submerged and has picked up the polish, gently pull your finger out at the same angle.
Step 5: Clean Up and Finish
Carefully remove the tape from your finger. It will have taken excess polish with it!
Use a cotton swab dipped in nail polish remover to clean up any stray polish on your skin. Be precise! An orange stick can help here too.
Let the polish dry completely. This can take a little longer with water marbling.
Apply a generous layer of top coat to seal the design and add shine.
Pro Tip: Practice makes perfect with water marbling! Don’t be discouraged if your first attempt isn’t flawless. Try different color combinations and swirling techniques.
Method 2: Simple Brush-On Marble Technique
If water marbling seems a bit too involved, this method is fantastic for beginners and creates a beautiful, painterly marble effect directly on the nail.
Step 1: Prep Your Nails
Same as Method 1: ensure nails are clean, dry, filed to a square shape, and have a base coat applied and dried.
Apply your base color (e.g., white or nude) in one or two thin coats until opaque and fully dry.
Step 2: Create the “Veins”
Thin Down Your Polish: This is key for the brush-on marble effect. Take a drop of your accent color (e.g., black) onto your non-porous surface (like a foil piece). Add a very small drop of nail polish remover or clear top coat to thin it out significantly. You want it quite watery.
Use Your Brush: Dip your thin nail art brush or even a toothpick into this thinned polish. You only need a tiny amount.
Step 3: Paint the Marble Pattern
Gently paint thin, irregular lines onto your dried base color. Think of how marble veins naturally appear – they aren’t perfectly straight and often split or curve.
Vary the thickness of your lines. Some can be super fine, others a little bolder.
Work quickly but don’t overdo it. You can always add more later.
Step 4: Blend and Swirl (Optional but Recommended)
While the “vein” polish is still wet, use a clean, slightly damp (with polish remover) thin brush or a toothpick to gently feather or smudge the lines.
This helps them blend into the base color and look more organic, avoiding a “drawn-on” appearance. Again, don’t over-blend! A few gentle strokes are enough.
Step 5: Clean Up and Seal
Carefully clean up any polish on your skin using a detail brush dipped in nail polish remover.
Ensure the design is completely dry.
Apply a generous layer of top coat. This will further meld the colors and give a smooth, glossy finish.
Pro Tip: For a more nuanced marble look, you can use 2-3 accent colors and repeat steps 3 and 4, layering colors subtly.
Popular Square Marble Nail Combinations
The beauty of square marble nails lies in their endless possibilities. Here are some of our favorite combinations that are sure to inspire you:
| Base Color | Vein Colors | Vibe | Occasion |
| :————- | :—————————— | :————————— | :———————————- |
| White | Black, Grey | Classic, Sophisticated | Everyday, Office |
| Nude/Beige | Gold, Cream | Elegant, Luxe, Minimalist | Bridal, Special Events |
| Light Pink | White, Rose Gold | Romantic, Soft, Chic | Date Night, Spring |
| Grey | White, Silver | Modern, Edgy, Cool | Casual, Fall/Winter |
| Black | White, Gold | Dramatic, Bold, Glamorous | Night Out, Parties |
| Creamy Yellow | White, Light Brown | Warm, Unique, Artistic | Summer, Bohemian |
| Soft Teal | White, Navy | Serene, Coastal, Chic | Vacation, Relaxed Vibe |
This table is just a starting point! Feel free to experiment with your favorite colors. Don’t be afraid to mix metallics, pastels, or even neons for a unique twist!
Caring for Your Square Marble Manicure
Once you’ve achieved your gorgeous square marble nails, you’ll want them to last. Here are some tips to keep them looking fresh and fabulous:
Top Coat is Your Best Friend: Reapply your top coat every 2-3 days to refresh the shine and protect the design from chipping.
Moisturize: Keep your cuticles and hands hydrated with cuticle oil and hand cream. Healthy skin makes your nails look even better!
Be Mindful: Avoid using your nails as tools. Chipping can happen if you’re too rough with them.
Wear Gloves: When doing chores like washing dishes or cleaning, wear rubber gloves to protect your manicure from harsh chemicals and prolonged water exposure.
Frequently Asked Questions About Square Marble Nails
Here are some common questions beginners have about achieving this chic nail look.
- What’s the easiest way to do marble nails?
- The easiest method for beginners is often the brush-on technique using a thinned polish to create vein-like lines. It gives you more control than water marbling and requires fewer supplies.
- Can I do marble nails without special tools?
- Yes! You can absolutely use a toothpick or even the tip of a fine-tipped eyeliner brush (ensure it’s clean and dedicated to nail art) instead of a specialized nail art brush. For water marbling, toothpicks are great.
- How do I prevent polish from getting all over my skin?
- The best trick is to use tape (painter’s tape or scotch tape) around your cuticles, leaving only your nail plate exposed. For the brush-on method, a small, fine brush dipped in nail polish remover is perfect for precise clean-up around the edges.
- What colors work best for marble nails?
- Classic combinations like white with black or grey are always stunning. For a softer look, try nude with gold or cream veins. Don’t be afraid to experiment with pastels, metallics, or even bold jewel tones!
- My marble veins look too thick or blotchy. What am I doing wrong?
- This usually means your polish is too thick. For the brush-on method, ensure you thin out your accent color with a touch of remover or top coat. For water marbling, try not to over-swirl the colors. Gentle, minimal swirling creates finer veins.
- How long do marble nails typically last?
- With a good base coat and consistently reapplied top coat, square marble nails can last as long as any other regular polish manicure, typically 5-10 days, depending on your nail care habits and the quality of your polish.
- Are square nails good for marble designs?
- Absolutely! The clean, defined lines of a square nail shape provide an excellent canvas for the organic patterns of marble. It creates a beautiful contrast between the sharp edges and the fluid design.
Beyond the Basics: Elevating Your Square Marble Nails
Once you’re comfortable with the basic techniques, you can start to play and add your own flair! Here are some ideas to take your square marble nails from chic to absolutely show-stopping:
Metallic Accents: Add fine lines of gold, silver, or rose gold foil or polish over your marble design. A touch of metallic can add a sophisticated sparkle. You can achieve this by applying foil glue to your marble design and pressing on foil, or by carefully painting thin metallic lines with a fine brush. For more on nail foils, check out this guide on nail foil application.
Glitter Gradient: Apply a subtle glitter polish towards the tips of your marble nails for a touch of glamour.
Matte Finish: After your top coat is completely dry, try applying a matte top coat for a sophisticated, velvety finish that gives marble a whole new texture.
Accent Nail Magic: Combine marble nails with solid colors. A full set of marble might be dramatic, but a single marble accent nail on one or two fingers can be just as impactful and is a great starting point.
* Gemstones and Studs: For a truly opulent look, add a few small rhinestones or metallic studs to one or two accent nails.
Remember, the goal is to express your personal style. Don’t be afraid to experiment!
Conclusion: Your Effortlessly Chic Manicure Awaits
There you have it! Square marble nails are a fantastic way to bring sophisticated elegance to your fingertips without a lot of fuss. We’ve explored why this design is so popular, gathered the essential tools, walked through simple step-by-step methods, shared inspiring color combinations, and even touched on how to care for your masterpiece.
Whether you choose the playful swirls of water marbling or the controlled charm of the brush-on technique, the result is a unique, chic, and totally achievable manicure. So go ahead, gather your polishes, get creative, and embrace the effortless chic that square marble nails offer. Your nails are a canvas for self-expression, and this design is a beautiful way to show off your style. Happy painting!

