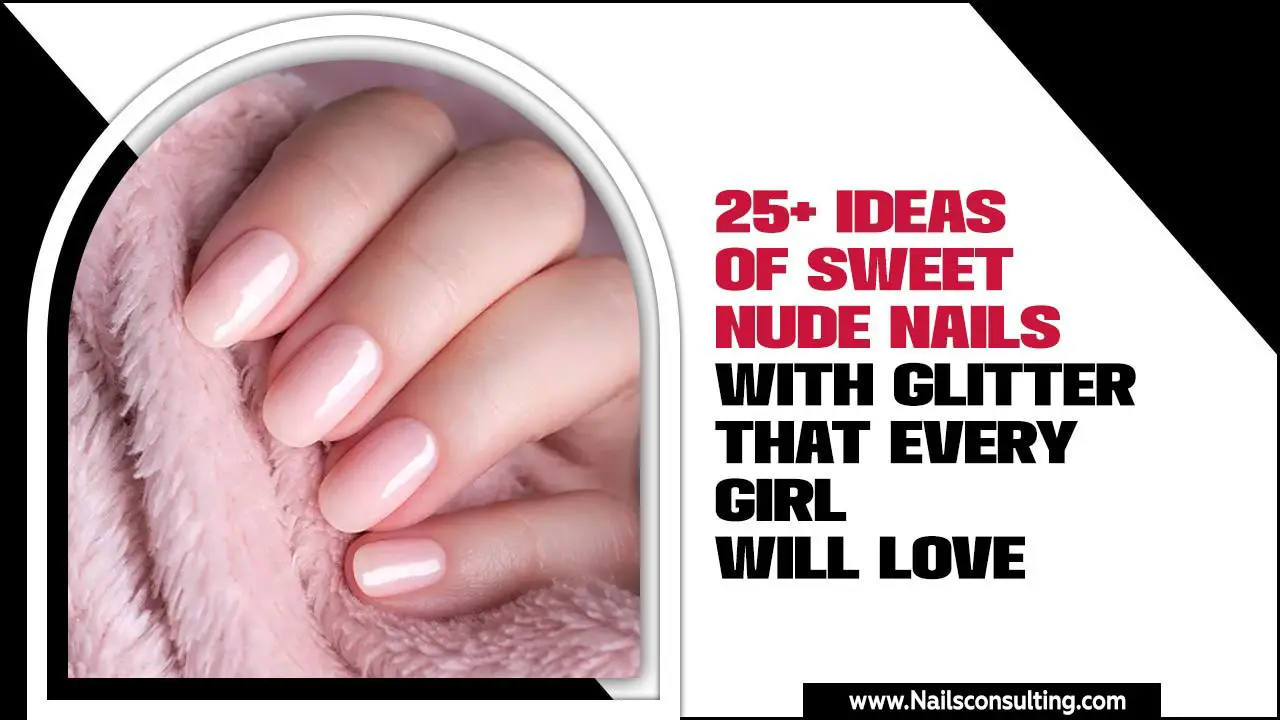
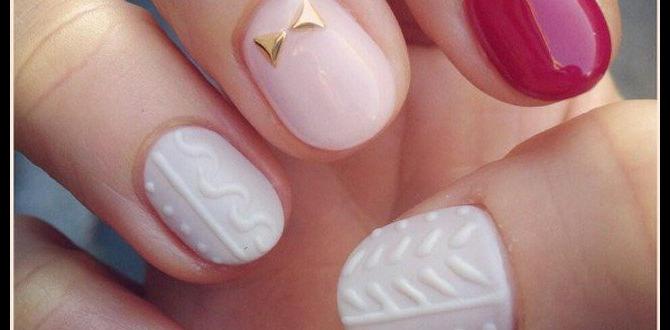
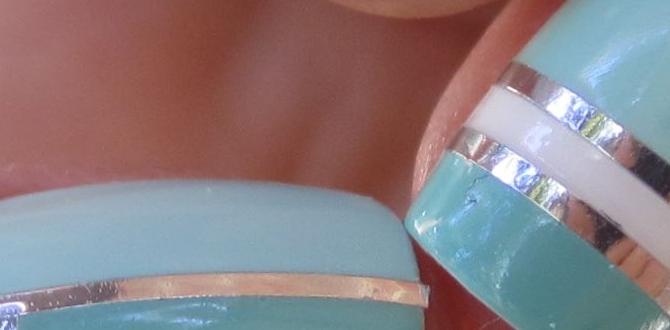
Square glossy nails offer a chic, timeless look that’s surprisingly achievable for beginners. This style features crisp, clean edges and a high-shine finish, perfect for elevating any outfit. Follow our simple guide to get stunning results at home!
Are you dreaming of that perfect, polished manicure? That super sleek, mirror-like shine on a classic square shape? You know, the kind that catches the light and makes your hands look like a million bucks, but you’re not quite sure where to start? Many of us love the idea of gorgeous glossy nails but find achieving that professional finish at home a bit daunting. It feels like a secret only salon pros know, right? Well, I’m here to let you in on it! With a few simple steps and the right approach, you can absolutely create stunning square glossy nails that will make you feel fabulous. Let’s dive in and unlock the magic of this effortlessly elegant look!
What Are Square Glossy Nails?
Square glossy nails are exactly what they sound like: manicures that feature a distinct, squared-off tip and are coated with a high-shine, reflective topcoat. This means no rounded edges or tapered points – just straight sides and a perfectly flat top edge. When combined with a glossy finish, this shape creates a modern, clean, and sophisticated look that complements most hand shapes and sizes. It’s a versatile style that works for any occasion, from a casual day out to a formal event. The glossy topcoat is the key to that eye-catching, almost mirrored effect that makes these nails so impactful.
Why Choose Square Glossy Nails?
There are so many reasons why this particular nail style has remained a favorite. Let’s break down why square glossy nails are a fantastic choice:
- Timeless Elegance: The square shape is a classic for a reason. It’s universally flattering and never goes out of style. Think of it as the little black dress of the nail world – always chic, always appropriate.
- Versatile Chic: Whether you prefer a bold color, a soft nude, or a simple clear coat, square glossy nails look fantastic. They provide a perfect canvas for any shade and can be dressed up or down.
- Appears Polished & Professional: The clean lines and shiny finish give an immediate impression of neatness and sophistication. It’s a look that says you’ve taken care of the details.
- Less Prone to Breaking (with proper filing): Compared to very long, sharp-edged styles, a well-maintained square shape can be less prone to snagging and breaking, especially if you keep them at a moderate length.
- DIY Friendly: While salons do a beautiful job, achieving a great square glossy finish at home is totally doable! With the right tools and a little practice, you can master this look yourself.
Essential Tools & Supplies
Before we start painting, let’s gather our essentials. Having the right tools makes all the difference between a “meh” manicure and a “wow” manicure. Don’t worry if you don’t have everything yet; these are great to build up your nail kit over time! For square glossy nails, you’ll need:
- Nail Clippers: To trim your nails to a manageable length before shaping.
- Nail File (180-240 grit): This is your primary tool for shaping the nails. A finer grit is gentler on natural nails. You might also want a slightly coarser file (like 100-150 grit) for shaping artificial nails, but always be gentle.
- Nail Buffer: A buffer (usually with multiple sides) helps smooth the nail surface and add shine. One side is for smoothing, another for buffing to a shine.
- Cuticle Pusher or Orange Stick: To gently push back your cuticles for a clean nail bed.
- Base Coat: This protects your natural nail and helps your polish adhere better.
- Nail Polish Color(s): Your chosen shade(s) for the manicure.
- Glossy Top Coat: THIS IS KEY! Look for a “high-shine,” “gel-like,” or “ultra-glossy” topcoat for that mirror finish. Brands offering quick-dry formulas are a bonus for busy bees!
- Cuticle Oil: To rehydrate and nourish your cuticles after polishing.
- Cotton Pads & Nail Polish Remover: For clean-up and mistakes.
- (Optional) Rubbing Alcohol or Lint-Free Wipes: For an extra clean nail surface before applying polish.
Having these items ready will set you up for success. Remember, investing in good quality base and top coats can really elevate your at-home manicures!
Step-by-Step: Achieving the Perfect Square Glossy Nails
Ready to get those gorgeous square glossy nails? Let’s walk through it together. This guide is designed for beginners, so take your time and enjoy the process!
Step 1: Prep Your Workspace and Nails
First things first, clear your space! Lay out your tools so they’re within easy reach. If you have old polish on, remove it now using nail polish remover and a cotton pad. Ensure your hands are clean and dry.
Step 2: Trim & Shape Your Nails
If your nails are too long, use your nail clippers to trim them down to your desired starting length. You want to leave a little extra length for shaping. Now, grab your nail file (180-240 grit for natural nails). Start filing from the side of your nail towards the center. File in one direction to avoid weakening the nail. To create the square shape, file straight across the tip of your nail, perpendicular to the sides. Imagine you’re drawing a straight line across the very end. Use the side of the file to straighten the side walls if needed, but avoid excessive filing. Gently round the corners just a tiny bit so they aren’t sharp points, but keep them as straight and squared-off as possible.
Tip: If you find filing tricky, it’s helpful to watch a quick video demonstration online showing how to achieve a perfect square shape. Search for something like “how to file square nails.”
Step 3: Gently Push Back Cuticles
Using your cuticle pusher or an orange stick, gently push back your cuticles. This creates a clean canvas for your polish and makes the nail bed appear larger and more elongated, which looks fantastic with the square shape. Be very gentle and never cut your cuticles, as this can lead to infection. If you have excess cuticle skin that’s lifting, you can gently trim those very small pieces with cuticle nippers, but always err on the side of caution.
Step 4: Smooth and Buff the Nail Surface
Now, take your nail buffer. Use the smoothest side (often marked) to lightly buff the surface of each nail. This removes any ridges, preps the nail for polish adhesion, and can add a subtle natural shine. If you’re going for an ultra-glossy look, a smooth surface is essential for the topcoat to look flawless. If you have a multi-step buffer, follow its instructions. After buffing, gently wipe away any dust with a dry cloth or a lint-free wipe. Some people like to follow this with a quick swipe of rubbing alcohol or nail polish remover on a cotton pad for an oil-free surface.
Step 5: Apply Base Coat
This is a crucial step for longevity and nail health! Apply one thin layer of your favorite base coat. Make sure to cap the free edge of your nail (paint a tiny bit across the very tip) – this helps prevent chipping. Let it dry completely, which usually takes about a minute.
Step 6: Apply Your Color Polish
Now for the fun part – your chosen color! Apply a thin, even coat of your nail polish. Again, cap the free edge. Avoid thick coats, as they take longer to dry and are more prone to smudging. Let the first coat dry for a couple of minutes. Apply a second thin coat for full opacity. If needed, you can apply a third thin coat. Allow this to dry for at least 5-10 minutes before moving to the final step. Patience here is key to avoiding dents or smudges!
Step 7: The Glossy Top Coat – The Grand Finale!
This is where the magic happens. Apply a generous layer of your high-shine, glossy topcoat. Make sure to cover the entire nail surface and, crucially, cap the free edge again. This “seals” in the color and gives you that incredible, wet-look shine. If you have a quick-dry topcoat, it can help speed up the final hardening process. Your topcoat is the barrier against chips and smudges, so make sure it’s applied well and covers everything.
Step 8: Clean Up and Hydrate
Once the topcoat is applied, carefully use a small brush dipped in nail polish remover (or a cotton swab/orange stick wrapped with a tiny bit of cotton and dipped in remover) to clean up any polish that may have gotten on your skin, around the cuticles, or sidewalls. This makes your manicure look super professional. Finally, once everything is completely dry (give it at least 15-20 minutes total drying time, longer for traditional polish), apply a drop of cuticle oil to each nail and massage it in. This rehydrates your cuticles and adds a final touch of healthy shine.
And there you have it! Beautiful, crisp square glossy nails right from your own home.
Maintaining Your Square Glossy Nails
To keep your square glossy nails looking their best for as long as possible, here are a few tips:
- Avoid Harsh Chemicals: When doing household chores, wear gloves. Detergents and cleaning agents can break down the polish and dull the shine.
- Be Gentle: Try not to use your nails as tools (e.g., to open cans, scrape things). This is where shaping the corners slightly rounded can help reduce snagging.
- Reapply Top Coat: If you notice the shine starting to fade or see tiny nicks after a few days, a fresh layer of glossy topcoat can revive your manicure and add extra protection.
- Keep Cuticles Hydrated: Continue to apply cuticle oil daily. Healthy cuticles make your whole manicure look better and prevent dry, flaky skin from detracting from your polished nails.
- Touch-Ups: For any small chips, you can sometimes get away with a tiny touch-up of color followed by another layer of topcoat.
Glossy Square Nail Variations
The basic square glossy nail is stunning on its own, but you can absolutely play with this canvas! Here are a few ideas:
- French Tip Square: A classic white or colored tip on a nude or sheer base. The sharp square line at the tip really emphasizes the French tip.
- Glitter Gradient: Start sheer at the cuticle and build up with glitter towards the tip. The square shape helps define the gradient.
- Accent Nail: Keep all nails a solid glossy color, but make one nail an attention-grabber with nail art, a different color, or even a matte finish for contrast.
- Two-Tone Square: Use tape to create geometric patterns or color-blocking with two complementary or contrasting shades.
- Metallic Sheen: Opt for a metallic polish for your square nails. The reflective quality of metallics works perfectly with the high-gloss finish of this shape.
The Science of Shine: Why Glossy Topcoats Work
Ever wondered how that topcoat achieves that amazing, smooth, light-reflecting finish? It’s all about polymers and light! A good glossy topcoat contains special ingredients that form a smooth, non-porous surface when they dry. This smooth surface allows light to bounce off evenly, creating that desirable “wet look” or mirror-like shine.
For example, many advanced topcoats utilize methacrylate polymers. When these polymers cross-link and cure (especially with UV/LED light in gel systems, but also in air-dry formulas), they create a hard, glassy layer. This is why applying a quality topcoat is so crucial for that professional, high-shine aesthetic.
The effectiveness of a topcoat can also be influenced by the base coat and the nail polish itself. A well-applied base coat creates an even surface, and the color polish, when applied smoothly, provides a good foundation. The topcoat then acts as the protective, light-reflecting cherry on top! For more on nail polish chemistry and safety, you can check out resources from organizations like the U.S. Food and Drug Administration (FDA), which regulates cosmetic products.
Square vs. Squoval Nails
It’s easy to get these two shapes confused, but there’s a subtle difference that can impact the overall look and feel:
| Feature | Square Nails | Squoval Nails |
|---|---|---|
| Tip Shape | Perfectly straight, 90-degree angle across the tip. | Slightly rounded corners; still has a broad, flat tip but without sharp angles. |
| Side Walls | Straight and parallel. | Straight and parallel. |
| Overall Look | Modern, sharp, geometric, strong. | Softer, more natural, still refined but less severe. |
| Durability | Can be prone to snagging if corners are too sharp and length is extreme. | Often considered slightly more durable as rounded corners are less likely to catch. |
| Beginner Friendliness | Requires careful filing to maintain the sharp line. | Easier to file as aggressive rounding is less of a concern. |
For a truly “square glossy nail” look, you’ll aim for the sharp, straight edge. If you find that too difficult to maintain or it feels too severe, a squoval shape is a wonderful alternative that offers much of the same polish with a bit more comfort!
Nailing the Glossy Finish: Troubleshooting Common Issues
Even with the best intentions, sometimes things don’t go perfectly. Here are a few common issues and how to fix them:
- Streaky Color Polish: This usually happens with thick polish or uneven application. For thin coats, try painting in three strokes: one down the center, then one on each side. Make sure your polish isn’t too old or goopy. If it is, some thinner can help revive it.
- Dull or Uneven Topcoat: This can be due to applying the topcoat too thinly, on top of uncured color polish, or just using a less-than-stellar topcoat. Ensure your color polish is mostly dry before the topcoat, apply it generously (but without pooling), and cap the edge.
- Smudges or Dents: This is almost always an impatience issue! Give your polish plenty of time to dry. If you get a small smudge, you can sometimes carefully smooth it out with a tiny bit of remover on a fine brush and then reapply a thin layer of topcoat to that spot. For bigger smudges, it might be time for a full redo.
- Chipped Edges: Not capping the free edge is the main culprit! Always paint a thin line of base coat, color, and topcoat across the very tip of your nail.
- Bubbles: This can happen if you shake your polish bottles vigorously (swirl instead!), apply polish too thickly, or paint in a humid environment. Try to avoid these pitfalls.
Frequently Asked Questions (FAQ)
Here are some common questions beginners have about square glossy nails:
Q1: Can I achieve a glossy finish on short square nails?
A1: Absolutely! Short square nails with a glossy finish are super chic and practical. The key is the clean shape and the high-shine topcoat, regardless of length.
Q2: How long should I let my polish dry before applying the topcoat?
A2: For traditional nail polish, wait at least 2-5 minutes between color coats and about 5-10 minutes before applying the topcoat. The topcoat needs a mostly dry surface to bond properly without smudging. Faster-drying topcoats can help once they’re on!
Q3: My nail polish always chips quickly. What am I doing wrong?
A3: Chipping is often caused by not preparing the nail properly, not using a good base coat, not capping the free edge, or being too rough on your hands. Ensure you’re using a base coat, sealing the tip of your nail with every layer, and wearing gloves for chores!
Q4: What’s the best type of topcoat for a super glossy finish?
A4: Look for topcoats specifically labeled “gel-like,” “high-shine,” or “ultra-glossy.” Many brands offer these that don’t require a

