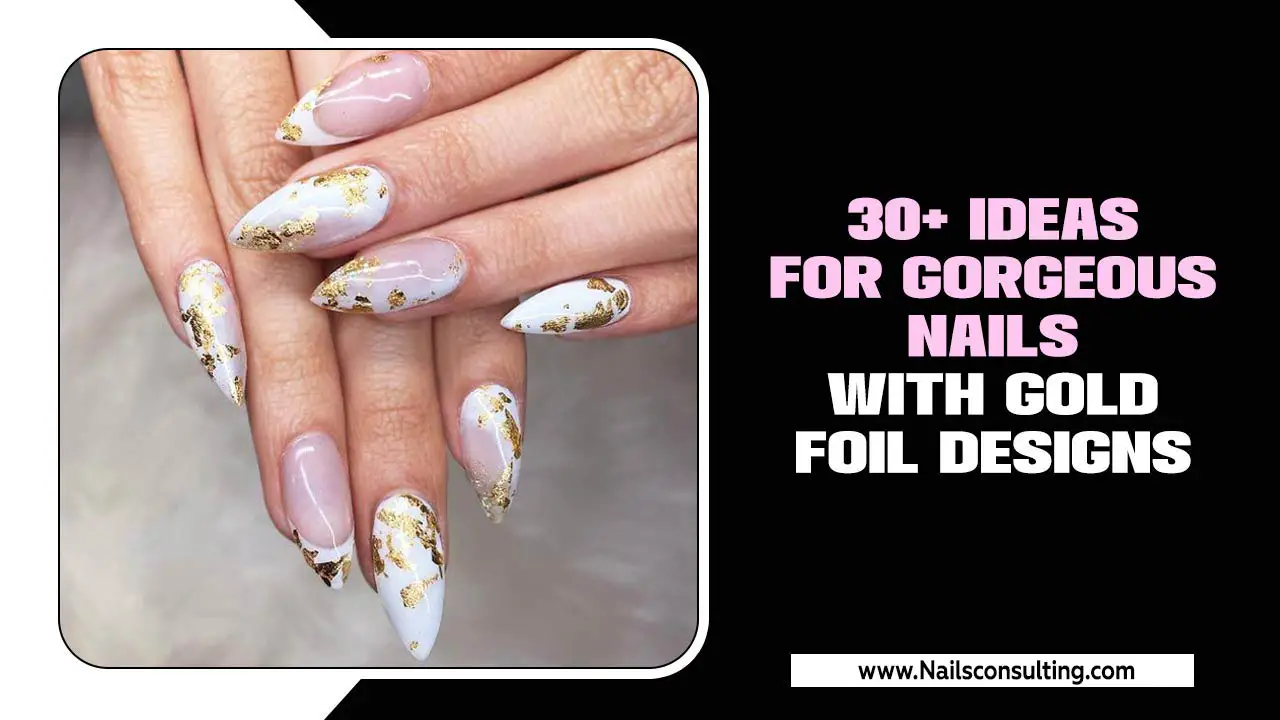
Get dazzling square glitter nails with this easy guide! Learn how to apply glitter polish and create stunning, sparkly manicures perfect for any occasion. We’ll walk you through the simple steps and essential tools for a salon-worthy sparkle at home.
Love a bit of sparkle? Square glitter nails are a fantastic way to add some fun and glamour to your look. Whether you’re heading to a party, a special event, or just want to brighten your day, glitter nails are a fabulous choice. Sometimes, though, getting that perfect, even glitter application can feel a bit tricky. Don’t worry! This guide is here to help. We’ll break down exactly how to achieve gorgeous square glitter nails that shine. Get ready to make your nails the star of the show!
Why Choose Square Glitter Nails?
Square glitter nails offer a unique blend of classic shape and dazzling finish. The square nail shape is timeless and universally flattering, providing a clean canvas for any design. When you add glitter, you transform a simple manicure into a statement piece. They’re perfect for when you want your nails to pop without being overly complicated. Plus, glitter polishes can be incredibly forgiving for beginners, often hiding minor imperfections better than solid colors.
Essential Tools for Your Glitter Nail Journey
Before we dive into the fun part, let’s gather our supplies. Having the right tools makes all the difference in achieving a smooth, professional-looking finish. You don’t need a whole nail salon to get amazing results!
Here’s what you’ll need:
- Base Coat: Protects your natural nails and helps polish adhere better.
- Glitter Nail Polish: Choose your favorite color and glitter size!
- Top Coat: Seals your design and adds a glossy finish for longevity.
- Optional: Small Brush or Toothpick: For precise glitter placement if needed.
- Optional: Cotton Balls or Makeup Sponges: For a layered glitter effect.
- Nail Polish Remover: For any little cleanup oopsies.
- Cuticle Oil: To nourish your cuticles after polishing.
Step-by-Step: Creating Stunning Square Glitter Nails
Let’s get those nails sparkling! Follow these simple steps for a beautiful glitter manicure.
Step 1: Prepare Your Canvas (The Nails!)
Clean nails are key to a flawless design.
- Clean: Remove any old nail polish. Wash your hands with soap and water, then dry them thoroughly.
- Shape: If you’re shaping your nails yourself, focus on creating a straight free edge and gently filing the corners to be slightly less sharp. You can achieve a perfect square by filing straight across the tip. For more on nail shaping, resources like the NailCareHQ guide offer detailed visual instructions.
- Cuticle Care: Gently push back your cuticles. You can use a cuticle pusher or even an orange stick.
- Buff (Optional): Lightly buff the surface of your nails to remove any natural shine. This helps polish adhere better.
Step 2: Apply Your Base Coat
This is a non-negotiable step for happy, healthy nails!
- Apply one thin layer of base coat to each nail.
- Let it dry completely. This usually takes about 1-2 minutes.
Step 3: The Glitter Application – Let’s Sparkle!
This is where the magic happens! There are a few ways to apply glitter polish for different effects.
Method 1: The Simple Glitter Polish Application
This is the easiest method and great for beginners.
- Shake Well: Give your glitter polish a good shake. Glitter polishes can settle, so shaking ensures an even distribution of glitter.
- Apply Polish: Apply one or two thin coats of your glitter nail polish.
- For a sheer glitter look: One thin coat is perfect.
- For more opacity and sparkle: Apply a second coat.
- Be Patient: Let each coat dry for at least 2-3 minutes before applying the next. Glitter polish can take a bit longer to dry than regular polish.
Method 2: The Glitter Gradient or Ombre Effect
Want a more layered look? This method builds up the sparkle.
- Start at the Tip: Apply your glitter polish primarily to the tips of your nails.
- Use a Sponge or Brush: For a softer transition, dab a makeup sponge or a small, stiff brush (like an eyeshadow brush you don’t use anymore) into the glitter polish. Gently dab this onto the tips of your nails, working your way down. The more you dab towards the base, the more blended the look will be. You can also use a toothpick to dab individual glitter pieces for strategic placement.
- Build Layers: You can apply a sheer colored polish underneath the glitter for a colored shimmer, or apply a clear polish to the nail and then dab glitter on top.
- Repeat if Needed: Apply additional coats or dabs of glitter until you achieve your desired density and gradient.
Method 3: Full Glitter Coverage with Regular Polish
Want to make a regular polish glittery? Or achieve a dense glitter look?
- Apply Base Color (Optional): Apply your favorite base color polish first and let it dry completely. This provides a background for the glitter.
- Apply Glitter Polish: Use your glitter polish as you would a regular polish. For very dense glitter, you might want to “place” the glitter rather than “paint” it. Dip your brush into the polish, but instead of spreading it, gently dab it onto the nail, concentrating the glitter where you want it.
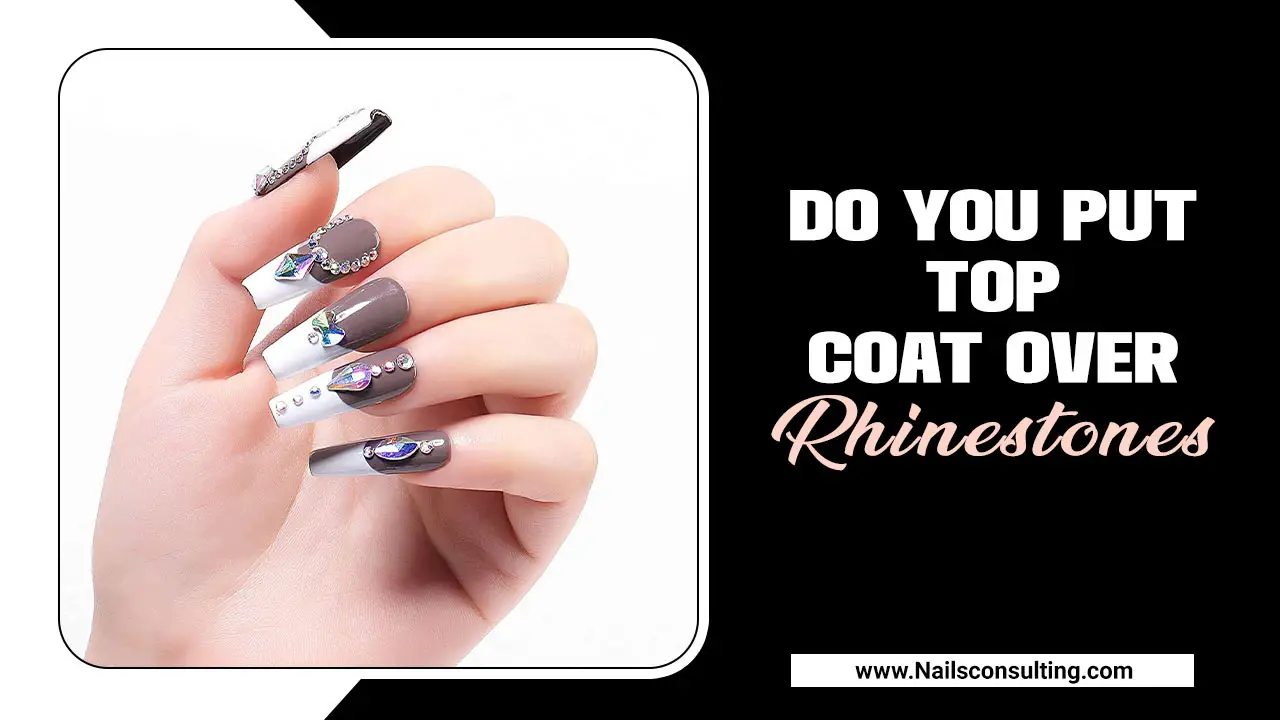
- Use a Sponge for Density: For the most intense glitter coverage, apply a layer of clear polish or your base color. Then, take a makeup sponge, dip it into the glitter polish (or load it with loose glitter and clear top coat), and dab it onto the nail. This technique packs on the glitter beautifully.
Step 4: Seal the Sparkle with a Top Coat
Don’t skip this! A good top coat is essential for making your glitter nails last and shine.
- Apply one to two generous coats of top coat over your glitter polish.
- Be Generous: Glitter polish can be chunky, so a thicker top coat helps to smooth out the surface, making it less bumpy and more glossy.
- Extend the Life: This seals the glitter in, prevents chipping, and adds a beautiful shine.
- Let it Dry: Allow your top coat to dry completely. This can take longer with glitter, so be patient!
- Use a small brush dipped in nail polish remover to clean up any polish that got onto your skin.
- Apply cuticle oil to nourish your cuticles after your manicure is dry. This leaves your hands looking and feeling pampered.
- Full Sparkle: Cover all your nails in dazzling glitter.
- Accent Nail: Make one nail on each hand glittery, while the others sport a complementary solid color.
- Glitter Tips: Apply glitter just to the tips of your square nails for a chic French manicure twist.
- Glitter Ombre: As described in Method 2, blend glitter from the tips down to the base.
- Holographic Glitter: For an extra otherworldly shine, opt for holographic glitter polishes.
- Chunky Glitter Mix: Combine fine glitter with larger glitter pieces for a textured, eye-catching look.
- Always Use a Base Coat: It prevents staining and helps polish adhere.
- Apply Thin Coats: Both your base color and glitter polish will apply more smoothly and dry faster in thin layers.
- Cap the Free Edge: When applying your top coat, swipe a little bit along the very edge (the free edge) of your nail. This helps seal everything in and prevent chipping.
- Avoid Harsh Activities: Try not to use your nails as tools. Opening cans or scraping things can lead to chips, even with a good top coat. For anyone who works with their hands a lot, consider protective gloves for cleaning or other demanding tasks.
- Reapply Top Coat: If you notice your top coat losing its shine after a few days, you can simply apply another layer to refresh the look and add more protection.
- Keep Hands Hydrated: Dry hands can make nails look dull. Regular use of hand cream and cuticle oil keeps everything looking its best.
Step 5: Clean Up and Condition
The final touches make a big difference.
Glitter Nail Styles for Every Mood
Square glitter nails are incredibly versatile! Here are a few ideas to inspire you:
Loose Glitter vs. Glitter Polish: What’s the Difference?
Choosing between loose glitter and pre-made glitter polish is a common question for those new to glitter manicures. Both can achieve beautiful results, but they offer different application experiences and finishes.
Given this, let’s look at the pros and cons of each:
| Feature | Glitter Nail Polish | Loose Glitter |
|---|---|---|
| Ease of Use | Very easy. Apply like regular polish. | Requires more control. Can be messy if not careful. |
| Application Methods | Direct application, sponging for gradients. | Dabbing with a brush/sponge, pressing into wet polish or top coat. |
| Glitter Size/Type | Limited to what’s in the bottle; can be fine or chunky glitter. | Vast variety of sizes, shapes (hexagons, stars), and finishes. |
| Texture/Finish | Can be smooth or slightly textured depending on glitter density and top coat. | Can be very textured if not smoothed with top coat; allows for custom layering. |
| Mess Factor | Minimal, similar to regular polish. | Can be higher; glitter can spread easily. |
| Best For | Beginners, quick manicures, subtle to moderate sparkle. | Achieving dense glitter looks, unique effects, and maximum sparkle control. |
Tips for Longer-Lasting Square Glitter Nails
Want your sparkly nails to stay looking fabulous for as long as possible? Here are some handy tips:
Common Beginner Questions About Glitter Nails
Let’s tackle some common queries you might have when starting with glitter nails.
Are square glitter nails hard to apply?
Not at all! While intricate nail art can be challenging, basic square glitter nails are quite beginner-friendly. Using a glitter polish directly is as easy as applying regular nail polish, and the sparkle can even hide minor application mistakes. Mastering techniques like sponging for gradients might take a little practice, but the final result is always worth it!
How do I make glitter polish look smooth?
The key to a smooth glitter finish is a good top coat! Apply a “jelly” or thick, glossy top coat. You might need two layers of top coat to fully embed the glitter and create a smooth surface. Don’t be afraid to apply a generous amount; it really fills in the textured glitter.
How do I remove glitter nail polish?
Glitter polish can be stubborn! The best method is the foil transfer technique. Soak a cotton ball piece in nail polish remover, place it on your nail, and wrap it with aluminum foil. Let it sit for 5-10 minutes, then gently slide the foil and cotton off. Most of the glitter should come with it. For persistent bits, use a brush dipped in remover.
Can I use loose glitter on my nails?
Yes, absolutely! Loose glitter gives you endless possibilities. You can apply it over wet base polish, or press it into a tacky top coat, and then seal it with another layer of top coat. Just be sure to use cosmetic-grade glitter for safety. Understanding the particle sizes and how they interact with polish is also key – fine glitter is easier to smooth than chunky glitter.
Will glitter nail polish damage my natural nails?
When applied and removed correctly, glitter nail polish should not damage your natural nails. Always use a base coat to protect the nail plate. The main damage comes from improper removal, such as peeling or scraping the polish off. Following the foil method or using a good nail polish remover will keep your nails healthy.
How do I get even glitter coverage with glitter polish?
For even coverage, shake the bottle well first. Apply the glitter polish in thin coats, allowing each to dry slightly before the next. If you want more glitter density, try dabbing the polish onto the nail with the brush instead of sweeping it. For very dense glitter, using a makeup sponge can help pack it on more effectively.
Conclusion: Unleash Your Inner Sparkle!
Mastering square glitter nails is a fun and rewarding part of any nail art journey. With the right tools and a little patience, you can achieve dazzling, eye-catching results right at home. Remember, these steps are flexible – feel free to experiment with colors, glitter sizes, and application techniques. The most important thing is to have fun and express yourself! So go ahead, choose your favorite sparkle, and let your square glitter nails shine bright. You’ve got this!


