Square cow print nails offer a fun, bold, and surprisingly versatile nail art option. This guide provides simple, step-by-step instructions and essential tips for beginners to create chic cow print designs on square nails, ensuring a stylish and professional look with easily accessible tools.
Hey nail lovers! Are you ready to add a touch of playful sophistication to your fingertips? Square cow print nails are having a major moment, and for good reason! They’re a fantastic way to express your personal style, blending a classic print with a modern nail shape. But if you’re new to nail art, diving into patterns like cow print might seem a little daunting. Don’t worry! I’m here to break it down into super simple steps. Get ready to unleash your inner artist and rock some seriously cool cow print nails that will have everyone asking, “Where did you get those done?”
We’ll walk through everything you need, from the basic tools to the nitty-gritty of applying the pattern. You’ll be amazed at how easy it is to achieve this trendy look right at home. Let’s get started on your journey to fabulous cow print nails!
Why Square Cow Print Nails Are a Must-Try
Square cow print nails are more than just a passing trend; they’re a statement. The square shape offers a clean, modern canvas, and the cow print, with its darling spots and curves, adds an instant dose of personality. It’s a design that’s surprisingly adaptable. You can go for classic black and white, embrace pastel hues for a softer vibe, or even get adventurous with vibrant color combinations. Plus, it’s a design that appeals to a wide range of styles, from chic and minimalist to bold and edgy. It’s a fantastic way to spice up your everyday look or make a statement for a special occasion. It’s playful yet sophisticated, making it a favorite for many!
Essential Tools for Your Cow Print Manicure
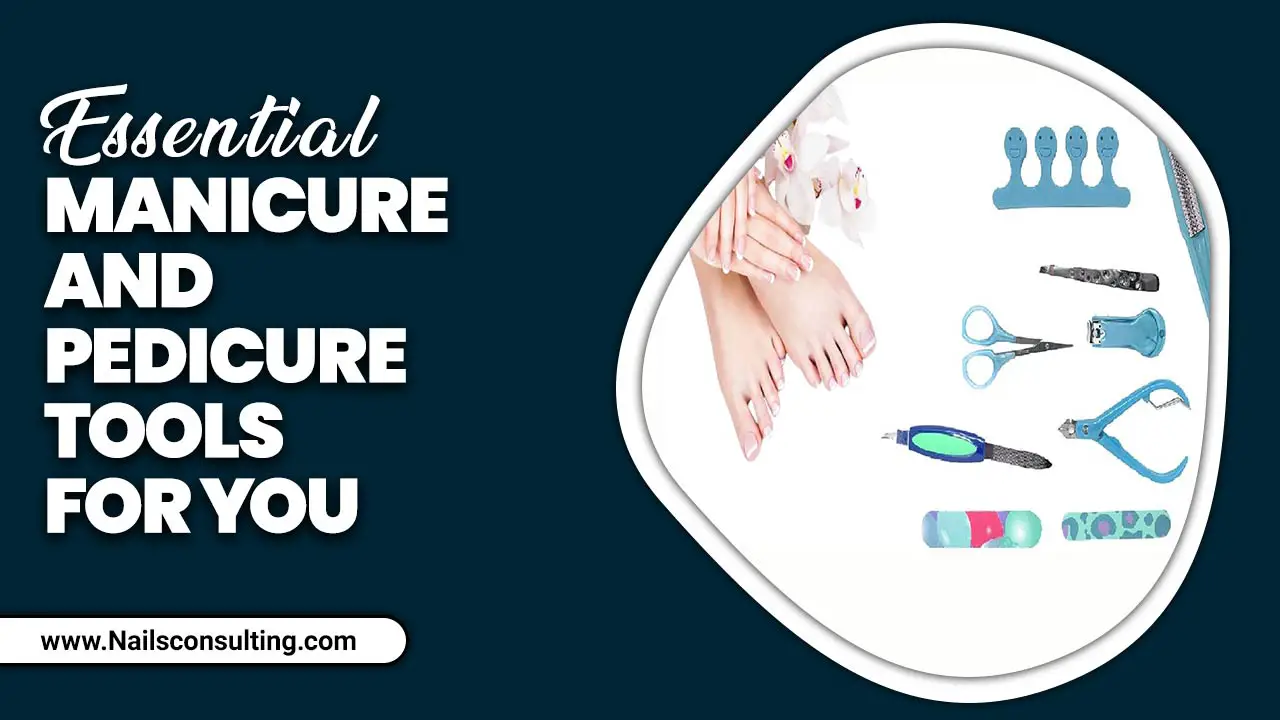
Creating beautiful square cow print nails doesn’t require a professional salon setup. With a few key items, you can achieve salon-worthy results at home. Here’s what you’ll need to gather:
- Base Coat: Essential for protecting your natural nails and ensuring your polish lasts longer.
- Top Coat: Seals your design, adds shine, and prevents chipping.
- Nail Polish Colors: Your chosen base color (often white, cream, or a pastel) and your cow print colors (typically black or brown, but feel free to experiment!).
- Dotting Tools: These come in various sizes and are perfect for creating consistent dots. If you don’t have dotting tools, the tip of a bobby pin or even a toothpick can work in a pinch!
- Fine-Tip Nail Art Brush: For drawing the irregular shapes that make the cow print unique.
- Nail Polish Remover: For cleaning up any mistakes.
- Cotton Swabs/Pads: For precise cleanup.
- Nail File & Buffer: To shape your nails into the perfect square and create a smooth surface.
Having the right tools makes a world of difference, turning a potentially messy attempt into a smooth, enjoyable creative process. You can find most of these items at your local drugstore or beauty supply store.
Preparing Your Nails: The Foundation for Flawless Art
Before we even think about cow spots, let’s get your nails ready. A little prep work goes a long way in making your manicure look professional and last longer. Think of it as setting the stage for your masterpiece!
Step 1: Shape Your Square
Using a nail file, gently file your nails to create a straight edge across the free edge. Then, file the sides straight up to meet this edge. Aim for crisp, 90-degree angles. Don’t forget to file in one direction to avoid weakening your nails. A good quality nail file is your best friend here.
Step 2: Buff to Perfection
Gently buff the surface of your nails with a buffer. This removes ridges and creates a smooth surface for the polish to adhere to, preventing lifting and making your color application even. Be gentle – you don’t want to over-buff or thin your natural nails.
Step 3: Cleanse and Dry
Wipe your nails with nail polish remover (even if you’re not wearing polish) to remove any oils or residue. This ensures your base coat and polish will stick properly. Let your nails dry completely.
Step 4: Apply Base Coat
Apply a thin, even layer of your favorite base coat. This vital step protects your natural nails from staining and helps your polish adhere better. Let it dry completely according to the product’s instructions.
Creating the Cow Print Design: A Step-by-Step Guide
Now for the fun part! We’ll break down how to create those adorable cow spots on your square nails. Remember, cow print isn’t about perfect circles; it’s about organic, blotchy shapes, which makes it super beginner-friendly!
Step 1: Apply Your Base Color
Paint your nails with your chosen base color. This is typically white, cream, or a soft pastel, but you can truly use any color as your foundation. Apply one or two thin coats for an opaque finish, allowing each coat to dry completely before moving on. A good quality polish will offer even coverage.
Step 2: Prepare Your Cow Print Paints
Get your cow print colors ready. For classic cow print, you’ll want black or dark brown polish. If you’re using a dotting tool, you might want to put a small amount of polish on a clean surface like a palette or a piece of paper. For a brush, you’ll dip directly into the bottle.
Step 3: Create the Irregular Spots
This is where the magic happens! You have a couple of options here:
- Using a Fine-Tip Brush: Dip your fine-tip brush into your black or brown polish. Then, create random, irregular curved shapes and blobs on your base color. Don’t aim for perfection; cow spots are naturally uneven! Think of them as imperfect, rounded-off splotches. Vary the size and placement of these shapes.
- Using a Dotting Tool: For a more spotted look, use a dotting tool with a medium-sized tip. Apply a dot of polish, then gently drag it slightly to create an irregular, elongated shape. You can also overlap dots slightly or create small clusters.
Step 4: Add Depth and Detail (Optional)
Once your first set of splotches are dry, you can add a few smaller dots or thinner lines within or adjacent to some of the larger shapes. This gives the cow print a bit more dimension and realism. Again, keep it irregular and organic. This step is easily done with a smaller dotting tool or a very fine brush.
Step 5: Clean Up Edges
Dip a small brush or a cotton swab into nail polish remover and carefully clean up any polish that may have gotten onto your skin or cuticles. This makes your design look super sharp and professional.
Step 6: Apply Top Coat
Once you are absolutely sure your cow print design is completely dry, apply a generous layer of top coat. This seals your design, adds a beautiful glossy finish, and protects your manicure from chips and wear. Make sure to cap the free edge of your nails by running the brush along the tip for extra durability.
Cow Print Color Combinations to Inspire You
While black and white is the classic, don’t be afraid to experiment! The beauty of cow print is its adaptability. Here are some fun color palettes to try:
| Theme | Base Color | Spot Color(s) | Vibe |
|---|---|---|---|
| Classic Moo | White/Cream | Black/Dark Brown | Bold, Timeless |
| Pastel Dream | Light Pink/Baby Blue/Mint Green | White/Lavender/Peach | Soft, Girly, Sweet |
| Sunset Vibes | Orange/Yellow | Red/Brown/Dark Pink | Warm, Energetic, Boho |
| Monochrome Chic | Grey/Charcoal | Black/White/Silver Glitter | Sophisticated, Modern |
| Rainbow Bright | White/Clear | All the colors! (Pink, blue, yellow, green spots) | Fun, Playful, Expressive |
When choosing colors, consider your personal style and the occasion. A pastel cow print might be perfect for spring, while a bolder combination could be fun for a summer festival. The possibilities are truly endless!
Tips for Perfect Square Cow Print Nails Every Time
Even with simple designs, a few pro tips can elevate your DIY manicure from good to gorgeous. Here are some of my favorite tricks:
- Patience is Key: Let each layer of polish dry completely before moving to the next. This prevents smudging and makes the application process much smoother.
- Less is More: When applying the cow print colors, start with a smaller amount of polish on your brush or dotting tool. You can always add more, but it’s harder to take away.
- Irregularity is Your Friend: Remember, cow print isn’t meant to be perfectly symmetrical. Embrace the natural, organic look of the spots and splotches.
- Practice on a Nail Wheel: If you’re nervous, practice the pattern on a nail art practice wheel or even a piece of paper before committing to your actual nails.
- Clean Your Tools: After each use, clean your dotting tools and brushes with nail polish remover to keep them in good condition.
- Don’t Forget the Top Coat: A good top coat is crucial for longevity and shine. Reapply every few days if needed to keep your manicure looking fresh.
- Consider Gel Polish: For extra durability and a high-gloss finish, consider using gel polish and a UV/LED lamp. While it requires an initial investment, it can make your designs last significantly longer. Check out resources on proper UV radiation safety if you choose this route.
Common Beginner Mistakes (And How to Avoid Them!)
We all start somewhere, and making a few mistakes is part of the learning process. Here are some common pitfalls for cow print nails and straightforward solutions.
Mistake 1: Smudged Spots
Why it happens: Applying the cow print colors before the base color is fully dry.
Solution: Be patient! Ensure your base color is bone dry. Gently touch the polish with your fingertip – if it lifts or feels sticky, it needs more time.
Mistake 2: Too Perfect Spots
Why it happens: Trying too hard to make symmetrical circles.
Solution: Embrace imperfection! Cow print is characterized by its irregular, blob-like shapes. Don’t aim for perfection; aim for natural. Look at reference pictures of cow prints – they are not uniform.
Mistake 3: Messy Edges
Why it happens: Polish getting all over the cuticle and skin.
Solution: Use a fine-tip brush dipped in nail polish remover to carefully clean up any stray polish around the edges. A cleanup brush or an orange stick wrapped with a tiny bit of cotton can also work wonders.
Mistake 4: Overcrowding the Nail
Why it happens: Trying to fit too many spots onto one nail.
Solution: Less is often more. Leave some negative space. Vary the size and placement of your spots rather than filling every inch of the nail. This creates a more balanced and visually appealing design.
Mistake 5: Polish Not Drying Properly
Why it happens: Applying coats that are too thick, or not giving enough drying time.
Solution: Always apply polish in thin, even coats. If you’re using a regular polish and find it’s taking forever to dry, consider a quick-dry top coat or investing in a nail drying fan.
Frequently Asked Questions About Square Cow Print Nails
What is the best way to shape square nails?
To shape square nails, file the sides straight up to 90-degree angles and then file the free edge into a straight line. Be sure to file in one direction to prevent weakening the nail. Buffing gently afterward will create a smooth surface.
Can I do cow print nails with regular nail polish?
Absolutely! Regular nail polish works perfectly for cow print nails. You’ll need a base coat, your chosen base color, and your spot colors (like black or brown). Just make sure to allow adequate drying time between coats.
How do I make my DIY cow print look professional?
Achieve a professional look by focusing on neat edges (clean up any stray polish with a brush dipped in remover), ensuring your base color is smooth and opaque, and applying a good quality, glossy top coat that caps the free edge of your nails.
What are the easiest ways to create cow print dots?
The easiest ways are using a dotting tool with a medium-sized tip to create irregular shapes, or a fine-tip nail art brush to draw organic, blob-like splotches. Don’t strive for perfect circles; uneven shapes are key!
How long do DIY cow print nails typically last?
With regular nail polish and a good top coat, you can expect your cow print nails to last anywhere from 3 to 7 days, depending on your daily activities and how well you care for them. Gel polish manicures can last much longer, typically 2-3 weeks.
Can I make cow print nails using stamping plates?
Yes, stamping plates designed with cow print patterns are a fantastic option for getting consistent results quickly. You’ll need a stamper, a scraper, and a dedicated stamping polish to achieve clean, crisp images.
Is cow print nail art difficult for beginners?
Cow print nail art is generally considered one of the easier nail art designs for beginners because it doesn’t require precision or perfectly formed shapes. The organic nature of the print makes it forgiving, and the use of tools like dotting pens simplifies the process.
Conclusion: Rock Your Square Cow Print Nails with Confidence!
And there you have it! You’ve learned how to create stunning square cow print nails right from the comfort of your home. From shaping your nails to mastering the art of the imperfect spot, you’re now equipped with all the knowledge to rock this trendy and fun design. Remember, nail art is all about self-expression and having fun, so don’t be afraid to experiment with colors and styles. Whether you choose classic black and white or a vibrant pastel palette, your square cow print nails are sure to turn heads!
So go ahead, gather your supplies, follow these simple steps, and unleash your creativity. You’ve got this! Enjoy your fabulous new manicure and the confidence that comes with mastering a new skill. Happy painting!

