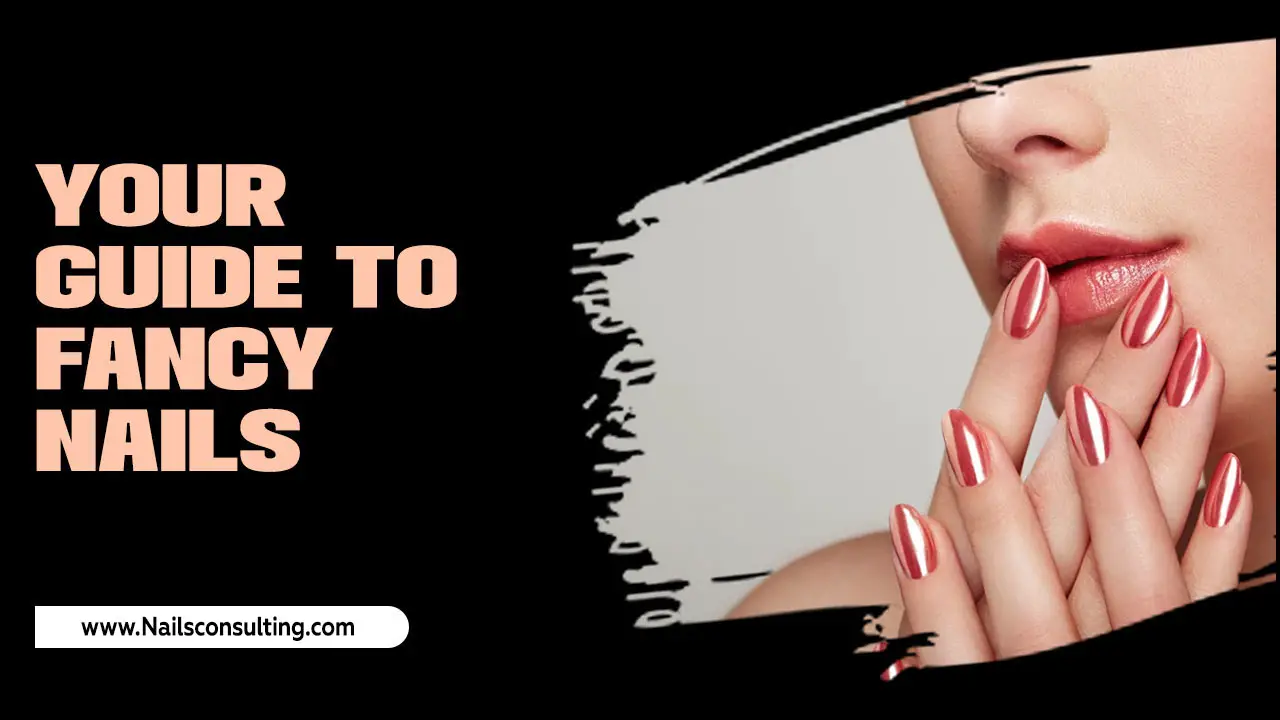
Spring nail designs are all about embracing fresh colors, playful patterns, and a light, airy feel. This guide provides easy-to-follow ideas and tips for beginners to create beautiful, on-trend manicures at home, perfect for welcoming the warmer season.
Hey there, nail lovers! Lisa Drew here from Nailerguy, and if you’re anything like me, you’re itching to shake off those winter drab shades and dive headfirst into the vibrant world of spring manicures. But sometimes, the thought of creating Pinterest-worthy nails can feel a little overwhelming, right? Fear not! This guide is your super-simple, totally achievable route to gorgeous spring nail designs that will have your hands looking as fresh and bright as a blooming garden.
We’ll break down everything you need, from picking the perfect pastels to mastering easy, eye-catching art. Get ready to unleash your inner nail artist and make your nails sing with the spirit of spring!
Welcome Spring with a Splash of Color: Your Nail Design Journey Begins!
Spring is the season of renewal, and what better way to reflect that than with a vibrant refresh of your nails? The air is warmer, flowers are blooming, and our wardrobes are shedding their heavy layers. It’s the perfect time to infuse our style with joy and lightness, and our nails are a fantastic canvas for this transformation! Gone are the deep burgundies and moody grays of winter; hello, sunshine yellows, soft lavenders, minty greens, and cheerful corals!
But where do you start when looking for “spring nail designs”? It can feel like a never-ending scroll of intricate art. The good news is, you don’t need to be a professional nail technician to create stunning spring-themed manicures. This guide is designed with you, the beginner nail enthusiast, in mind. We’ll cover everything from the essential tools to simple, yet impactful, design techniques. We’ll make sure you feel confident and excited to try out these fresh looks yourself. From delicate floral accents to chic color-blocking, get ready to discover how easy it is to bring the beauty of spring right to your fingertips!
Essential Tools for Your Spring Nail Design Studio
Before we dive into the fun designs, let’s make sure you have the right gear! Don’t worry, you don’t need a professional salon’s worth of equipment. A few key items will set you up for success. Having the right tools makes the process smoother and the results so much better. Think of these as your creative sidekicks!
Must-Have Nail Polish Colors
The foundation of any great spring manicure is, of course, the polish! For spring, we’re looking for colors that evoke freshness, nature, and fun. Think about:
- Pastels: Soft pinks, baby blues, pale yellows, mint greens, and lavender are quintessential spring shades.
- Brights: Don’t shy away from bolder pops of color! Coral, turquoise, fuchsia, and a sunny yellow can add a playful touch.
- Whites & Creams: A crisp white or creamy off-white is perfect for French tips with a spring twist or as a base for nail art.
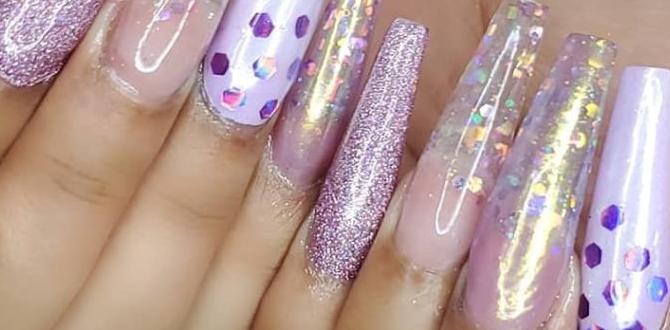
- Sheers & Glitters: Delicate sheer polishes and holographic or iridescent glitters can add a subtle shimmer and depth.
Helpful Application & Design Tools
These little helpers will make applying polish and creating designs a breeze:
- Base Coat: Essential for preventing staining and helping polish adhere.
- Top Coat: Seals your design, adds shine, and extends the life of your manicure.
- Nail Polish Remover: For those “oops” moments and cleaning up edges.
- Cotton Balls or Lint-Free Wipes: For polish removal and cleaning brushes.
- Dotting Tools: These have a small ball at the end, perfect for creating dots, flowers, and patterns. They come in various sizes.
- Thin Nail Art Brush: For fine lines, details, and freehand designs.
- Tweezers: Useful for placing small embellishments like glitter or rhinestones.
- Clear Tape or Washi Tape: For creating clean lines and geometric designs.
- Optional: Nail Stickers or Decals: A super-easy way to add intricate designs without freehand art.
You can find most of these items at your local drugstore or beauty supply store. Online retailers like Amazon also offer a wide variety of affordable nail art kits perfect for beginners. For a deeper dive into nail polish basics, the National Library of Medicine’s guide offers insights into cosmetic ingredients and safety.
Easy Spring Nail Design Tutorials for Beginners
Now for the fun part! These designs are simple, effective, and perfect for welcoming spring. We’ll focus on techniques that are easy to master, even if you’ve never done nail art before.
1. The Blooming Gradient
A gradient, or ombre, effect is effortlessly chic and surprisingly easy to achieve. It’s perfect for showcasing multiple spring colors.
- Prep: Apply your base coat and let it dry. Then, apply two thin coats of your lightest spring color (like a pale pink or sky blue) and let it dry completely.
- The Blend: Take a makeup sponge (a clean, dry kitchen sponge cut into a small piece works well!). Apply a stripe of your first spring color, then a stripe of a slightly darker or complementary spring color next to it.
- Dab and Go: Gently dab the sponge onto your nail, blending the colors upwards. You might need to reapply polish to the sponge and dab a few times to build up the color intensity and ensure a smooth transition.
- Repeat: Clean up any polish that got on your skin with a brush dipped in nail polish remover. Repeat on all nails.
- Seal: Apply a thick layer of top coat. This is crucial for smoothing out the sponge texture and making the gradient look seamless.
Pro Tip: For an even smoother blend, you can use a cosmetic wedge sponge and gently press it onto your nails. Clean up around the edges with a small brush dipped in remover for a professional finish.
2. Delicate Dot Flowers
Floral patterns are a spring staple, and dots are the simplest way to create them. This looks intricate but is totally beginner-friendly!
- Base: Apply your chosen spring base color (e.g., mint green, soft yellow). Let it dry completely.
- Center: Using a dotting tool (or the tip of a bobby pin!), dip into a contrasting color polish (like white or fuchsia) and place a small dot in the center of your nail. This will be the flower’s center.
- Petals: Now, using a smaller dotting tool or a clean one, pick up a lighter shade of polish (or white) and create small dots in a circle around the center dot to form flower petals. You can vary the size and number of dots to create different flower looks.
- Add Leaves (Optional): With a thin nail art brush or dotting tool, use a green polish to draw small, simple leaf shapes next to your flowers.
- Finish: Apply your top coat carefully, ensuring you don’t smudge your delicate design.
Tip: Don’t aim for perfection! The beauty of hand-painted flowers is their organic, slightly imperfect look. Practice on a piece of paper first if you’re nervous!
3. The Chic Stripe (Tape Manicure)
Geometric designs are modern and easy with the help of tape. This gives you crisp, clean lines for a sophisticated look.
- Base: Paint your nails with your first spring color and let it dry THOROUGHLY. This is key to preventing the tape from peeling off the polish.
- Apply Tape: Carefully cut small pieces of clean nail tape or regular Scotch tape and place them on your nail, creating the pattern you want. For example, you could place a strip diagonally, vertically, or create a V-shape.
- Paint Over: Paint over the tape with your second spring color. Ensure you get good coverage, including right up to the edge of the tape.
- Peel Immediately: While the second polish is still wet, carefully and slowly peel off the tape using tweezers or your fingers. If you wait for it to dry, you risk peeling off the polish underneath.
- Clean & Seal: Clean up any stray polish and then apply a generous layer of top coat to seal your design.
Variations: Try using two or three different colors, or create a French tip with a tape-defined line. You can also use thin strips of tape to create multiple thin lines.
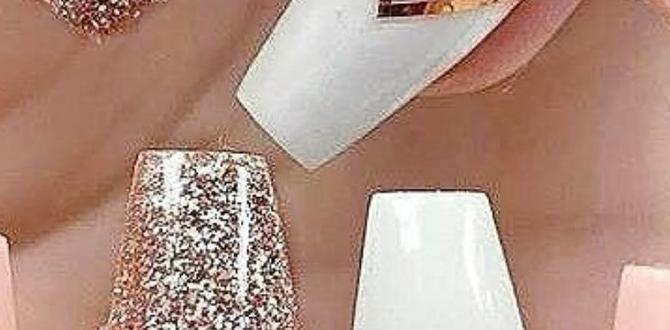
4. Glitter Ombre Accent Nail
Want a touch of sparkle? A glitter ombre is super easy and adds instant glam to any spring look.
- Base Color: Apply your favorite spring base polish and let it dry.
- Glitter Application: Take a chunky or fine glitter polish. Start by applying it densely at the tip of your nail.
- Gradient Effect: With a clean brush (or by gently dabbing with a sponge), blend the glitter downwards towards the cuticle, getting sparser as you go. You can also dab a bit more glitter closer to the tip for maximum sparkle.
- Second Coat: Apply a second layer of glitter polish to build up the density at the tip, blending it down again.
- Top Coat: Apply a few layers of top coat to smooth out the glitter texture and make it snag-free.
Tip: For a smoother glitter ombre, apply the glitter polish over a slightly tacky semi-dried base color, then use a dotting tool or the brush to gently push and blend the glitter down.
5. The Minimalist Accent
Sometimes, less is more! A single, simple accent can elevate your manicure without being over the top.
- Solid Base: Paint all your nails in one beautiful spring shade (e.g., a soft peach, a creamy lilac).
- The Accent: On one or two nails (usually the ring finger), add a small, simple touch. This could be:
- A single dot of contrasting color near the cuticle.
- A thin metallic stripe applied with a striping tape or a special striper polish.
- A tiny heart or star drawn with a dotting tool or fine brush.
- A single small rhinestone or stud placed near the cuticle.
- Seal: Apply a top coat to all nails, being careful not to disturb your minimalist accent.
Why it works: This design is quick, elegant, and perfect for busy individuals or those who prefer a subtle pop of personality.
Spring Nail Color Palettes to Inspire You
Choosing colors can be half the fun! Here are some inspiring spring color palettes that are trending and beautiful:
| Palette Name | Key Colors | Vibe/Occasion | Design Ideas |
|---|---|---|---|
| Soft Pastels Dream | Baby Pink, Powder Blue, Mint Green, Lavender, Pale Yellow | Gentle, whimsical, perfect for everyday wear, weddings, baby showers. | Pastel gradient, alternating solid pastels, simple dot flowers. |
| Coral & Peach Bloom | Coral, Peach, Soft Orange, Creamy White, Gold Accent | Warm, cheerful, vibrant, ideal for brunches and outdoor events. | Coral tips, peach base with white micro-dots, gold foil accents. |
| Spring Garden Green | Sage Green, Olive Green, Emerald Green, White, Beige | Earthy, sophisticated, botanical, great for a nature-inspired look. | Matte green finish, minimalist leaf outlines, green and white stripes. |
| Ocean Breeze Blues | Sky Blue, Teal, Turquoise, Sandy Beige, Pearl White | Calm, refreshing, serene, reminiscent of the sea and sky. | Blue-to-white ombre, teal French tips, tiny seashell decals. |
| Fruity Pop | Strawberry Red, Lemon Yellow, Lime Green, Raspberry Pink | Playful, energetic, fun, perfect for festivals or a bold statement. | Alternating bright colors, fruit slice accents (simple painted dots), color-block designs. |
Maintaining Your Spring Manicures
Once you’ve created your stunning spring nail designs, you’ll want them to last! Here are some tips to keep your manicure looking fresh:
- Always Use a Top Coat: Reapply every 2-3 days to maintain shine and prevent chips.
- Be Gentle: Avoid using your nails as tools (e.g., to open cans or scrape things).
- Moisturize: Keep your hands and cuticles hydrated with a good cuticle oil and hand cream. Dry cuticles can lead to hangnails and make your manicure look less polished. Look for cuticle oils containing natural ingredients like jojoba or almond oil.
- Wear Gloves: When doing chores, especially those involving water or harsh chemicals, wear rubber gloves to protect your nails and polish.
- Quick Fixes: If you get a small chip, you can often repair it by carefully filing the edge smooth, applying a tiny bit of matching polish, and then sealing it with a top coat.
Proper nail care not only extends the life of your manicure but also keeps your natural nails healthy. For more on nail health, the American Academy of Dermatology offers excellent advice. Regular cuticle care is crucial; consider something like CND SolarOil, which is a popular choice for keeping nails and cuticles healthy and hydrated.
Frequently Asked Questions (FAQ) about Spring Nail Designs
Q1: What are the most popular colors for spring nail designs?
A: This spring, expect to see a lot of soft pastels like lavender, mint green, baby blue, and pale yellow. Alongside these, vibrant corals, peaches, and brighter blues are also making a splash! Think fresh, light, and often inspired by nature.
Q2: I’m a complete beginner. Which spring nail design is the easiest to try?
A: The easiest designs for beginners are usually solid colors, glitter ombre, or using nail stickers/decals. Simple dot flowers or tape manicures are also great starting points with a little practice.
Q3: How can I make my DIY nail art last longer?
A: Always start with a good base coat and finish with a quality top coat. Reapply your top coat every few days to refresh the shine and help prevent chips. Also, be mindful of your hands – wear gloves for cleaning or any task that might damage your nails.
Q4: My nail polish always chips after a day or two. What am I doing wrong?
A: Make sure your nails are clean and completely oil-free before applying polish. Apply thin coats of polish, allowing each to dry slightly before the next. Crucially, cap your free edge by swiping your brush along the very tip of your nail with your base, color, and top coats. This seals the polish and significantly reduces chipping.
Q5: Can I use regular household items for nail art?
A: Yes! For dotting tools, the tip of a bobby pin, a toothpick, or even a ballpoint pen can work. For tape designs, regular Scotch tape or masking tape can be used, though painter’s tape might be gentler on your polish. Just ensure they are clean!
Q6: How do I get clean lines with nail polish?
A: The best way for clean lines is to use nail striping tape or stencil tape. Apply it firmly to a completely dry nail, paint over it, and then peel it off slowly while the polish is still wet. For cleanup, a small, flat brush dipped in nail polish remover is excellent for correcting mistakes around your cuticles and sidewalls.
Q7: What’s the difference between a gel and regular nail polish for spring designs?
A: Regular nail polish dries by evaporation and can be removed with standard nail polish remover. Gel polish requires a UV/LED lamp to cure, is much more durable, and lasts longer (typically 2-3 weeks) but requires a special removal process. For beginners or those who like to change their polish often

