Spring nail designs are all about fresh colors, fun patterns, and easy-to-achieve looks. Whether you love floral, pastel, or minimalist styles, this guide offers simple tips and inspiration for beautiful, on-trend spring manicures you can do yourself!
Is your nail game ready for warmer weather? Spring is the season of renewal, and that includes your manicure! If you find yourself staring at your polish bottles, unsure of where to start, you’re not alone. The transition from cozy winter shades to bright, cheerful hues can feel a little overwhelming. But don’t worry! We’re here to transform your nail routine into a fun, creative experience. Get ready to discover effortless spring nail designs that will have your fingertips blooming with style.
This guide is packed with easy ideas, handy tips, and step-by-step inspiration. We’ll cover everything from choosing the perfect pastels to mastering simple floral accents. Let’s dive into making your nails the prettiest part of your spring ensemble!
Spring Nail Designs: Your Essential Guide to Blooming Beauty
Spring is a breath of fresh air, and your nails should reflect that! Think soft pastels, vibrant pops of color, playful patterns, and delicate accents. Whether you’re heading to brunch, a garden party, or just want to brighten your everyday look, these spring nail designs are your go-to for effortless style. We’re breaking down how to achieve them with ease, perfect for beginners and seasoned nail art lovers alike.
Why Spring Nail Designs Are a Must-Have
As the days get longer and the flowers start to bloom, our wardrobes naturally shift towards lighter fabrics and brighter colors. Our nails are a fantastic accessory to this seasonal change! A fresh manicure can instantly lift your mood and tie your whole look together.
Spring nail designs offer a chance to:
- Embrace Color: Move beyond muted tones to pastel pinks, mint greens, sky blues, and sunny yellows.
- Experiment with Patterns: Think delicate florals, playful polka dots, chic stripes, and abstract swirls.
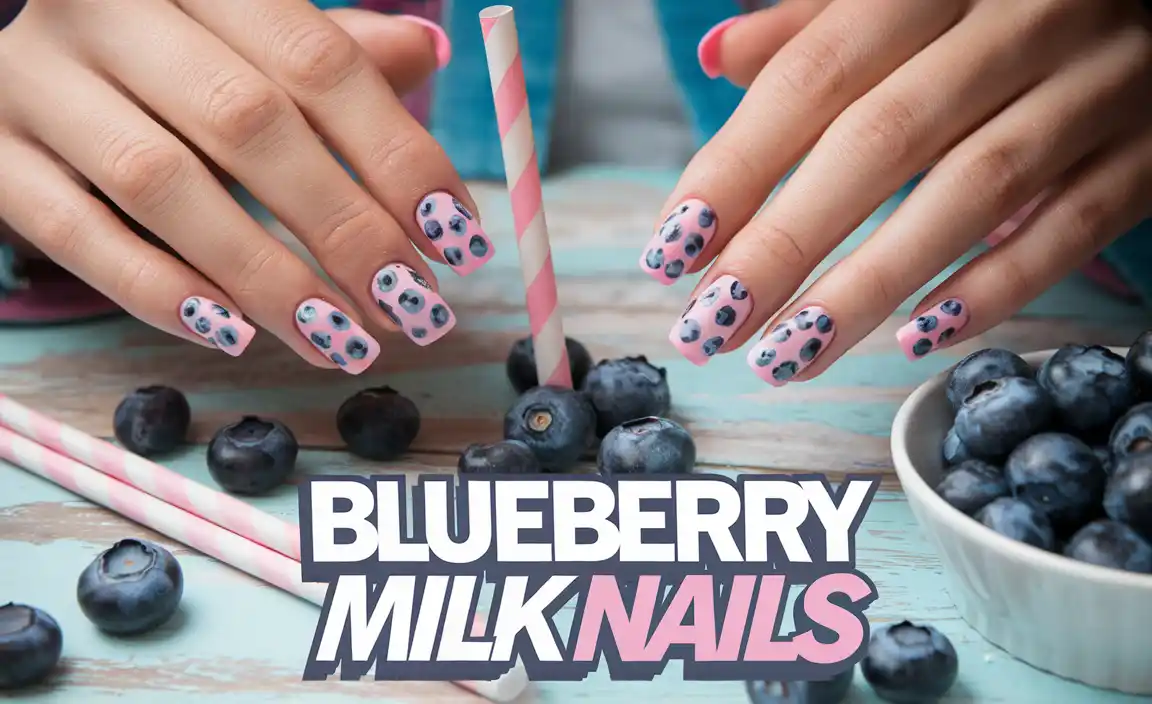
- Add a Touch of Whimsy: Incorporate fun elements like tiny bees, butterflies, or even fruit motifs.
- Boost Your Confidence: Pretty nails can make you feel polished and ready for anything!
The best part? You don’t need to be a nail art pro to create stunning spring looks. We’ve curated designs that are simple, stylish, and achievable right at home.
Essential Tools for Your Spring Manicure
Before we jump into the designs, let’s gather your toolkit. Having the right supplies makes any nail art project much smoother. You don’t need fancy equipment; just a few basics will do!
- Nail Polish Remover: To start with a clean slate.
- Cotton Pads or Balls: For removing polish.
- Nail File: To shape your nails. For spring, a soft, rounded shape often looks lovely!
- Base Coat: Protects your natural nails and helps polish adhere better.
- Top Coat: Seals your design and adds shine, making it last longer. Look for a quick-dry formula!
- Nail Polish Colors: Your chosen spring shades!
- Dotting Tool(s): For creating perfect dots and small details. A toothpick can work in a pinch!
- Thin Nail Art Brush: For drawing lines, swirls, and delicate patterns.
- Optional: Nail Stickers or Decals: A super easy way to add intricate designs.
For a deeper dive into nail care essentials, check out resources like those from the NHS on nail care, which offers practical advice for healthy nails.
Effortless Spring Nail Design Ideas: Step-by-Step
Ready to get creative? Here are some of our favorite spring nail designs that are surprisingly easy to recreate. We’ll walk you through each one, making nail art fun and accessible.
1. The “Soft Pastel Gradient”
This technique creates a beautiful, blended look using multiple pastel shades. It’s softer than a bold French tip and incredibly chic.
What You’ll Need:
- Base Coat
- 3-4 Pastel Polishes (e.g., light pink, baby blue, mint green, pale yellow)
- Cosmetic Sponge (a clean makeup sponge or even a kitchen sponge cut into small pieces)
- Top Coat
How to Create It:
- Prep: Clean, file, and shape your nails. Apply a base coat and let it dry completely.
- Apply Base Color: Paint each nail with one of your pastel colors. This serves as the base for your gradient and will show through any lighter shades. Let it dry thoroughly.
- Create the Gradient: On your sponge, paint stripes of your pastel polishes next to each other. Don’t be too neat; the blending is key! Work quickly so the polish doesn’t dry on the sponge.
- Dab onto Nail: Gently dab the sponge onto your nail, pressing down to transfer the colors. You might need several dabs to build up the color intensity and blend.
- Repeat (Optional): For a more vibrant gradient, let the first layer dry slightly, then reapply polish to the sponge and dab again.
- Clean Up: Use a small brush dipped in nail polish remover to clean up any polish that got on your skin.
- Seal the Deal: Apply a generous layer of top coat to smooth everything out and add shine.
2. The “Minimalist Floral Accent”
Add a touch of spring’s garden without going overboard. A single delicate flower on one or two nails is elegant and modern.
What You’ll Need:
- Base Coat
- Neutral or Pastel Polish (for the base color)
- White or Light Pink Polish (for petals)
- Yellow or Gold Polish (for the center)
- Thin Nail Art Brush or Dotting Tool
- Top Coat
How to Create It:
- Prep: Clean, file, and shape your nails. Apply your chosen base color to all nails and let it dry completely.
- Paint the Petals: Dip your thin brush into the white or light pink polish. On one or two accent nails, gently create 3-5 small petal shapes. Think tiny teardrops or curves, radiating from a central point you’ll add later. Don’t worry if they aren’t perfect – organic shapes look more natural!
- Add the Center: Using your dotting tool or the tip of your brush, carefully place a small dot of yellow or gold polish in the center where your petals meet.
- Optional Details: You can add a tiny green stem or a couple of leaf shapes with a fine brush if you feel adventurous.
- Clean Up: Carefully remove any stray polish lines on your skin with your cleanup brush.
- Seal: Apply a clear top coat over all nails, including the accent ones, to protect your beautiful floral art.
3. The “Chic Polka Dot Pop”
Polka dots are a timeless classic that’s perfect for spring. Keep it simple with one accent nail or have fun with different sizes and colors.
What You’ll Need:
- Base Coat
- Your favorite spring polish color(s)
- Dotting Tool (various sizes are great for dimension!) or a Toothpick
- Top Coat
How to Create It:
- Prep: Start with clean, filed nails. Apply your base coat, let it dry, then apply your chosen spring color(s) to all nails. Ensure the base color is fully dry before adding dots.
- Create the Dots: Dip your dotting tool (or toothpick tip) into a contrasting polish color. Gently press the tool onto your nail to create dots. Start from the cuticle and work your way up, or place them randomly.
- Vary Sizes: Use different sized dotting tools for a dynamic look. For instance, larger dots near the cuticle and smaller ones towards the tip.
- Color Play: You can use one accent color for the dots, or experiment with 2-3 different colors for a fun, playful vibe.
- Clean Edges: If any dots smudge or stray, use your cleanup brush with a tiny bit of remover to gently correct.
- Finish Strong: Apply a smooth layer of top coat to seal in your adorable dots.
4. The “Fresh French Twist”
Give the classic French manicure a spring makeover with color! Instead of white tips, opt for vibrant pastels or even a subtle shimmer.
What You’ll Need:
- Base Coat
- Sheer Pink, Nude, or Milky White Polish (for the base)
- Bright Pastel or Shimmer Polish (for the tips)
- Thin Nail Art Brush or French Manicure Guide Stickers
- Top Coat
How to Create It:
- Prep: Clean and shape your nails. Apply your base coat.
- Apply Base Color: Paint 2-3 thin coats of your sheer pink or nude polish. Let each coat dry thoroughly. This creates a clean, natural-looking base.
- Add Color Tips (Using a Brush): Dip your thin nail art brush into your chosen pastel or shimmer polish. Carefully paint a thin line across the tip of each nail. Try to mimic the natural curve of your nail tip. For a softer look, you can slightly overlap the color onto the nail bed.
- Add Color Tips (Using Stickers): Apply French manicure guide stickers just below the free edge of your nail. Paint the tip with your colored polish. Once dry, carefully peel off the stickers.
- Clean and Seal: Clean up any wobbly lines with your cleanup brush. Apply a final layer of top coat to protect your colorful tips.
5. The “Dewy Freshness” Look
This trend is all about a simple, clean look with a touch of gloss, mimicking a fresh, dewy finish. It’s minimalist and sophisticated.
What You’ll Need:
- Base Coat
- Sheer Milky White, Pale Pink, or Peach Polish
- High-Shine Top Coat (a gel-like finish works best!)
- Optional: A tiny bit of fine glitter or shimmer polish
How to Create It:
- Prep: Ensure your nails are perfectly shaped and buffed smooth. Apply your base coat and let it dry completely.
- Apply Color: Apply 1-2 thin coats of your sheer polish. The goal is a subtle tint, not opaque coverage.
- Optional Shimmer: If you want a hint of sparkle, apply a very sheer glitter polish over the color, or mix a tiny bit of fine glitter into your top coat.
- The Key: Top Coat! Apply a thick, juicy layer of your high-shine top coat. This is what gives the “dewy” effect. Make sure to cap the free edge of your nail to prevent chipping.
- Final Touch: Let it dry thoroughly. The result should look clean, glossy, and effortlessly healthy.
Nail Art Tools: Which Ones Are Right for Beginners?
Getting started with nail art doesn’t require a professional kit. Here’s a breakdown of tools that are great for beginners and how to use them:
| Tool | What It’s Used For | Why It’s Great for Beginners |
|---|---|---|
| Dotting Tools (Set) | Creating uniform dots, small flowers, swirls, and other simple patterns. | Easy to hold and control. Different ball sizes allow for variety without needing many brushes. |
| Thin Nail Art Brush (Liner Brush) | Drawing fine lines, delicate details, and precise outlines. | Allows for freehand creativity. Even simple lines can elevate a manicure. Practice makes perfect! |
| Cosmetic Sponge | Creating gradients (ombré effects), textured looks, and stippling. | Extremely forgiving! Dabbing creates beautiful blends that look complex but are simple to achieve. |
| Nail Stickers / Decals | Adding instant intricate designs, words, or images. | Zero artistic skill required! Just peel and stick. Perfect for busy people or those hesitant to draw. |
| Toothpick | A makeshift dotting tool for small dots or dragging polish for simple marbling. | Readily available and free! A great substitute when you don’t have a dotting tool. |
| Cleanup Brush (Fine-tipped synthetic brush) | Removing excess polish from the skin around the nail. | Essential for a neat finish. A steady hand with a small brush and polish remover makes any design look professional. |
Spring Color Palettes: Your Guide to the Season’s Hues
Choosing the right colors can make all the difference. Spring palettes are typically inspired by nature waking up. Here are some ideas to get you inspired:
Pastel Perfection
Pastels are a spring staple for a reason! They’re soft, pretty, and instantly evoke the season.
- Baby Blue: Like a clear spring sky.
- Mint Green: Reminiscent of new leaves.
- Lilac/Lavender: Delicate and romantic.
- Peach/Coral: Warm and cheerful.
- Soft Pink: Classic and feminine.
- Butter Yellow: Sunny and optimistic.
Vibrant Pops
For those who love a bit more drama, inject some brighter colors!
- Bright Teal: A lively water-inspired shade.
- Hot Pink: Bold and playful.
- Emerald Green: A chic, rich option.
- Sunshine Yellow: Bold and happy.
- Coral Orange: Energetic and summery.
Earthy Neutrals with a Twist
Don’t shy away from neutrals; give them a spring update!
- Creamy Beige: Softer than stark white.
- Light Taupe: A sophisticated neutral.
- Pearlescent White: Adds a subtle shimmer.
- Pale Grey: Modern and chic.
When combining colors, think about analogous colors (next to each other on the color wheel) for harmony, or complementary colors (opposite on the wheel) for a fun pop!
Putting It All Together: Tips for Long-Lasting Spring Nails
You’ve picked your design and have your colors ready. Now, let’s ensure your beautiful spring nails stay that way!
The Foundation: Proper Nail Prep
This is crucial! Always start with clean, dry nails. Push back your cuticles gently. Filing your nails into your desired shape (a soft almond or squoval is lovely for spring) provides a good canvas.
The Sealing Act: Top Coat is Your Best Friend
Never skip the top coat! It adds shine, protects your design from chipping and fading, and can even smooth out any texture from nail art. Reapply it every 2-3 days to add extra life to your manicure.
Avoid Water & Harsh Chemicals
Soaking nails in water can cause polish to lift. Try to wear gloves when doing dishes or cleaning. Keep nail polish remover handy for quick touch-ups, but try not to over-acetone your nails as it can dry them out.
Moisturize, Moisturize, Moisturize!
Healthy cuticles and nails are the best base for any design. Use a good cuticle oil daily and hand cream regularly, especially after washing your hands. This keeps everything looking hydrated and prevents hangnails.
When in Doubt, Keep it Simple
Sometimes, the simplest designs make the biggest statement. A single accent nail, a clean sweep of a beautiful spring color, or a few well-placed dots can be incredibly effective and require less upkeep.
Frequently Asked Questions About Spring Nail Designs
Q1: What are the most popular spring nail colors for this year?
This year, expect to see a lot of pastel shades like mint green, baby blue, soft lavender, and peach. Alongside these, vibrant corals, sunny yellows, and even subtle shimmers are trending. Don’t forget pearlescent finishes for a modern twist!

