Spring floral french nails are a beautiful way to welcome the season, blending classic French tips with fresh, blooming designs. This guide offers easy-to-follow steps and essential design ideas perfect for beginners looking to add a touch of floral magic to their manicures.
Spring is buzzing, and your nails should join the party! Are you dreaming of a manicure that’s fresh, elegant, and screams “hello, sunshine”? French tips are timeless, but adding a touch of spring’s garden beauty can elevate them to a whole new level. It’s totally achievable to create gorgeous spring floral French nails right at home, even if you’re new to nail art. Get ready to embrace a look that’s as delightful as a blooming meadow. We’ll walk through everything you need to know to rock these essential designs.
Frequently Asked Questions About Spring Floral French Nails
What exactly are spring floral French nails?
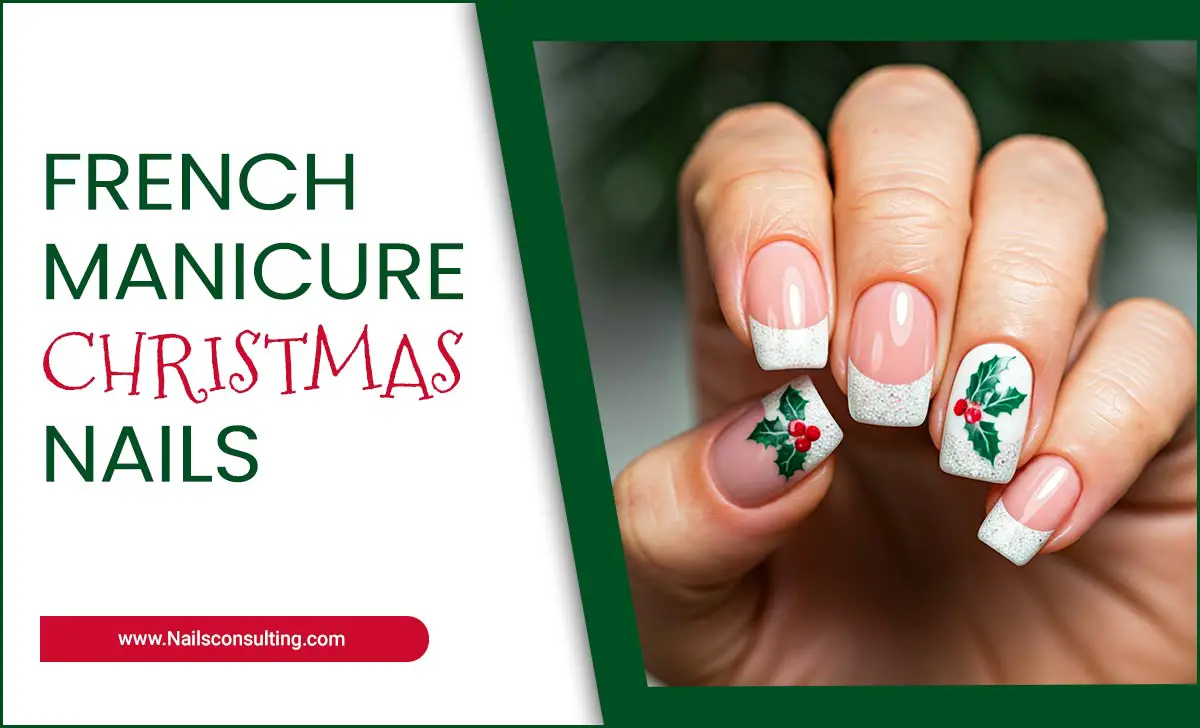
Spring floral French nails combine the classic French manicure’s clean white or colored tip with delicate floral or leaf designs painted onto the tip or base.
Are spring floral French nails difficult to do at home?
Not at all! While intricate designs can take practice, many simple floral elements are surprisingly easy to paint even for beginners. We’ll cover beginner-friendly techniques.
What are the best colors for spring floral French nails?
Think soft pastels like lavender, baby blue, pale pink, mint green, and creamy yellow. Pops of brighter floral colors like coral, fuchsia, or even a cheerful yellow can also be lovely!
Do I need special tools for floral French nails?
A few basic nail art brushes (like a detail brush and a dotting tool) are helpful, but you can often start with a fine-tipped polish brush or even toothpicks. Good quality base and top coats are essential.
How long do spring floral French nails usually last?
With proper application and care, your spring floral French nails should last about 1-2 weeks, depending on your nail health and daily activities. Using a good top coat is key!
Can I do floral French nails on short nails?
Absolutely! Floral designs can be scaled to fit any nail length. On shorter nails, consider smaller floral accents or minimalist leaf designs to keep proportions balanced.
Your Spring Floral French Nail Starter Kit
Before we dive into the fun part, let’s make sure you have the right supplies. Don’t worry; you don’t need a professional salon’s worth of gear to create beautiful spring floral French nails.
1. Base Coat
This is your foundation! A good base coat protects your natural nails from staining and helps your polish adhere better. Look for one that strengthens or nourishes your nails.
2. Nail Polish Colors
- Base Color: A sheer nude, pale pink, or milky white often works beautifully under the French tip.
- Tip Color: Classic white is always chic, but consider pastels like lilac, mint green, or baby blue for a softer spring vibe.
- Floral Colors: Think about your flower choices! You might want pinks, reds, yellows, purples, whites, and greens for petals and leaves.
3. Top Coat
This is crucial for sealing your design, adding shine, and making your manicure last longer. A quick-dry top coat is a lifesaver for busy bees!
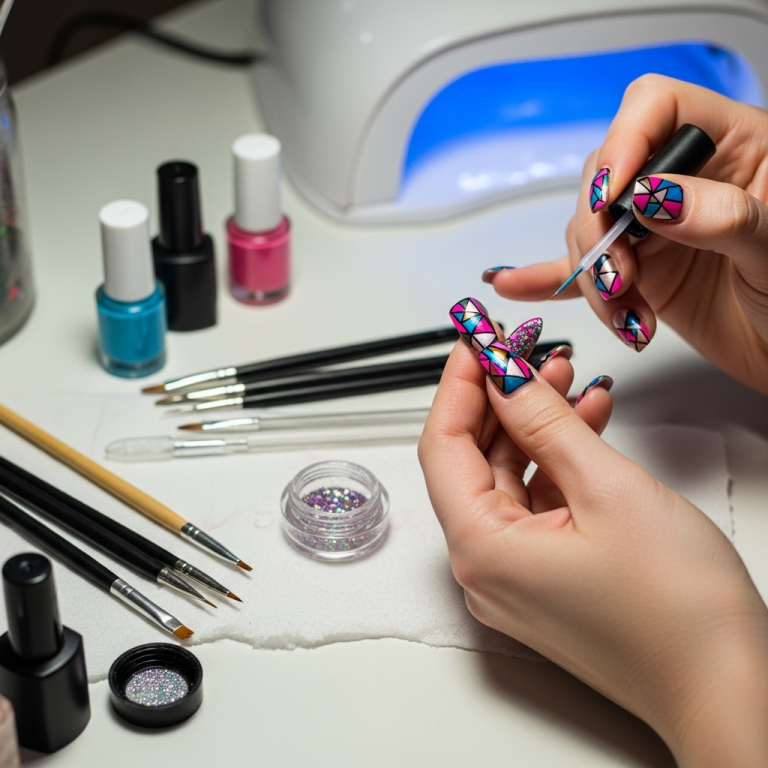
4. Nail Art Tools (Beginner-Friendly Options)
- Fine-Tipped Polish Brush: Many regular polishes have decent brushes, but a dedicated fine-tip brush (often found in nail art kits) is great for drawing delicate lines and petals.
- Dotting Tool: This has a small metal ball at the end and is perfect for creating dots that can form flower centers or petals. They come in various sizes.
- Toothpicks: Surprisingly versatile! You can use the sharp end to draw thin lines or the blunt end for small dots.
- Optional: Striping Tape: For super crisp French tips, especially if freehanding feels intimidating.
5. Clean-Up Tools
- Cuticle Pusher: To gently push back your cuticles.
- Nail Polish Remover: For correcting any mistakes.
- Cotton Swabs/Pads or a Small Brush: For precise clean-up around the nail edges.
Step-by-Step: Getting Your Nails Ready
A little prep goes a long way for a flawless finish. Follow these simple steps before you even think about picking up a detail brush!
- Clean Your Nails: Start with clean, dry nails. Remove any old polish.
- Shape Your Nails: File your nails to your desired shape. Almond, oval, or a soft square are classic choices for French tips.
- Push Back Cuticles: Gently push back your cuticles using a cuticle pusher. Healthy cuticles make for a cleaner canvas.
- Apply Base Coat: Apply one layer of your chosen base coat. Let it dry completely. This protects your nails and helps your polish grip.
- Apply Base Color (Optional): If you’re using a sheer nude or pale color for the main nail bed, apply one or two thin coats now and let them dry thoroughly.
Applying the French Tip
This is where the classic French begins! You’ve got a few ways to achieve this iconic look.
Method 1: Freehand Frenchness
This method takes a little practice but gives you the most control.
- Load Your Brush: Dip your polish brush (either the one from the bottle or a fine-tip brush) into your tip color (e.g., white or pastel). Wipe off excess polish on the bottle neck.
- Create the Smile Line: Start by drawing a thin line in the center of your nail’s free edge. Then, connect it to the sides, forming a curve that mimics a smile line. Aim for consistent thickness.
- Fill and Refine: Fill in the tip area. If your lines aren’t perfect, don’t worry! You’ll refine them later.
- Clean Up: Use a small brush dipped in nail polish remover for crisp edges. Gently trace along the smile line to clean up any wobbles.
Method 2: Using Striping Tape
Perfect for beginners who want super sharp lines!
- Apply Base Color: Ensure your base color and any main nail polish coats are completely dry.
- Place the Tape: Carefully apply a strip of nail striping tape across your nail, lining up the edge where you want your smile line to be. Press it down firmly to prevent polish bleeding.
- Apply Tip Color: Paint your tip color over the tape and the free edge of your nail. Apply in thin coats.
- Remove Tape: While the tip color is still slightly wet (but not goopy), carefully peel off the striping tape at an angle. If you wait too long, it can peel off the polish.
- Clean Up: Touch up any imperfections with a fine brush and remover.
Method 3: Nail Stamping Plates
For a quicker, more uniform look, especially with intricate designs.
- Apply Base: Ensure your base color is dry.
- Apply Polish to Plate: Apply a generous amount of your tip color polish onto the design on your stamping plate.
- Scrape and Roll: Use a stamper scraper to remove excess polish.
- Pick Up Design: Immediately roll your stamper over the design to pick it up.
- Stamp the Tip: Quickly and firmly press the stamper onto the free edge of your nail to transfer the French tip design.
- Clean Up: Clean any stray polish from the edges with a small brush and remover. Stamping plates designed for French tips can be found online. Learn more about nail stamping techniques here.
Essential Spring Floral French Nail Designs
Now for the fun part! Here are some beginner-friendly floral designs that will make your spring French tips blossom.
Design 1: The Single Bloom Accent
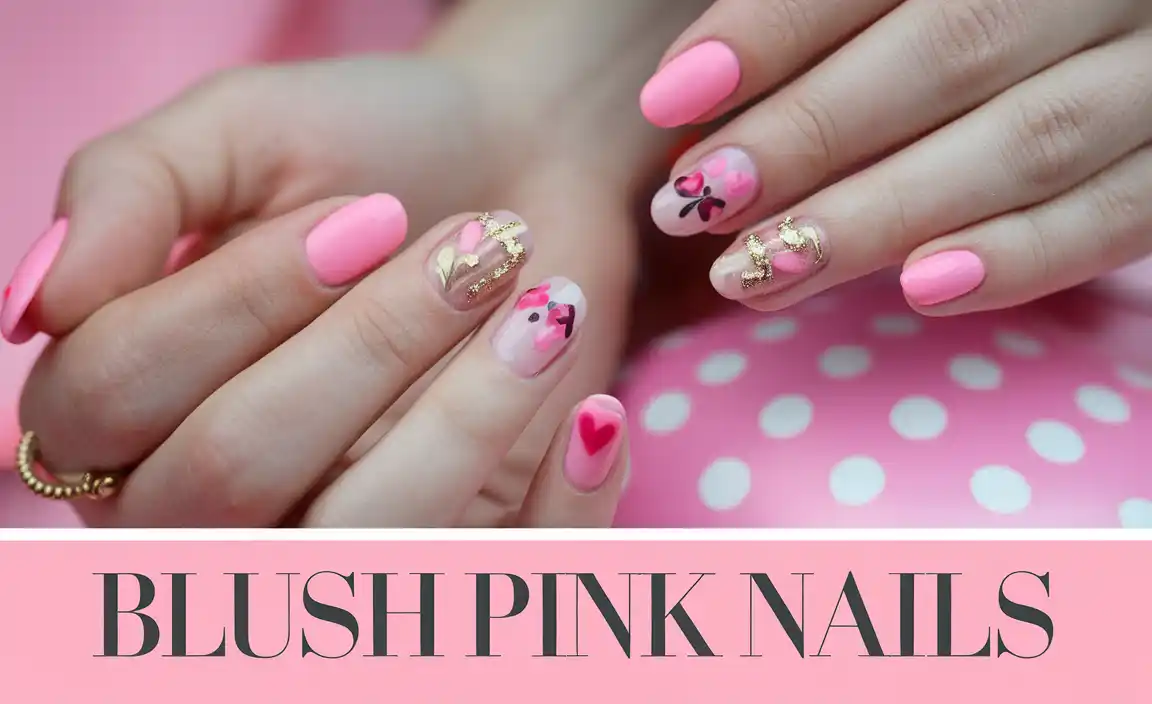
This is a minimalist’s dream! A single, delicate flower on one or two nails adds a touch of spring without being overwhelming.
- Apply French Tips: Complete your French tips as described above. Let them dry completely.
- Choose Your Accent Nail: Decide which nail(s) will feature the bloom (often the ring finger).
- Paint the Center: Using a dotting tool or the tip of a toothpick, place a small dot of color (e.g., yellow for a center) near the base of the French tip or on the nail bed, blending slightly into the tip.
- Add Petals: With a fine brush or the side of a toothpick, gently create small petal shapes around the center dot. Think of simple leaf shapes or tiny curved strokes. You can use white, pink, or a soft pastel.
- Add a Leaf: Use a green polish and a fine brush to add a tiny leaf shape next to your flower.
- Seal: Once completely dry, apply a clear top coat over the entire nail.
| Element | Tool Suggestion | Color Palette Idea |
|---|---|---|
| French Tip | Polish Brush or Striping Tape | White, Pastel Pink, Baby Blue |
| Flower Center | Dotting Tool / Toothpick | Yellow, White, Light Pink |
| Petals | Fine Brush / Toothpick Tip | White, Pastel Pink, Lavender |
| Leaf | Fine Brush | Mint Green, Olive Green |
Design 2: Delicate Vine and Buds
This design uses thin lines to create a graceful vine with tiny buds, perfect for a sophisticated look.
- Apply French Tips: Complete your French tips and let them dry.
- Draw the Vine: Using a fine-tipped brush and a green polish (like mint or olive), draw a thin, delicate line that sweeps across the nail, starting from one side of the French tip and curving gently.
- Add Buds: With a dotting tool or the tip of your brush, add small dots along the vine to represent buds. You can use white, pink, or a contrasting pastel color.
- Optional: Tiny Flowers: For a bit more detail, add a tiny dot or two next to some of the buds to suggest opening flowers. A contrasting color like pink or lavender looks lovely here.
- Seal: Apply a generous layer of top coat once everything is dry.
Design 3: Floral Tip Overlay
Here, the floral design is painted directly onto the white or colored French tip.
- Apply French Tips: Perfect your French tips and let them dry completely.
- Paint Small Flowers: Using a fine brush and various pastel colors, paint small, simple flowers directly onto the white tip. Think tiny daisies (a dot center with simple petal strokes) or tiny five-petal blossoms.
- Add Leaf Accents: Use a green polish and a fine brush to add small leaves connecting the flowers or peeking out from the sides of the tip.
- Alternative: One Larger Flower: Instead of many small ones, paint one slightly larger, simplified floral design on the French tip of your accent nail.
- Seal: Apply a clear top coat to lock in your floral masterpiece.
| Nail Part | Primary Color Suggestion | Accent Color Ideas |
|---|---|---|
| French Tip Base | Classic White, Creamy Ivory | Pale Yellow, Light Pink, Periwinkle |
| Floral Elements | Soft Pinks, Gentle Purples | Bright Yellow, Coral, White |
| Leaves & Stems | Sage Green, Mint Green | Darker Green for Shadow, Light Green for Highlights |
Design 4: The Reverse Floral French
This is a fun twist where the floral design is on the nail bed or cuticle area, complementing the French tip.
- Apply French Tips: Create your classic or colored French tips and let them dry thoroughly.
- Paint a Floral Motif: On the nail bed (the part of your nail that’s pink), paint a small cluster of flowers or a delicate vine. You can place it near the cuticle or along the sides. Use your fine brushes and favorite spring colors.
- Add Details: Add tiny dots for pollen or small green leaves to complement the flowers.
- Ensure Contrast: Make sure the colors you choose for your floral design contrast nicely with your French tip color.
- Seal: Apply a good layer of top coat to protect your detailed artwork.
Design 5: French Tip Flower Chain
Connects small floral elements directly to the tip for a cohesive look.
- Apply French Tips: Get your French tips looking sharp and let them dry.
- Start with a Stem: Using a fine brush and green polish, paint a very thin stem that extends slightly from the edge of your white French tip onto the nail bed.
- Add a Flower: At the end of or along the stem on the French tip, paint a small, simplified flower using dots or tiny petal strokes. You can use one color or a mix.
- Repeat (Optional): Add another small bud or flower further down the stem on the nail bed for a flowing effect.
- Seal: Apply your final top coat layer.
Pro Tips for Perfect Spring Floral French Nails
Even beginners can achieve salon-worthy results with a few handy tricks.
- Thin Coats are Key: Always apply polish in thin, even layers. This prevents bubbling and ensures faster drying times.
- Patience is a Virtue: Let each layer dry completely before moving to the next. This is especially important when painting details.
- Don’t Fear the Clean-Up: A small brush dipped in nail polish remover is your best friend for correcting mistakes and achieving crisp lines.
- Practice Makes Perfect: If freehanding feels daunting, practice drawing on a piece of paper or a nail tip you can discard until you feel more confident.
- Master the Dot: The humble dot can be the start of many flowers! Learn to control the size of your dots using different sized dotting tools or the tip of a needle/toothpick. Understanding nail polish application is covered well here.
- Sealing is Crucial: A good top coat not only adds shine but seals your design, preventing chips and smudges. Make sure to cap the free edge (paint a little bit onto the very edge of your nail tip) to help it last.
- Use Quality Tools: Investing in a few decent nail art brushes can make a big difference in precision and ease of use.
Creative Variations to Try
Once you’ve mastered the basics, feel free to experiment!
- Glitter French Tips: Add a touch of sparkle by using a glitter polish for your French tip or by dipping the wet tip into fine glitter.
- Ombre French Tips: Blend two pastel colors into your French tip for a softer,


