Spider Web French Nails: Genius, Essential Tips
Create stunning spider web French nails at home with these easy-to-follow tips! Learn the best tools, techniques for perfect lines, and how to make your designs last. Get ready for your most eye-catching manicure yet.
Ever dream of nails that look like they stepped right out of a chic fashion magazine? Spider web French nails are totally that vibe! They take the classic French tip and add a seriously cool, modern twist. But if you’ve tried them, you might have found yourself tangled in frustration, especially with those delicate web lines. Don’t worry, gorgeous! We’re here to unravel all the secrets to achieving those intricate, Instagram-worthy spider web French nails, making it super simple for anyone to try. Get ready to impress yourself and everyone with your amazing nail art skills!
Why Spider Web French Nails Are a Must-Try
Spider web French nails are the perfect blend of classic elegance and edgy artistry. They offer a unique way to express your style without being over-the-top. Imagine a clean, crisp French tip suddenly transformed by delicate, intricate lines that mimic a spider’s masterpiece. It’s a design that’s both sophisticated and playful, making it suitable for a casual day out or a special evening. Plus, they’re surprisingly versatile! You can play with different base colors, web colors, and even add subtle glitter for an extra sparkle. This trend is all about adding a personal touch to your manicure, and it’s easier than you think to master.
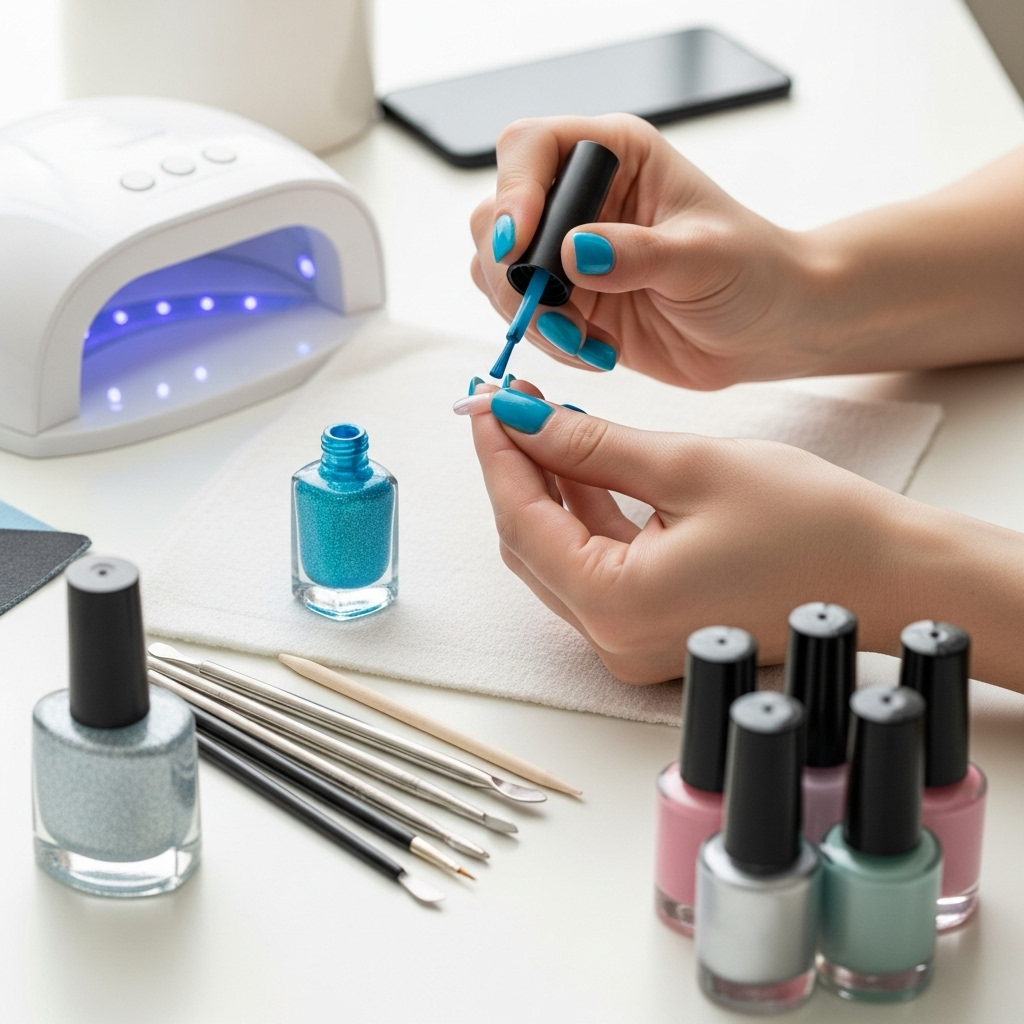
Essential Tools for Your Spider Web French Nails
Getting the perfect spider web effect is all about having the right tools. Don’t be intimidated by the idea of nail art tools; they are designed to make intricate designs accessible. Here’s what you’ll need to create your spider web French nails like a pro:
- Base Coat: To protect your natural nails and provide a smooth canvas for your design.
- Nail Polish Colors: Your choice of nude, pink, or sheer white for the French tip base, and black (or any contrasting color) for the spider web.
- Gel Polish (Optional but Recommended): Gel polish offers a longer-lasting finish and a smooth surface that’s easier to work with for fine lines. If using gel, you’ll also need a UV/LED nail lamp.
- Fine-Tipped Nail Art Brush or Dotting Tool: This is crucial for drawing the delicate web lines. Look for brushes with very fine bristles or specialized dotting tools.
- Spider Web Nail Stamping Plate (Alternative): If freehand drawing isn’t your thing, a stamping plate with a web design can be a fantastic shortcut.
- Nail Art Pen: These pens often have a fine tip that makes drawing lines much easier for beginners.
- Top Coat: To seal your design and add shine. A gel top coat is recommended if using gel polish for maximum durability.
- Nail Polish Remover and Cotton Swabs: For cleaning up any mistakes.
- Clean-up Brush: A small, angled brush is excellent for tidying up the edges of your French tip and web design.
Step-by-Step Guide to Creating Spider Web French Nails
Ready to dive in? Follow these steps for salon-worthy spider web French nails right at home!
Step 1: Prep Your Nails
Start with clean, dry nails. Push back your cuticles and gently buff the surface of your nails. Apply a thin layer of base coat and let it dry completely. This step is key for a smooth application and a manicure that lasts.
Step 2: Apply Your Base Color
Paint your nails with your chosen base color for the French tip. This could be a classic nude, a soft pink, or a sheer white. Apply one or two coats, allowing each to dry thoroughly. If you’re using gel polish, cure each coat under your UV/LED lamp according to the manufacturer’s instructions.
Step 3: Create the French Tip
Now, let’s create the French tip. You can use a fine brush to paint a white or contrasting smile line at the tip of your nail. Alternatively, you can use nail guides or a stamping plate designed for French tips. Ensure the line is clean and even. Cure if using gel.
Step 4: Draw the Spider Web
This is where the magic happens! There are a few ways to achieve the spider web effect:
- Freehand with a Fine Brush/Pen: Using your black (or chosen) polish and your fine-tipped brush or nail art pen, start by drawing a few radiating lines from the edge of your French tip into the nail bed. Then, connect these lines with small, curved strokes to create a web pattern. Don’t worry if it’s not perfectly symmetrical – the beauty of a web is in its organic, delicate nature.
- Using a Spider Web Stamping Plate: Apply a thin layer of black polish over the web design on your stamping plate. Scrape off the excess polish with a scraper. Immediately press your stamper onto the plate to pick up the design. Then, carefully roll the stamper onto the tip of your nail, over the French tip. Practice this on a piece of paper first to get the hang of it!
Pro Tip: If you’re freehanding, starting with fewer, thinner lines can be less intimidating. You can always add more detail later.
Step 5: Refine and Clean Up
Once your web design is applied, use a clean-up brush dipped in nail polish remover to gently tidy up any wobbly lines or stray polish around your cuticles and nail edges. This step makes a huge difference in the final appearance. If you’re using gel, cure your web design.
Step 6: Apply the Top Coat
Finish by applying a generous layer of top coat over your entire nail. This will seal in your design, prevent chipping, and give your spider web French nails a beautiful, glossy finish. If you used gel polish, cure your top coat under the lamp.
Gel vs. Regular Polish for Spider Web French Nails
Deciding between gel and regular polish can impact your experience and the final result. Here’s a quick breakdown:
| Feature | Gel Polish | Regular Polish |
|---|---|---|
| Durability | Excellent. Can last 2-3 weeks without chipping. | Good; typically lasts 5-7 days. |
| Drying Time | Requires UV/LED lamp curing (usually 30-60 seconds per coat). No smudging once cured. | Air dries; can take 10-20 minutes per coat and is prone to smudging. |
| Ease of Application | Smooth, self-leveling properties can make fine lines easier. Less forgiving for mistakes once cured. | Can be trickier for fine lines; easier to wipe away mistakes before drying. |
| Finish | High-gloss, chip-resistant finish. | Glossy, but can dull over time or chip more easily. |
| Removal | Requires soaking in acetone. | Easier removal with regular nail polish remover. |
For spider web French nails, gel polish is often preferred by nail artists. The viscosity of gel polish can make drawing fine lines more controlled, and the no-smudge finish after curing means you can move on without worry. However, regular polish is perfectly viable if you’re patient and careful with your strokes. Many nail art pens are designed for regular polish users, too!
Pro Tips for Flawless Spider Web Lines
Achieving those impossibly delicate spider web lines can be a challenge, but these tips will help!
- Thin Coats are Key: When drawing your web lines, especially with regular polish, use multiple thin coats rather than one thick one. This prevents pooling and ensures sharper lines.
- Test Your Brush: Before applying to your nail, test your brush or pen on a piece of paper or a nail tip. Get a feel for the consistency of the polish and how the lines flow.
- Go Slow and Steady: Don’t rush the process. Take your time with each stroke. A slow, controlled movement will yield much better results than trying to do it too quickly.
- Less is More: Start with a minimal amount of polish on your brush. You can always add more if needed, but it’s hard to take away excess.
- Use a Stabilizer (Optional): Some artists find that a rubber-based clear coat or a specialized nail art gel can provide a slightly tackier surface that helps fine lines adhere better.
- Clean Your Brush/Pen Frequently: If using a brush, wipe it clean with remover periodically to prevent polish buildup from affecting your next stroke.
- Practice on Your Non-Dominant Hand: This is where the real skill comes in! Don’t get discouraged if your non-dominant hand isn’t as perfect. Consistency comes with practice.
Creative Variations to Try
Once you’ve mastered the basic spider web French nail, why not get creative? Here are some fun ideas to put your own spin on the design:
- Color Play: Experiment with different base colors for the French tip – think deep reds, blues, or even pastels. For the web, try white, silver, gold, or even a metallic shade.
- Glitter Webs: Add a touch of sparkle by using a glitter polish for your web lines, or even a fine glitter sprinkled over wet polish.
- Ombre French Tips: Combine the spider web design with a beautiful French ombre.
- Accent Nail: Instead of doing the web on all nails, try it on just one or two accent nails for a subtler look.
- Mini Webs: Draw tiny, minimalist webs that only cover a small portion of the nail tip. Sometimes less is truly more!
- 3D Webs: For the ambitious, try using 3D gel or acrylic paint to create raised web textures.
For inspiration on color pairings, you can look at trend forecasts for nail colors. The Pantone Color Institute often releases seasonal color palettes that can spark fantastic ideas for coordinating your nail art.
Troubleshooting Common Spider Web Nail Issues
Even with the best tips, you might encounter a few snags. Here’s how to fix them:
Issue: Lines are too thick or blobby.
Solution: You’re likely using too much polish. Wipe your brush/pen on the edge of the polish bottle more thoroughly. Aim for a very fine, consistent line. If using regular polish, speed is a factor – try to draw the lines while the polish is still wet but not so wet that it pools. For gel, ensure your brush is not overloaded.
Issue: Lines are breaking or streaky.
Solution: Your polish might be too thin or drying too fast. If using regular polish, try a slightly thicker formula or work in smaller sections. Ensure your brush has enough polish. For gel, make sure you have enough product on your brush and that it’s applied smoothly.
Issue:]{label{faq}}My web design smudges easily.
Solution: This is most common with regular polish. Ensure each layer is completely dry before proceeding. Avoid touching your nails until they are fully set. If you’re finding it hard to prevent smudges, consider using gel polish, which cures under a lamp and becomes instantly smudge-proof.
Issue: The French tip line is uneven.
Solution: Practice makes perfect! Use nail guides for a clean line. If you’ve made a mistake, don’t wipe it all off. Dip a small clean-up brush in nail polish remover and carefully sculpt the edge of the French tip to make it cleaner. Precision is key here.
Issue: The web doesn’t look symmetrical.
Solution: A true spider web isn’t perfectly symmetrical! Embrace the organic look. If you want more defined symmetry, try using a stamping plate designed for web patterns or drawing guide dots first.
Frequently Asked Questions about Spider Web French Nails
Q1: What base color works best for spider web French nails?
A1: Neutrals like nude, sheer pink, or milky white are classic and let the web design pop. However, darker colors can create a dramatic effect, especially with metallic webs.
Q2: Can I do spider web French nails with regular nail polish?
A2: Absolutely! While gel polish can offer more control, you can achieve beautiful results with regular polish using a fine-tipped brush or nail art pen. Just be patient with drying times.
Q3: How long does it take to do spider web French nails?
A3: For beginners, expect to spend anywhere from 30 to 60 minutes, especially on your first try with intricate designs. With practice, you can speed this up to around 20-30 minutes.
Q4: What kind of brush is best for drawing the web lines?
A4: A very fine-tipped detail brush, script liner brush, or the fine tip of a nail art pen is ideal. Look for synthetic bristles that hold their shape well.
Q5: How do I clean up mistakes while drawing the web?
A5: Dip a small, angled clean-up brush into nail polish remover (or alcohol for gel polish) and carefully trace around the lines to remove excess polish and sharpen edges. Do this before the polish fully dries or cures.
Q6: Can I add glitter to my spider web French nails?
A6: Yes! You can use a glitter polish for the web lines, apply fine glitter over wet polish, or even incorporate glitter into your top coat for a subtle shimmer.
Conclusion
There you have it – your complete guide to creating show-stopping spider web French nails! From choosing the right tools to mastering delicate lines and exploring creative variations, you’re now equipped to transform your fingertips into tiny works of art. Remember, practice is your best friend, especially when you’re learning new nail art techniques. Don’t be afraid to experiment with colors, textures, and styles to find what truly reflects your personality. So grab your polishes, unleash your inner artist, and get ready to rock those amazing spider web French nails. You’ve got this, and Nailerguy is cheering you on every stroke of the way!