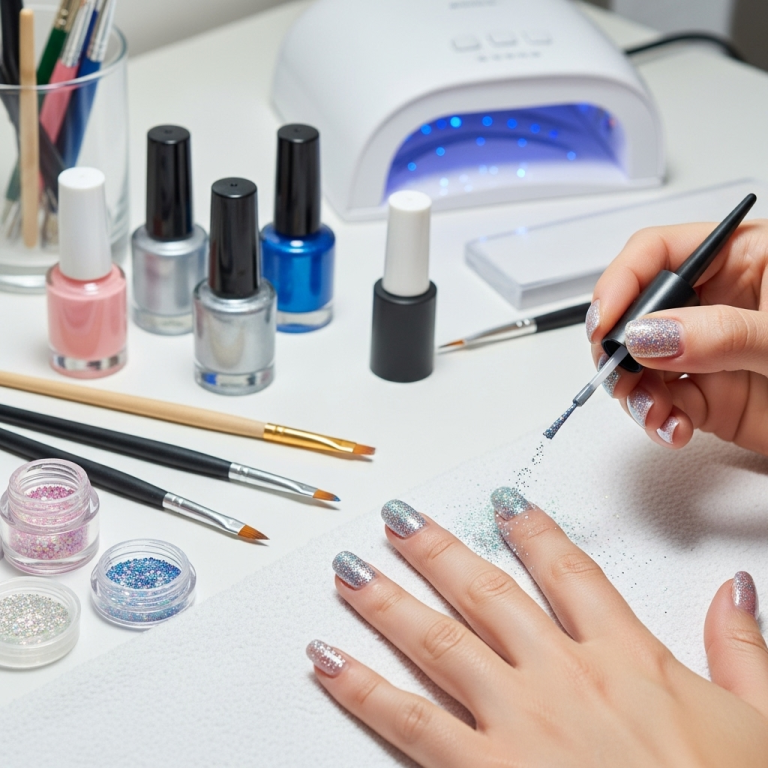
Space chrome nails are an out-of-this-world way to add a futuristic, dazzling finish to your manicure. With just a few key products and simple techniques, you can achieve a stunning, mirrored effect that catches the light. This guide breaks down everything you need to know to create these mesmerizing looks right at home.
Are you mesmerized by those impossibly shiny, almost metallic-looking nails that seem to shimmer with cosmic energy? If you’ve ever scrolled through nail art inspiration online and stopped dead in your tracks at a pair of “space chrome nails,” you’re not alone! These galactic-inspired manicures are the latest trend, offering a futuristic vibe that’s both edgy and elegant. But don’t let their high-tech appearance fool you; achieving this dazzling finish is totally doable, even if you’re new to nail art. We’re here to demystify the magic and guide you through creating your own stunning space chrome nails, making it easy and fun every step of the way. Get ready to shine brighter than a supernova!
What Exactly Are Space Chrome Nails?
Space chrome nails are a nail art trend characterized by a super-reflective, metallic finish that mimics the look of polished chrome or the vast, shimmering expanse of outer space. Think of nebulae, distant stars, and the polished surfaces of spacecraft – that’s the aesthetic we’re going for! Unlike traditional nail polish which offers a painted-on color, chrome nails achieve their unique sheen through a special powder applied over a gel polish base.
The “space” element often comes into play with the color palette and design. While classic silver or gold chrome are popular, space chrome can incorporate deeper blues, purples, blacks, and even iridescent finishes that evoke galaxies, planets, and celestial phenomena. It’s a versatile trend that can be as subtle or as bold as you like!
Why You’ll Love Space Chrome Nails
- Eye-Catching Shine: The reflective quality is undeniable and instantly elevates any manicure.
- Futuristic Vibe: It’s a trendy, modern look that feels cutting-edge and stylish.
- Surprisingly Versatile: Works with a variety of base colors and can be adapted to different nail shapes.
- Long-Lasting: When applied over gel polish, the chrome effect can last for weeks.
- DIY Friendly: With the right tools and a little practice, you can achieve salon-quality results at home.
Essential Tools and Materials for Space Chrome Nails
Before we dive into creating these stellar looks, let’s gather our supplies. Having everything ready will make the process smooth and enjoyable.
The Must-Haves:
- UV/LED Nail Lamp: Essential for curing gel polish and top coat. A good quality lamp is a worthwhile investment for any gel manicure enthusiast. Learn more about choosing the right lamp here.
- Gel Base Coat: Provides a smooth surface for the chrome powder to adhere to.
- Gel Top Coat (No-Wipe): This is CRUCIAL! A “no-wipe” top coat means it doesn’t leave a sticky residue after curing, which is necessary for the chrome powder to stick to.
- Your Chosen Gel Polish Color(s): These will be the base color under the chrome effect. Darker colors like black, navy, or deep purple often provide a stunning contrast for chrome.
- Chrome Nail Powder: This is the magic ingredient! It comes in various colors – silver, gold, iridescent, holographic, and more. For “space” vibes, consider iridescent blues, purples, or black chrome.
- Silicone Applicator or Eyeshadow Sponge: These are used to pick up and rub the chrome powder onto the nail.
- Nail File and Buffer: For shaping and prepping your nails.
- Cuticle Pusher: To gently push back cuticles for a clean canvas.
- Rubbing Alcohol or Gel Cleanser: To cleanse the nail before application.
- Lint-Free Wipes: For cleaning up any dust and residue.
Step-by-Step Guide to Achieving Space Chrome Nails
Ready to transform your nails into shimmering galaxies? Follow these simple steps for a flawless, out-of-this-world manicure.
Step 1: Prep Your Nails
Just like with any manicure, proper nail prep is key to longevity and a smooth finish. Start by removing any old polish. Then, gently file your nails into your desired shape and use a buffer to lightly buff the surface of each nail. This creates a slightly rough surface for the gel polish to adhere to. Gently push back your cuticles with a cuticle pusher and cleanse your nails with rubbing alcohol or gel cleanser to remove any oils or dust. Make sure they are completely dry.
Step 2: Apply Gel Base Coat
Apply a thin, even layer of your gel base coat to each nail. Be careful not to get any on your cuticles. Cure this layer under your UV/LED lamp according to the lamp’s instructions (usually 30-60 seconds). This forms the foundation for your gel polish.
Step 3: Apply Your Base Gel Color
Now, apply your chosen gel polish color. For a true “space” effect, dark blues, purples, or black are fantastic choices. Apply a thin, even coat and cure it under the lamp. You’ll likely need two coats for full opacity. Apply the second coat, cure it, and then very important wipe away any excess tackiness with a lint-free wipe and rubbing alcohol. The nail should be fully cured but not have a sticky inhibition layer.
Step 4: Apply the Chrome Powder
This is where the magic happens! Dip your silicone applicator or sponge into the chrome nail powder. Gently rub the powder onto the surface of your cured gel polish in a circular or buffing motion. You’ll see the chrome effect start to appear as you rub. Be sure to cover the entire nail surface evenly.
Pro Tip: Start with a small amount of powder and build it up. Too much at once can make it chunky. If you notice patchy spots, apply a bit more powder and continue rubbing until you achieve a smooth, consistent shine.
Step 5: Seal the Shine!
Once you’re happy with the chrome coverage, gently brush away any excess powder from around your nails with a soft brush. Then, apply a thin, even layer of your NO-WIPE gel top coat. This is crucial – a regular top coat will smudge the chrome effect. Make sure to cap the free edge of your nail by running the brush along the tip. Cure this final layer under your UV/LED lamp for the recommended time.
Step 6: Final Touches
After curing the top coat, your space chrome nails are complete! There’s no need to wipe away any residue because you used a no-wipe top coat. If you want, you can apply cuticle oil to rehydrate the skin around your nails.
Stunning Space Chrome Nail Design Ideas
Now that you know the basic technique, let’s explore some dazzling design ideas to make your space chrome nails truly unique!
1. The Classic Cosmic Chrome
Base Color: Deep midnight blue or black gel polish.
Chrome Powder: Iridescent or holographic chrome powder.
Look: Apply the base color, cure, then rub in the iridescent or holographic powder. This creates a mesmerizing, shifting color effect reminiscent of a distant galaxy. The deeper the base, the more intense the shimmer will appear.
2. Nebula Swirls
Base Color: Black or deep space blue gel polish.
Chrome Powder: A mix of purple and blue chrome powders (or a pre-mixed iridescent purple/blue).
How-To:
- Apply and cure your dark base color.
- Rub a lighter color chrome powder (e.g., purple) over a portion of the nail.
- Using a different applicator, rub a contrasting chrome color (e.g., blue) next to it, blending slightly.
- You can also use a fine brush and a bit of gel paint to create wispy “nebula” lines before applying a final layer of clear gel or top coat over the blended chrome.
- Apply your no-wipe top coat and cure.
Look: This creates a beautiful, layered effect that mimics the swirls of gas and dust in nebulae.
3. Starry Night Chrome Accent
Base Color: Black or dark navy gel polish.
Chrome Powder: Silver or holographic chrome powder for accent nails.
How-To:
- Perform the full chrome application on one or two accent nails (e.g., ring finger).
- On the remaining nails, apply the dark base color and then a regular (not chrome) gel top coat. Cure.
- While the regular top coat is still slightly tacky (or apply a thin layer of regular gel top coat and flash cure for just 5 seconds), carefully place tiny silver or holographic glitter pieces or use a fine nail art brush to draw tiny dots to resemble stars on the non-chrome nails.
- Apply your no-wipe top coat over the chrome nails, and a regular gel top coat over the starry nails, and cure.
Look: A sophisticated contrast between the high-shine chrome and a matte (or subtly glittered) dark sky.
4. Galactic Gradient Chrome
Base Color: Transition from black to deep purple or navy.
Chrome Powder: Iridescent or multi-chrome powder.
How-To:
- Apply a thin layer of black gel polish and cure.
- On the top half of the nail, apply deep purple gel polish and blend it down into the black. Do the same with navy if you’re using three colors. Cure.
- Apply your no-wipe top coat over the entire nail and cure.
- Now, rub the multi-chrome powder over the entire nail. The different base colors will make the chrome shift and reveal different hues.
Look: A seamless blend of cosmic colors with a striking chrome finish that changes as you move.
5. Crystal Shard Chrome
Base Color: Clear or milky white gel polish.
Chrome Powder: Silver or ice-blue chrome powder.
How-To:
- Apply and cure your clear or milky base.
- Apply your no-wipe top coat and cure.
- Rub silver or ice-blue chrome powder over the entire nail.
- Using a fine brush and a bit of clear builder gel or top coat, create sharp, angular lines or “shard” shapes on top of the chrome.
- Cure again.
Look: A sharp, crystalline effect with a cool, icy metallic sheen.
Troubleshooting Common Space Chrome Nail Issues
Even with practice, you might encounter a few hiccups. Here’s how to fix them:
| Problem | Cause | Solution |
|---|---|---|
| Chrome looks patchy or uneven | Base gel coat was not fully cured, or not enough chrome powder was used. | Ensure your base gel is fully cured. Use a bit more powder and rub more vigorously. If patchy, gently buff and reapply chrome. |
| Chrome smudges or loses its shine | Used a regular gel top coat instead of a no-wipe one. | Always use a dedicated “no-wipe” gel top coat specifically for chrome applications. |
| Chrome powder doesn’t stick | The gel polish base layer (color) was not fully cured or has too much of a sticky inhibition layer. | Ensure each gel polish layer is cured properly. If using a color that leaves a lot of tackiness, gently swipe with alcohol before applying chrome. |
| Powder gets all over the cuticle area | Too much pressure when rubbing, or applicator was too large. | Use a gentler touch and smaller applicator. Cleanse around the cuticle with an orange stick dipped in alcohol before top coating. |
| Chrome looks dull | Too much dust left on the nail, or not enough rubbing. | Brush off excess powder thoroughly. Rub until you achieve maximum shine. Ensure your applicator is clean. |
Maintaining Your Space Chrome Nails
To keep your space chrome nails looking stellar for as long as possible, follow these care tips:
- Avoid Harsh Chemicals: Prolonged exposure to cleaning products, solvents, or even certain lotions can dull the shine. Wear gloves when doing chores!
- Moisturize: Keep your cuticles and the skin around your nails hydrated with cuticle oil. This prevents dryness that can lead to lifting.
- Be Gentle: Avoid using your nails as tools. This can cause chips or cracks in the polish, affecting the chrome layer.
- No Scraping: Don’t try to scrape off any bits of polish; opt for proper removal when it’s time for a change.
Frequently Asked Questions About Space Chrome Nails
Q1: Can I do chrome nails over regular nail polish?
A1: No, traditional chrome powders are designed to adhere to the sticky inhibition layer of cured gel polish, especially a no-wipe gel top coat. They typically won’t stick to air-dried regular polish.
Q2: What’s the difference between chrome powder and holographic powder?
A2: Chrome powder creates a solid, metallic, mirrored finish (like actual chrome). Holographic powder creates a rainbow effect under direct light, often with a metallic base but focusing on the spectral shine.
Q3: How long do gel chrome nails typically last?
A3: When applied correctly over gel base and top coats, gel chrome nails can last anywhere from 2 to 4 weeks, often until you’re ready for a new manicure.
Q4: Can I use any color gel polish as a base for chrome?
A4: Yes! While dark colors provide the most dramatic contrasting effect, you can use almost any gel polish color as a base. Lighter colors will create a softer, lighter chrome finish.
Q5: Is it safe to use a UV/LED lamp at home?
A5: Yes, UV/LED lamps designed for home use are safe when used as directed. Be sure to follow the curing times specified by your gel polish and lamp manufacturer.
Q6: How do I remove chrome gel polish?
A6: Removal is the same as regular gel polish. You’ll typically soak cotton balls in acetone or gel remover, place them directly on the nails, wrap with foil, and let them sit for about 10-15 minutes until the gel softens. Then, gently push off the softened gel with a cuticle pusher or orangewood stick. Avoid picking or peeling.
The Final Frontier: Your Space Chrome Journey
There you have it – your comprehensive guide to creating breathtaking space chrome nails from the comfort of your home! We’ve covered everything from the essential tools to step-by-step application and creative design ideas. Remember, nail art is all about self-expression and having fun. Don’t be afraid to experiment with different color combinations and techniques.
Whether you opt for a sleek, mirrored silver or a deep, shimmering galaxy effect, space chrome nails are sure to turn heads and boost your confidence. Embrace the journey, practice your technique, and get ready to rock nails that are truly out of this world! Happy polishing!


