Spa nail designs offer a serene escape for your fingertips, blending elegant simplicity with calming aesthetics. Discover five effortless yet stunning looks perfect for beginners, transforming your nails into miniature works of art that radiate tranquility and style.
Dreaming of nails that feel like a mini spa day? You know, those super chic, relaxing designs that just look…put together? Sometimes, getting that polished, serene look can feel a bit tricky, especially if you’re just starting out with nail art. You want something beautiful, but also easy to achieve right at home. Well, you’re in the right spot! We’re about to unlock the secrets to spa nail designs that are both incredibly easy to create and stunningly gorgeous. Get ready to give your nails a luxurious upgrade without any fuss.
Dive into the World of Spa Nail Designs
Spa nail designs are all about evoking a sense of calm, luxury, and gentle beauty. Think soft colors, subtle textures, and minimalist patterns that bring a touch of tranquility to your everyday. They’re the perfect antidote to busy schedules and a fantastic way to express your style in a refined, understated way. These designs often draw inspiration from natural elements, soothing spa treatments, and the peaceful ambiance of a high-end retreat.
The beauty of spa nail designs lies in their versatility. They’re appropriate for almost any occasion, from a day at the office to a relaxed weekend brunch, and even special events. They’re the kind of nails that make you feel effortlessly elegant and confident. Plus, most of these looks are surprisingly simple to recreate at home, making them perfect for beginners looking to elevate their manicure game.
Why Choose Spa Nail Designs?
- Elegance & Sophistication: They exude a timeless, understated charm.
- Versatility: Perfect for any occasion, from casual to formal.
- Relaxing Aesthetic: The designs themselves promote a sense of calm.
- Beginner-Friendly: Many popular designs are easy to master.
- Budget-Conscious: Achieve a salon-quality look without the salon price tag.
Effortless Spa Nail Design Ideas for Beginners
Ready to get creative? Let’s explore some simple yet stunning spa nail designs that you can totally rock. We’ll break them down step-by-step, so you can follow along with ease.
1. The Classic French Manicure Makeover
The French manicure is a timeless classic for a reason! It’s clean, chic, and instantly makes nails look polished. We’re giving it a spa-like twist with softer colors and a smooth finish.
What You’ll Need:
- Base coat
- Sheer nude or milky pink polish
- White polish (or a soft cream color for a modern look)
- Fine-tip art brush or French tip guide stickers
- Top coat
Step-by-Step Guide:
- Prep Your Nails: Start with clean, dry nails. Push back your cuticles and file them into your desired shape (a soft squoval or rounded shape works beautifully for this look). Apply a base coat for protection.
- Apply the Base Color: Paint your nails with one or two thin coats of your sheer nude or milky pink polish. Let each coat dry completely. This sheer layer provides a lovely, healthy-looking base.
- Create the White Tip: This is where you have a couple of options for that perfect smile line:
- Freehand with a Brush: Dip a fine-tip art brush into your white polish. Gently paint a curved line across the tip of each nail. Start from one side of the tip, curve across the top, and finish on the other side. Aim for a smooth, consistent curve.
- Using Guide Stickers: Apply French tip guide stickers just below where you want your white tip to start. Paint over the exposed tip with white polish. Once the polish is slightly tacky (not fully dry), carefully peel off the sticker.
- Refine if Needed: If your lines aren’t perfectly even, you can use a cleanup brush dipped in nail polish remover to gently neaten the edges.
- Seal the Deal: Once the white tips are completely dry, apply a generous coat of your favorite shimmering or glossy top coat. This adds shine and protects your design.
2. Serene Ombre Nails
Ombre nails blend colors seamlessly for a gradient effect that’s incredibly soothing and sophisticated. This spa version uses soft, muted tones.
What You’ll Need:
- Base coat
- Two complementary pastel or nude polishes (e.g., a light pink and a soft peach; a pale lavender and white)
- Makeup sponge (a clean cosmetic sponge or a small piece of a textured sponge)
- Small dish or a piece of foil
- Top coat
Step-by-Step Guide:
- Base Coat: Apply your base coat and let it dry.
- Apply the Lighter Color: Paint all your nails with one or two thin coats of the lighter shade of polish. Let it dry fully.
- Prepare the Ombre: On your small dish or foil, apply a stripe of the darker polish right next to a stripe of the lighter polish.
- Create the Gradient: Gently dab the edge of your makeup sponge into the two stripes of polish, picking up both colors.
- Sponge it On: Lightly dab the sponge onto the tip of your nail, starting from the free edge and lightly moving upwards. Repeat this “dabbing” motion, building the gradient. You don’t want to swipe; pressing gently is key!
- Repeat for Other Nails: Reload your sponge with polish and repeat the process for each nail. You might need to reapply polish to the sponge several times.
- Clean Up: Use a small brush dipped in nail polish remover to clean up any polish that got onto your skin around the nail.
- Top Coat: Once the ombre is dry, apply a generous layer of top coat to smooth out the texture of the sponge and add a beautiful shine.
3. Minimalist Dot Art
Sometimes, less is more! Delicate dots placed strategically can create a chic, modern spa look without being overwhelming. It’s incredibly easy to personalize.
What You’ll Need:
- Base coat
- A clean, neutral polish color (like a soft grey, beige, or muted blue)
- A contrasting color for the dots (white, gold, silver, or a darker shade of your base)
- Dotting tools of various sizes OR a toothpick
- Top coat
Step-by-Step Guide:
- Prep and Base: Apply your base coat and then paint your nails with your chosen neutral polish. Let it dry thoroughly.
- Choose Your Dot Placement: Decide where you want your dots. Popular spots include:
- A single dot near the cuticle.
- A small cluster of dots on one side of the nail.
- A delicate line of dots leading up from the tip.
- Apply the Dots: Dip your dotting tool (or toothpick) into the contrasting polish. Gently press the tip onto your nail where you envision your dot. You can use different sized dotting tools to create variety.
- Be Precise: Aim for consistent pressure to ensure even-sized dots. It’s better to apply less polish to your tool and add more if needed, rather than have a blob.
- Let it Dry: Allow the dots to dry completely before applying a top coat.
- Seal with Top Coat: Apply a clear, glossy top coat over the entire nail to protect your minimalist art.
4. Subtle Metallic Accents
Adding a touch of metallic can elevate a simple manicure to spa-level luxury. Think subtle gold, silver, or rose gold for a sophisticated shimmer.
What You’ll Need:
- Base coat
- A soft, solid color polish (e.g., creamy white, pale pink, light grey)
- A metallic polish (gold, rose gold, silver)
- Fine-tip art brush, striping tape, or a metallic foil sticker
- Top coat
Step-by-Step Guide:
- Base and Color: Apply your base coat, then paint your nails with your chosen solid color. Let it dry completely.
- Choose Your Metallic Element:
- Metallic Tip: Use a fine art brush or striping tape to create a thin metallic line across the tip of the nail, similar to a French tip but in metallic.
- Accent Line: Apply a thin striping tape horizontally or vertically across one or two nails before painting the solid color. Once dry, carefully peel off the tape to reveal the naked nail underneath, then fill in the gap with metallic polish. Or, just paint a thin line directly with a metallic polish.
- Cuticle Accent: Paint a thin metallic line right at the base of the nail, adjacent to the cuticle.
- Foil Sticker: Apply a metallic foil sticker in a simple shape (like a dot or a thin strip) onto the nail, then seal it with a top coat.
- Apply Metallic Polish: Carefully apply your metallic polish using your chosen method. If using a brush, use a steady hand. If using tape, ensure it’s pressed down firmly first.
- Seal It: Once the metallic polish is dry, apply a protective top coat.
5. The Milky White Smoothie
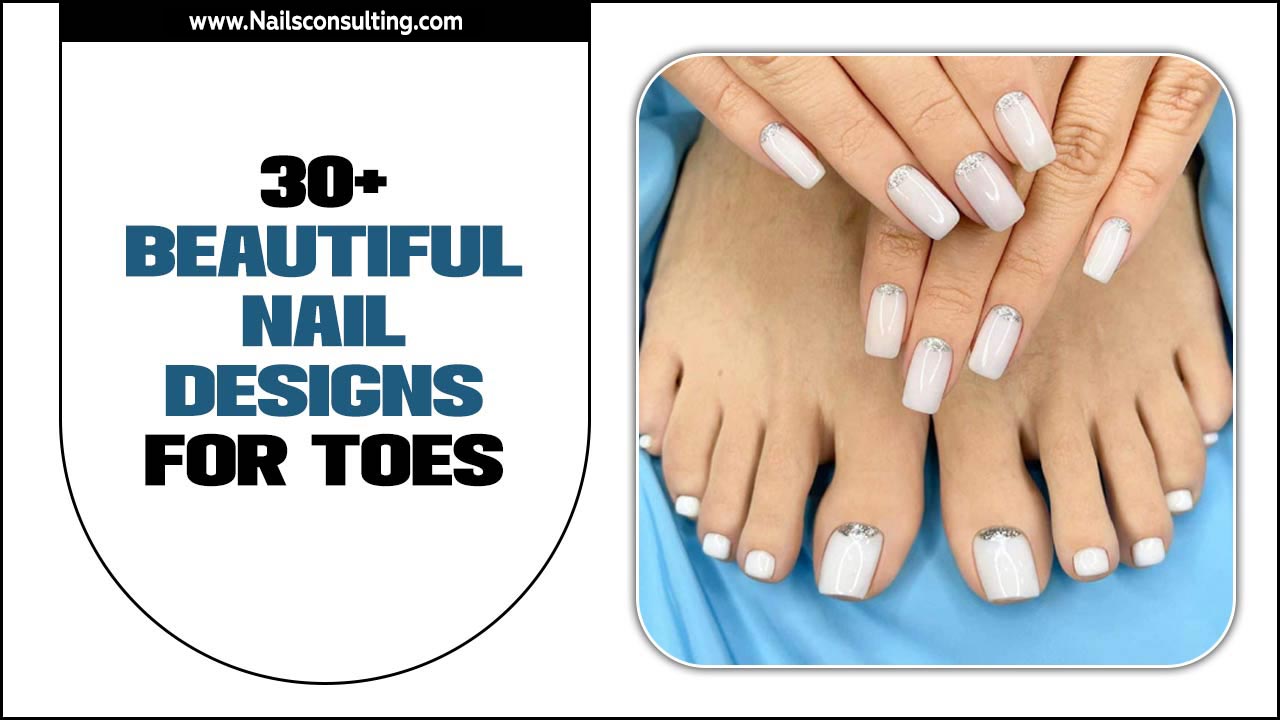
This is one of the most popular spa nail trends right now! It’s a sheer, milky white polish that looks incredibly elegant, clean, and modern. It gives the illusion of naturally healthy, perfected nails.
What You’ll Need:
- Base coat
- A “milky white” or “sheer white” nail polish. These are different from opaque white polishes. They have a translucent quality.
- Top coat
Step-by-Step Guide:
- Prep: Start with perfectly prepped nails – clean, filed, and with cuticles pushed back. Apply a good quality base coat.
- First Coat: Apply a thin, even coat of your milky white polish. This coat will likely look quite sheer. Let it dry completely.
- Second Coat: Apply a second thin coat. This will build up the opacity slightly, giving it that beautiful milky look. Let it dry.
- Third Coat (Optional): For a more opaque finish, apply a third thin coat. The key here is “thin” coats to avoid streaks and provide a smooth finish.
- Seal: Once you’re happy with the opaqueness and the polish is dry, apply your favorite glossy top coat. The shine really makes this look pop!
Essential Tools for Your Spa Manicure
Having the right tools can make all the difference in achieving those professional-looking spa nail designs at home. Don’t worry, you don’t need a huge collection to start!
| Tool | Purpose | Why It’s Great for Spa Designs |
|---|---|---|
| Nail File | Shaping nails | Helps create clean, uniform edges for a polished look. A fine-grit file is best. |
| Cuticle Pusher/Orange Stick | Gently pushing back or cleaning up cuticles | Clean cuticles are essential for a neat, spa-like finish. |
| Base Coat | Protects natural nails and helps polish adhere | Creates a smooth canvas and prevents staining, vital for lighter spa colors. |
| Top Coat (Glossy/Shimmer) | Seals polish, adds shine, and protects design | Enhances the sleek, luxurious feel of spa designs. Shimmer top coats add subtle elegance. |
| Fine-Tip Art Brush | For detailed lines, dots, or small designs | Perfect for creating delicate accents like French tips or minimalist dots. |
| Dotting Tools | Creating uniform dots of various sizes | Effortless way to achieve perfect dots for designs like minimalist art. |
| Makeup Sponge | For blending colors in ombre effects | Ideal for achieving that soft color transition characteristic of spa ombre nails. |
| Striping Tape | Creating clean, straight lines or geometric patterns | Excellent for metallic accent nails or modern French tips. |
| Nail Polish Remover & Cleanup Brush | Correcting mistakes and cleaning edges | Essential for maintaining crisp lines and a professional finish. |
Nail Care Tips for the Ultimate Spa Experience
Achieving beautiful spa nail designs starts with healthy, well-cared-for nails. Here are some simple tips to keep your nails looking their best, enhancing any design you choose.
- Moisturize Regularly: Keeping your cuticles and hands hydrated is key. Use cuticle oil or a rich hand cream daily. This prevents hangnails and keeps your skin soft, which complements any nail look. For great options, explore the nourishing benefits of Mayo Clinic’s guide to nail care, which emphasizes overall health.
- Gentle Filing: Always file your nails in one direction to avoid weakening them. This helps prevent peeling and makes your base color application smoother.
- Healthy Base & Top Coats: Never skip your base and top coats! They protect your natural nail from staining (especially important with lighter colors) and seal your design for longevity.
- Hydration is Key: Drink plenty of water! Internal hydration reflects in the health and appearance of your nails and skin.
- Give Nails a Break: Occasionally, go polish-free to let your nails breathe and recover.
Frequently Asked Questions (FAQ)
Q1: How can I make sure my spa nail designs look neat and professional?
A: Start with properly prepped nails (clean, filed, and cuticles neat). Use good quality polish and take your time. For clean lines, use a fine-tip brush dipped in nail polish remover to clean up any mistakes around the edges of your nails, or use striping tape for perfectly straight lines.
Q2: What are the best colors for spa nail designs?
A: Think soft, calming, and neutral shades. This includes milky whites, sheer nudes, pale pastels (like blush pink, baby blue, mint green, soft lavender), muted greys, and subtle metallics like gold or rose gold. The goal is understated elegance.
Q3: My ombre nails look streaky. How can I fix this?
A: The key to smooth ombre is the gentle dabbing motion with the sponge. Avoid swiping! Ensure you reload your sponge with polish frequently and dab lightly. You can also go over the whole nail with a slightly thicker top coat once dry to help meld the colors and smooth any texture.
Q4: Can I use regular polish for spa designs, or do I need special polishes?
A: You can absolutely use regular nail polish! For specific looks like the “milky white,” you’ll want a sheer or milky finish polish, which is available in regular formulas. For French tips or dots, any standard white or metallic polish will work. The trick is in the application technique.
Q5: How long do these simple spa nail designs usually last?
A: With a good base coat, careful application, and a solid top coat, most simple spa nail designs can last anywhere from 5 to 10 days without chipping. Regular application of cuticle oil can also help keep the polish flexible and less prone to cracking.
Q6: What’s the difference between a sheer white and an opaque white polish for spa designs?
A: An opaque white polish completely covers the nail, like a solid block of color. A sheer white or milky white polish is translucent. It allows some of your natural nail color to show through, creating a soft, creamy, almost ethereal look. This translucency is what gives it that signature spa aesthetic.
Conclusion: Your Spa Sanctuary Awaits!
There you have it! Creating beautiful, spa-inspired nail designs at home is totally achievable, even for beginners. We’ve walked through classic French twists, dreamy ombres, chic minimalist dots, elegant metallic accents, and the ever-popular milky white look. Remember, the essence of spa nail designs is about bringing a sense of calm, purity, and understated beauty to your fingertips.


