Looking for spa nail designs that blend relaxation with chic style? Discover easy, elegant ideas perfect for beginners. Learn simple techniques to achieve a salon-worthy manicure right at home, transforming your nails into a miniature spa retreat.
Do you dream of having nails that look like they just stepped out of a serene spa? Sometimes, achieving that polished, calming look feels like a distant goal, especially when you’re new to nail art. You might think intricate designs are the only way to get a sophisticated vibe, or perhaps you’re unsure where to start with colors and finishes. Don’t worry, we’ve all been there! Creating beautiful, spa-inspired nails is simpler than you think. It’s all about embracing clean lines, soothing colors, and a touch of subtle elegance. Get ready to discover some genius ideas that will have your nails looking effortlessly chic and wonderfully relaxed, no complicated techniques required!
Spa Nail Designs: Your Ultimate Guide to Effortless Beauty
Welcome, nail lovers! Lisa Drew here from Nailerguy, ready to dive into the calming world of spa nail designs. We’re talking about manicures that whisper tranquility, elegance, and a little bit of pampering. Think soft hues, clean finishes, and designs that feel as good as they look. Whether you’re just starting your nail art journey or are a seasoned pro looking for some new inspo, this guide is for you. We’ll demystify spa nail designs, offering genius ideas that are surprisingly easy to recreate at home. Get ready to elevate your nail game with looks that radiate calm and confidence!
Why Spa Nail Designs?
Spa nail designs are more than just a trend; they’re a mood. They embody a sense of calm, freshness, and understated luxury. These designs often feature:
- Soothing Color Palettes: Think soft neutrals, gentle pastels, and muted earth tones.
- Clean Lines and Minimalist Aesthetics: Simplicity is key, allowing the natural beauty of the nails to shine.
- Subtle Embellishments: If there are accents, they are usually refined, like a hint of shimmer or a delicate pattern.
- Focus on Health and Shine: Often, these designs complement well-maintained, healthy nails.
These elements combine to create a look that’s sophisticated, versatile, and perfect for any occasion, from a busy workday to a relaxing weekend. Plus, they’re incredibly beginner-friendly!
Essential Tools for Your Spa Manicure
Before we jump into the designs, let’s make sure you have the right tools on hand. You don’t need a professional kit to achieve amazing spa nails. Here are some basics:
- Nail File: For shaping your nails. A fine-grit file is great for natural nails.
- Nail Buffer: To smooth ridges and add a natural shine.
- Cuticle Pusher/Orange Stick: To gently push back cuticles.
- Base Coat: Protects your natural nail and helps polish adhere better.
- Top Coat: Seals your design and adds a glossy finish or matte look.
- Nail Polish Remover: For corrections and clean-up.
- Cotton Pads or Balls: For polish removal.
- Your Chosen Nail Polishes: We’ll discuss colors and types next!
Having these essentials at the ready means you can create your spa-worthy nails whenever inspiration strikes!
Choosing Your Spa-Friendly Color Palette
The foundation of any great spa nail design is the color. For that calming, elegant feel, we’ll focus on a palette that evokes tranquility and sophistication. These colors are naturally flattering and pair beautifully with almost any outfit.
Neutral Tones: The Timeless Classics
Neutrals are the backbone of a chic spa manicure. They’re understated, elegant, and always in style. Think of colors that mimic natural elements or provide a clean canvas.
- Milky White/Sheer Pink: Gives a “clean girl” aesthetic, enhancing the natural nail’s appearance.
- Soft Beige/Greige: A sophisticated and warm neutral that’s incredibly versatile.
- Light Gray: A modern, cool-toned neutral that feels very contemporary.
- Creamy Nude: A slightly opaque nude that offers more coverage while remaining natural-looking.
Pastel Hues: A Gentle Touch of Color
Pastels can feel like a gentle embrace. Unlike bright neons, these softer shades bring a touch of subtle color without being overwhelming. They are perfect for spring and summer, but can add a touch of softness all year round.
- Baby Blue: Reminiscent of a clear sky or calm water.
- Mint Green: Fresh, invigorating, and reminiscent of natural elements.
- Lavender: Soothing and elegant, with a touch of floral grace.
- Pale Peach/Coral: A subtle warmth that feels gentle and inviting.
Earthy Tones: Grounded and Sophisticated
Drawing inspiration from nature, earthy tones offer a grounding and sophisticated feel. These are often rich yet muted, providing depth without being loud.
- Sage Green: A muted, natural green that’s incredibly chic.
- Terracotta/Muted Orange: Warm and inviting, like sun-baked earth.
- Muddy Brown/Taupe: Deep, elegant, and creates a cozy feel.
- Olive Green: A classic, sophisticated green that works year-round.
Genius Spa Nail Designs for Beginners
Ready to translate these colors into gorgeous designs? Here are some achievable ideas that embody the spa aesthetic. They require minimal practice and deliver maximum impact!
1. The ‘Clean Girl’ Manicure
This is the epitome of effortless beauty. It focuses on making your nails look perfectly healthy and subtly enhanced.
- How-To:
- Start with a base coat.
- Apply one or two thin coats of a sheer pink, milky white, or a pale nude polish. You want just enough color to even out your nail bed and give a healthy glow.
- Seal with a glossy top coat for that natural, hydrated look.
- Why it works: It’s clean, polished, and makes your hands look instantly groomed. It’s also incredibly versatile and complements any style.
2. The Subtle French Manicure Twist
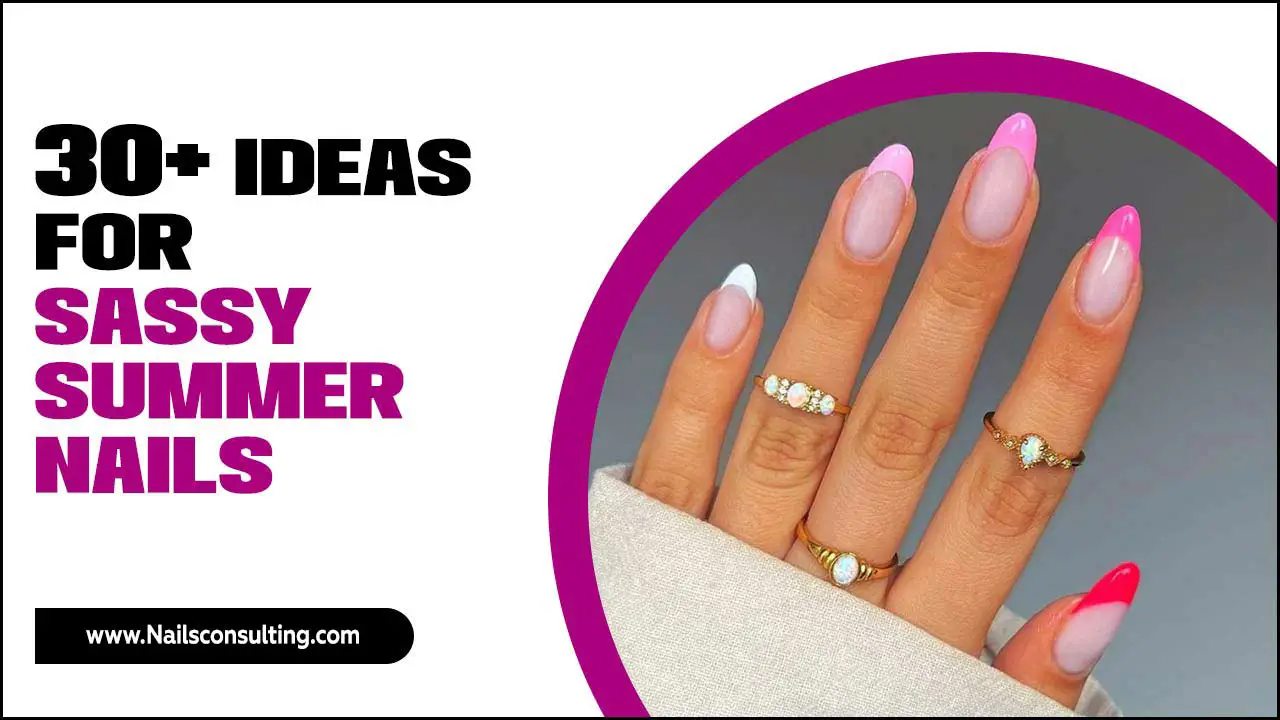
The classic French manicure gets a spa makeover by softening the colors and the lines.
- How-To:
- Apply a sheer nude or milky pink base coat to your entire nail.
- Instead of stark white, use a soft off-white, pale beige, or even a muted pastel color for the tips.
- Apply this color thinly to the tips, aiming for a softer smile line. You can use a fine brush or even carefully freehand it for a more organic look.
- Finish with a glossy or satin-finish top coat.
- Why it works: It’s a modern take on a classic, offering a touch of definition without being overpowering. The muted tip color feels much more spa-like.
3. The Single Accent Nail (with a Twist!)
This design adds a focal point without overcomplicating things. The “twist” comes from the type of accent.
- How-To:
- Paint all nails on one hand (or both, if you’re feeling adventurous!) in a solid, calming color like sage green, soft beige, or baby blue.
- Choose one nail (often the ring finger) for the accent.
- For the accent nail, you can opt for:
- A subtle shimmer polish in a coordinating shade.
- A delicate minimalist line art design in a complementary color (like a thin gold or white line).
- A very light application of a slightly contrasting pastel.
- Apply a top coat to all nails.
- Why it works: It provides visual interest and a touch of personality. It’s a perfect entry point for trying a new polish color or a simple art element.
4. The Ombré Fade
A gentle gradient of colors can create a dreamy, ethereal effect. This looks complex but can be surprisingly simple.
- How-To (using a makeup sponge):
- Apply your base coat and then one coat of your lighter base color (e.g., milky white).
- Apply two shades of similar-toned polishes to a small section of a makeup sponge, placing them side-by-side. For example, a light beige and a slightly darker taupe, or a pale peach and a soft coral.
- Gently dab the sponge onto your nail, pressing just enough to transfer the color gradient. You might need to dab a few times to build up the color intensity.
- Clean up any excess polish around your cuticle with a brush dipped in nail polish remover.
- Apply a top coat to smooth the texture and add shine.
- Why it works: The soft blending of colors feels luxurious and calming, mimicking natural transitions like a sunset or a watercolor painting.
5. The Negative Space Design
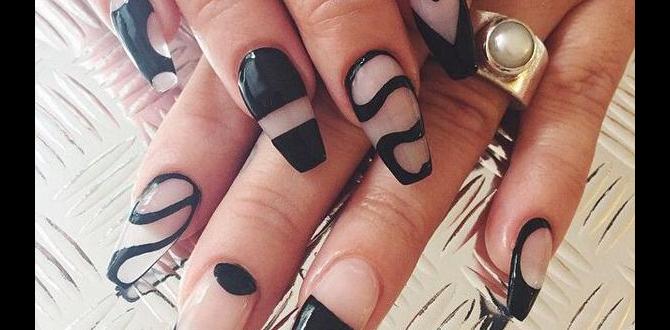
This involves leaving parts of your natural nail visible, creating a chic, modern look that’s inherently delicate.
- How-To:
- Apply a base coat.
- Use striping tape or a fine nail art brush to create simple shapes (like a half-moon at the base, a diagonal line, or a triangle) with a polish color.
- Leave the rest of the nail bare, allowing your natural nail color to show through.
- Carefully remove any tape while the polish is still slightly wet or once it’s dry, depending on your desired look.
- Apply a top coat over the entire nail.
- Why it works: The contrast between the color and the unpolished nail creates a sophisticated and airy feel. It’s minimalist and very on-trend.
6. The Matte Finish Elegance
Sometimes, the finish is all you need to transform a simple color into a spa-worthy design.
- How-To:
- Choose a calming color from our palette (e.g., a muted sage green, a soft lavender, or a creamy nude).
- Apply one or two coats of your chosen polish. Ensure each coat is completely dry.
- Apply a matte top coat. This instantly transforms the shine into a velvety, sophisticated finish.
- Why it works: Matte finishes often feel more refined and less “done,” giving a sophisticated, almost velvety texture that’s very spa-like.
7. Delicate Dotting or Striping
Tiny details can make a big statement.
- How-To:
- Paint all your nails with a base color (e.g., a soft beige or a pale blue).
- Using a dotting tool or the tip of a fine brush, add a few small, strategically placed dots in a complementary color (e.g., a soft gold on a peach nail, or a pale gray on a milky white). Aim for asymmetry or a cluster near the cuticle.
- Alternatively, use a fine brush to add a single, thin stripe diagonally across the nail or horizontally near the tip.
- Finish with a top coat.
- Why it works: These minimal additions provide a touch of artistry without looking busy. They add a subtle, personalized flair.
Pro Tips for Long-Lasting & Beautiful Spa Nails
Achieving a beautiful design is one thing, but making it last is another! Here are some tips to extend the life of your spa-inspired manicure and keep your nails looking their best:
- Prep is Key: Always start with clean, dry nails. Push back your cuticles gently using an orangewood stick or cuticle pusher. If you have any old polish on, remove it completely.
- Thin Coats are Better: Apply your base coat, color coats, and top coat in thin, even layers. This helps them dry faster and reduces the risk of smudging or chipping.
- Cap Your Edges: When applying your base and top coats, run your brush lightly along the free edge (the tip) of your nail. This seals the polish and helps prevent chipping from the tips.
- Give Polish Time to Dry: Resist the urge to touch things too soon! Even if your nails feel dry to the touch, the polish underneath might still be soft. Consider using a quick-dry top coat or a nail drying spray for an extra boost.
- Moisturize Regularly: Keep your hands and cuticles hydrated. Dry cuticles can chip polish and make your manicure look less polished. Use cuticle oil and hand cream daily. You can learn more about cuticles from resources like the American Academy of Dermatology, which emphasizes overall skin health, including nail care.
- Be Gentle: Try to avoid using your nails as tools (e.g., to open cans or scrape labels). This is a common cause of chips and breaks.
- Touch-Ups: For minor chips, a small dot of polish carefully applied can be a quick fix. For more significant wear, it might be time for a fresh coat.
Spa Nail Design Inspiration Hub
To really get your creative juices flowing, here’s a quick look at how different elements can come together. Think of these as combinations to inspire your next DIY spa session!
| Base Color | Accent/Design Element | Finish | Vibe |
|---|---|---|---|
| Pale Beige | Single minimalist gold stripe on ring finger | Glossy | Understated Chic |
| Milky White | Soft peach ombré fade on all nails | Glossy | Dreamy & Ethereal |
| Soft Sage Green | Matte | Calm & Earthy | |
| Sheer Pink | Off-white soft French tips | Glossy | Modern Classic |
| Light Gray | Delicate white dots at cuticle | Matte | Minimalist & Cool |
| Creamy Nude | Subtle pearlescent shimmer polish on accent nail | Glossy | Elegant & Polished |
Experimenting with these combinations is part of the fun! Don’t be afraid to swap colors or accent ideas to match your personal preference.
Maintaining Your Spa Nails: Beyond the Manicure
Keeping your nails looking spa-ready isn’t just about the polish; it’s about overall nail health. Here’s how to nurture your nails:
Cuticle Care: The Unsung Hero
Healthy cuticles mean a healthier nail base. Regularly applying cuticle oil can prevent dryness, peeling, and hangnails, which not only look less appealing but can also make polish application difficult. Gently push back your cuticles after a warm shower or soak once a week. Avoid cutting them, as this can lead to infection.
Nail Strength and Hydration
Your nails are made of keratin, just like your hair. Keeping them hydrated and strong is key. Consider:
- Hydrating Hand Creams: Apply liberally throughout the day, especially after washing your hands.
- Cuticle Oil: Massage into your cuticles and nail beds before bed. Almond oil and jojoba oil are excellent choices.
- Nail Strengtheners: If your nails are prone to breaking or peeling, a good strengthening base coat can make a difference. Look for formulas with biotin or keratin.
- Diet: A balanced diet rich in vitamins and minerals, particularly biotin, can promote healthy nail growth from within.
For more in-depth information on nail health, the NHS website offers practical advice on common nail problems and how to care for them.
Removal & Reapplication
When it’s time to remove your polish, opt for an acetone-free remover if your nails are dry or brittle. Gently soak a cotton ball, press it onto your nail for a few seconds, and then wipe away. Avoid harsh scrubbing. Always reapply a base coat before your next color to protect your natural nails.
Frequently Asked Questions About Spa Nail Designs
Q1: What colors are best for spa nail designs?
A: Soft neutrals like beige, taupe, and milky white are perfect. Muted pastels like baby blue, mint, and lavender, along with earthy tones like sage green and terracotta, also create a serene spa feel.
Q2: Are spa nail designs difficult to do at home?
A: Not at all! Many spa nail designs focus on simplicity, clean lines, and solid colors, making them very beginner-friendly. Techniques like solid coats, subtle gradients, and minimalist accents are


