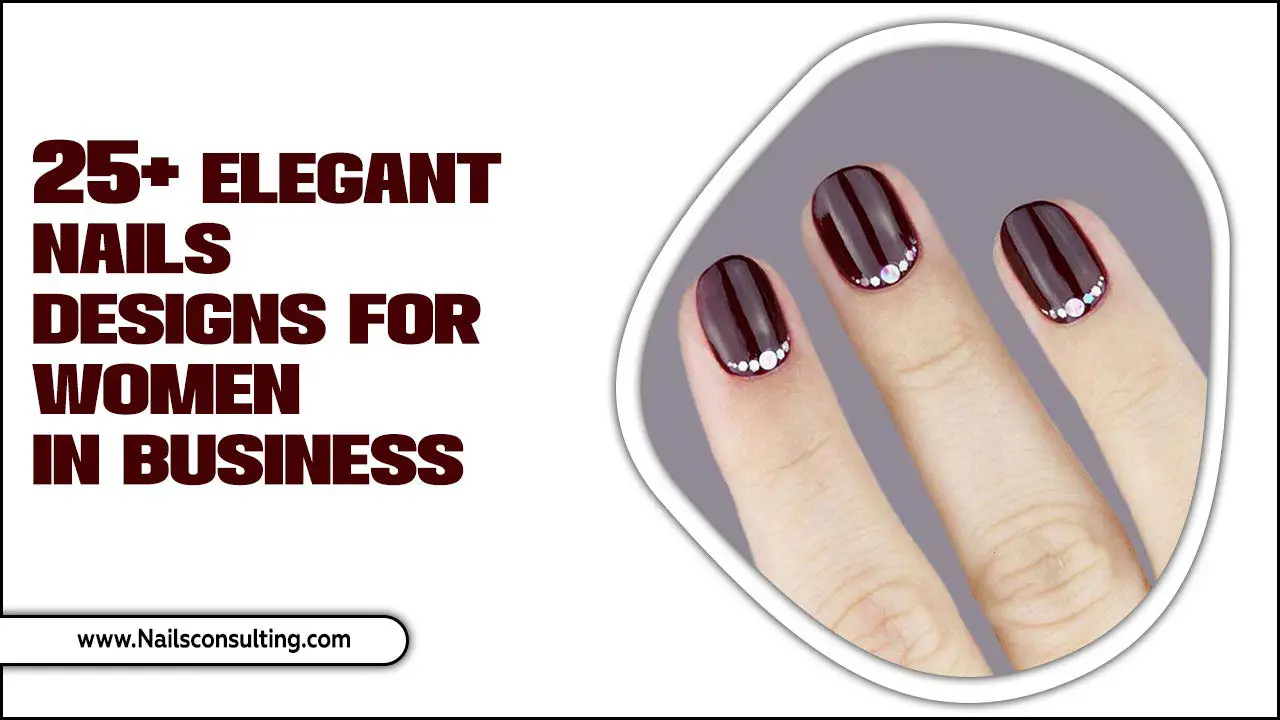
<strong>Spa French nails offer a sophisticated, polished look that’s surprisingly achievable at home. This guide breaks down the elegant technique, essential tools, and pro tips for a salon-quality finish, making it easy for beginners to master this timeless manicure style.</strong>
<p>Dreaming of elegant, perfectly polished nails that whisper sophistication? Spa French nails are the answer! They’re a timeless classic for a reason – chic, versatile, and oh-so-put-together. But achieving that clean, crisp white tip and natural-looking base can sometimes feel like a challenge. Don’t worry, though! You absolutely can create stunning Spa French nails right in your own home. We’ll walk through everything you need, step-by-step, so you can get that beautiful, spa-fresh look with confidence. Get ready to elevate your manicure game!</p>
<h2>What Exactly Are Spa French Nails?</h2>
<p>Think of Spa French nails as the more refined, understated cousin of the traditional French manicure. While a classic French manicure often features a stark white tip and a pink or nude base, the Spa French variant leans into a softer, more natural aesthetic. The key is in the subtle, elegant execution. The “spa” aspect comes from the overall feeling of pampering and polished perfection, much like you’d experience at a high-end salon.</p>
<p>Instead of a harsh contrast, Spa French nails typically utilize a sheer, milky pink, nude, or even a very pale beige for the nail bed. The tip is still a clean white, but it’s often a bit thinner and more curved to mimic the natural lunula (the crescent moon shape at the base of the nail). The goal is a clean, healthy, and effortlessly sophisticated appearance that enhances the natural beauty of your hands. It’s less about a bold statement and more about a subtle, enduring elegance.</p>
<h2>Why Choose Spa French Nails?</h2>
<p>The enduring popularity of Spa French nails isn’t just about trends; it’s about their incredible versatility and universally flattering appeal. They’re the go-to choice for many because they offer a multitude of benefits for both everyday wear and special occasions.</p>
<h3>Key Benefits:</h3>
<ul>
<li><strong>Timeless Elegance:</strong> This style never goes out of fashion. Its clean lines and natural tones suit virtually any outfit, from casual jeans to formal evening wear.</li>
<li><strong>Universally Flattering:</strong> The soft, neutral base colors complement all skin tones beautifully, making hands look polished and healthy.</li>
<li><strong>Professional Appearance:</strong> Spa French nails exude professionalism, making them perfect for work environments where vibrant or elaborate nail art might not be appropriate.</li>
<li><strong>Enhances Natural Nails:</strong> They draw attention to the shape and health of your nails, promoting a clean and well-groomed look.</li>
<li><strong>DIY Friendly:</strong> While they look intricate, with the right tools and a little practice, they are perfectly achievable as a home manicure.</li>
</ul>
<h2>Essential Tools for Your Spa French Manicure</h2>
<p>To achieve that flawless Spa French look, having the right tools makes all the difference. You don’t need a whole professional kit, but a few key items will ensure a smooth and beautiful application. Think of these as your essential building blocks for a perfect manicure.</p>
<h3>Your Spa French Toolkit:</h3>
<ul>
<li><strong>Nail File and Buffer:</strong> For shaping your nails and smoothing the surface.</li>
<li><strong>Cuticle Pusher/Orange Stick:</strong> To gently push back your cuticles for a clean nail bed.</li>
<li><strong>Base Coat:</strong> To protect your natural nails and help polish adhere better. <a href=”https://www.cdc.gov/tobacco/basic_information/index.htm” target=”_blank” rel=”noopener noreferrer”>Keeping nails healthy is a great step towards better manicures!</a></li>
<li><strong>Sheer Pink or Nude Nail Polish:</strong> This forms the base color of your nail. Choose a shade that complements your skin tone.</li>
<li><strong>White Nail Polish:</strong> A good quality, opaque white polish is crucial for the tips.</li>
<li><strong>Thin Nail Art Brush or French Tip Guide Stickers:</strong> For creating the crisp white tip. A brush offers more control, while stickers can be a lifesaver for beginners.</li>
<li><strong>Top Coat:</strong> To seal your design, add shine, and protect against chipping.</li>
<li><strong>Cuticle Oil:</strong> For nourishing cuticles after your manicure.</li>
<li><strong>Nail Polish Remover and Cotton Pads:</strong> For any necessary clean-ups.</li>
</ul>
<h3>Optional (but helpful!) Tools:</h3>
<ul>
<li><strong>Nail Polish Corrector Pen:</strong> For easily cleaning up any wobbly lines.</li>
<li><strong>Quick-Dry Drops/Spray:</strong> To speed up drying time between coats.</li>
</ul>
<h2>Step-by-Step Guide: Creating Spa French Nails at Home</h2>
<p>Ready to get started? Follow these simple steps to achieve a beautiful Spa French manicure that will have your nails looking runway-ready. Don’t worry if your first attempt isn’t perfect – practice makes progress!</p>
<h3>Step 1: Prep Your Nails</h3>
<ol>
<li><strong>Remove Old Polish:</strong> Start by removing any existing nail polish with a good quality nail polish remover and cotton pads.</li>
<li><strong>Shape Your Nails:</strong> Use your nail file to shape your nails. A soft almond or squoval (square-oval) shape often complements the Spa French style best. File in one direction to avoid weakening the nail.</li>
<li><strong>Soften and Push Cuticles:</strong> Apply a cuticle remover or a bit of warm water to soften your cuticles. Gently push them back with a cuticle pusher or orange stick. Avoid cutting them, as this can lead to damage and infection.</li>
<li><strong>Buff the Surface:</strong> Lightly buff the surface of your nails to create a smooth canvas and remove any natural oils. This helps the polish adhere better.</li>
<li><strong>Cleanse:</strong> Wipe your nails with a nail polish remover or rubbing alcohol to remove any dust or oils. Let them dry completely.</li>
</ol>
<h3>Step 2: Apply the Base Coat and Sheer Color</h3>
<ol>
<li><strong>Apply Base Coat:</strong> Paint a thin, even layer of your chosen base coat. This protects your nails and creates a smooth surface.</li>
<li><strong>Apply Sheer Polish:</strong> Once the base coat is dry, apply one to two thin coats of your sheer pink or nude polish. Allow each coat to dry completely before applying the next. This sheer layer should look natural and slightly milky.</li>
</ol>
<h3>Step 3: Create the White Tip (Choose Your Method!)</h3>
<p>This is where the magic happens! You have a few options to get that perfect white tip.</p>
<h4>Method A: Using a Thin Nail Art Brush</h4>
<ol>
<li><strong>Dip the Brush:</strong> Dip your thin nail art brush into the white nail polish. Wipe off any excess on the rim of the bottle so you have a controlled amount.</li>
<li><strong>Paint the Tip:</strong> Gently and carefully paint a thin, curved line across the tip of each nail. Aim for a soft smile line that follows the natural curve of your nail. You might need to practice this freehand.</li>
<li><strong>Refine:</strong> If you make a mistake, use a clean-up brush (or the edge of an orange stick wrapped with a tiny bit of cotton dipped in nail polish remover) to carefully neaten the lines while the polish is still wet.</li>
<li><strong>Let Dry:</strong> Allow the white tips to dry completely. This is crucial before applying the top coat.</li>
</ol>
<h4>Method B: Using French Tip Guide Stickers</h4>
<ol>
<li><strong>Apply Stickers:</strong> Once your sheer base color is completely dry, carefully apply a French tip guide sticker to each nail. Position the sticker to create the desired line where you want your white tip to start.</li>
<li><strong>Paint the Tip:</strong> Paint the exposed tip of your nail with the white polish. Apply a thin, even coat. You might need two coats for full opacity, but allow the first coat to become tacky before applying the second.</li>
<li><strong>Remove Stickers:</strong> While the white polish is still slightly wet (but not runny!), very carefully peel off the sticker. Removing it when wet helps prevent the polish from lifting or creating an uneven line.</li>
<li><strong>Let Dry:</strong> Allow the white tips to dry completely.</li>
</ol>
<h3>Step 4: Apply the Top Coat</h3>
<ol>
<li><strong>Seal the Deal:</strong> Once the white tips are fully dry, apply a generous layer of your top coat over the entire nail. This will seal in your design, add a beautiful gloss, and protect your manicure from chipping.</li>
<li><strong>Extend to the Tip (Optional):</strong> For extra durability, some people like to lightly brush the top coat over the white tip and along the free edge of the nail to “cap” it.</li>
<li><strong>Quick Dry (If Using):</strong> If you have quick-dry drops or spray, apply them now according to the product’s instructions.</li>
</ol>
<h3>Step 5: Finishing Touches</h3>
<ol>
<li><strong>Let it Cure:</strong> Be patient! Allow your nails to dry completely. This can take longer than you think, so try to avoid anything that could smudge them.</li>
<li><strong>Cuticle Care:</strong> Once your polish is bone dry, apply a little cuticle oil to your cuticles and massage it in. This will rehydrate them and give your hands that final, pampered spa look.</li>
</ol>
<h2>Pro Tips for the Perfect Spa French Nails</h2>
<p>Achieving flawless Spa French nails is all about attention to detail and a few insider tricks. Here are some tips to help you elevate your home manicure to salon-worthy perfection.</p>
<h3>Achieving Flawless Results:</h3>
<ul>
<li><strong>Less is More with Polish:</strong> Always apply thin, even coats of polish. Thick coats take longer to dry and are more prone to smudging and chipping.</li>
<li><strong>Patience is Key:</strong> Resist the urge to rush. Allow each layer of polish to dry sufficiently before applying the next. This is the biggest secret to avoiding dents and smudges.</li>
<li><strong>Practice Your Smile Line:</strong> If freehanding the white tip, practice drawing lines on paper first. Experiment with different brush strokes to find what works for you. A slight curve is more natural than a sharp angle.</li>
<li><strong>Nail Shape Matters:</strong> A well-maintained nail shape significantly contributes to the overall polished look. Consider consulting a professional manicurist occasionally to get the perfect shape to start with, and then maintain it at home.</li>
<li><strong>Sheer Polish Perfection:</strong> The beauty of the Spa French is the subtle, sheer base. If your natural nail shows through a bit too much, use a milky pink or nude polish with slightly more coverage, or apply a third thin coat. The goal is a healthy, uniform look.</li>
<li><strong>Clean Up with Precision:</strong> A nail polish corrector pen is your best friend for tidying up wobbly lines. If you don’t have one, a fine-tipped brush dipped in remover works wonders.</li>
<li><strong>Invest in Quality Tools:</strong> A good quality thin brush, a reliable top coat, and a decent white polish can make a world of difference compared to cheap, dried-out alternatives. Consider brands like Essie for classic polishes or OPI for professional-grade formulas.</li>
<li><strong>Consider Nail Strengths:</strong> If your nails are prone to breakage, a strengthening base coat can be a game-changer. Look for formulas with ingredients like keratin or calcium. <a href=”https://www.aad.org/public/diseases/skin-conditions/nail-problems” target=”_blank” rel=”noopener noreferrer”>The American Academy of Dermatology offers great advice on nail health.</a></li>
</ul>
<h2>Spa French Nails: Different Variations</h2>
<p>While the classic Spa French manicure is beautiful on its own, there are fun ways to personalize it and keep the look fresh and exciting. These variations offer subtle twists that can dramatically change the feel

