Soft white nail designs are the perfect blend of elegance and versatility, offering a chic, minimalist base for any look. From subtle accents to full milky finishes, these designs are essential for a sophisticated and polished manicure that suits every occasion.
Soft white nails are your go-to for a look that’s both timeless and utterly chic. Think of that perfect, creamy shade – it’s not stark white, but a gentle, inviting hue that feels sophisticated and fresh. Whether you’re dreaming of a clean, minimalist vibe or a touch of subtle sparkle, soft white nails can do it all! If you’ve ever felt a little lost trying to get that perfect milky manicure or wondered how to elevate a simple white polish, you’re in the right place. We’re going to unlock the secrets to stunning soft white nail designs that are surprisingly easy to achieve. Get ready to fall in love with this essential nail trend!
Why Soft White Nails Are a Must-Have
Soft white, often referred to as milky white or off-white, is more flattering and forgiving than a bright, stark white. It offers a clean, polished look without being overpowering. This subtle shade acts as a beautiful canvas for a variety of design elements, making it incredibly versatile.
The magic of soft white is its ability to be both a statement and a subtle enhancement. It brings a touch of understated luxury to any manicure. Unlike bold colors that might clash with outfits or feel too seasonal, soft white is universally appealing and perfect for any time of year and any event, from everyday errands to formal gatherings.
This shade is particularly popular because:
- It complements all skin tones beautifully.
- It creates a clean, polished, and sophisticated appearance.
- It serves as a fantastic base for various nail art elements.
- It offers a more modern and softer alternative to classic white.
Essential Tools for Your Soft White Manicure
Before we dive into the fun designs, let’s gather our supplies. Having the right tools makes the process smoother and the results more professional. Don’t worry if you don’t have everything; many of these are basic nail care items you might already have!
Nail Prep Essentials
Nail Polish Remover: To clean off any old polish and natural oils.
Cotton Pads or Balls: For applying the remover.
Nail File: To shape your nails to your desired length and style.
Nail Buffer: To smooth the nail surface and add shine.
Cuticle Pusher (or Orangewood Stick): To gently push back your cuticles.
Cuticle Oil: To moisturize your cuticles after pushing them back.
Hand Cream: For overall hand and nail hydration.
Color & Finish
Base Coat: Crucial for protecting your natural nails and helping polish adhere better.
Soft White Nail Polish: Choose a creamy, opaque milky white. Check reviews for opacity and ease of application.
Top Coat: To seal your design, add shine, and prevent chipping. A “no-chip” or “gel-like” top coat can offer extra durability.
Optional: Glitter Top Coat or Fine Glitter Polish: For a touch of sparkle.
Optional: Other Complementary Polish Colors: For accent nails or simple art.
Application Aids (Optional but Recommended)
Fine-Tip Nail Art Brush: For detailed lines or small dots.
Dotting Tool: For creating small, uniform dots.
Dotting Tool Cleaner (or Nail Polish Remover): To clean your dotting tools between uses.
Creating the Perfect Soft White Base: A Step-by-Step Guide
Achieving that flawless, creamy soft white base is the foundation for any stunning design. It’s all about proper prep and careful application.
Step 1: Prep Your Nails
Remove Old Polish: Use nail polish remover and cotton pads to ensure nails are completely clean.
Shape Your Nails: File your nails to your preferred shape and length. Always file in one direction to prevent splitting.
Soften Cuticles: Apply a bit of cuticle oil to your cuticles and gently push them back with a cuticle pusher. This step makes your nail bed appear longer and cleaner.
Buff (Lightly!): Gently buff the surface of your nails to create a smooth canvas and remove any ridges. Be very gentle, especially if your nails are thin.
Cleanse: Wipe your nails with a lint-free cloth dipped in nail polish remover to remove any dust or oils.
Step 2: Apply the Base Coat
Apply one thin, even coat of your base coat. This protects your nails from staining and helps your soft white polish last longer. Let it dry completely.
Step 3: Apply Soft White Polish
First Coat: Apply a thin, even layer of your soft white polish. Don’t try to get full opacity in the first coat; focus on smooth, even coverage. Avoid flooding your cuticles.
Wait for Drying: Allow the first coat to dry for at least 1–2 minutes. This is crucial to prevent the polish from becoming streaky or clumpy when you apply the second coat.
Second Coat: Apply a second thin, even coat. This coat should give you the beautiful, creamy opacity you’re looking for. If you still see V.S. or patchiness, you might need a third thin coat, but try to avoid making the coats too thick, which can lead to long drying times and smudges.
Check for Streaks: If you notice any streaks, gently work them out with your brush while the polish is still wet.
Step 4: Let It Dry Thoroughly
This is perhaps the most challenging part! Resist the urge to touch your nails. Give them at least 5-10 minutes to become mostly dry to the touch before applying a top coat. For a really durable finish, waiting longer is best.
Step 5: Apply the Top Coat
Once your soft white polish is completely dry, apply a generous, even layer of top coat. Make sure to cap the free edge of your nail by dragging your brush along the tip. This helps prevent chips and keeps your manicure looking fresh. Let it dry completely.
Stunning Soft White Nail Design Ideas for Beginners
Now for the fun part! These designs are easy to achieve and perfect for adding a little extra flair to your soft white base.
1. The Subtle Sparkle
This is the easiest way to add glamour.
How-to: Apply soft white polish as usual. Once your second coat of white is dry (but the top coat is not yet applied), carefully dab a fine glitter top coat or a polish with small iridescent or silver glitter onto the tips of your nails, or just one accent nail. Alternatively, use a dotting tool to place a few tiny specks of glitter strategically. Finish with a top coat to seal in the glitter.
2. The Minimalist Dot
A single dot can make a statement.
How-to: After your soft white polish and top coat are completely dry, use a fine-tip nail art brush or a small dotting tool dipped in black, gold, or a complementary color to create a small, neat dot near your cuticle or at the base of your nail on one or all nails. Seal with another layer of top coat.
3. The French Twist (Soft White Edition)
A modern take on the classic French manicure.
How-to: After applying your soft white base and letting it dry, use a fine-tip brush or a nail art stencil to paint a curved line of a slightly darker shade of white, a very light nude, or even a shimmering silver along the free edge of your nail. For an even softer look, you can use a very sheer, milky pink or peach for the tip. Seal with a top coat.
4. Milky Ombre Fade
A seamless blend adds sophistication.
How-to: This can be done with polish or even a professional gel system. For a polish version, apply your soft white base to all nails. On an accent nail (or all nails if you’re feeling brave!), apply a sheer nude or pale pink polish just to the tips. Then, using a clean makeup sponge or a specialized ombre brush, gently tap and blend the edge where the nude/pink meets the soft white. It’s about a subtle, gradual fade. A soft white polish can also be used to feather up from the tip on a nude base for a reverse ombre. Seal with top coat.
5. Accent Nail with Negative Space
Clean, chic, and modern.
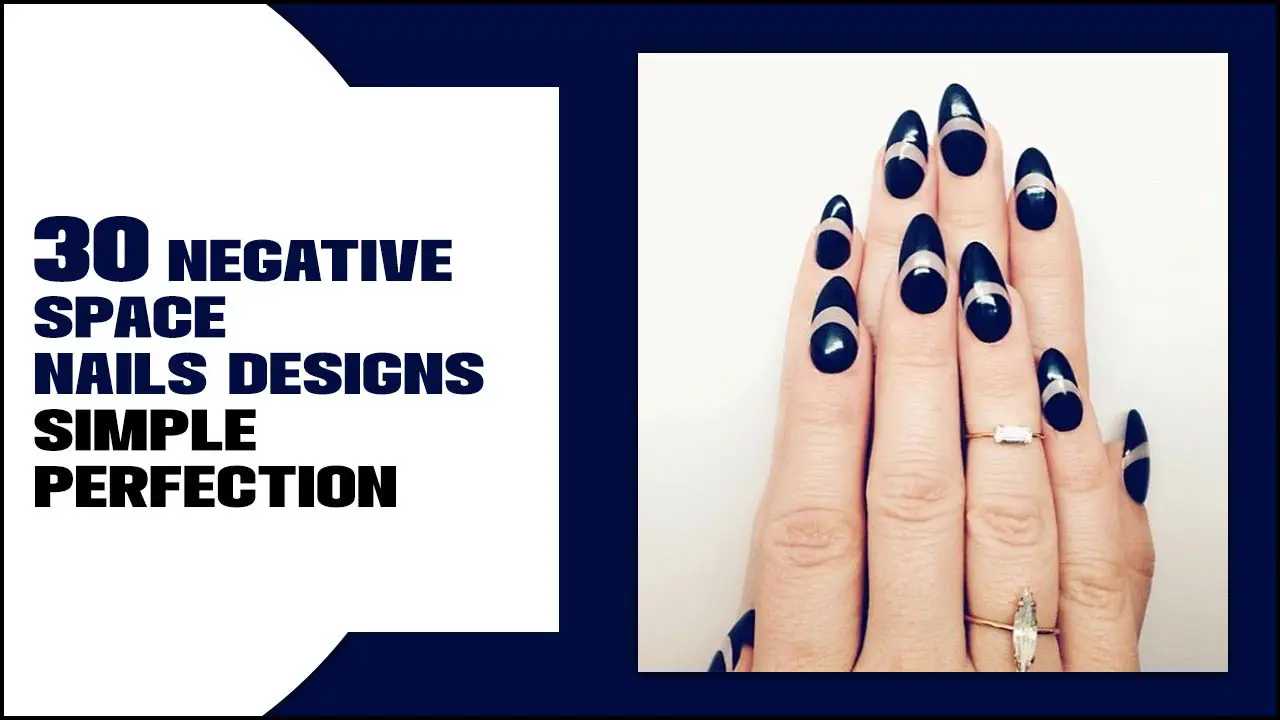
How-to: On one or two accent nails, apply your soft white polish, but leave a defined section of the nail completely bare (this is the negative space). This can be a strip down the middle, a crescent moon shape at the base, or a geometric block. Use striping tape or a very steady hand with a fine brush to create clean lines. Seal with a top coat.
6. Simple Stripe Detail
A single line adds graphic appeal.
How-to: After your soft white base and top coat are dry, use a striping tape or a fine-tip nail art brush dipped in black, gold, or a contrasting color to draw a clean, straight line across your nail. You can place it horizontally, vertically, or diagonally. Seal with a top coat.
7. Delicate Floral Accents
Nature-inspired beauty.
How-to: On one or two accent nails, use a very fine brush dipped in a complementary color (like a pastel pink, blue, or even a soft sage green) to paint tiny flower blossoms or delicate vines over your dried soft white polish. You can also use a dotting tool to create small dots that represent flowers. Ensure the art is dry before applying a final top coat.
Elevating Your Soft White Manicure: Advanced Tips & Tricks
Ready to take your soft white nails to the next level? These ideas are still beginner-friendly but offer a bit more visual interest.
1. The “Cloud Nine” Look
Soft, diffused white clouds.
How-to: Using a slightly different shade of white or a very pale grey, use a dabbing motion with a sponge or a fine brush to create soft, cloud-like shapes on your soft white base. Blend the edges slightly while the “cloud” color is still wet for a diffused effect. Seal with a top coat.
2. Pearlescent Finish
Glow from within.
How-to: After your soft white polish has dried, but before the top coat, carefully apply a pearlescent chrome powder using a silicone tool or an eyeshadow applicator. Gently buff the powder into the nail surface. It will create a beautiful, ethereal glow. Brush away any excess powder and then apply a dedicated chrome top coat or a regular strong top coat. Ensure the powder is fully adhered to avoid premature chipping. For a more subtle effect, a pearlescent top coat can also achieve a similar look.
3. A Pop of Texture
Subtle dimension with a twist.
How-to: On an accent nail or along the tip of your nails, add a small amount of fine textured glitter or microbeads. You can also use a 3D-gel or acrylic to create a subtle raised design, like a delicate swirl or a small geometric shape, over your soft white base. Seal everything carefully with top coat.
4. The “Milk Bath” Effect
A softer take on floral designs.
How-to: This design often uses a sheerer, milky white polish layered over a base, with delicate dried flowers or tiny floral stickers strategically placed and then encapsulated in multiple layers of clear gel or polish. For a polish version, apply your soft white base. Apply tiny flower stickers or very finely chopped real flowers (ensure they are fully dried and treated) onto the wet top coat, or using nail glue, then carefully cover with multiple thin layers of top coat to smooth and encapsulate them.
Exploring different finishes can dramatically change the feel of your soft white design. Here’s a quick look at some popular options:
| Finish Type | Description | How to Achieve | Best For |
|---|---|---|---|
| Creamy Opaque | Your classic, smooth milky white finish. | Standard soft white nail polish application (2-3 coats). | A clean, polished, everyday look. |
| Glossy Shine | A high-shine, almost glass-like finish. | A high-quality, thick top coat or a gel top coat. | Adding depth and a luxurious feel. |
| Matte | A velvety, non-reflective finish. | A matte top coat applied over dry soft white polish. | A modern, sophisticated, and understated look. |
| Satin/Pearl | A subtle sheen, softer than glossy but more than matte. | A satin top coat, or very light buffing with pearlescent powder. | An ethereal, elegant, and understated glow. |
| Glitter/Shimmer | Adds sparkle, from fine dust to larger flecks. | Glitter polishes, glitter top coats, or loose glitter. | Adding festive vibes or a touch of glamour. |
Troubleshooting Common Soft White Nail Issues
Even the simplest manicures can have their hiccups. Here are solutions to common soft white nail design problems.
Streaky Polish: This is often due to applying the polish too thin or not letting the previous coat dry enough. Try applying slightly thicker, more even coats and always wait a minute or two between layers. Ensure your brush strokes are smooth and consistent.
Bubbles: Bubbles usually form when polish is applied too thickly, or if you apply a new coat before the previous one is dry. They can also happen if your nails are oily or if you shake your polish bottle vigorously (roll it between your hands instead). Apply thin coats and let them dry adequately.
Chipping: Chipping is most often caused by not properly sealing the free edge of the nail with your base and top coats, or by not using a good quality top coat. Ensure you cap every layer, and consider a quick-drying or gel-like top coat for better durability.
Yellowing of White Polish: Some white polishes can appear yellow over time, especially if exposed to UV rays or certain chemicals. Using a good quality base coat and a UV-protective top coat can help prevent this. If it happens, you might need to reapply.
For longer-lasting manicures, understanding the science behind nail polish and its application can be helpful. For instance, the National Institute of Standards and Technology (NIST) has researched nail polish durability, highlighting factors like solvent evaporation and polymer cross-linking, which are key to achieving a chip-resistant finish.
Frequently Asked Questions About Soft White Nail Designs
Q1: What is the best way to get opaque soft white nails without streaks?
A1: The key is thin, even coats! Apply very thin layers of your soft white polish, and always let each coat dry for at least 1-2 minutes before applying the next. Two to three thin coats are usually better than one thick, streaky one.
Q2: Can I achieve a soft white nail look with gel polish?
A2: Absolutely! Gel polish is excellent for achieving a smooth, opaque soft white finish. Many brands offer beautiful milky white shades. Just remember to cure each layer under a UV or LED lamp as per the product instructions.
Q3: How do I make my soft white manicure last longer?
A3: Proper prep is essential! Clean nails, a good base coat, and sealing the free edge of your nail with every layer (base, color, and top coat) are crucial. A high-quality top coat, especially one labeled “no-chip” or “gel-like,” will also make a big difference.
Q4: Are soft white nails suitable for all skin tones?
A4: Yes! Soft white shades are incredibly versatile and flattering on a wide range of skin tones. They offer a clean, bright look without the harshness of stark white, making them a universally appealing choice.
Q5: What colors pair well with soft white for accent nails?
A5: Almost anything! For a subtle look, try pale pinks, nudes, or light greys. For a bolder contrast, black, deep navy, emerald green, or even metallic tones like gold and rose gold look stunning. Pastels also create a lovely, cohesive look.
Q6: How do I clean up polish that gets on my skin around the nails?
A6: A small, clean-up brush (an old, fine art brush works great!) dipped in nail polish remover is your best friend. Gently trace along the edge of your nail to remove any errant polish. You can also use a cotton swab dipped in remover, but be careful not to use too much, which can smudge your polish.
Conclusion
Soft white nail designs are more than just a trend; they’re a staple for anyone who loves that polished, elegant look with endless possibilities. From the simplest creamy finish to subtle accents and modern twists, soft white offers a sophisticated canvas that enhances your natural beauty


