Get a chic, easy manicure with soft pink nails and a white swirl accent! This beginner-friendly tutorial shows you how to achieve a sophisticated look in minutes, perfect for any occasion. Effortless style is just a few steps away!
Dreaming of nails that look professionally done but are actually super easy to create at home? Soft pink nails with a delicate white swirl accent are the answer! They’re romantic, elegant, and surprisingly simple. Many of us want to try fun nail art without spending a fortune or feeling overwhelmed. You might think intricate swirls are tricky, but I’m here to show you it’s totally achievable, even if you’re new to nail design. Get ready to feel like a nail pro!
In this guide, we’ll walk through everything you need to know. We’ll cover the best tools, the exact steps, and even some tips to make your manicure last. Let’s dive in and create some magic!
Why Soft Pink Nails with White Swirls?
This nail design is a winner for so many reasons! It’s a beautiful blend of classic and trendy. The soft pink is universally flattering and adds a touch of sweetness without being overpowering. The white swirl adds a sophisticated, artistic flair that elevates the whole look.
Here’s why you’ll love this design:
- Versatile: It’s perfect for everyday wear, a special occasion, or even a wedding.
- Chic & Elegant: The combination is timeless and always looks polished.
- Beginner-Friendly: With the right technique, it’s surprisingly easy to master.
- Customizable: You can adjust the thickness and style of the swirls to fit your taste.
- Affordable: Achieve salon-worthy nails without the salon price tag.
What You’ll Need: Your Nail Art Toolkit
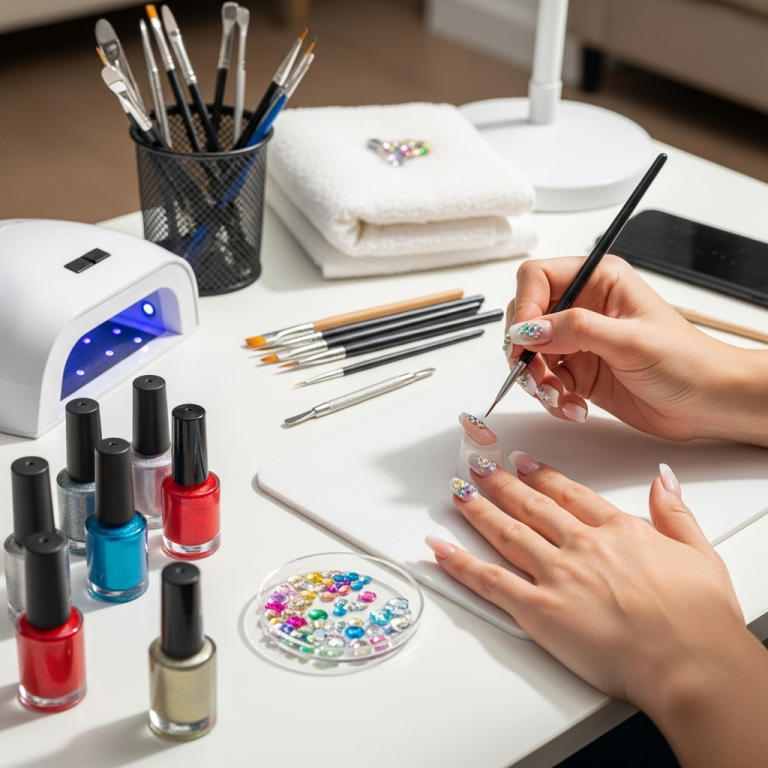
Don’t worry if you don’t have a professional nail kit! For this simple design, you likely have most of what you need already, or they’re easy to find. Having the right tools makes all the difference, making the process smoother and the results better.
Essential Polish & Tools:
- Base Coat: Protects your natural nails and helps polish adhere.
- Soft Pink Nail Polish: Choose a shade you love – think pastel, dusty rose, or a creamy light pink.
- White Nail Polish: A classic bright white or an off-white works well.
- Thin Nail Art Brush or Dotting Tool: A fine-tipped brush is perfect for drawing swirls. A dotting tool can also work, especially if you’re just starting!
- Top Coat: Seals your design and adds a glossy finish.
- Nail Polish Remover & Cotton Pads/Swabs: For any clean-up mistakes.
- Optional: Cuticle Oil: To nourish your nails and cuticles afterwards.
For a truly professional finish, it’s worth investing in a good quality base and top coat. Brands like essie’s base and top coats are widely loved for their durability and shine.
Step-by-Step: Creating Your Soft Pink Nails with White Swirl Accent
Ready to get creative? Follow these simple steps, and you’ll have gorgeous nails in no time. Take your time and enjoy the process!
Step 1: Prep Your Nails
Good prep is key to a long-lasting manicure. It ensures your polish sticks well and looks smooth.
- Clean: Make sure your nails are clean and free of any old polish or oils.
- Shape: File your nails to your desired shape.
- Cuticle Care: Gently push back your cuticles. (Be gentle! You don’t want to damage them).
- Buff (Optional): Lightly buff the surface of your nails to create a smooth canvas and remove shine. This helps the base coat grip better.
Step 2: Apply the Base Coat
This is a crucial step! A good base coat prevents staining and helps your polish last longer. Apply one thin layer and let it dry completely.
Step 3: Apply the Soft Pink Polish
Now for the color! Apply two thin, even coats of your soft pink nail polish.
Let each coat dry for at least a minute or two between applications. Thin coats dry faster and give a smoother finish than one thick coat.
Step 4: Create the White Swirls
This is where the magic happens! On one or two accent nails (or all of them, if you’re feeling bold!), it’s time for the swirls.
Using a Nail Art Brush:
- Dip the tip of your thin nail art brush into the white polish. You don’t need a lot – a small amount is best.
- Start near the cuticle or the side of the nail.
- Gently draw a wavy line, sweeping the brush across the nail. You can go back and forth to create an “S” shape or a more freeform swirl.
- You can add a second, thinner swirl that follows the first one, creating a double-line effect.
- Don’t aim for perfection! Slight imperfections can make the design look more organic and artsy.
Using a Dotting Tool:
- Put a small drop of white polish on a clean surface (like a piece of paper or a palette).
- Dip the tip of your dotting tool into the polish.
- Gently touch the white polish to your nail and pull away slightly in a curved motion to create a line.
- Repeat, connecting or overlapping lines to form a swirl.
Tips for Swirls:
- Clean Up: Keep a cotton swab dipped in nail polish remover handy. You can use it to gently clean up any wobbly lines or accidental smudges.
- Practice: If you’re nervous, practice on a piece of paper first!
- Less is More: Start with one or two simple swirls. You can always add more if you feel comfortable.
For more advanced techniques or visual guides, resources like Nailopedia’s swirl technique guide can offer inspiration and different approaches.
Step 5: Let It Dry (Thoroughly!)
This is perhaps the hardest part for most of us! Ensure your white swirls are completely dry before moving to the next step. Rushing this can lead to smudging, and nobody wants that!
Step 6: Apply the Top Coat
For a glossy, salon-quality finish and to protect your beautiful design, apply one or two thin layers of top coat. This seals everything in and gives your nails that extra shine. Make sure to cap the free edge of your nail by running the brush along the tip to help prevent chipping. Let it dry completely.
Step 7: Finish with Cuticle Oil
Once everything is dry, apply a little cuticle oil around your nails. It hydrates your skin and makes your manicure look even more professional and polished.
Table: Nail Polish Colors for Soft Pink & White Swirls
Choosing the right shades can make your design pop or stay subtly elegant. Here are some ideas to help you find your perfect match!
| Look Type | Soft Pink Shade Ideas | White Shade Ideas | Vibe |
|---|---|---|---|
| Classic & Sweet | Light Pastel Pink, Baby Pink | Bright True White | Effortlessly elegant, youthful |
| Romantic & Muted | Dusty Rose, Mauve Pink | Creamy Off-White, Ivory | Sophisticated, soft, dreamy |
| Modern & Chic | Peachy Pink, Coral Pink | Pure White, slightly sheer white | Trendy, fresh, stylish |
| Subtle Elegance | Sheer Pink, Milky Pink | Very subtle white, almost matte | Understated, minimalist, refined |
Tips for Longevity and Perfection
Want your beautiful soft pink nails with white swirls to last as long as possible? Here are a few extra tips to keep them looking fresh:
- Avoid Hot Water: Try to limit prolonged exposure to hot water, as it can weaken the polish bond and cause chips.
- Wear Gloves: When doing chores that involve water or harsh chemicals (like washing dishes), wear rubber gloves.
- Touch-Ups: If you get a small chip, you can sometimes carefully touch it up with a tiny bit of polish and top coat.
- Keep Them Trimmed: Longer nails are more prone to catching and breaking. Keep them at a manageable length.
- Online Resources: For nail health and care advice, reputable sources like the American Academy of Dermatology offer great insights.
Troubleshooting Common Issues
Even with the best intentions, sometimes things don’t go perfectly. Here’s how to fix common problems:
- Smudged Swirl: If a swirl smudges before it’s dry, use a clean-up brush dipped in nail polish remover to gently wipe away the smudge and try again. If it has dried and smudged, you might need to carefully paint over it.
- Too Much Polish on Brush: If you’re getting thick, blobby lines, you’re likely using too much polish on your brush. Wipe off the excess on the bottle neck.
- Polish Won’t Dry: Patience is key! Ensure adequate drying time between coats and especially before applying the top coat.
- Streaks in Pink Polish: This usually means the coats are too thin or not enough coats were applied. Ensure you’re using smooth, even strokes and applying two full coats of the pink.
Frequently Asked Questions (FAQs)
How long do soft pink nails with white swirls usually take to do?
With practice, you can complete this manicure, including drying time, in about 30-45 minutes. The actual art application for the swirls only takes a few minutes per nail!
Can I do this design on short nails?
Absolutely! This design looks beautiful on all nail lengths, including short ones. You might just need to make your swirls a bit smaller and more delicate to fit the nail shape.
How many accent nails should I have?
This is entirely up to your personal preference! Many people choose one or two accent nails (like ring fingers) for a more subtle look. Others like to put swirls on all their nails for a bolder statement.
My white swirls look shaky. How can I make them smoother?
Using a steadier hand is key. Try resting your wrists on a stable surface while you paint. Also, ensure you’re using a good quality, fine-tipped brush and not dipping too much polish. Practicing on paper first can also help build confidence for smoother lines.
How can I make my nail polish dry faster?
Apply thin coats, as they dry much quicker than thick ones. You can also use a quick-dry top coat or a nail dryer fan. Avoid blowing on your nails, as this can sometimes cause imperfections.
How do I clean up mistakes easily?
The best tool is a small, angled brush or a fine-tip brush dipped in nail polish remover. Gently trace around the edges of your design to clean up any errant polish or smudges. Cotton swabs can work, but the brush offers more precision.
Conclusion
And there you have it! Soft pink nails with white swirl accents are a stylish, achievable DIY manicure that adds a touch of effortless elegance to any look. You’ve learned how to prep your nails, apply the polish perfectly, create those delicate swirls, and seal it all in for a long-lasting shine. Remember, nail art is about self-expression, so have fun with it! Don’t be afraid to experiment with different shades of pink or different swirl patterns. With a little practice, you’ll be a swirl-art pro in no time, and your nails will be radiating confidence and style. Until next time, keep those nails looking fabulous!


