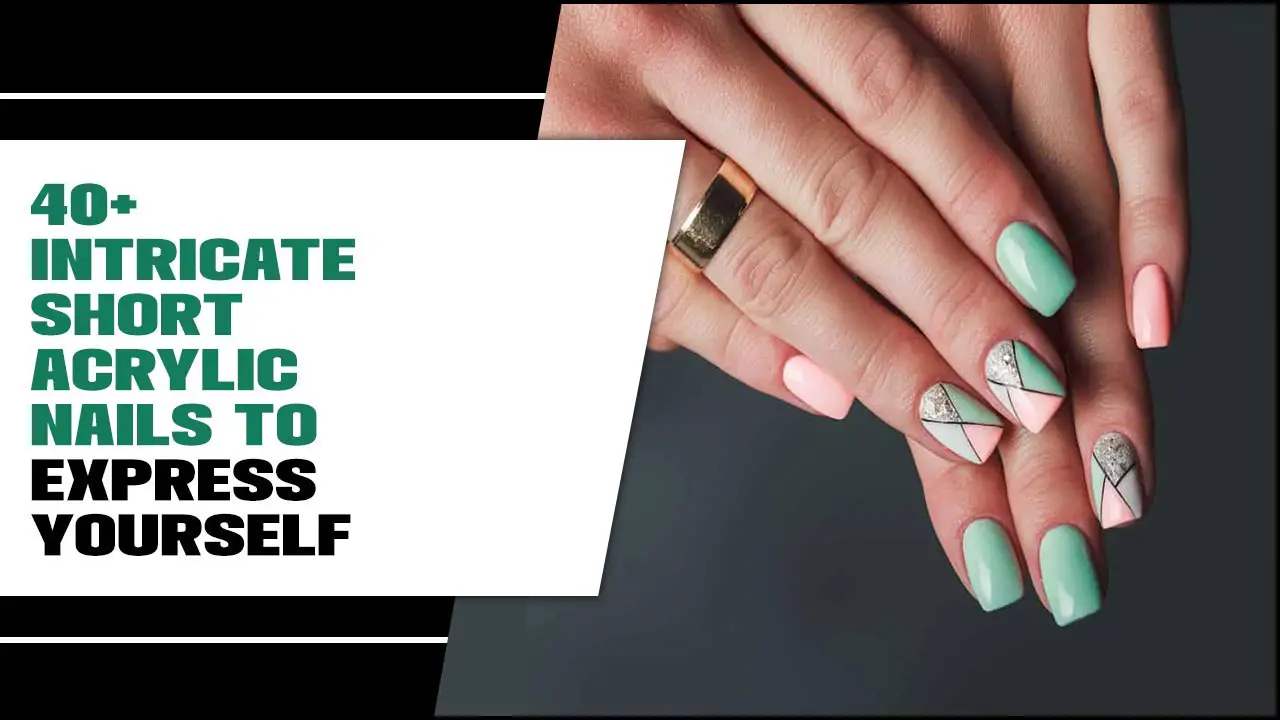
Soft gel nail designs offer a beautiful, durable, and flexible alternative to traditional acrylics. This guide breaks down everything beginners need to know, from essential tools to stunning DIY design ideas, making salon-quality nails achievable at home.
Dreaming of gorgeous, long-lasting nails that are as chic as they are strong? Soft gel nails might be your perfect match! Many of us struggle with brittle nails or manicures that chip after just a few days. It can be frustrating when your hard work doesn’t last. But what if you could achieve a professional-looking, resilient manicure right from your own home, without harsh chemicals or complicated techniques? This guide is here to help! We’ll walk you through everything you need to know to create stunning soft gel nail designs, so you can express your style with confidence. Get ready to unlock a world of nail art possibilities!
What Exactly Are Soft Gel Nails?
Soft gel nails, often referred to as “builder gels” or “polygel” (though polygel is a specific type), are a type of nail enhancement. Unlike hard gels, which are permanent until filed off, soft gels are soak-off. This means they can be gently removed with acetone, making them a more nail-friendly option. They offer the strength and durability of acrylics but with a more flexible feel, mimicking natural nails beautifully. They come in various forms, including gel polish, builder gels, and polygel, each offering slightly different application and benefits.
The Magic of Soft Gel: Why Choose Them?
So, what makes soft gel nails so popular, especially for DIY enthusiasts? Let’s dive into the amazing benefits:
- Durability & Longevity: Soft gels create a strong, chip-resistant surface that can last for weeks. Say goodbye to daily touch-ups!
- Flexibility: They are more flexible than hard gels or acrylics, meaning they are less prone to snapping and feel more natural on your nails.
- Soak-Off Removal: This is a huge plus! When you’re ready for a change, they can be dissolved with acetone, minimizing potential damage to your natural nails compared to filing.
- Lightweight Feel: They feel lighter on the nails compared to some other extensions, preventing that heavy, artificial sensation.
- Versatility in Design: You can use them to create beautiful nail shapes, add length, strengthen natural nails, and serve as a base for endless nail art.
- Odorless Application: Unlike acrylics, most soft gel products are odorless, making the application process much more pleasant.
Essential Tools for Your Soft Gel Nail Journey
Getting started with soft gel nail designs is easier than you think! You don’t need a professional salon setup, but a few key tools will make all the difference. Think of these as your essential toolkit for creating salon-worthy nails at home.
The Must-Have Soft Gel Nail Kit
Here’s a breakdown of what you’ll need. Don’t worry if it looks like a lot at first; many products are reusable, and investing in a good starter kit can save you money in the long run!
- LED or UV Gel Lamp: This is non-negotiable! A lamp cures (hardens) the gel polish or builder gel. LED lamps are generally faster and more energy-efficient. Look for one with at least 36 watts for optimal curing. You can find reliable ones on Amazon or from beauty supply stores.
- Soft Gel Product: This could be:
- Gel Polish: The most common option for color.
- Builder Gel: Thicker, used for strengthening natural nails or creating short extensions.
- Polygel: A unique hybrid that offers a lot of control for sculpting extensions.
- Nail File & Buffer: You’ll need various grits. A coarser file (around 100-150 grit) for shaping and extensions, and a finer buffer (around 180-240 grit) for smoothing the natural nail and the gel surface.
- Cuticle Pusher & Nippers: For gently pushing back and trimming overgrown cuticles.
- Lint-Free Wipes: Crucial for applying cleanser and removing the sticky inhibition layer after curing.
- Alcohol or Gel Cleanser: Used to dehydrate the nail and clean the surface before application and to wipe away the sticky layer after curing. Isopropyl alcohol (90% or higher) works well.
- Nail Dehydrator & Primer: These help improve adhesion and prevent lifting. A dehydrator removes moisture, while a primer creates a bonding layer.
- Base Coat & Top Coat (Gel Formulation): A gel base coat protects your natural nail and allows the color to adhere. A gel top coat seals the design, provides shine, and protects against chipping.
- Your Chosen Color Gel Polishes: The fun part!
- Optional Tools for Designs:
- Thin Nail Art Brush: For fine lines and details.
- Dotting Tools: For creating dots of various sizes.
- Stencils or Nail Stickers: For quick and easy patterns.
- Glitter, Foils, or Pigments: For added sparkle and dimension.
Step-by-Step: Applying Soft Gel Nails at Home
Ready to get creating? Follow these straightforward steps to apply your soft gel nails. Remember, practice makes perfect, so be patient with yourself!
Preparation is Key
A flawless soft gel application starts with well-prepped nails. This step ensures your manicure lasts and looks its best.
- Clean and Shape: Wash your hands thoroughly. Gently push back your cuticles using a cuticle pusher. Trim any excess skin with cuticle nippers if needed. Shape your nails using your nail file to your desired length and form.
- Buff the Surface: Lightly buff the surface of your natural nails with a fine-grit buffer. This removes shine and creates a slightly rough texture, which helps the base coat adhere better. Be gentle; you’re not trying to thin your nails, just remove the natural oils and shine.
- Cleanse and Dehydrate: Wipe each nail with your alcohol or gel cleanser using a lint-free wipe. This removes any dust and natural oils. Apply a nail dehydrator, followed by a nail primer, ensuring you cap the free edge of the nail for maximum adhesion.
Application of Soft Gel
Now for the exciting part – applying the gel!
- Apply Base Coat: Apply a thin, even layer of gel base coat to each nail. Make sure to cap the free edge (swipe the brush along the tip of the nail) to prevent chipping. Cure under your LED/UV lamp according to the manufacturer’s instructions (usually 30-60 seconds for LED).
- Apply Color Coats: Apply your chosen gel polish color in thin layers. Cap the free edge with each coat. Apply one coat, cure, then apply a second coat for full opacity, and cure again. The thinner the coats, the less likely they are to wrinkle or lift.
- Apply Top Coat: Once your color coats are cured, apply a thin, even layer of gel top coat. Cap the free edge. This layer is crucial for shine and protection.
- Cure the Top Coat: Cure the top coat under your lamp. The curing time might be slightly longer for top coats (often 60 seconds or more).
- Wipe Inhibition Layer: After curing the top coat, you’ll notice a slightly sticky layer. Use a lint-free wipe with alcohol or gel cleanser to gently wipe away this inhibition layer. This will reveal the glossy, finished manicure!
Adding Soft Gel Extensions (Builder Gel/Polygel)
Want to add length? Here’s a simplified overview. For full extension techniques, consider specific tutorials for builder gel or polygel application, as they can be more complex.
- Prep and Base Coat: Follow the same prep steps as above, including base coat and curing.
- Apply Extension Product:
- Builder Gel: Apply a small bead of builder gel onto the nail and gently guide it towards the free edge using your brush. You can create a natural overlay or build out a short extension. Cap the edge and cure. You may need multiple thin layers depending on the desired strength and length.
- Polygel: Apply a bead of polygel to the nail and use your slip solution and brush to spread and sculpt it. You can use a nail form for more dramatic length. Cap the edge and cure.
- Shape and Refine: Once cured, use your nail file to shape the extension perfectly. Then, lightly buff the surface for color application or a clear finish.
- Apply Color or Top Coat: Proceed with your gel polish color, base coat, and top coat as usual, curing each layer.
Removing Soft Gel Nails
Gentle removal is key to maintaining nail health.
- File the Top Coat: Gently file away the top shiny layer of the top coat using a medium-grit file. This breaks the seal and allows the acetone to penetrate.
- Soak in Acetone: Soak a cotton ball in 100% acetone. Place the soaked cotton ball over your nail and wrap it securely with foil.
- Wait and Scrape: Let the nails soak for 10-15 minutes. The gel should have softened. Gently scrape away the softened gel with an orangewood stick or a cuticle pusher.
- Repeat if Necessary: If some gel remains, re-wrap the nail with fresh acetone-soaked cotton and soak for a few more minutes.
- Condition: Once all the gel is removed, wash your hands and apply a nourishing cuticle oil and hand cream to rehydrate your nails and skin.
Stunning Soft Gel Nail Design Ideas for Beginners
Now for the creative part! Soft gel is a fantastic canvas for all sorts of designs, and you don’t need to be an artist to create something beautiful. Here are some easy-to-achieve looks:
1. The Classic Solid Color with a Twist
This is the perfect way to start. Choose your favorite gel polish color and apply it flawlessly. The “twist”? Add a touch of sparkle! A single accent nail with glitter or a fine shimmer on one finger can elevate a simple manicure.
2. Simple French Manicure
A timeless look! Instead of traditional polish, use your gel colors. Apply a sheer nude or pink base coat, cure. Then, using a thin brush, paint a clean white line on the tip of each nail. Cure and apply a clear or glossy gel top coat. NailPro has some great tips for achieving crisp lines.
3. Glitter Ombre
Gradient effects can be super easy with glitter! Start with your base color. Apply glitter gel polish or loose glitter adhered with a bit of top coat or builder gel, starting dense at the tip and fading down towards the cuticle. You can use a sponge for a smoother transition or a brush for a more defined fade. Cure and top coat.
4. Dotty Delights
Grab your dotting tools! On a base color, use a contrasting gel polish color and your dotting tool to create small dots. You can make a pattern, scatter them randomly, or create tiny flowers. It’s playful and simple!
5. Minimalist Lines
Use a fine nail art brush and a contrasting gel color (like black, white, or gold) to draw simple thin lines across your nails. You can do one bold line, a few scattered lines, or a simple geometric pattern. Cap with top coat and cure.
6. Easy Marbling with Gel
While true marbling can be tricky, an easy gel marbling technique is achievable. Apply your base coat and cure. While the color is still slightly tacky (or by applying a thin layer of top coat without curing), swirl in a few drops of a contrasting gel color with a thin brush or toothpick. Gently swirl them together without over-mixing, cure, and top coat.
7. Accent Nail Fun!
Don’t want to commit to a complex design on all nails? Pick one accent nail (usually the ring finger) and go bold there! You can add foils, stickers, rhinestones (applied with builder gel or strong nail glue), or a completely different color or pattern on that single nail.
A Quick Look: Gel Polish vs. Builder Gel vs. Polygel
It’s helpful to know the difference between these popular soft gel types. Here’s a simple comparison:
| Feature | Gel Polish | Builder Gel | Polygel |
|---|---|---|---|
| Consistency | Thin, like regular nail polish. | Thick, viscous, self-leveling. | Thick, paste-like, putty-like. |
| Primary Use | Color application, glossy finish. | Strengthening natural nails, creating short extensions, overlays. | Creating extensions (longer nails), overlays, sculpting. |
| Application Ease (Beginner) | Easiest. | Moderate; requires some technique for sculpting. | Moderate to advanced; offers a lot of control but can be sticky. |
| Durability | Good, lasts 2-3 weeks. | Excellent, very strong. | Excellent, very strong and flexible. |
| Removal | Soak-off with acetone. | Soak-off with acetone (can take longer than gel polish). | Soak-off with acetone (can take longer and may require filing off some residue). |
Maintaining Your Soft Gel Manicure
Want your gorgeous soft gel designs to last as long as possible? A little care goes a long way!
- Avoid Harsh Chemicals: Wear gloves when doing household chores, especially those involving cleaning products or prolonged water exposure.
- Moisturize: Keep your cuticles and hands hydrated with cuticle oil and hand cream daily. Healthy cuticles contribute to overall nail health.
- Be Gentle: Avoid using your nails as tools (opening cans, scraping surfaces, etc.).
- No Picking! Resist the urge to pick or peel off your gel. This can severely damage your natural nails. Always use the proper soak-off method.
- Regular Fills (Optional): As your natural nails grow, you might notice the gel lifting slightly at the cuticle. Some people opt for “fills,” where new gel is applied to the new growth area, but for DIY, a soak-off and reapplication are usually easier and safer.
Troubleshooting Common Soft Gel Issues
Even with the best intentions, you might run into a snag. Here are some common problems and how to fix them:
| Problem | Possible Cause | Solution |
|---|---|---|
| Gel Not Curing (Still Sticky) | Lamp too weak, curing time too short, gel applied too thick, gel expired. | Ensure lamp wattage is sufficient (36W+ for LED). Extend curing time. Apply thinner coats. Check gel expiration date and store properly. |
| Lifting or Peeling | Improper nail prep (oils, moisture left), no proper adhesion (dehydrator/primer missing), not capping the free edge, contact with harsh chemicals. | Thoroughly cleanse and dehydrate nails. Use dehydrator and primer. Always cap the free edge of every layer. Wear gloves for chores. |
| Bubbles in Gel Polish | Gel applied too thickly, shaking the polish bottle vigorously, lamp too hot. | Apply thinner coats and allow them to self-level slightly. Gently roll the bottle instead of shaking. Ensure your lamp isn’t overheating. |
| Gel Chipping | Not capping the free edge, top coat not applied or
|

