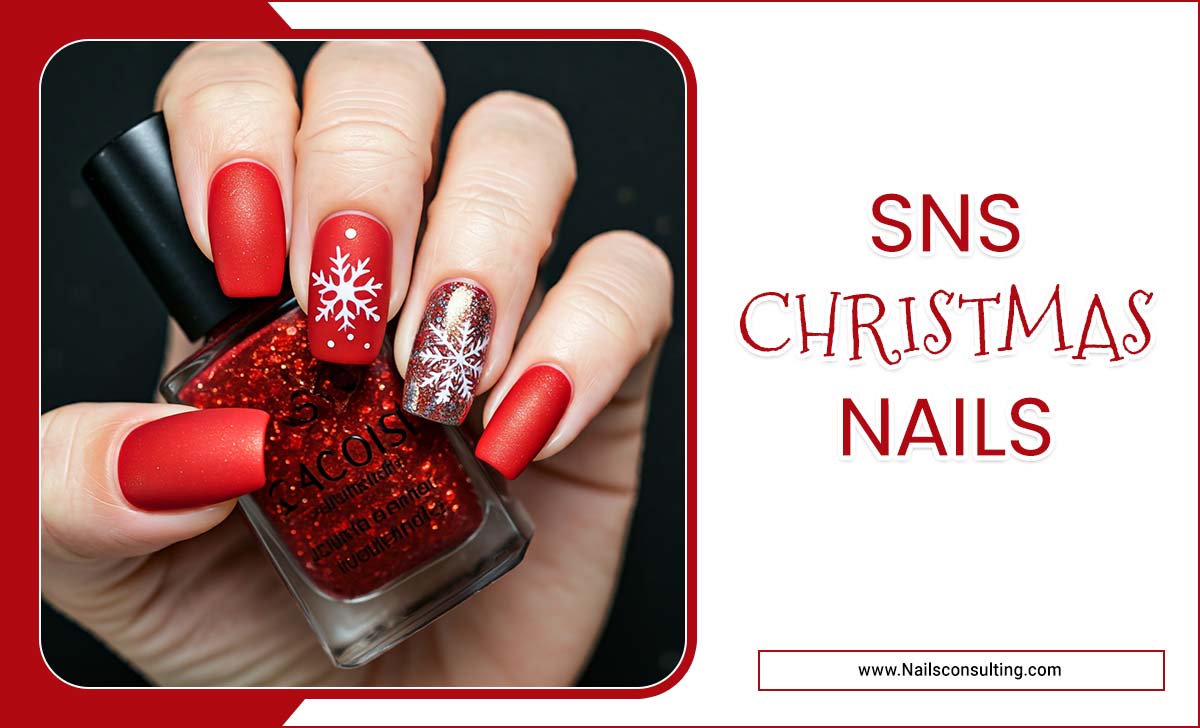
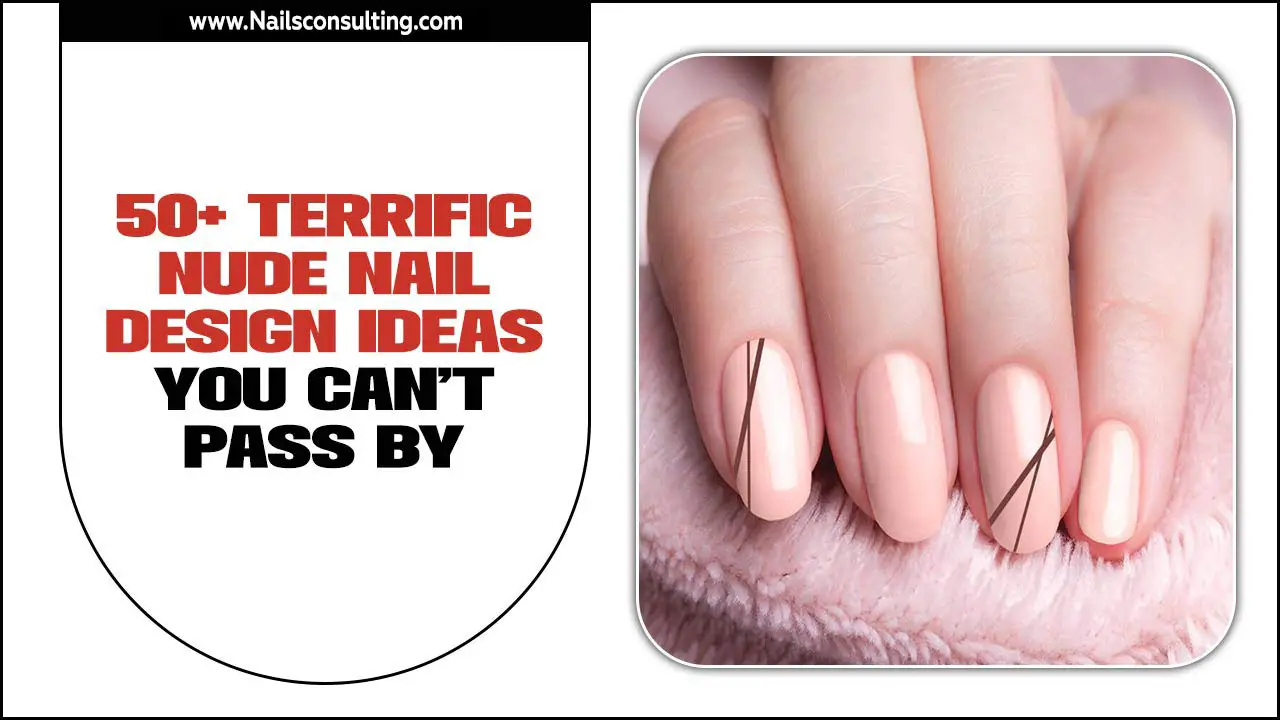
Want stunning snowflake nail designs? Create effortless winter beauty at home with simple steps, easy tools, and creative ideas. Get a gorgeous, festive manicure that’s perfect for the season!
The chill is in the air, and that can only mean one thing: winter is here! And what better way to celebrate the frosty season than with some beautiful snowflake nail designs? You might think intricate nail art is tricky, especially if you’re new to DIY manicures. But don’t worry! Creating elegant snowflake nails is more achievable than you think. Get ready to bring the magic of a winter wonderland right to your fingertips with these simple and stunning ideas.
—
Your Snowflake Nail Design Toolkit: What You’ll Need
Creating beautiful snowflake nails doesn’t require a trip to a professional salon. With a few basic tools and some creativity, you can achieve salon-quality results right at your kitchen table. Here’s what you’ll need to get started on your winter nail art journey:
Base Coat: This is essential for protecting your natural nails and helping your polish adhere better.
Top Coat: Seals your design and adds a glossy finish, making your snowflakes last longer.
Nail Polish Colors:
Base Color: Think wintery shades like deep blues, icy whites, pale grays, or even soft lavenders.
Snowflake Color: White or silver are classic choices for snowflakes, but metallic blues or even a touch of glitter can be fun!
Detailing Tools:
Dotting Tools: These are lifesavers for creating perfect dots, which form the base of many snowflake designs. They come in various sizes.
Fine-Tipped Nail Art Brush: For drawing delicate lines and connecting dots to make unique snowflake shapes.
Toothpick or Straight Pin: A budget-friendly alternative if you don’t have dotting tools or brushes.
Stencils or Stickers (Optional): For a super easy approach, you can use pre-made snowflake nail stickers or stencils.
Nail Polish Remover and Cotton Swabs: For cleaning up any mistakes.
Patience and Creativity: The most important ingredients!
—
Getting Started: Prepping Your Canvas
Before we dive into the fun part – creating the snowflakes! – proper nail preparation is key. This ensures your polish lasts longer and your nails look healthy and polished.
1. Clean Your Nails: Remove any old polish. Wash your hands thoroughly with soap and water and dry them completely.
2. Shape Your Nails: File your nails to your desired shape. Consider a classic square, elegant squoval, or a chic almond shape. For a wintery feel, slightly longer nails can beautifully showcase intricate designs.
3. Push Back Cuticles: Gently push back your cuticles with an orange stick or a cuticle pusher. This creates a clean surface for polish application and makes your nails appear longer.
4. Apply Base Coat: Apply a thin, even layer of your favorite base coat. Let it dry completely. This step is crucial for preventing staining and helping your color polish adhere better.
—
Easy Snowflake Nail Designs for Beginners
Let’s get creative! These designs are perfect for those just starting out with nail art and offer a beautiful wintery look without the stress.
Design 1: The Simple Dot Snowflake
This is the absolute easiest way to create a snowflake effect.
Steps:
1. Apply Base Color: Paint your nails with your chosen base color (e.g., a deep navy blue). Apply two thin coats for full opacity and let them dry completely.
2. Create the Center Dot: Using a dotting tool (or the tip of a toothpick), place a single small dot of white or silver polish in the center of your nail.
3. Add the Arms: From the center dot, draw four lines radiating outwards. You can make them straight and even, or slightly curved for a softer look.
4. Add Side Dots: At the end of each outward-pointing line, add a smaller dot.
5. Connect and Embellish: Add smaller dots between the main arms, or add tiny dots along the lines to create a more detailed snowflake. You can also add a tiny dot right in the middle for extra definition.
6. Seal with Top Coat: Once your snowflakes are completely dry, apply a layer of clear top coat to protect your design and add shine.
Tips for Success:
Practice on Paper: Before trying on your nails, practice making dots and lines on a piece of paper with your polish.
Don’t Overload Your Tool: Dip your dotting tool or brush lightly into the polish. It’s easier to add more than to remove excess.
Clean as You Go: If you make a mistake, use a cotton swab dipped in nail polish remover to gently clean it up before it dries.
Design 2: The Starburst Snowflake
This design uses simple lines to create a star-like snowflake pattern that’s instantly recognizable.
Steps:
1. Apply Base Color: Choose a wintery base shade like icy blue or a frosty white. Apply two coats and let them dry thoroughly.
2. The Center: Using a fine-tipped nail art brush or a small dotting tool, place a small dot in the center of your nail. This is the core of your snowflake.
3. Draw the Rays: From the center dot, draw six lines radiating outwards. Aim for equal spacing to create a balanced snowflake. These lines can be straight or have a slight curve outwards.
4. Add Tiny Dots: At the end of each ray, place a very small dot. You can also add a tiny dot in between each main ray.
5. Optional Embellishments: For a touch of sparkle, you can add a tiny dot of glitter polish to the center of the snowflake, or place a small rhinestone or Swarovski crystal in the middle. Make sure to apply these while your top coat is still wet.
6. Apply Top Coat: Finish with a good quality top coat to seal everything in.
Design 3: Using Nail Art Pens
Nail art pens are fantastic for beginners because they offer more control and are less messy than traditional polish bottles.
Steps:
1. Base Color Ready: Apply your chosen base color and let it dry completely.
2. Draw Your Snowflake: Using a white or silver nail art pen, draw simple snowflake shapes. You can start with a few intersecting lines, then add more details like smaller lines branching off. Many pens have fine tips perfect for this.
3. Get Creative with Shapes: Don’t be afraid to try different snowflake variations. Some can be more intricate, while others can be very minimalist. You can find inspiration online!
4. Let it Dry: Allow the polish from the pen to dry completely.
5. Seal the Deal: Apply a top coat. Be gentle when applying the top coat so you don’t smudge the pen ink.
—
Advanced Techniques & Fun Variations
Once you’re comfortable with the basics, you can start experimenting with more advanced techniques and fun variations to make your snowflake nails truly unique.
Stenciled Snowflakes
Stencils offer a quick and easy way to achieve professional-looking patterns. You can find many snowflake-themed stencils online or at beauty supply stores.
How to Use Stencils:
1. Apply Base Color: Paint your nails with your desired base color and let it dry completely.
2. Place the Stencil: Carefully apply the stencil onto your nail. Ensure it’s smooth and adheres well to prevent polish from seeping underneath.
3. Apply Snowflake Color: Using a dabbing motion with a makeup sponge or a dense brush, apply your snowflake color (white, silver, etc.) over the stencil.
4. Peel Off Gently: While the polish is still slightly wet, carefully peel off the stencil. This ensures a clean, crisp design.
5. Touch-Ups: If needed, use a fine brush and a bit of polish remover to clean up any stray marks.
6. Seal: Apply a top coat once everything is dry.
Glitter and Ombre Effects
Combine snowflakes with other popular nail trends for a dazzling look!
Glitter Gradient: Start with a solid base color, then use a sponge to dab glitter polish onto the tips of your nails, creating a gradient effect. Once dry, add delicate white snowflakes over the glitter.
Ombre Base: Create a beautiful blue-to-white or white-to-gray ombre base. Once dry, carefully paint your snowflakes on top. The subtle color shift will make your snowflakes pop!
Adding Rhinestones and Gems
A little sparkle goes a long way! Tiny rhinestones or Swarovski crystals can add a touch of glamour to your snowflake designs.
Placement: Carefully place a small rhinestone or crystal in the center of your snowflake using a dotting tool or tweezers.
Adhesion: Apply a small dot of top coat where you want the gem to go, then place the gem. You can also use a special nail glue for added security.
Be Mindful: Don’t overdo it. One or two strategically placed gems can make a big impact.
Snowflakes on Different Base Colors
Don’t limit yourself to blues and whites!
Black or Deep Red: Snowflakes look stunning against dark, rich colors like black, deep plum, or burgundy. They create a sophisticated, dramatic contrast.
Pastels: Soft pinks, mint greens, or pale yellows can provide a delicate and feminine backdrop for subtle white or silver snowflakes.
—
Maintaining Your Snowflake Manicure
Want your beautiful snowflake nails to last through the holiday season and beyond? Here are a few tips to keep them looking fresh:
Apply Top Coat Religiously: A good quality top coat is your best friend. Reapply it every 2-3 days to refresh the shine and protect your design.
Wear Gloves: When doing chores like washing dishes or cleaning, always wear rubber gloves. This protects your polish from harsh chemicals and excess moisture.
Avoid Using Nails as Tools: Resist the urge to use your nails to open cans, scrape off stickers, or do anything else that could cause chipping or breakage.
Moisturize: Keep your hands and cuticles hydrated with a good hand cream and cuticle oil. Healthy cuticles make for a neat and tidy manicure.
Be Gentle: Avoid hard impacts to your nails. If you notice any lifting or chipping, it’s best to address it quickly with a bit of top coat or by gently filing the rough edge.
—
Snowflake Nail Design Inspiration Gallery
Need a little visual spark? Here are some popular snowflake nail design ideas to inspire your next manicure!
| Design Type | Description | Best For |
| :——————- | :—————————————————————————– | :—————————————- |
| Classic White/Blue | White snowflakes on a deep blue or icy blue base. Timeless and elegant. | Everyday wear, holiday parties |
| Glitter Snowflakes | Delicate snowflakes painted with fine glitter polish, or glitter accents. | Festive occasions, making a statement |
| Minimalist | A single, small snowflake strategically placed on one or two accent nails. | Subtle winter touch, busy individuals |
| Ombre/Gradient | Snowflakes over a smooth color transition, like blue fading to white. | Trendy enthusiasts, soft romantic look |
| Dark & Dramatic | White or silver snowflakes on black, deep purple, or dark green polish. | Evening wear, sophisticated style |
| Accent Nail Focus| Intricate snowflake designs concentrated on one or two nails, with plain polish on others. | Highlighting detail, balancing complexity |
—
Frequently Asked Questions About Snowflake Nail Designs
Q1: How do I make my snowflakes look perfectly symmetrical?
A1: Symmetry comes with practice! For beginners, try using a dotting tool. Start with a central dot, then add four equally spaced dots around it. Connect them with lines. You can also use pre-made stencils for perfect shapes every time. Don’t stress too much; slight imperfections can give your snowflakes a unique, natural charm!
Q2: What’s the best way to clean up mistakes when painting snowflakes?
A2: A small, fine-tipped brush (like a detailer brush or even a clean makeup brush) dipped in nail polish remover is your best friend. Gently dab or swipe away any polish that went outside the lines. Cotton swabs can also work, but they can be a bit bulkier for precise touch-ups. Remember to clean your brush after each use.
Q3: Can I do snowflake nail designs on short nails?
A3: Absolutely! Snowflake designs can look adorable on short nails. Opt for simpler designs with fewer, smaller snowflakes. An accent nail with one delicate snowflake is often very effective on shorter nail lengths. The key is scaling the design to fit your nail size.
Q4: How long do DIY snowflake nail designs typically last?
A4: With proper application and care, your snowflake nail designs can last anywhere from 5-10 days. The longevity depends on the quality of your polish, application technique (especially the top coat!), and how well you protect your hands from daily wear and tear. Reapplying top coat every few days can significantly extend the wear time.
Q5: Are there any special tools needed for snowflake nail designs?
A5: While you can* use toothpicks, specialized tools make the process easier and produce better results. A dotting tool set with various tip sizes is highly recommended for creating consistent dots. A fine-tipped nail art brush is also invaluable for drawing delicate lines and connecting points to form precise snowflake shapes.
Q6: I’m very new to nail art. What’s the easiest snowflake design to start with?
A6: The “Simple Dot Snowflake” is perfect for absolute beginners. It involves making a few dots and connecting them with lines. You can also use nail art stickers or stencils for a foolproof way to get beautiful snowflake patterns without any drawing skills required. Look for simple 3-4 pointed snowflake stickers.
Q7: Where can I learn more about nail art techniques?
A7: There are tons of fantastic resources! Reputable beauty blogs (like Nailerguy!), YouTube channels dedicated to nail art, and even websites from nail polish brands often offer tutorials and inspiration. For foundational nail health and care information, resources like the American Academy of Dermatology Association can provide valuable insights, though they focus more on health than design.
—
Embrace Your Inner Snow Queen!
Creating beautiful snowflake nail designs is a wonderful way to embrace the winter season and add a touch of festive magic to your look. Whether you’re a seasoned nail art enthusiast or just dipping your toes into DIY manicures, there are designs out there for everyone. Remember, the goal is to have fun and express your creativity! Don’t be afraid to experiment with different colors, embellishments, and techniques. With a little practice and these helpful tips, you’ll be rocking stunning, effortless winter beauty on your fingertips in no time. So grab your polishes, get creative, and let your nails sparkle like a winter wonderland!

