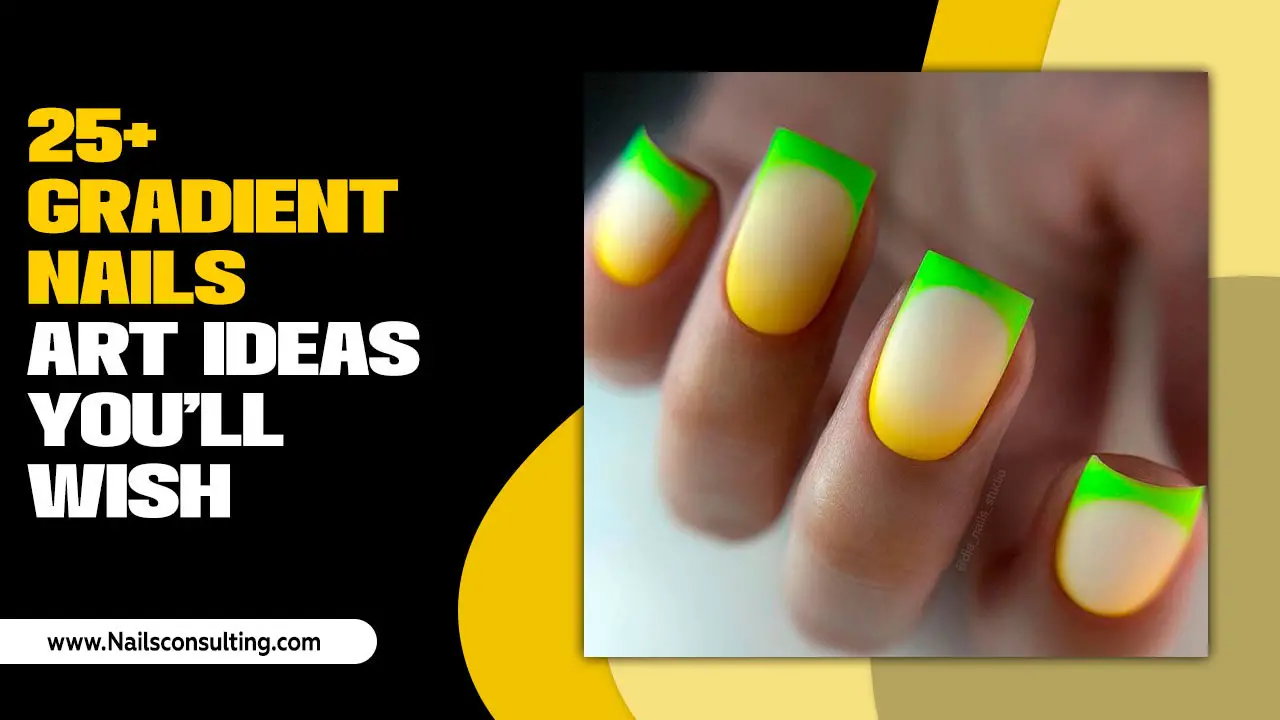
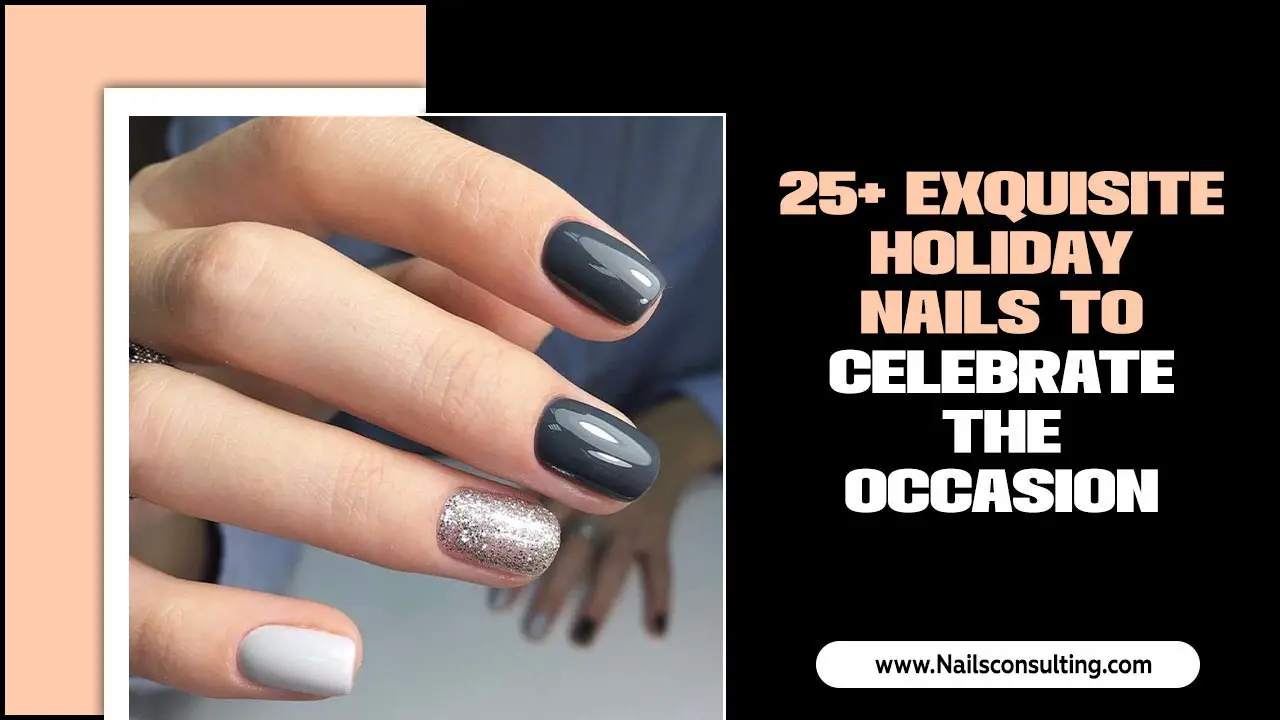
Snow tip nails are a chic and wintery take on the classic French manicure, featuring white tips resembling fresh snowfall. They’re perfect for adding elegant, seasonal flair to your look with tons of easy, stylish design options for beginners and beyond!
Feeling a bit left out when the snow starts to fall, wishing your nails could join in on the winter wonderland fun? You’re not alone! Many of us admire those perfectly polished, snow-kissed manicures but feel they’re out of reach. The good news? Creating beautiful snow tip nails is easier than you think, even if you’re new to nail art. It’s all about embracing the magic of white tips and adding your own creative spark. Get ready to transform your nails into a canvas of winter elegance and discover how simple it can be to achieve a polished, stylish look that will make heads turn.
What are Snow Tip Nails and Why Are They So Popular?
Snow tip nails are essentially a festive and winter-inspired twist on the iconic French manicure. Instead of the traditional opaque or sheer white tips, they often feature a softer, more blended white, sometimes with added shimmer or subtle nail art elements that evoke the feeling of falling snow, frosted landscapes, or a cozy winter day. They’re incredibly popular for a few key reasons:
- Seasonal Appeal: They perfectly capture the magical essence of winter, making them a go-to choice for the colder months.
- Elegance and Chic: The white color inherently has a clean, sophisticated look that elevates any outfit.
- Versatility: While they scream winter, they can be adapted to various styles, from minimalist to more elaborate.
- Beginner-Friendly: Many snow tip designs are surprisingly easy to recreate at home, requiring minimal advanced techniques.
- Subtle Yet Statement: They offer a way to participate in seasonal trends without being overly loud, making them suitable for many occasions, including professional settings.
Think of them as your nails dressed in their finest winter coat – stylish, elegant, and ready for any occasion, from a cozy night in to a festive holiday gathering.
Essential Tools for Your Snow Tip Nail Journey
Before you dive into creating your own snow tip masterpieces, having the right tools can make all the difference. Don’t worry, you don’t need a professional salon’s worth of equipment! Here’s a simple guide to what you’ll need to get started:
The Must-Haves:
- Base Coat: This protects your natural nail and helps your polish adhere better.
- Top Coat: Essential for sealing your design, adding shine, and preventing chips.
- Your Base Polish Color: This could be a sheer nude, a soft pink, or even a light icy blue.
- White Nail Polish: This is your key ingredient for those snowy tips! A good quality, opaque white works best.
- Nail Polish Remover: For those inevitable little mistakes.
- Cotton Pads or Balls: To apply the remover.
- Cuticle Pusher or Orange Stick: To gently push back your cuticles for a clean nail canvas.
Optional, But Super Helpful:
- Thin Nail Art Brush or Striping Tool: For clean lines or adding delicate details.
- Dotting Tools: For creating small, snow-like dots or accents.
- Fine-Grit Nail File: To shape your nails before you start.
- Gloves: If you’re using stronger removers or want to protect your hands.
- A good lamp or well-lit area: To see your work clearly!
Remember, practice makes perfect! Even with basic tools, you can achieve stunning results. If you’re looking for top-quality polish, brands like essie are known for their excellent formulas that apply smoothly and last well.
Simple Snow Tip Nail Designs: Your Step-by-Step Guide
Ready to get creative? Here are a few popular and beginner-friendly snow tip nail designs that are super stylish and surprisingly easy to achieve. We’ll start with the most basic and build from there!
Design 1: The Classic Snow French
This is your quintessential snow tip look – elegant, clean, and perfect for any occasion.
- Prep Your Nails: Start with clean, filed nails. Apply a base coat and let it dry completely.
- Apply Base Color: Paint your nails with your chosen base color (nude, pink, etc.) and let it dry. You might need two coats for an even finish.
- Create the Snow Tip: This is where you have options!
- Freehand: Dip a fine nail art brush into your white polish. Starting from one side of the nail tip, gently draw a curved smile line across to the other side. You can also use the brush to fill in the tip.
- Stencil Method: Use French tip guides or even a small piece of tape. Apply the guide where you want the white tip to start. Paint the white polish over the tip, extending slightly over the guide. Carefully peel off the guide while the polish is still slightly wet.
- The “Dab” Method (for a softer look): Take a small amount of white polish on your brush and gently dab it along the tip of the nail, blending downwards with a clean brush or even a fingertip (be quick!). This creates a more diffused, snowy effect.
- Touch Up: Use a small brush dipped in nail polish remover to clean up any wobbly lines.
- Add Shine: Once completely dry, apply a top coat to seal everything in and give it a beautiful shine.
Design 2: Glittering Snowfall Tips
Add a touch of sparkle to mimic falling snowflakes!
- Follow Steps 1-3 from the Classic Snow French design.
- Add Glitter: While the white tip polish is still wet (or after it has dried but before the top coat), carefully apply a sheer glitter polish over the white tip. You can also use a small brush or dotting tool to apply loose glitter strategically onto the wet white polish for more control.
- Clean and Seal: Clean up any stray glitter with a brush and remover. Once dry, apply a generous top coat to ensure the glitter is sealed in and smooth.
Design 3: Frosted Ombre Tips
This creates a beautiful gradient effect, like frost creeping up the nail.
- Prep and Base: Follow steps 1 and 2 from the Classic Snow French design.
- Ombre Effect:
- Sponge Method: Put a little white polish and a little of your base color (or clear polish) onto a piece of foil or a palette. Gently dab a makeup sponge (a clean eyeshadow sponge works great!) into both polishes, then dab it onto the tip of your nail. You’ll want to focus the white at the very tip and blend down. Repeat for a more intenseombre. This technique is further explained and demonstrated by NailCareSecrets on YouTube, showing how to achieve different gradient looks.
- Brush Blend: Apply a line of white polish at the tip. Then, using a clean, slightly damp brush, gently blend the white polish downwards into the base color. Work quickly before the polish dries.
- Clean Up: Clean any polish off your skin with a remover-soaked brush.
- Top Coat: Apply a smoothing top coat to even out the texture from the sponge or brush.
Design 4: Snow Dots and Drizzles
Perfect for a more playful, abstract snowy look.
- Prep and Base: Follow steps 1 and 2 from the Classic Snow French design.
- Create the “Snow”:
- Drizzles: Using a thin nail art brush and white polish, create delicate, uneven lines dripping down from the white tip. Don’t make them too perfect; organic drips look more natural.
- Dots: Use a dotting tool or the tip of a toothpick to apply small white dots of varying sizes over your white tips or down the nail, like falling snowflakes.
- Clean and Seal: Clean up edges and apply a top coat.
Advanced Techniques for Extra Sparkle
Once you’ve mastered the basics, you can elevate your snow tip nails with a few extra touches. These can make your manicure truly unique!
Adding Shimmer and Glow
Winter is all about sparkle! Incorporating shimmer can make your snow tips look even more magical.
- Glitter Top Coat: A sheer glitter top coat applied over your white tips is the easiest way to add sparkle. Opt for silver, holographic, or iridescent glitters for a frosty effect.
- Fine Glitter Dust: After applying your white tip polish and while it’s still slightly wet, gently dust very fine holographic or iridescent glitter over the tip using a brush. This gives a subtle, ethereal glow.
- Chrome Powder: A white chrome powder applied over a white or light base can give a futuristic, icy sheen. Apply according to product instructions, usually over a cured gel top coat, then seal with another top coat.
Subtle Nail Art Accents
Small, delicate designs can add a lot of personality without being overpowering.
- Tiny Stars or Diamonds: Using a fine liner brush and silver or white polish, paint tiny, minimalist stars or diamond shapes on one or two nails.
- Frosty Lines: Instead of a solid white tip, use a fine liner brush to create delicate, icy lines on the tips of your nails. You can even make them look like tiny frozen branches.
- Micro Beads or Studs: Applying a few tiny silver or ice-colored micro beads or studs to the cuticle area or along the smile line can add a glamorous, textured element.
Color Play with Snow Tips
Who says snow tips have to be just white? Get creative with your color palette!
- Icy Blue or Lavender Hues: Instead of pure white, try a very pale icy blue or lavender for a softer, more unique frosty tip.
- Iridescent Finishes: Use pearlescent or iridescent polishes for your tips to catch the light and create a shifting, ethereal effect.
- Understated Color Bases: Pair your snowy tips with muted, sophisticated base colors like smoky grey, deep navy, or even a rich forest green for a striking contrast.
For more inspiration on creative nail finishes, resources like NailPro Magazine’s technique articles offer fantastic insights into various application methods and effects.
Matching Your Snow Tip Nails to Your Winter Wardrobe
One of the best things about snow tip nails is how effortlessly they coordinate with your winter style. They are surprisingly versatile and can complement a wide range of outfits and aesthetics. Here’s how to nail the look:
Cozy Neutrals and Earth Tones
Snow tip nails are the perfect companion to your favorite chunky knits, warm beige coats, and camel-colored scarves. The crisp white of the tips provides a lovely contrast to softer, warmer tones, preventing your overall look from becoming too muted or drab.
- Pair with: Cream sweaters, tan trousers, brown boots, grey scarves, black leggings.
- Effect: Elevates the comfort and warmth of your outfit with a touch of polished sophistication.
Bold Winter Brights
Don’t shy away from vibrant winter colors! Snow tip nails can beautifully balance out bold hues like deep reds, emerald greens, or sapphire blues.
- Pair with: A classic red coat, a jewel-toned dress, a vibrant scarf, or even brightly colored accessories.
- Effect: The white tips offer a clean break and a touch of understated elegance, allowing the bold colors to shine without being overwhelming.
Monochromatic Magic
For a sleek and modern look, embrace a monochromatic palette. Snow tip nails can add texture and interest to an all-white, all-grey, or all-black ensemble.
- Pair with: An all-white outfit for a stunning icy effect, a head-to-toe grey ensemble for sophisticated coolness, or a chic black outfit for a timeless contrast.
- Effect: The subtle texture and variation in the snow tips create depth and visual appeal within a single color family.
Sparkly and Festive
During the holiday season, snow tip nails are a natural fit for your glitzy party dresses, sequined tops, and metallic accessories.
- Pair with: Silver or gold accessories, sequined dresses, velvet separates, or any outfit designed for celebration.
- Effect: They enhance the festive vibe and tie together your glamorous look with a touch of winter magic.
Pro Tip: If you’re wearing a patterned outfit, try to pick out one of the lighter colors in the pattern to use as your base coat for a cohesive yet stylish look. Or, if your outfit has a lot of detail, keep your snow tips simple and classic.
Table: Comparing Snow Tip Application Methods
Choosing the right application method can depend on your skill level and the exact look you’re going for. Here’s a quick comparison:
| Method | Best For | Ease of Use (Beginner) | Cleanliness of Line | Typical Look |
|---|---|---|---|---|
| Freehand Brush | Creating curved smile lines for classic French tips. | Moderate (requires steady hand) | Can be very precise with practice. | Classic, elegant French tip. |
| Stencil/Guide | Achieving perfectly straight or consistent lines. | High | Very precise, sharp lines. | Crisp, professional French tip. |
| Sponge (Ombre) | Creating a diffused, gradient color transition. | Moderate (can be messy if not careful) | Soft, blended edges. | Gradual fading, frosted effect. |
| Dotting Tool/Toothpick | Adding dots or small details like snowflakes. | High | Uniform dots or small artistic marks. | Playful, decorative accents. |
| Thin Liner Brush | Drawing fine lines, drizzles, or intricate details. | Moderate to High (depending on detail) | Fine, precise artistic lines. | Delicate, detailed designs. |
Troubleshooting Common Snow Tip Nail Issues
Even the best nail artists encounter a few hiccups along the way! Here are some common problems and how to fix them:
- Smeared Lines:
- Cause: Trying to apply top coat too soon, or touching the wet tip.
- Fix: Let your white tip dry completely, or at least until it’s no longer tacky. If it’s a minor smudge, you might be able to carefully smooth it by gently running a clean brush (dipped in remover) around the edge. For larger smears, you may need to remove and start that nail again.
- Wobbly “Smile Lines”:
- Cause: Uneven pressure with the brush, or a brush that’s too large.
- Fix: Don’t despair! This is where your cleanup brush (a small, flat brush dipped in nail polish remover) comes in handy. Carefully trace along the edge of your white tip to sharpen and straighten the line.
- Thick, Clumpy Polish:
- Cause: Using old polish that has thickened, or applying too many coats without drying time.
- Fix: Old polish can be thinned out with a drop of nail polish thinner (do NOT use pure acetone, as it can ruin the polish). Apply thinner coats of polish and allow each to dry.
- Gaps in the White Tip:
- Cause: Not enough polish on the brush, or uneven application.
- Fix: Apply an additional thin coat of white polish to fill any gaps. For freehand tips, try drawing a slightly thicker line where the gap is.
- Polish Not Drying:
- Cause: Polish applied too thickly, or not enough drying time between coats.


