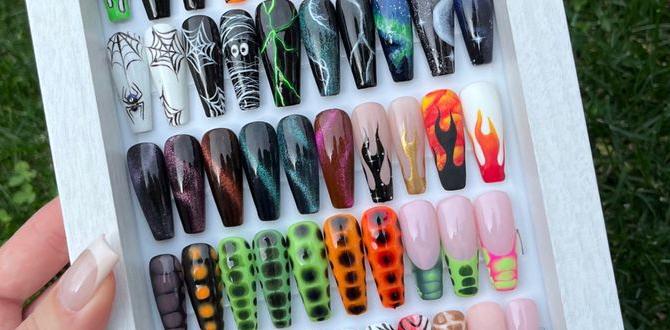
Single stripe nail designs offer a chic and minimalist way to add a touch of elegance to your manicure. They are surprisingly easy to achieve, even for beginners, and can be customized endlessly to match any outfit or mood. Let’s dive into creating stunning single stripe looks!
Ever look at your nails and feel like they need just a little something? You want a pop of style without going full-on intricate art. That’s where single stripe nail designs come in! They’re like the perfect accessory for your fingers – simple, sophisticated, and super versatile. Whether you’re a total beginner or just want a quick, chic update, these designs are your new best friend. We’ll walk you through everything to get that flawless stripe, so get ready to elevate your mani game!
Mastering the Single Stripe Nail Design: Your Beginner’s Guide
Hello, nail lovers! Lisa Drew here from Nailerguy, and I’m so excited to talk about one of my go-to favorite nail art techniques: the single stripe! It’s honest-to-goodness magic. A single, perfectly placed stripe can transform a plain polish into a statement. Think of it as the little black dress of nail designs – always in style and never fails to impress. We’re going to break down exactly how to get those crisp, clean lines, and explore all the fabulous ways you can rock this look. Ready to become a stripe master?
Why Single Stripes Are a Nail Art Game-Changer
Single stripe nail designs are incredible because they hit that sweet spot between simple and sophisticated. They don’t demand hours of intricate work, yet they undeniably elevate your manicure. For beginners, they’re a fantastic starting point to build confidence in nail art. And for the seasoned nail art enthusiast? They’re a quick, chic way to add a personalized touch.
- Simplicity: Requires minimal tools and techniques.
- Versatility: Works with virtually any color combination and occasion.
- Chic Appeal: Instantly adds a modern, polished look.
- Beginner-Friendly: A great entry point into nail art.
- Customizable: Endless possibilities for color, placement, and stripe width.
Essential Tools for Your Stripe Success
You don’t need a professional nail salon in your bathroom to create gorgeous stripes! Here are the absolute essentials you’ll want to have on hand:
- Base Coat: Protects your natural nails and helps polish adhere better.
- Nail Polish Colors: Your base color and your stripe color.
- Top Coat: Seals your design and adds shine.
- Thin Striping Brush: This is key for a precise line. Look for brushes with fine, long bristles.
- Nail Polish Remover: For any little oopsies.
- Cotton Swabs/Pads: Also for clean-up.
- Optional: Striping tape (for super-straight lines), dotting tool (for accents).
The right tools make all the difference. A good quality striping brush, for instance, allows for much more control than a regular polish brush. Many craft stores carry very fine art brushes that work wonderfully for nails, or you can find specialized nail art brushes online. When choosing a striping brush, look for one where the bristles are densely packed and can hold a good amount of polish without becoming clumpy. The Ulta Beauty Nail Art Tool Kit often includes various brushes perfect for detailed work like striping. Always make sure your brushes are clean before and after use to prevent any dried polish from hindering your next creation!
Step-by-Step: Creating the Perfect Single Stripe
Let’s get down to business! Follow these simple steps for a flawless single stripe nail design:
Step 1: Prep Your Nails
Start with clean, dry nails. Push back your cuticles gently. If you like, file your nails into your desired shape. This prep work is crucial for a smooth finish. A good base coat is also your best friend here, preventing staining and giving your color something to grip onto.
Step 2: Apply Your Base Color
Apply two thin coats of your chosen base polish. Let each coat dry fully before applying the next. Patience is key! A fully dried base color prevents the stripe color from smudging or bleeding underneath.
Step 3: Load Your Striping Brush
Dip your clean striping brush into your stripe color polish. You don’t need a huge blob – just enough to create a smooth line. Wipe off any excess on the rim of the bottle to avoid globs. The goal is a controlled amount of polish.
Step 4: The Stripe Application
This is where the magic happens! Decide where you want your stripe. It could be a French tip style, a diagonal line across the nail, a vertical line down the center, or even a horizontal line near the cuticle. Hold your dominant hand steady and gently glide the brush across your nail. Start from one side and move smoothly to the other. Don’t press too hard; let the polish do the work.
- For a Straight Line: Try to do it in one fluid motion. If you miss a spot, it’s okay! You can carefully go back over it once the initial line has set a little.
- For Control: Rest your pinky finger on a stable surface or your other hand to steady yourself.
- Practice: If your first attempt isn’t perfect, don’t worry! Use your nail polish remover and cotton swab to clean it up and try again.
Step 5: Let it Dry (Almost!)
Allow the stripe color to dry for a minute or two. It doesn’t need to be rock solid, but you don’t want it to be completely wet when you apply the top coat.
Step 6: Apply Top Coat
Carefully apply a thin, even layer of your top coat over the entire nail, including the stripe. This seals everything in, adds that beautiful shine, and protects your design. Be sure to cap the free edge of your nail by running the brush along the tip. This prevents chipping.
Step 7: Clean Up
Use a small brush dipped in nail polish remover to clean up any polish on your skin or cuticles. A fine-tipped brush or even a straightened-out cotton swab works wonders for precision clean-up.
Creative Variations of the Single Stripe
Once you’ve mastered the basic stripe, get ready to play! The beauty of this simple design is how easily it can be adapted.
The Classic French Tip Stripe
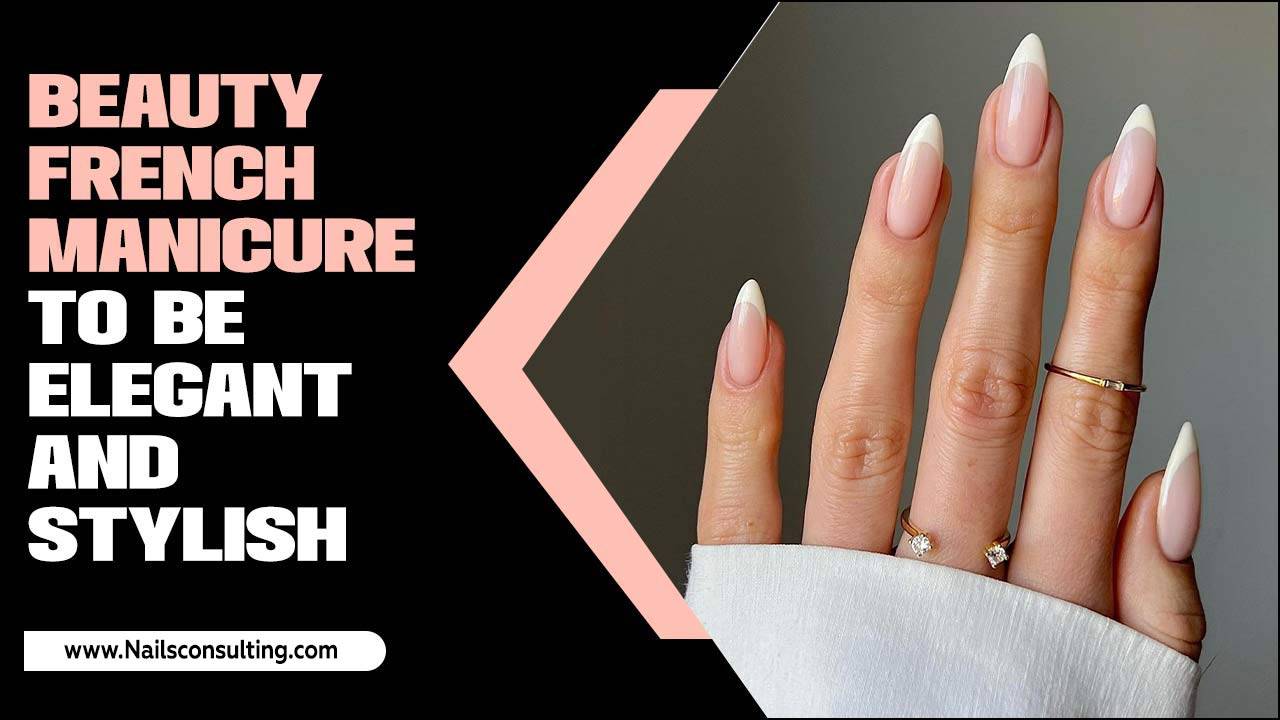
This takes the traditional French manicure and gives it a modern twist. Instead of a white tip, use a thin stripe of a contrasting or metallic color across the tip of your nail.
Diagonal Drama
A diagonal stripe can elongate your fingers and adds a dynamic feel. Try a crisp line from one corner of your nail to the opposite edge.
Vertical Accent
A single vertical stripe down the center of the nail is minimalist and chic. This can be particularly effective on accent nails or all over.
Horizontal Harmony
Similar to the vertical stripe, a horizontal line across the nail adds a graphic element. It can be placed near the cuticle, in the middle, or near the tip for different effects.
The “Half Moon” Stripe
This involves creating a stripe that follows the natural curve of your nail’s moon or cuticle area. It’s a very stylish and unique look.
Double Trouble (But Still Single Stripes!)
While we’re focusing on single stripes, you can achieve a similar minimal effect by layering two very fine stripes extremely close together with a small gap in between. This creates a delicate, almost pinstripe look.
Metallic Magic
Using metallic polishes (gold, silver, rose gold) for your stripe is an instant way to add glamour. They look stunning against dark or nude bases.
Color Combinations That Wow
The right color pairing can make your single stripe design pop! Here are some ideas to get you inspired:
| Base Color | Stripe Color | Effect |
|---|---|---|
| Nude/Beige | Black or White | Classic, Sophisticated |
| Black | Gold or Silver | Elegant, Glamorous |
| Navy Blue | Hot Pink or Teal | Bold, Playful |
| Pastel Pink | White or Cream | Soft, Feminine |
| White | Red or Blue | Chic, Nautical/Retro |
| Deep Burgundy | Rose Gold | Luxurious, Perfect for Fall |
Don’t be afraid to experiment! Your favorite color combination might just be the next big trend for simple stripe designs. Consider the occasion too. For a wedding, soft pastels with a white or metallic stripe might be perfect. For a night out, a black base with a vibrant neon stripe could be your statement.
Troubleshooting Common Stripe Issues
Even the simplest designs can have their hiccups. Here’s how to fix them:
Issue: Jagged or Uneven Lines
Solution: This usually means too much polish on the brush, or the brush is too stiff. Try wiping more excess polish off your brush. Also, practice gliding the brush with a steady hand. If it’s really bad, clean it up and try again!
Issue: Polish Smudging
Solution: The base color wasn’t dry enough, or you applied the top coat too soon or too thickly. Let your base coats dry completely, and wait a minute or two after applying the stripe before the top coat. Apply the top coat in thin, swift strokes.
Issue: Gaps in the Stripe
Solution: Didn’t use enough polish on the brush, or the strokes weren’t continuous. You can gently go back over the gap once the polish is slightly set, or clean it up and re-stripe.
For those who crave absolute perfect straight lines, there’s also striping tape! Here’s a quick rundown on how to use it:
- Paint and dry your base color completely.
- Apply a striping tape precisely where you want your stripe. Press down the edges firmly to prevent polish from seeping underneath.
- Paint over the tape with your stripe color. You might need two thin coats.
- While the stripe color is still wet, carefully peel off the striping tape. This is crucial! If you let it dry, you risk peeling off your new stripe with the tape.
- Let the design dry fully before applying a top coat.
Striping tape can be found at most beauty supply stores or online. It comes in various widths, so you can achieve different line thicknesses. For more information on safe nail practices, the CDC provides guidelines on proper nail hygiene, which is always a good foundation for any nail art project.
Maintaining Your Stripe Design
To keep your gorgeous single stripe nails looking fresh for as long as possible:
- Always use a good quality top coat and reapply it every 2-3 days if needed.
- Wear gloves when doing household chores or using cleaning products.
- Avoid using your nails as tools (e.g., to open cans or scratch labels).
- Keep your cuticles moisturized with cuticle oil.
FAQs About Single Stripe Nail Designs
Q1: How thick should my stripe brush be for single stripe designs?
A1: For most single stripe designs, a brush with bristles that are about 7-10mm long is ideal. You want it fine enough for precision but long enough to hold enough polish for a smooth, continuous stroke. Smaller brushes are great for very delicate lines or intricate patterns.
Q2: Can I use regular nail polish for stripes, or do I need special striping polish?
A2: You can absolutely use regular nail polish with a striping brush! The key is the brush itself. Some brands do offer polishes with very fine tips, but a good brush and standard polish work perfectly well and offer more color options.
Q3: What’s the best way to get a perfectly straight stripe the first time?
A3: Practice and steady hands are your best bet! Resting your pinky finger on the table or your other hand helps stabilize. For foolproof straightness, using striping tape (as described above) is highly recommended for beginners.
Q4: My stripe looks bumpy. What did I do wrong?
A4: Bumps usually happen from too much polish on the brush or not letting the layers dry enough. Ensure you wipe off excess polish and try to use thinner coats. If the stripe polish is still wet when you apply the top coat, it can cause smudging and unevenness.
Q5: Can I do single stripe designs on gel polish?
A5: Yes! Gel polish is actually fantastic for striping because it dries quickly under a UV/LED lamp, and you can apply the stripe color and top coat without worrying about smudging as much. The application technique is similar, but you’ll cure each layer.
Q6: How do I clean my striping brush?
A6: After each use, clean your striping brush immediately with nail polish remover. Swirl it gently on a lint-free pad soaked with remover until all polish is gone. Then, wash it with a little soap and water and let it air dry flat or bristles-up. Never use acetone on synthetic brushes as it can degrade them.
Conclusion
See? Mastering single stripe nail designs is totally achievable and incredibly rewarding! You’ve learned the essential tools, the step-by-step process, and explored a rainbow of creative possibilities. From elegant French tip stripes to bold diagonal statements, the single stripe is your secret weapon for a polished, stylish manicure that’s always on-trend. Don’t be afraid to experiment with colors and placements – your nails are your canvas! So grab your polishes, your favorite striping brush, and get ready to create some stunning looks. Happy striping!

