Yes! You can create gorgeous nail designs effortlessly, even without fancy tools. This guide reveals simple techniques and tips for stunning manicures using items you already have, proving beautiful nails are achievable for everyone.
Dreaming of stylish nails but think you need a whole nail art kit? Think again! Many of us skip creative manicures because we believe it requires special brushes or dotting tools. It can feel frustrating when you see those intricate designs online and feel like they’re out of reach. But what if I told you that your everyday items can become your secret nail art weapons? You don’t need to be a pro to get polished, pretty nails. Get ready, because we’re about to unlock a world of simple, tool-free nail design ideas that are fun, easy, and totally achievable for anyone. Let’s get those nails looking fabulous!
Unlocking Your Inner Nail Artist: The Beauty of Tool-Free Designs
It’s amazing what you can create with just a little imagination and the polish you already own! The beauty of tool-free nail design is its accessibility. It democratizes nail art, making it less about expensive supplies and more about your personal creativity. We’re talking about transforming your nails into tiny canvases using items you’d find in your makeup bag or even your kitchen. This approach is perfect for beginners, busy folks, or anyone looking to add a touch of flair without a big fuss. It encourages experimentation and helps you discover your unique style. Ready to ditch the complicated tools and embrace effortless elegance? Let’s dive into how!
Your Essential (and Unexpected) Tool Kit
Before we get to the fun designs, let’s talk about what you’ll actually need. You might be surprised how many items can serve a dual purpose! The goal is to use what you have readily available. This makes nail art not only simple but also budget-friendly.
The Must-Haves:
- Nail Polish: Obviously! Have a few of your favorite colors on hand.
- Base Coat and Top Coat: These are crucial for polish longevity and a smooth finish. A good base coat protects your natural nails, and a top coat seals your design, adding shine and preventing chips. For tips on choosing the best top coat for your needs, check out resources on nail care from the experts at the Mayo Clinic.
- Cotton Swabs/Q-tips: Perfect for cleaning up edges and creating soft, diffused effects.
- Toothpicks: Your go-to for fine lines, dots, and swirling patterns.
- Scotch Tape/Masking Tape: Essential for creating crisp lines and geometric patterns.
- Plastic Wrap/Cling Film: Creates a fantastic marbled or abstract texture.
- Rubber Bands: Can be used to create unique stripe patterns.
- A Fine-Tipped Pen (optional, for dry-erase marker designs): For temporary, fun designs.
Optional but Helpful:
- Nail Polish Remover: For those ‘oops’ moments and cleaning up mistakes.
- Small Container/Palette: To pour out small amounts of polish for easier dipping (like an old lid or a piece of foil).
Remember, the key is to be resourceful. Look around your vanity, your desk, or even your kitchen. You might find even more items that can be repurposed for nail art!
Simple Nail Design Ideas Without Tools: Step-by-Step Guides
Now for the exciting part! Let’s transform your nails with these easy techniques. Each design focuses on simplicity and uses minimal, readily available items.
1. The Effortless Gradient (Ombre) Effect – Using a Sponge
This look creates a beautiful blend of colors that seems much more complex than it is. You’ll need a makeup sponge or even a kitchen sponge cut into a small piece.
Steps:
- Apply Base Coat: Start with a clear base coat and let it dry completely.
- Apply First Color: Paint your nails with your base color (e.g., a light pink or nude). Let it dry thoroughly.
- Prepare Your ‘Sponge Brush’: Take a makeup sponge or a small piece of kitchen sponge. Apply a strip of your desired gradient color (e.g., a darker pink or coral) vertically onto the sponge. Next to it, apply a strip of another color (e.g., a bright red). You can also apply a sheer white or nude polish in between the colors to help them blend.
- Dab and Blend: Gently dab the sponge onto the tip of your nail, where you want the gradient to start. You might need to dab a few times to build up the color. The sponge will pick up the colors from its surface and transfer them to your nail, creating a softened blend.
- Clean Up Edges: Use a cotton swab dipped in nail polish remover to clean up any polish that got on your skin.
- Apply Second Coat (Optional): For a more opaque look, you can carefully dab the sponge in the same place again.
- Apply Top Coat: Once completely dry, seal everything with a shiny top coat for a professional finish.
2. Crisp Geometric Lines – The Tape Method
Achieve salon-perfect stripes and shapes with ordinary tape. This is fantastic for modern, chic looks.
Steps:
- Apply Base Coat & First Color: Apply a base coat, then paint your nails with your chosen color (e.g., black or navy). Let it dry completely. This is crucial – if the polish is not dry, the tape will peel it off.
- Cut and Apply Tape: Cut small pieces of scotch tape or masking tape. Carefully place them on your nail to create the desired pattern. For example, to create diagonal stripes, apply two pieces of tape at an angle, leaving a strip of nail polish showing. Ensure the tape is pressed down firmly around the edges to prevent polish bleeding underneath.
- Apply Second Color: Paint over the taped-off sections with your second polish color (e.g., white or gold). Make sure to cover the exposed nail polish area completely.
- Remove Tape (Carefully!): While the second color is still slightly wet (but not dripping), carefully peel off the tape. If you wait until it’s fully dry, you risk chipping the polish. Peel slowly and at an angle.
- Clean Up: Use a fine-tipped brush or toothpick dipped in remover to neaten any smudges.
- Apply Top Coat: Once fully dry, apply a generous layer of top coat.
3. Marbled Magic – Using Plastic Wrap
Craving that sophisticated marbled look? Plastic wrap is your secret weapon for effortlessly unique patterns.
Steps:
- Apply Base Coat & First Color: As always, start with a base coat, then apply your main color (e.g., white or a light pastel). Let it dry.
- Prepare Your ‘Marble’: On a non-porous surface (like a plastic lid or piece of foil), add a few drops of a contrasting polish color (e.g., deep blue or pink).
- Crinkle the Wrap: Crumple a piece of plastic wrap into a loose ball.
- Pick Up Color: Gently press the crumpled plastic wrap into the drop of polish. You want to pick up some of the color, not drench the wrap.
- Create the Pattern: Lightly dab the polish-laden plastic wrap onto your nail. Twist and turn the wrap slightly as you dab to create an organic, marbled effect. Avoid pressing too hard or covering the entire nail if you want a layered look.
- Add More Colors (Optional): Repeat steps 2-5 with additional colors for a more complex marble effect.
- Clean Up: Clean up any excess polish on your skin with a cotton swab and remover.
- Apply Top Coat: Finish with a good top coat to seal the design and add shine.
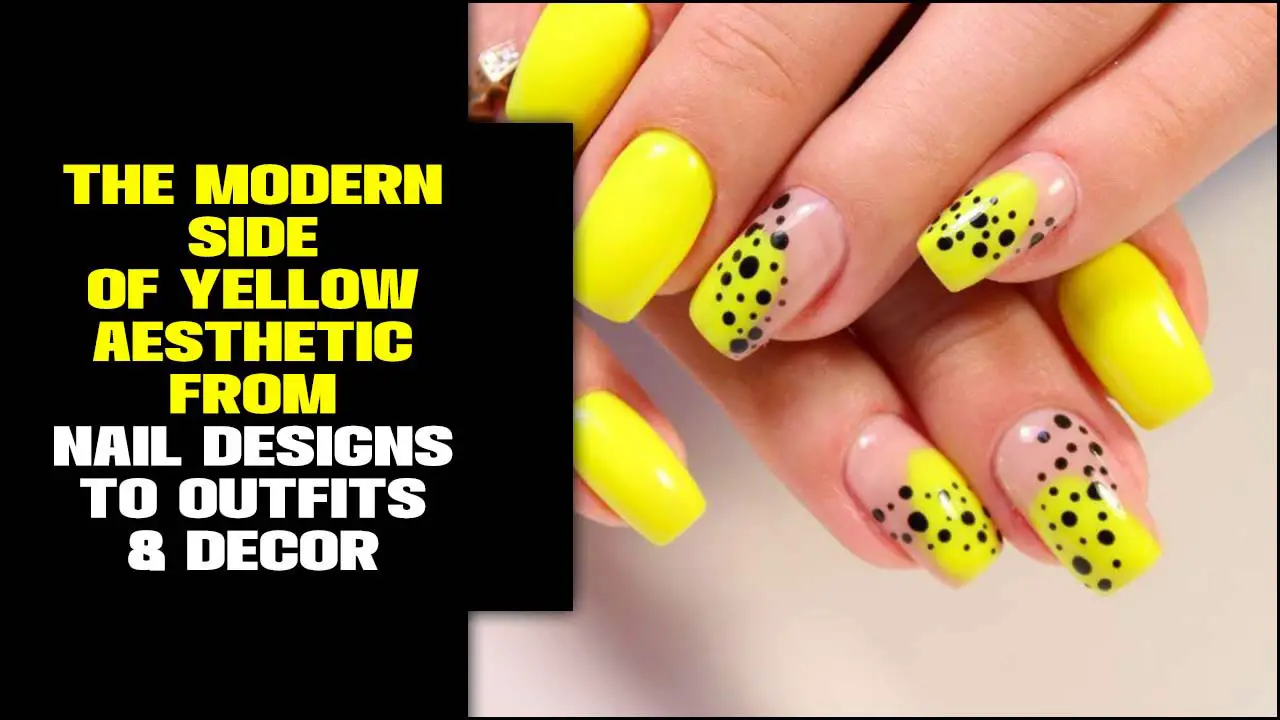
4. Dotty Delights – The Toothpick Technique
Dots are classic, cute, and incredibly easy to create with a toothpick. This is perfect for polka dots or creating simple floral patterns.
Steps:
- Apply Base Coat & Main Color: Apply base coat and let your main polish color dry completely.
- Get Your ‘Dotting Tool’: Dip the very tip of a toothpick into a contrasting polish color. You only need a tiny amount of polish on the tip.
- Place Your Dots: Gently press the toothpick onto your nail to create a dot. Lift straight up.
- Re-dip as Needed: Re-dip your toothpick in the polish for each new dot.
- Experiment with Placement: Create neat rows for polka dots, scattered dots for a playful look, or arrange them to form small flowers (add a dot in the center for the pistil).
- Clean Up: Wipe away any stray marks with a remover-dipped cotton swab.
- Apply Top Coat: Secure your dots with a top coat.
5. Striped with Rubber Bands
Who knew the office supplies could be so handy? Rubber bands offer a quick way to create a unique textured stripe effect.
Steps:
- Apply Base Coat and First Color: Start with your base coat, followed by your main polish color (e.g., a metallic or deep jewel tone). Let it dry until it’s tack-free, but not fully hardened.
- Wrap the Rubber Bands: Carefully wrap a rubber band around your finger, making sure it sits snugly against your nail. You can use one or two rubber bands depending on the thickness of the stripes you want.
- Apply Polish Over the Band: Apply another coat of polish (or a contrasting color) over the rubber band. Make sure to get good coverage.
- Remove the Rubber Band: While the polish is still wet, carefully slide the rubber band off your finger. This will leave behind clean lines where the band was, creating a textured stripe effect.
- Clean Up: Tidy up any smudges around your cuticle with a cotton swab.
- Apply Top Coat: Once completely dry, add your top coat to seal the design.
Tips for Flawless Tool-Free Manicures
Even without special tools, a few tricks will elevate your nail game. These tips ensure your designs look intentional and polished, not accidental.
- Work on Clean Nails: Always start with clean, dry nails. Remove any old polish, wash your hands, and ensure your nails are free of lotions or oils.
- Patience is Key: Let each layer of polish dry completely before moving to the next step, especially when using tape or creating layered designs. Rushing is the main cause of smudges and messy lines.
- Thin Coats are Better: Apply multiple thin coats of polish rather than one thick one. This helps with drying time and prevents bubbling or streaking.
- Clean Up As You Go: Keep a cotton swab dipped in nail polish remover handy. Clean up any mistakes immediately. It’s much easier to fix a fresh smudge than a dried-on mess.
- Don’t Fear Imperfection: Especially with techniques like marbling or plastic wrap designs, every result will be unique. Embrace the slight imperfections – they add character!
- Good Lighting: Work in a well-lit area so you can see exactly what you’re doing.
- Experiment with Color Combos: Don’t be afraid to try out different color pairings. Sometimes the most unexpected combinations create the most stunning results.
Comparing Simple Nail Design Techniques
To help you choose your next project, here’s a quick comparison of these no-tool techniques. Consider the ease, the look, and the materials needed.
| Design Technique | Ease Level (Beginner) | Tool Used | Vibe/Look | Pros | Cons |
|---|---|---|---|---|---|
| Gradient (Sponge) | Easy | Makeup/Kitchen Sponge | Soft, blended, sunset-like | Achieves smooth color transition. Looks professional. | Can be a bit messy around cuticles. Requires careful cleanup. |
| Geometric Lines (Tape) | Medium | Scotch/Masking Tape | Sharp, modern, graphic | Creates very precise lines. Highly customizable patterns. | Requires polish to be fully dry before tape application; risk of peeling. |
| Marbled Magic (Plastic Wrap) | Easy | Plastic Wrap | Abstract, artistic, unique stone-like | Creates beautiful, one-of-a-kind organic patterns. Very forgiving. | Each nail will look different. Can use up polish quickly. |
| Dotty Delights (Toothpick) | Very Easy | Toothpick | Cute, playful, classic | Simple to master. Versatile for various patterns. | Dots can vary slightly in size if pressure isn’t consistent. |
| Striped (Rubber Band) | Easy | Rubber Band | Textured, bold stripes | Quick and creates a distinct textured effect. | Can be tricky to get rubber band positioned perfectly. Risk of polish bleeding if band slips. |
Frequently Asked Questions (FAQ)
Q1: Can I really achieve good nail art without any special tools?
Absolutely! This guide proves that with everyday items like toothpicks, tape, and even plastic wrap, you can create beautiful and intricate-looking nail designs. It’s all about creativity and using what you have!
Q2: What is the easiest tool-free nail design for a complete beginner?
The Dotty Delights technique using a toothpick is often the easiest for beginners. It’s forgiving, and the result is instant fun. Marbling with plastic wrap is also very simple and doesn’t require precision.
Q3: How do I clean up mistakes when I don’t have a nail art brush?
A cotton swab (Q-tip) dipped in nail polish remover is your best friend. For very fine lines or tiny smudges, you can wrap a small amount of cotton tightly around the tip of a toothpick and then dip that into remover for more precision.
Q4: My tape always pulls off the polish! What am I doing wrong?
The most common reason is applying the tape before the underlying polish is completely bone dry. Wait at least 10-15 minutes (or longer in humid conditions) after your base color has been applied. Also, press the tape down firmly around the edges to seal it.
Q5: How can I make my tool-free nail designs last longer?
Always start with a good base coat to protect your nails and help polish adhere. Crucially, finish with a high-quality top coat. Reapply top coat every 2-3 days to maintain shine and prevent chipping. Avoid activities that can chip polish, like using your nails as tools.
Q6: Can I use things like pens or markers for nail designs?
You can, but with caution and usually as a temporary or surface design. Some people use dry-erase markers on their nails for fun, temporary art that wipes off easily. For more permanent designs, ensure you are using nail art pens specifically designed for nails, or that you seal any regular marker designs thoroughly with a top coat. For tool-free, the techniques above are safer and more reliable.
Conclusion: Your Nails, Your Canvas!
See? Creating beautiful, stylish nails doesn’t require a trip to the salon or a hefty investment in special tools. You have everything you need right at your fingertips to express yourself and sport gorgeous manicures. From blended gradients to sharp geometric patterns and fun polka dots, these simple techniques prove that creativity knows no bounds. Embrace these methods, play with colors, and most importantly, have fun with it! Your nails are your personal canvas, and with these easy tips, you’re ready to create your next masterpiece without a single fancy brush. Keep practicing, keep experimenting, and enjoy the confidence that comes with beautifully designed nails!


