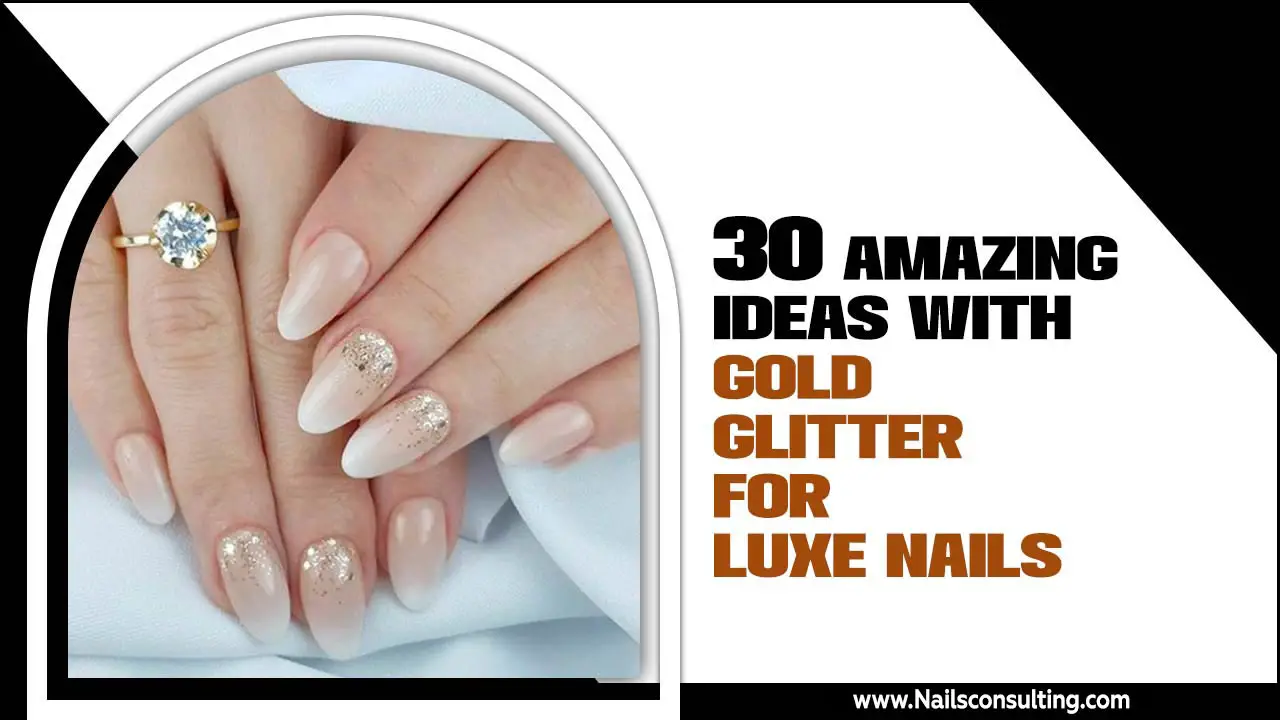
Want gorgeous nail art without the fuss? These simple nail art hacks unlock genius, effortless designs for beginners. Transform your nails with easy techniques and common household items for stunning results.
Dreaming of salon-worthy nails but think complex designs are out of reach? You’re not alone! Many of us admire intricate nail art but get intimidated by the perceived difficulty and specialized tools. The good news? Beautiful, creative nails don’t require hours of practice or a professional kit. You can achieve stunning results with simple tricks anyone can master. Get ready to boost your nail game and express your unique style with ease!
Unlocking Your Inner Nail Artist: The Magic of Simple Hacks
Welcome to Nailerguy! I’m Lisa Drew, and I believe everyone can rock fabulous nails. Nail art shouldn’t be complicated. With a few clever hacks, those trendy designs you see everywhere become totally doable, right at your fingertips. We’ll explore how everyday items can become your new favorite nail art tools and how simple techniques can elevate your manicure from basic to brilliant. Forget the stress; let’s dive into the fun, easy world of creative nails!
Why Simple Nail Art Hacks Are a Game-Changer
The beauty of nail art hacks lies in their accessibility. They break down barriers, making creativity available to everyone, regardless of skill level or budget. These methods often repurpose common items, saving you money and trips to the beauty supply store. Plus, they prove that you don’t need a steady hand trained for years to create eye-catching designs. It’s about working smarter, not harder, and having fun with the process.
- Budget-Friendly: Uses items you likely already own.
- Beginner-Friendly: Designed for ease and minimal practice.
- Time-Saving: Quick techniques for busy schedules.
- Creative Freedom: Encourages experimentation and personal style.
- Accessible: No need for expensive or specialized tools.
The Essential Toolkit for Effortless Nail Art
Before we jump into the fun hacks, let’s briefly touch on some basics. While these hacks minimize the need for fancy gadgets, having a few essentials can still make your nail art journey smoother and more enjoyable. Think of these as your trusty sidekicks.
Must-Have Tools for Any Nail Enthusiast
- Base Coat: Protects your nails and helps polish adhere better.
- Top Coat: Seals your design, adds shine, and prevents chipping.
- Nail Polish Remover & Cotton Pads: For quick cleanups and starting fresh.
- Orange Stick or Cuticle Pusher: For cleaning up polish around the nail edges.
- A Firm Brush (like an old toothbrush or small art brush): Useful for various techniques.
Having these on hand will ensure that your simple nail art hacks can be executed flawlessly. They provide a clean canvas and a polished finish.
Genius Hacks Using Everyday Items
This is where the magic happens! Forget the expensive dotting tools and striping brushes. We’re about to turn your kitchen and bathroom into a nail art studio. These hacks are incredibly simple and produce surprisingly professional-looking results.
1. The Toothpick Dotting Tool: Perfect for Polka Dots
Polka dots are a classic for a reason – they’re cute, versatile, and easy to create! Who knew a simple toothpick could be your secret weapon?
How to Create Polka Dots:
- Start with a Base: Apply your base coat and desired polish color. Let it dry completely.
- Dip and Dot: Dip the sharp tip of a toothpick into a contrasting polish color.
- Create Your Dots: Gently touch the tip of the toothpick to your nail where you want a dot. The polish will transfer.
- Clean and Repeat: Wipe the toothpick tip clean with a paper towel or cotton pad (or grab a fresh one) before dipping again. This prevents muddying your colors.
- Vary the Size: For slightly larger dots, you can dab the side of the toothpick or use the blunt end.
Nailerguy Tip: For perfectly rounded dots, try to use just the very tip of the toothpick. If your dots are looking a little smudged, try letting the base polish dry a bit longer before dotting.
2. The Bobby Pin Marble Effect: Effortless Swirls
Marbling nail art looks intricate, but a bobby pin makes it deceptively simple. This method creates beautiful, organic swirls with minimal effort.
How to Create Marble Nails:
- Base Color: Apply and dry your base polish.
- Add Polish Drops: Place a few small drops of your accent color(s) directly onto a piece of foil or plastic lid. Don’t let them touch too much.
- Gather Polish: Open a bobby pin slightly so you have a small gap. Dip one of the open ‘legs’ into one of the polish drops.
- Swirl and Apply: Gently swirl the bobby pin in the polish drops. Then, lightly swirl the bobby pin over your nail. The polish will transfer in a marbled pattern.
- Clean and Repeat: Clean the bobby pin before picking up more polish or switching colors.
Nailerguy Tip: Don’t over-swirl! A few gentle motions are all you need. For a more defined marble, use polishes that have a good contrast in color.
3. The Sponge Gradient: Beautiful Ombre Looks
Ombre or gradient nails can be created with a simple makeup sponge. This technique blends colors seamlessly for a stunning effect.
How to Create a Gradient:
- Prep Your Nail: Apply base coat and let it dry. You might want to apply petroleum jelly or tape around your cuticles to catch excess polish.
- Apply Colors to Sponge: Paint a few stripes of your chosen polish colors directly onto the edge of a makeup sponge. Make sure the colors are touching.
- Press Onto Nail: Gently press the sponge onto your nail, rolling it slightly from side to side to transfer the colors.
- Repeat if Needed: For a more intense gradient, let the first layer dry slightly and repeat the sponge application.
- Clean Up: Use a brush dipped in nail polish remover to clean up any polish that got on your skin.
- Seal It: Apply a generous layer of top coat to smooth out the texture and bring the colors together.
Nailerguy Tip: Use a dense makeup sponge for best results. A denser sponge will pick up and transfer more polish than a porous one.
4. The Plastic Wrap Technique: Unique Textures
Crinkled plastic wrap creates an abstract, textured look that’s completely unique every time you do it.
How to Achieve a Plastic Wrap Texture:
- Apply Base Color: Paint your nails with a base color and let it dry.
- Apply Accent Color: Working on one nail at a time, apply a coat of a contrasting polish.
- Crinkle and Press: While the accent polish is still wet, gently press a small piece of crumpled plastic wrap onto the nail.
- Lift and Dab: Carefully lift the plastic wrap straight up. You can dab it back down lightly in different spots to create more texture.
- Let it Dry: Allow the polish to dry thoroughly.
- Seal: Apply a thick layer of top coat to smooth over the textured design and add shine.
Nailerguy Tip: Experiment with different levels of crinkling the plastic wrap. A tightly crumpled piece will give a more defined pattern, while a loosely crumpled piece will create broader strokes.
5. The Fan Brush for Feathered Effects
A fan brush, often used for makeup, can create beautiful feathered or brushed effects on your nails.
Creating Feathered Designs:
- Base Polish: Apply your base color and let it dry.
- Apply Lines: While the base is dry, paint thin, vertical lines of your accent color(s) onto the nail. Don’t make them too thick.
- Brush Through: While the accent polish is still wet, use a dry fan brush to gently drag the lines horizontally. You can also use a very slightly damp brush with polish remover to dilute the lines.
- Repeat: If you want to build up the effect, let the first layer dry and repeat the process with different colors.
- Seal: Finish with a clear top coat.
Nailerguy Tip: Ensure the brush is clean and dry before you start. For a more subtle effect, use a lighter color over a darker base, or vice versa.
6. The Striping Tape Alternative: Dental Floss!
For crisp, clean lines, traditional striping tape is great, but dental floss can be a surprisingly effective substitute!
DIY Striping with Dental Floss:
- Dry Base Coats: Apply and fully dry your base colors.
- Apply Floss: Carefully lay a piece of waxed dental floss across your nail where you want a line. Press it firmly to the nail.
- Paint Over: Paint over the floss with your contrasting polish color.
- Remove Floss: While the polish is still wet, carefully lift one end of the floss and gently pull it out from under the polish. This will leave a clean line.
- Seal: Once dry, apply your top coat.
Nailerguy Tip: Use unwaxed floss for a firmer line. Make sure to apply the polish in thin coats to avoid the floss sinking into the polish, which can ruin the sharp edge.
This trick is fantastic for creating geometric patterns or French tips with a twist. You can also use different colored polishes over the floss for a multi-colored stripe effect.
7. The Glitter Bomb: Easy Sparkle Application
Achieving an even glitter application can be tricky, but there are simple ways to get that perfect sparkle.
Glitter Application Hacks:
- Glitter Top Coat: The easiest way is to use a polish that already has glitter suspended in it. Apply one or two coats over your base color.
- Loose Glitter with Top Coat: Apply a layer of clear top coat. While it’s still wet, gently sprinkle loose glitter onto the nail. Tap off the excess. Seal with another layer of top coat.
- Glitter Sandwich: Apply a base coat, then a layer of glitter, then a clear polish, then more glitter, and finally seal with a top coat. This traps the glitter between layers for a smooth finish.
- The Sponge Method for Dense Glitter: Apply a base color. Dip a damp makeup sponge into loose glitter. Gently press the glitter-laden sponge onto the nail to transfer the glitter. Seal with top coat.
Nailerguy Tip: For a more controlled glitter look, consider using a glitter gradient where you pack the glitter densely at the cuticle or tip and let it fade out. This can be achieved by dabbing with a sponge.
Advanced Beginner Techniques with Simple Tools
Once you’ve mastered the basic hacks, you might feel ready to try a few slightly more involved techniques that still remain beginner-friendly thanks to clever tricks.
1. Simple Stamping with Cut-Out Stencils
While traditional stamping plates can be intimidating, you can create your own simple stencils for unique patterns.
DIY Stamping:
- Create Stencils: Cut small shapes (like stars, hearts, or even simple lines) from adhesive tape or stencil vinyl.
- Apply Base Color: Paint your nails and let them dry completely.
- Place Stencil: Carefully apply your cut-out stencil to the nail.
- Paint Over: Apply a contrasting polish color over the stencil and the rest of the nail using a sponge or a brush.
- Remove Stencil: While the top coat is still wet, carefully peel off the stencil using tweezers.
- Seal: Apply a clear top coat.
Nailerguy Tip: For sharper edges, ensure the stencil adheres well to the nail and remove it immediately after painting the accent color. If using tape, the wider the tape, the easier it is to position.
2. Easy French Mani Lines with Rubber Bands
Getting that perfect white tip for a French manicure can be challenging. Rubber bands offer a surprisingly effective guide.
French Mani with Rubber Bands:
- Base Polish: Apply and let your base color dry completely.
- Position Rubber Band: Wrap a small, tight rubber band around the tip of your finger, just below where you want the white line of your French tip to be. Ensure it’s snug and straight.
- Paint the Tip: Carefully paint the exposed tip of your nail with white polish.
- Remove Band: While the white polish is still wet, carefully slide the rubber band off your finger.
- Seal: Once fully dry, apply your top coat.
Nailerguy Tip: Use thinner rubber bands for a more delicate line. This technique works best if you can get the rubber band to sit quite firmly against the nail to prevent polish bleeding underneath.
3. Using Eyeshadow for Metallic or Pearlescent Finishes
Dusting eyeshadow onto your nails can create stunning metallic, pearlescent, or holographic effects that look incredibly professional.
Eyeshadow Nail Art:
- Apply Base & Top Coat: Apply your base coat, then a layer of your chosen base polish color. Let it dry until it’s tacky, but not fully dry.
- Apply Powder: Dip an eyeshadow applicator or a clean fingertip into your desired colored eyeshadow (metallic, shimmer, or matte works).
- Rub In: Gently rub the eyeshadow powder onto the tacky polish. You’ll see the color adhere and create a unique finish.
- Repeat if Needed: For a more intense color, you can apply another layer of polish and repeat the powder application.
- Seal Properly: Once you’ve achieved your desired look and the polish is fully dry, apply at least two layers of a good quality, quick-drying top coat to seal the powder in and prevent it from rubbing off. A gel-like top coat often works best.
Nailerguy Tip: Using a matte top coat first, then the eyeshadow, and finishing with a glossy top coat can create very unique effects. Experiment with fine-grained, highly pigmented eyeshadows for the best results. For true holographic effects, look for iridescent eyeshadows. You can find more about achieving these finishes on sites like the Nailpro website, which often covers trending finishes.
Table: Tool Comparison for Simple Nail Art Hacks
To help you visualize, here’s a quick comparison of some common tools and their DIY alternatives for simple nail art hacks:
| Nail Art Task | Professional Tool | DIY Hack Alternative | Result Type |
|---|---|---|---|
| Creating Dots | Dotting Tool | Toothpick, back of an earring post | Precise dots, varied sizes |
| Creating Swirls/Marbling | Striping Brush, Needle | Bobby Pin, Toothpick | Organic, unique patterns |
| Creating Gradients/Ombre | Makeup Sponge (specific texture) | Everyday Makeup Sponge, Cotton Ball edges | Smooth color blends |
| Creating Lines | Striping Tape, Striping Brush | Dental Floss, Thin Rubber Band | Sharp, clean lines |
| Applying Glitter Evenly | Glitter Polish, Glitter Top Coat | Loose Glitter + Top Coat, Sponge method for loose glitter | Sparkly finishes, packed glitter |
This table highlights how readily available items can replicate the function of specialized nail art tools, making creativity accessible to everyone.
Tips for Longevity and a Professional Finish
Even the simplest nail art hack will look its best and last longer with a few key finishing touches. These tips ensure your DIY efforts get the polish they deserve!
- Work on Clean Nails: Always start with clean, dry nails, free of any old polish or oils. Use nail polish remover to ensure a fresh canvas.
- A Good Base Coat is Crucial: Never skip your base coat! It prevents staining and provides a smooth surface


