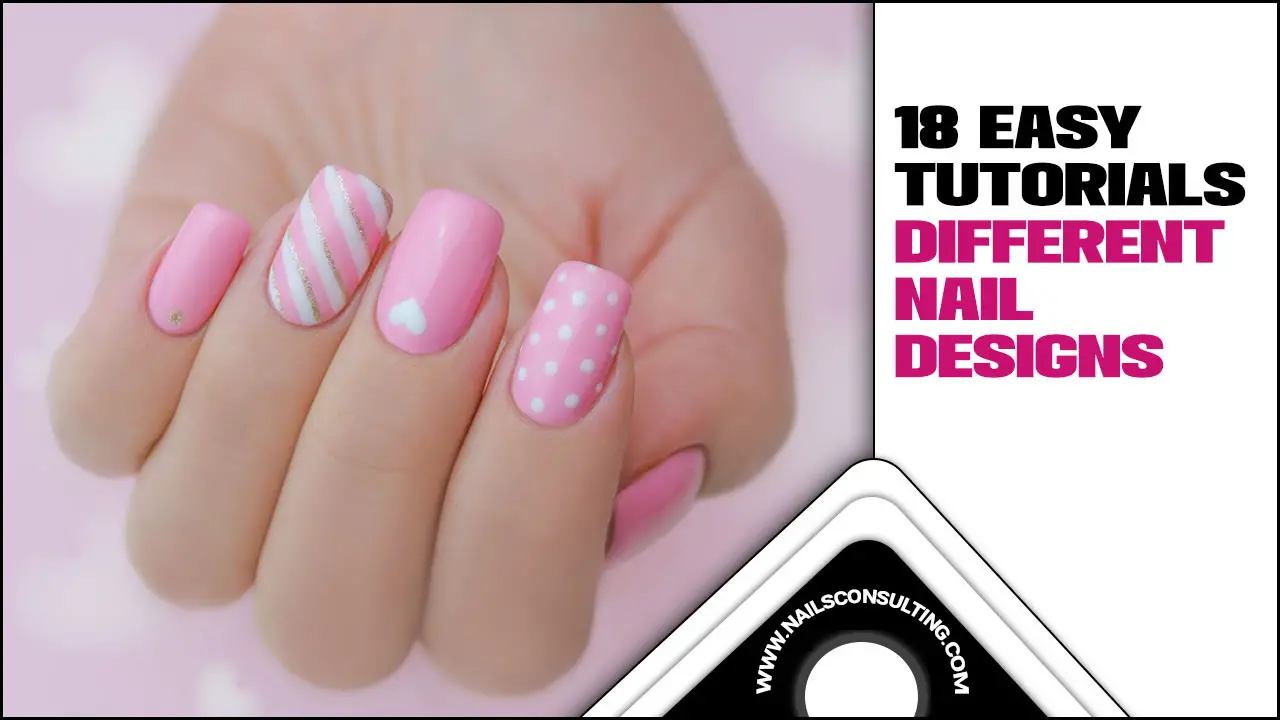
Want gorgeous nails without the fuss? This tutorial unlocks simple everyday nail designs you can master easily! Learn genius tips for quick, stylish manicures that boost your confidence. Get ready to transform your nails with stunning, achievable looks perfect for any occasion.
Feeling like your nails are a bit… plain? You’re not alone! We all love a fantastic manicure, but finding the time and skill for intricate designs can be tough. Sometimes, you just want a little pop of style that’s super easy to create and wear every day. What if I told you that beautiful, eye-catching nails are totally within reach, even if you’re a total beginner? Get ready to explore some genius tips and simple everyday nail designs that will have you feeling like a pro in no time. We’ll walk through everything step-by-step, making nail art fun and totally doable!
Why Simple Designs Rule for Everyday Style
Life gets busy, and our nails don’t always get the attention they deserve. Yet, polished nails can make you feel more put-together and confident, whether you’re heading to a big meeting or just running errands. The beauty of simple everyday nail designs is that they offer a touch of personality without being overwhelming. They’re versatile, complement any outfit, and are perfect for those days when you want something special but don’t have hours to spend at a salon or doing your nails.
Think about it: a subtly shimmering accent nail, a clean French tip with a twist, or a dot of color can elevate your entire look. These designs are accessible for everyone, regardless of your current nail-art skill level. They’re about enhancing your natural beauty and adding a playful touch to your day-to-day. Ready to discover how effortless it can be?
Essential Tools for Your Simple Nail Design Journey
Before we dive into the fun designs, let’s gather our essential tools. You don’t need a whole professional kit! A few key items will help you create stunning looks with ease.
- Base Coat: This is your nail’s best friend! It protects your natural nail from staining and helps your polish last longer. Look for one with strengthening properties if your nails are delicate.
- Top Coat: Essential for shine and protection. A good top coat seals your design and prevents chipping, making your manicure last for days.
- Nail Polish in Your Favorite Colors: Start with a few versatile shades like nudes, pastels, classic reds, or chic blacks.
- Dotting Tool: This magical tool has small metal balls at the end, perfect for creating dots of any size. You can even use the tip of a bobby pin or a toothpick in a pinch!
- Thin Nail Art Brush: For drawing fine lines or adding delicate details. Look for one with a fine tip.
- Scotch Tape or Stencils: Great for creating crisp lines and geometric shapes.
- Cotton Swabs and Nail Polish Remover: For cleaning up any mistakes and creating sharp edges.
- Orange Stick or Cuticle Pusher: For pushing back cuticles neatly and cleaning up polish around the nail edge.
Having these simple tools will open up a world of possibilities for your nail art adventures. Remember, practice makes perfect, and you can always improvise!
Genius Tips for Flawless Application
Achieving professional-looking results at home is all about technique. Here are some genius tips to ensure your simple nail designs turn out beautifully every time.
Prep is Key!
This is the most crucial step for any manicure, simple or complex. Neglecting nail prep can lead to polish peeling or chipping quickly.
- Clean Your Nails: Ensure your nails are free from old polish, oils, and lotions. Use nail polish remover and wash your hands thoroughly.
- Shape Your Nails: File your nails into your desired shape. Always file in one direction to prevent splitting. A smooth, even surface is essential.
- Push Back Cuticles: Gently push back your cuticles with an orange stick or cuticle pusher. This creates a clean canvas and prevents polish from flooding the cuticle area, which can lead to lifting.
- Apply Base Coat: A single, thin layer of base coat is all you need. Let it dry completely before moving on.
Application Tricks
- Thin Coats are Better: Avoid thick, goopy layers of polish. Apply two to three thin coats for vibrant color and a smooth finish. Thick coats take longer to dry and are more prone to smudging.
- The Three-Stroke Method: For a smooth, even coat, start with the brush in the center of your nail near the cuticle. Then, stroke down to the tip. Move to one side, stroke down, and then do the other side. This ensures full coverage without flooding your cuticles.
- Wipe Off Excess Polish: Before applying polish to your nail, wipe one side of the brush against the neck of the bottle to remove excess. This gives you more control and prevents blobs of polish.
- Don’t Forget the Free Edge: Cap the free edge of your nail by running the brush along the very tip. This helps prevent chips and makes your polish last much longer.
- Let Each Layer Dry: Patience is a virtue! Allow each coat of polish (base, color, and top coat) to dry sufficiently before applying the next. This is one of the most effective ways to avoid smudges and dents.
Clean-Up Crew
- The Correction Pen: These are like magic erasers for nail polish mistakes! They have a fine tip that allows precise clean-up around the cuticle without disturbing your polish job.
- Cotton Swab Hack: Dip a cotton swab into nail polish remover, then carefully trace around your cuticles and sidewalls to remove any stray polish. For extra precision, wrap a bit of cotton around the tip of an orange stick.
By incorporating these simple techniques into your nail routine, you’ll notice a significant improvement in the appearance and longevity of your manicures.
Simple Everyday Nail Designs Tutorial: Step-by-Step
Let’s get creative! These designs are perfect for beginners and can be adapted to suit your style. We’ll focus on techniques that are easy to master and look incredibly chic.
Design 1: The Minimalist Dot Accent
This is probably the easiest and most elegant design. It’s understated yet adds a special touch.
What You’ll Need:
- Base coat
- Your favorite polish color (e.g., nude, pale pink, soft grey)
- A contrasting polish color for dots (e.g., black, white, metallic gold or silver)
- Dotting tool or toothpick
- Top coat
Steps:
- Prep: Start with your clean, prepped nails and apply a thin layer of base coat. Let it dry.
- Base Color: Apply two thin coats of your chosen neutral polish to all nails. Let the last coat dry almost completely – it should be tacky but not wet.
- Dotting Time: Dip your dotting tool into the contrasting polish. Create one or two neat dots near the cuticle or along the smile line of one or two accent nails (ring finger is classic!). You can make them all the same size or vary them slightly for a more organic look.
- Let it Set: Allow the dots to dry for a minute or two.
- Seal the Deal: Apply a generous layer of top coat over all your nails, including the accent ones. This will smooth out the dots and lock everything in place.
Design 2: The Chic Half-Moon Mani
This modern twist on the classic French manicure is sophisticated and surprisingly simple to achieve.
What You’ll Need:
- Base coat
- Your main polish color (e.g., a deep berry, a classic red, or even a sheer pink)
- A contrasting polish color for the moon (e.g., nude, white, metallic)
- A round sticker or a French tip guide sticker (optional, but helpful for beginners)
- Top coat
Steps:
- Prep: Prepare your nails and apply base coat. Let dry.
- Main Color: Apply two thin coats of your main polish color to all nails. Let the last coat dry completely.
- Create the Moon:
- With Stickers: If using round stickers, place one just above your cuticle, following the natural curve of your nail’s moon shape. Ensure the edges are pressed down firmly to prevent polish from seeping underneath.
- Freehand: If you’re feeling brave, you can freehand the moon shape. Start by applying a small dot just above the cuticle and then gently draw a curve to connect it to the sidewalls.
- Apply Contrast Color: Carefully apply your contrasting polish color within the area above the sticker, creating the half-moon shape. Apply a thin coat and let it dry completely. For a bolder look, apply a second thin coat if needed.
- Remove Sticker: While the contrasting polish is still slightly tacky, carefully peel off the sticker using tweezers or your orange stick. This is key to getting a clean line.
- Seal: Once everything is dry, apply a layer of top coat over all nails to protect the design.
Pro Tip: For a modern, inverted French look, paint the moon shape first in your contrasting color, let it dry, then apply the sticker to it, and paint the rest of the nail in your main color. You can find inspiration for this style in many beauty magazines and online.
Design 3: The Playful Polka Dot Power
A fun, retro-inspired design that’s super easy to customize with different color combinations.
What You’ll Need:
- Base coat
- Your main polish color (e.g., bright pink, teal, coral)
- A contrasting polish color for the dots (e.g., white, black, yellow)
- Dotting tool or toothpick
- Top coat
Steps:
- Prep: Start with clean, prepped nails and apply base coat. Let dry.
- Base Color: Apply two thin coats of your main polish color to all nails. Let the last coat dry until it’s slightly tacky.
- Dot Away: Dip your dotting tool into the contrasting polish. Beginning at the cuticle or along the free edge, place dots evenly across the nail. You can also create random patterns or stripes of dots!
- Vary Sizes: For added interest, use different sized dotting tools or the tip and side of your toothpick to create dots of varying sizes.
- Dry and Seal: Allow the dots to dry for a minute or two, then apply a generous layer of top coat to seal your polka-dot masterpiece.
Design 4: The Gradient Dream (“Water Marble” Lite)
This technique gives a beautiful watercolor effect without the complex water marbling process. It looks much harder than it is!
What You’ll Need:
- Base coat
- Two or three polishes with a similar color family or that complement each other (e.g., light pink, medium pink, dark pink, or blue shades)
- A top coat
- A sponge (a makeup sponge or even a kitchen sponge cut into a small piece)
- Painter’s tape (optional, but recommended for a cleaner finish)
- Cotton swabs and nail polish remover for cleanup
Steps:
- Prep & Protect: Apply base coat. Once dry, apply a thin layer of a light-colored polish (this will be your base). Let it dry completely. Then, apply painter’s tape around your cuticle area to protect your skin from the sponge.
- Create the Gradient: On a clean surface (like a piece of paper or plastic), apply stripes of your chosen polishes next to each other. Alternate the colors, ensuring they touch. For example: color 1 | color 2 | color 3 | color 1.
- Sponge It Up: Quickly dab your sponge into the stripes of polish. Don’t soak it; just a few dabs to pick up the colors.
- Transfer to Nail: Gently dab the sponge onto your nail. You might need to dab a few times to get good color payoff.
- Repeat and Layer: You can re-apply polish to the sponge and repeat the dabbing process to build color intensity or blend the shades further. You can even try different sponge orientations for varied effects.
- Clean Up: Carefully remove the painter’s tape. Use a cotton swab dipped in nail polish remover to clean up any polish that got onto your taped skin.
- Seal: Once completely dry, apply a thick layer of top coat. This will help meld the colors together and give it a smooth, professional finish.
Design 5: The Subtle Stripe Accent
Thin stripes add a touch of sophistication and elongate the look of your nails. You can do this on an accent nail or all over!
What You’ll Need:
- Base coat
- Your favorite polish color
- A contrasting polish color for the stripes
- A very fine nail art brush or striping tape
- Top coat
Steps:
- Prep: Prepare your nails with base coat and let dry.
- Apply Base: Paint your nails with your chosen polish color (two thin coats). Let the last coat dry completely. This is crucial for clean lines.
- Option A: Using a Brush:
- Pour a tiny amount of your contrasting polish onto a clean surface.
- Dip your fine nail art brush into the polish, wiping off excess so you have a fine line of color on the tip.
- Carefully draw thin, straight lines across your nail. You can go vertically, horizontally, or diagonally. Start from one side and drag the brush smoothly to the other.
- Let the lines dry completely.
- Option B: Using Striping Tape:
- Apply your base color and let it dry thoroughly.
- Carefully place thin strips of nail art striping tape onto the nail. You can create parallel lines, a criss-cross pattern, or even a thin border. Press the edges down firmly.
- Paint over the striping tape with your contrasting color. Apply one or two thin coats.
- While the top coat is still slightly wet, carefully peel off the striping tape using tweezers or an orange stick.
- Seal: Once the stripe polish is dry, apply a top coat to seal your design.
Resource Link: For more tips on nail filing and shaping, check out the NailPro guide on proper nail care and filing techniques.
Beyond the Basics: Customizing Your Designs
The beauty of these simple designs is their adaptability. Don’t be afraid to experiment! Here are a few ways to take them to the next level:
- Color Combos: Every design looks different depending on your color choices. Think about classic pairings like black and white, navy and silver, or go for something bold and unexpected like mint green and coral.
- Matte vs. Glossy: Swap out a glossy top coat for a matte one! This instantly changes the feel of any design. A matte top coat can make even the simplest dot or stripe look incredibly sophisticated and modern.
- Glitter Accents: Instead of a plain contrasting color, use a glitter polish for your dots, stripes, or half-moon. This adds sparkle and festivity.
- Texture Play: Try using a textured polish (like a sugar or sand polish) as your base color for one of these designs. The added texture can make simple patterns pop.
- Mix and Match: Nobody says you have to stick to one design! Try the polka dots on one hand and the gradient on the other, or do a different accent nail design on each finger.
Remember, nail art is a form of self-expression. There are no strict rules, only guidelines. Have fun with it!
Troubleshooting Common Nail Design Issues
Even with simple designs, you might run into a few hiccups. Here’s how to fix common problems:
| Problem | Solution |
|---|---|
| Smudged Polish |


