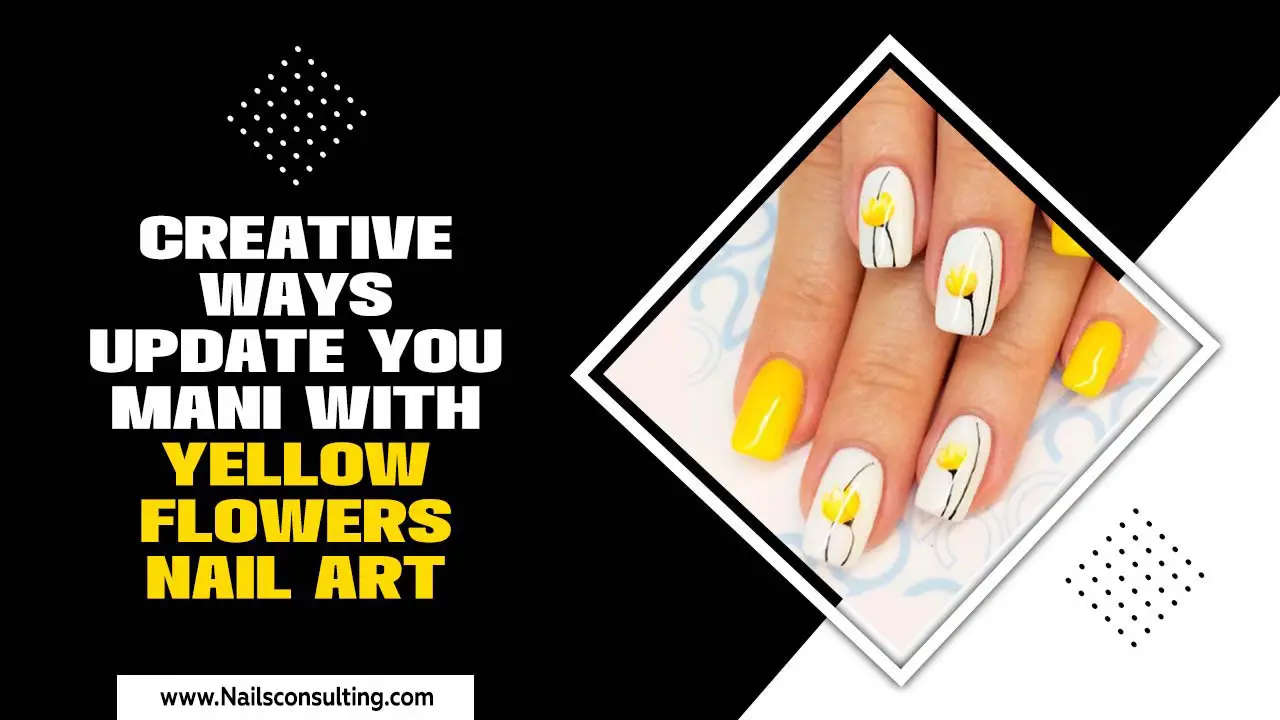
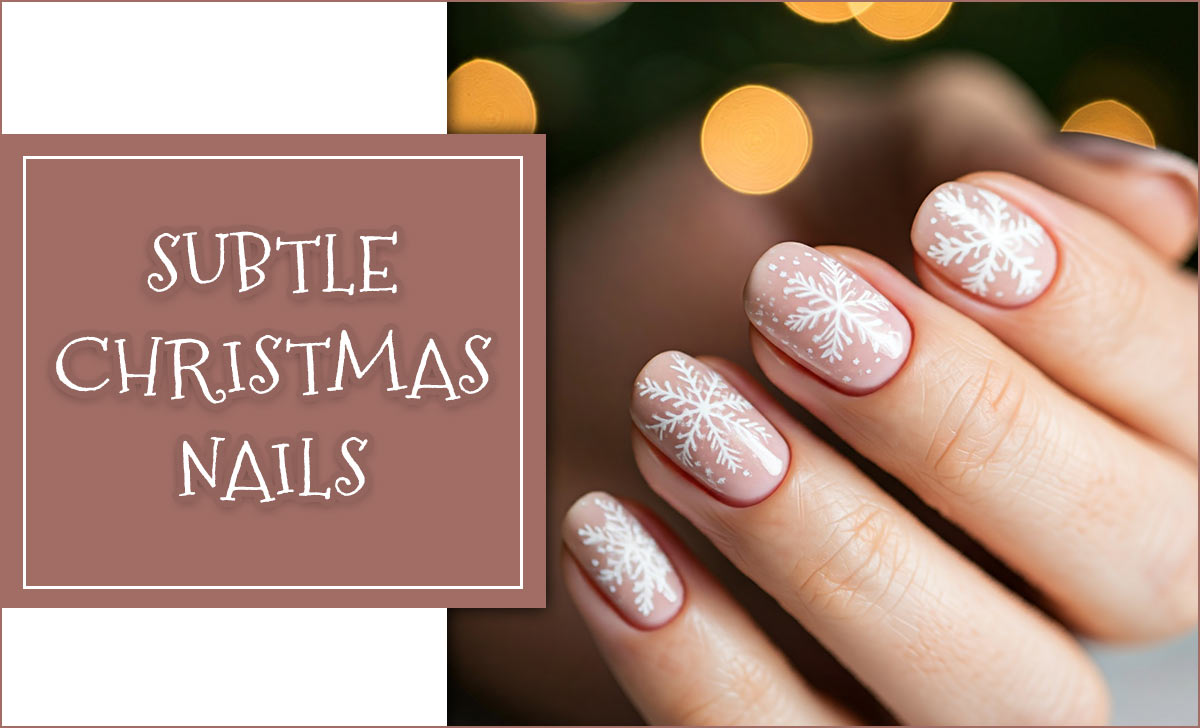
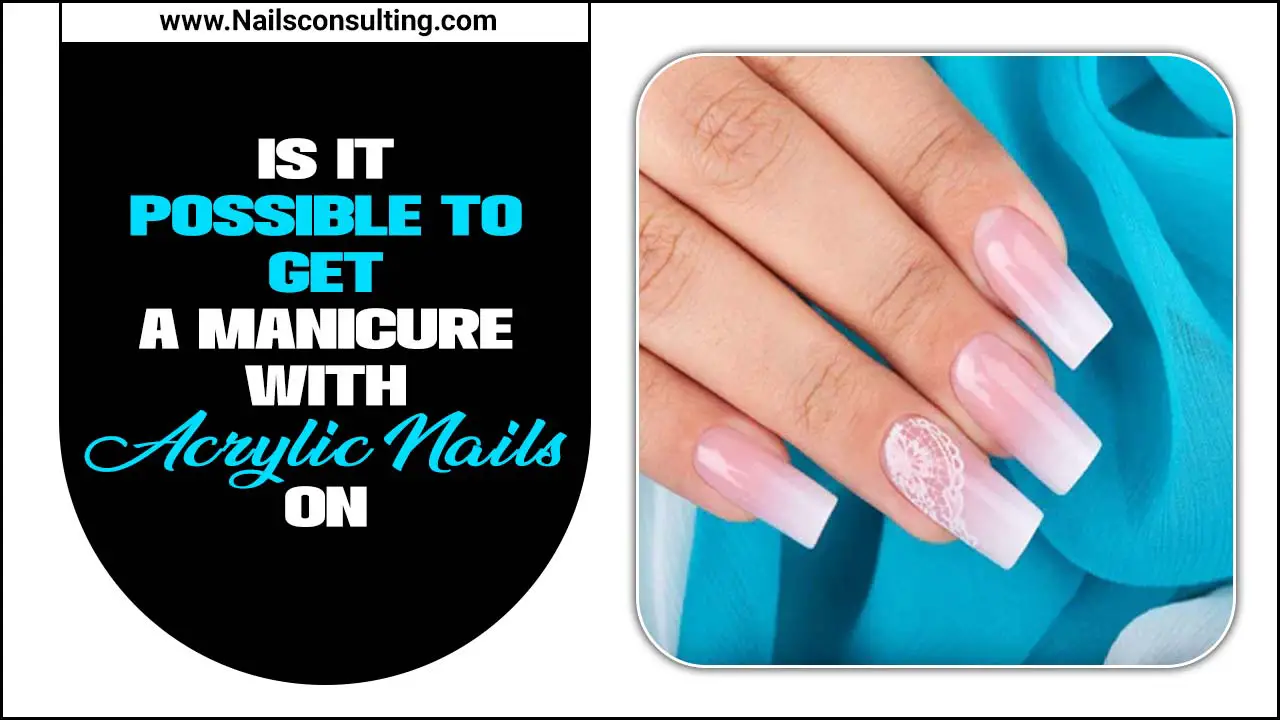
Silver chrome French nails are a futuristic twist on a classic. This guide offers stunning, easy-to-achieve styles perfect for beginners, transforming your fingertips into modern masterpieces with dazzling metallic shine.
French manicures have always been chic! But imagine them with a dazzling, futuristic shine. That’s the magic of silver chrome French nails. They’re a dazzling way to update a timeless look. If you’re new to nail art or just want a simple way to step up your manicure game, you’ve come to the right place. We’ll explore stunning silver chrome French nail styles that are surprisingly easy to create, even if you’re just starting out. Get ready to transform your nails into show-stopping accessories!
Why Choose Silver Chrome French Nails?
Silver chrome French nails offer a unique blend of classic elegance and cutting-edge style. They’re versatile, eye-catching, and surprisingly achievable for DIY enthusiasts.
The Allure of Chrome
Chrome powder has taken the nail world by storm, and for good reason! Its mirror-like finish creates an intense, almost liquid metallic effect that’s unlike any other polish. When combined with the clean lines of a French tip, it’s pure magic.
French Tips Reimagined
The classic French manicure, with its delicate white tips, is a symbol of sophistication. Silver chrome takes this beloved design and injects it with a modern, edgy vibe. It’s perfect for anyone looking to add a touch of glamour and a futuristic feel to their look.
Beginner-Friendly Elegance
Don’t let the “chrome” aspect intimidate you! With the right tools and a little patience, creating your own silver chrome French nails at home is totally doable. We’ll break down the process into simple steps so you can achieve salon-worthy results without leaving your house.
Essential Tools and Materials
To achieve a flawless silver chrome French manicure, having the right supplies is key. Here’s what you’ll need:
The Base and Top Coats
Base Coat: This is crucial for protecting your natural nails and ensuring a smooth canvas for your polish. A good quality base coat helps prevent staining and makes your manicure last longer.
No-Wipe Gel Top Coat: This is non-negotiable for chrome powder application. A standard top coat leaves a sticky layer that you’d normally wipe, but a “no-wipe” version cures to a perfectly shiny, tack-free surface, ideal for the chrome powder to adhere to. You can find these at most beauty supply stores or online.
Silver Chrome Powder
High-Quality Chrome Powder: Look for a finely milled, high-pigment silver chrome powder. The finer the pigment, the smoother and more mirror-like your finish will be. Many brands offer specific “chrome mirror powder” designed for this effect.
Application Tools
Silicone Nail Art Brush or Sponge Applicator: These are essential for smoothly buffing the chrome powder onto the nail. Silicone brushes are great for precise application along the French tip line, while small makeup sponges work wonders for buffing the whole nail.
UV/LED Nail Lamp: Gel polish needs to be cured under a UV or LED lamp to harden. Make sure you have a reliable lamp for both your base coat, gel color (if using), and top coat.
Optional Enhancements
Nude or Clear Gel Polish: Many silver chrome French manicures start with a neutral base, like a sheer nude or clear gel, to make the chrome pop without being too stark against your natural nail.
Fine Detail Brush: For extra-fine lines or intricate designs.
Step-by-Step Guide to Silver Chrome French Nails
Let’s get started! This guide focuses on the most popular way to achieve stunning silver chrome French nails at home.
Step 1: Prep Your Nails
Proper nail preparation is the foundation of any good manicure.
1. Clean and Shape: Start by cleaning your nails thoroughly. Push back your cuticles gently using a cuticle pusher. Shape your nails to your desired length and style using a nail file.
2. Buff the Surface: Lightly buff the surface of your nails with a fine-grit buffer to create a smooth, slightly roughened surface. This helps the base coat adhere better.
3. Wipe Down: Use an alcohol-soaked lint-free wipe to remove any dust or oils from your nails.
Step 2: Apply Base Coat and Cure
A good base coat is essential for protecting your nails and ensuring a smooth finish.
1. Apply Thin Layer: Apply a thin, even layer of your base coat.
2. Cure: Place your nails under your UV/LED lamp according to the manufacturer’s instructions (usually 30-60 seconds for LED, 2 minutes for UV).
Step 3: Apply Color Base and Cure (Optional)
For a softer look or to enhance the chrome effect, you can apply a sheer nude or clear gel polish.
1. Apply Thin Coat: Apply a very thin, even coat of your chosen nude or clear gel polish.
2. Cure: Cure this layer under your UV/LED lamp. You might need two thin coats for full opacity, curing each layer.
Step 4: Apply No-Wipe Top Coat and Cure
This is the crucial layer that will hold the chrome powder.
1. Apply Evenly: Apply a thin, even layer of your no-wipe gel top coat. Ensure there are no streaks or pooling. This coat seals in your base color and provides the sticky surface for the chrome.
2. Cure: Cure this layer thoroughly under your UV/LED lamp. This is vital as the no-wipe top coat needs to be fully cured but still slightly tacky for the chrome to adhere.
Step 5: Apply the Chrome Powder
Now for the fun part!
1. Dip Your Tool: Gently dip your silicone brush or sponge applicator into the silver chrome powder. A little goes a long way.
2. Buff onto Nail: Lightly and evenly buff the powder onto the cured no-wipe top coat. Work it in gently in circular motions. You should see the mirror-like chrome effect appear as you buff.
3. Cover Fully: Ensure you cover the entire nail surface for a seamless, reflective finish.
4. Dust Off Excess: Use a soft brush (like a clean makeup brush) to gently dust away any loose powder.
Step 6: Create the French Tip
This is where the French manicure magic happens! There are a few ways to achieve crisp lines.
Method 1: Using a Silicone Brush and More Powder:
1. Apply Chrome to Tip Area: With a clean, dry silicone brush or a fine detail brush, pick up a tiny amount of chrome powder.
2. Paint the Tip: Carefully paint or dab the powder onto the free edge of your nail, creating the classic smile line of a French tip. Work slowly and deliberately. You can gradually build up the intensity and sharpness of the line.
3. Smooth and Buff: Gently buff the tip line to ensure it’s smooth and blended with the rest of the nail.
Method 2: Using a Stamping Plate or French Tip Guides (Requires practice):
1. If you’re using sticker guides or a stamping plate, apply them after the initial chrome application and buffing of the entire nail.
2. Carefully place your guides to mark off the tip area.
3. Then, use your silicone brush to apply the chrome powder onto the tip section only.
4. Carefully peel off the guides.
Method 3: Using Gel Polish for the Tip (More advanced):
1. Start with the fully chromed nail.
2. Use a fine-tip gel polish in white or a complementary color.
3. Carefully paint the French tip line.
4. Cure the tip. You might need to encapsulate this with another layer of no-wipe top coat to smooth the transition.
Step 7: Seal and Cure the Final Top Coat
To lock in your stunning design and protect it, you need a final top coat.
1. Apply Final Top Coat: Apply another layer of your no-wipe gel top coat over the entire nail, ensuring you cap the free edge to prevent lifting. Be sure to smooth over any ridges from the chrome powder application.
2. Cure: Cure this final layer under your UV/LED lamp for the recommended time.
Step 8: Clean Up
1. Wipe Away Residue: Once cured, your manicure is complete! If there’s any residual tacky layer or stray powder, gently wipe it with an alcohol-soaked lint-free wipe.
Stunning Silver Chrome French Nail Styles to Inspire You
The beauty of silver chrome French nails lies in their adaptability. Here are some essential styles that are perfect for beginners and seasoned nail lovers alike:
The Classic Silver Chrome French
This is the quintessential design. It features a clear or nude base with a perfectly defined silver chrome smile line across the tip. It’s minimalist, elegant, and incredibly chic.
How to achieve: Follow the step-by-step guide above using a nude gel base and precisely applied silver chrome powder for the tip.
The Full Chrome French Tip
Instead of a delicate line, this style uses a bolder, thicker band of silver chrome across the entire tip. It’s a statement that’s still sophisticated.
How to achieve: After applying your base and no-wipe top coat (and optionally a nude color), apply the silver chrome powder to the entire nail. Then, use a fine detail brush with a black or dark gel polish to draw a clean line underneath the chrome to define the “tip” area, or carefully use a white gel to create the illusion of a tip shape on top of the full chrome base if you prefer a stark contrast. Cure after drawing the line.
The Reverse Chrome French
This trendy take places the chrome where the nude base usually is – across the cuticle area or as a crescent moon near the base of the nail, with a clear or colored tip.
How to achieve: Chrome the cuticle area or create a crescent shape with chrome powder. Then, carefully apply a no-wipe top coat and cure. Fill in the rest of the nail and the tip with a clear or colored gel polish, making sure to create a clean transition. Cure the final top coat.
The Subtle Chrome Outline
For a more avant-garde look, use a very fine brush to trace the edge of a traditional white or colored French tip with silver chrome. It adds a delicate shimmer and a modern edge.
How to achieve: Create your French tip first with gel polish. Cure it. Then, using a fine detail brush and the silver chrome powder, carefully outline the edge of the French tip. Seal with a no-wipe top coat and cure.
The Chrome Gradient French
Here, the chrome isn’t a harsh line but blends seamlessly into the nail. The tips might be more intensely chromed, fading into a sheerer finish towards the cuticle.
How to achieve: After applying your base, apply the no-wipe top coat. Buff the chrome powder onto the tip area of each nail, then feather it upwards towards the cuticle, creating a gradient effect. You may need to use a slightly damp silicone tool to blend the edges. Seal with a no-wipe top coat and cure.
The Abstract Chrome French
Get creative! Instead of a perfect smile line, use the chrome powder to create abstract shapes, dots, or swooshes along the free edge or across the nail.
How to achieve: Apply your base and no-wipe top coat. Use your silicone brush or detailed tools to apply the chrome powder in abstract patterns. Experiment with placement and shape. Seal with a no-wipe top coat and cure.
Choosing Your Base Color
The base color you choose underneath your silver chrome French tips can dramatically change the final look.
| Base Color Option | Description | Visual Effect with Silver Chrome | Best For |
| :—————- | :———————————————————————– | :——————————- | :—————————————- |
| Clear Gel | A transparent base that allows your natural nail to show through. | Crisp, bright chrome, looks like pure silver. | Those who want a natural nail look with a metallic pop. |
| Sheer Nude Gel| A translucent nude shade that adds a soft, milky undertone. | Softens the chrome, creates a sophisticated, muted metallic. | Everyday wear, professional settings, a subtle glow. |
| Opaque Nude Gel| A solid, creamy nude that completely covers the natural nail. | Chrome appears very vibrant and polished against the solid base. | A strong, put-together look, to fully conceal nail imperfections. |
| Pastel Colors | Light shades like baby pink, lavender, or mint green. | Creates a unique, almost iridescent effect with the silver chrome. | Fun, playful manicures, transitioning seasons. |
| Black Gel | A deep, solid black base. | Reflects intensely, creating a dark, futuristic, almost liquid metal look. | Bold, edgy styles, evening wear, a dramatic statement. |
Longevity and Care
To keep your silver chrome French nails looking fabulous for as long as possible, follow these simple care tips:
Avoid Harsh Chemicals: Direct contact with strong cleaning agents, solvents, or even certain perfumes can dull the chrome finish or potentially lift the polish. Wear gloves when doing household chores.
Be Gentle: While gel polish is durable, avoid using your nails as tools (e.g., for opening cans or scraping).
Moisturize: Keep your cuticles and hands hydrated with cuticle oil and hand lotion. Dryness can lead to chipping at the edges.
Reapplication of Top Coat (Optional): For extra protection, you can carefully apply another thin layer of no-wipe top coat over your cured manicure after about a week, and re-cure it. This can help refresh the shine and add another protective layer.
Troubleshooting Common Issues
Even DIY manicures can hit a snag. Here are some common problems and how to fix them:
Patchy Chrome Application
Problem: The chrome looks uneven or has bare spots.
Solution: This usually happens if the no-wipe top coat wasn’t fully cured, or if you didn’t use enough pressure when buffing the powder. Make sure your top coat is properly cured (it should be shiny and non-tacky). Try buffing the powder again with a fresh applicator, ensuring even pressure. If it’s too patchy, you might need to apply another layer of no-wipe top coat, cure, and reapply the chrome.
Chrome Not Sticking
Problem: The chrome powder rubs off easily.
Solution: The most common culprit is an under-cured no-wipe top coat or using a regular sticky top coat. Ensure your lamp is working effectively and cure time is sufficient. Double-check that your top coat is indeed “no-wipe.”
Blurry French Tip Lines
Problem: The edge of your French tip isn’t sharp.
Solution: This takes practice! Use a very fine detail brush for applying the chrome for the tip, or carefully use a fine detail brush with gel polish if you’re going the drawing route. Ensure your silicone tool is clean and dry when picking up powder. You can also try using a sterile alcohol wipe to gently clean up any stray powder before applying the final top coat.
Chrome Losing Its Shine
Problem: The mirror effect fades over time.
Solution: Make sure you applied a thick enough, fully cured final top coat and capped the free edge. Avoid prolonged exposure to harsh chemicals without gloves. A refresh with another layer of top coat can sometimes help.


