Quick Summary: Side French nail designs offer a chic, modern twist on the classic French manicure. Perfect for beginners, these designs place the signature white or colored tip along the side of the nail, adding subtle elegance and customization. Learn how to master this stylish look with easy steps and inspiring ideas!
Ever feel like the traditional French manicure is a little… well, traditional? If you’re nodding along, then you’re in the right place! We’re about to dive into the world of side French nail designs, a super stylish and surprisingly simple way to update your nails. They’re perfect for adding a touch of flair without being over the top, making them ideal for any occasion. Don’t worry if you’re new to nail art; we’ll break it all down so you can create these stunning looks at home. Get ready to fall in love with a French manicure that’s uniquely yours!
What Exactly Are Side French Nail Designs?
Think of the classic French manicure: a clean white line across the very tip of the nail. Now, imagine shifting that line. That’s the magic of a side French nail design! Instead of a straight band, the colored tip (often white, but it can be any color you love!) follows the curve of your nail’s edge, running along one side and sometimes even creating a playful V-shape or an asymmetric curve. It’s a subtle change that makes a big impact, offering a fresh, modern take on a beloved classic. This design adds visual interest and can elongate the appearance of your nails, giving them a sophisticated look.
Why You’ll Love Side French Nail Designs
There are so many reasons to try this trend! They’re:
- Versatile: They look fantastic on short nails, long nails, natural nails, and acrylics.
- Chic & Modern: It’s a sophisticated twist that feels current and stylish.
- Beginner-Friendly: With a little practice, they’re totally achievable for DIY manicures.
- Customizable: You can play with colors, thickness, and placement to match your style.
- Elegant: They add a polished touch without being too flashy, perfect for work or special events.
Essential Tools for Your Side French Manicure
Before we get painting, let’s gather our supplies. Having the right tools makes all the difference in achieving a clean, professional-looking manicure. Don’t worry, you probably have most of these already!
Must-Have Tools:
- Nail Polish Remover & Cotton Pads: To clean your nails thoroughly and correct any mistakes.
- Nail File & Buffer: To shape your nails and create a smooth surface.
- Base Coat: Essential for protecting your natural nails and helping polish adhere better.
- Your Chosen Polish Colors: A nude, sheer pink, or beige for the base, and your desired color (white is classic!) for the side French tip.
- A Fine-Tip Detail Brush or Striping Brush: This is your secret weapon for creating those precise lines.
- Top Coat: To seal your design, add shine, and make your manicure last longer.
- Optional: Nail Tape or Stencils: Can help create cleaner lines, especially when you’re starting out.
For a truly professional finish, consider investing in a good quality base coat and top coat. Brands like Essie’s base and top coats are known for their durability and shine, helping your DIY mani look salon-perfect.
Step-by-Step: Creating Your Side French Nail Designs
Ready to get creative? Follow these simple steps to achieve flawless side French nail designs. Remember, practice makes perfect, so don’t be discouraged if your first attempt isn’t flawless!
Step 1: Prep Your Nails
Start with clean, dry nails. Remove any old polish with a good nail polish remover. Gently push back your cuticles using an orange stick or cuticle pusher. Shape your nails with a nail file to your desired length and shape. A smooth, clean surface is key for a great manicure!
Step 2: Apply Base Coat
Apply one layer of your base coat and let it dry completely. This protects your nails from staining and provides a smooth canvas for your polish.
Step 3: Apply Your Base Color
Apply one or two thin coats of your chosen base polish (nude, sheer pink, beige, etc.). Allow each coat to dry thoroughly. This creates the foundation for your design.
Step 4: Create the Side French Tip
This is where the magic happens! Here are a few ways to achieve the side French tip:
Method 1: Freehand with a Detail Brush
- Dip your fine-tip detail brush into your tip color polish. Gently wipe off excess polish on the bottle’s rim to avoid blobs.
- Starting at one side of your nail’s free edge, carefully draw a line following the natural curve towards the other side. You can make this line thin and delicate or slightly thicker, depending on your preference.
- Some designs curve inwards slightly, while others hug the edge more closely. Experiment to see what you like!
- Clean up any wobbly lines with a small brush dipped in nail polish remover.
Method 2: Using Nail Tape or Stencils
- Once your base color is fully dry, carefully place nail tape or a French tip stencil along the side of your nail where you want the tip to begin. Press down firmly to ensure there are no gaps for polish to bleed through.
- Apply your tip color over the tape/stencil.
- Carefully peel off the tape or stencil while the polish is still slightly wet (but not runny). This prevents the polish from lifting.
- Clean up any minor imperfections with a fine-tip brush.
Pro Tip: If you’re doing a reverse French (tip at the cuticle), you’ll apply the tape near the cuticle line. For a double-sided French, you might apply tape on both sides!
Step 5: Let it Dry
Allow your side French tip color to dry completely. Patience is key here to prevent smudging!
Step 6: Apply Top Coat
Apply a generous layer of your top coat. This seals the design, adds a beautiful glossy finish, and protects your manicure from chipping. Make sure to cap the free edge by running your brush along the very tip of your nail.
Step 7: Final Touches
Once your top coat is dry, you can apply a drop of cuticle oil to moisturize your cuticles and give your hands a finishing touch. Admire your beautiful, modern French-tipped nails!
Inspiring Side French Nail Design Ideas
The possibilities are endless when it comes to side French nail designs! Here are some ideas to spark your creativity:
1. Classic White Side French
The timeless elegance of a white tip is undeniable. Try a fine, sharp line tracing the side of a sheer nude or pink base. This is minimalist chic at its finest.
2. Bold Color Contrast
Don’t be afraid to play with color! Pair a vibrant matte black tip with a soft pastel base, or a metallic rose gold tip with a creamy white base. Contrast is king!
3. Double Side French
Why stop at one side? For a bolder statement, create a French tip on both sides of the nail. You can have them mirror each other or create a unique pattern. This looks amazing on squoval or almond-shaped nails. For inspiration on nail shapes, check out this ultimate guide to nail shapes.
4. Asymmetrical V-Shape
Instead of a smooth curve, create a sharp V-shape along one side of the nail. This adds a modern, edgy feel. You can use tape to help achieve those crisp points.
5. Micro Side French
For an absolutely delicate touch, opt for a super-thin line of color just along the edge. This is subtle yet incredibly sophisticated, perfect for everyday wear.
6. Ombre Side French
Blend a soft color fade into your side French tip for a dreamy effect. This requires a bit more skill but the result is breathtaking.
7. French Tip with a Twist
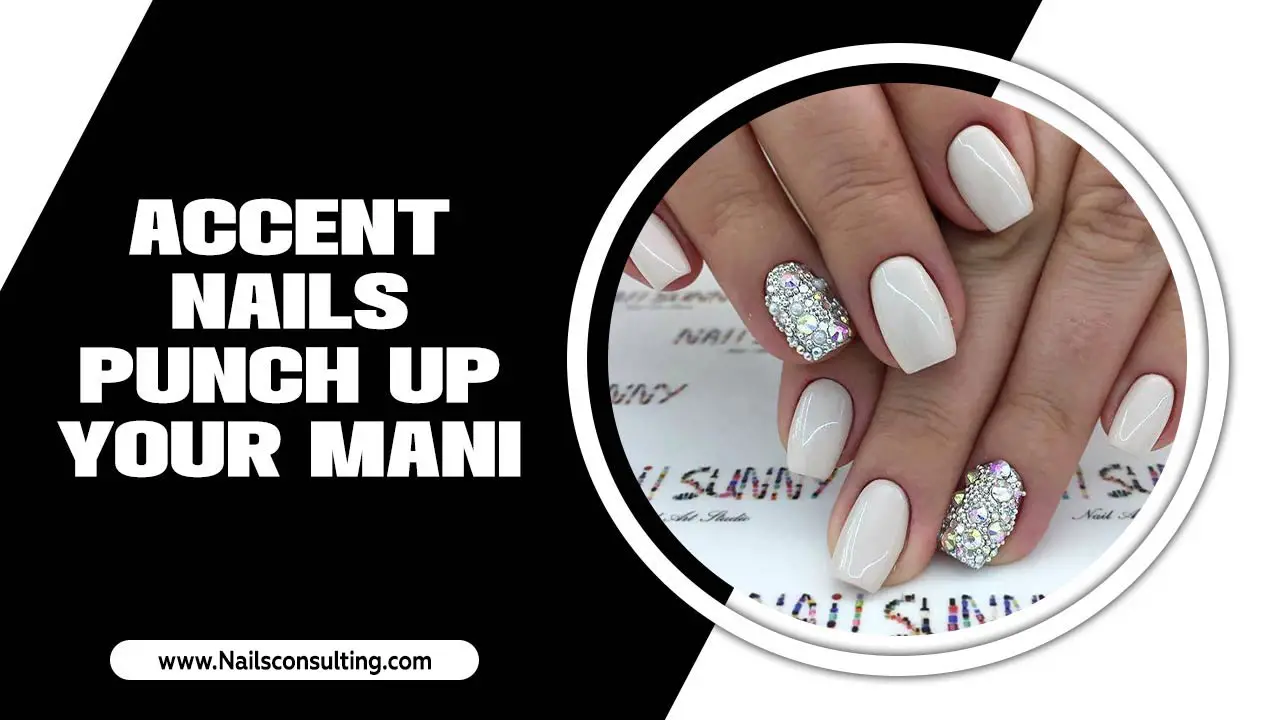
Combine the side French with other elements. Perhaps a glitter accent nail, a subtle dot near the cuticle, or even a minimalist line drawing on the rest of the nail.
Here’s a quick look at how different colors and placements can change the feel:
| Design Style | Base Color Ideas | Tip Color Ideas | Overall Vibe |
|---|---|---|---|
| Classic Side French | Sheer Nude, Milky Pink | Clean White, Soft Ivory | Elegant, Minimalist, Chic |
| Bold Contrast | Pastel Blue, Creamy Beige | Matte Black, Bright Red, Gold | Edgy, Modern, Playful |
| Subtle Sparkle | Any Neutral Base | Fine Glitter Line (Silver, Gold, Rose Gold) | Glamorous, Sophisticated, Party-Ready |
| Deep & Moody | Dark Grey, Deep Plum | Oxblood Red, Forest Green | Mysterious, Luxurious,Autumnal |
Troubleshooting Common Side French Nail Issues
Even with the best intentions, sometimes things don’t go perfectly. Here’s how to fix common problems:
- Wobbly Lines: Don’t panic! Keep a fine-tip brush dipped in nail polish remover handy. Gently “erase” the shaky parts and redraw. Focus on slow, steady strokes.
- Polish Bleeding Under Tape: Ensure the tape is pressed down firmly and that your base coat and color polish are completely dry before applying tape. If some bleeding occurs, clean it up with your remover brush immediately.
- Uneven Tip Thickness: Use reference points on your nail. Measure the distance from the side edge to where you want the tip to end. A mirror can help you see the angle better.
- Smudges: This usually happens when the polish isn’t dry enough. Always allow ample drying time between coats and before applying the top coat.
- Difficulty with Freehanding: If freehanding is frustrating, try using flexible nail tape. You can curve it along the side of the nail to create a guide.
Remember, nail polish remover is your friend for corrections! The correct use of nail polish and tools can significantly impact the final look and longevity of your manicure.
Maintaining Your Side French Manicure
To keep your gorgeous side French nails looking their best for as long as possible:
- Reapply Top Coat: Add another layer of top coat every 2-3 days to maintain shine and prevent chipping.
- Wear Gloves: Protect your nails from harsh chemicals and prolonged water exposure by wearing gloves when doing chores like washing dishes or cleaning.
- Moisturize: Keep your hands and cuticles hydrated with a good hand cream and cuticle oil. Healthy cuticles make for a perfect nail frame.
- Avoid Using Nails as Tools: Resist the urge to use your nails to open cans or scrape off stickers. This can lead to chips and breaks.
Frequently Asked Questions (FAQ)
Q1: Are side French nail designs hard to do for beginners?
Not at all! While traditional French manicures can be tricky, side French designs often feel more intuitive. Using a fine brush or nail tape can make it quite simple. With a little practice, you’ll get the hang of it quickly!
Q2: What colors work best for side French nail designs?
White is a classic, but don’t limit yourself! Metallics like gold, silver, or rose gold look stunning. Bold colors like black, red, or even neon can create a modern statement. Sheer nudes, milky pinks, or clean whites make great base colors.
Q3: Can I do side French nails on short nails?
Yes! Side French designs are fantastic for short nails. They can actually make short nails appear longer and more elegantly shaped. Just ensure your lines are proportionate to the nail length.
Q4: How do I prevent my polish from smudging when doing the side French tip?
The key is patience! Make sure each layer of polish is completely dry before moving to the next step. Avoid rushing. If using tape, ensure it’s pressed down firmly and removed gently while the polish is still slightly wet.
Q5: How long does a side French manicure typically last?
With a good base and top coat, and proper care, a side French manicure can last anywhere from 7 to 14 days. Reapplying top coat every few days can help extend its life.
Q6: What’s the difference between a side French and a reverse French manicure?
A side French places the tip along the side edge of the nail. A reverse French (or “cuticle-trio”) places the color line near the cuticle, often in a curved shape, mimicking the moon of your nail bed.
Conclusion
Side French nail designs are a breath of fresh air for anyone looking to elevate their manicure game. They offer a sophisticated, modern twist on a beloved classic that’s surprisingly accessible, even for beginners. By gathering the right tools and following these simple steps, you can confidently create stunning side French looks right in your own home. Whether you opt for a subtle white line or a bold pop of color, this versatile design is sure to become a favorite in your nail art rotation. So grab your polish, get creative, and enjoy the stylish results!


