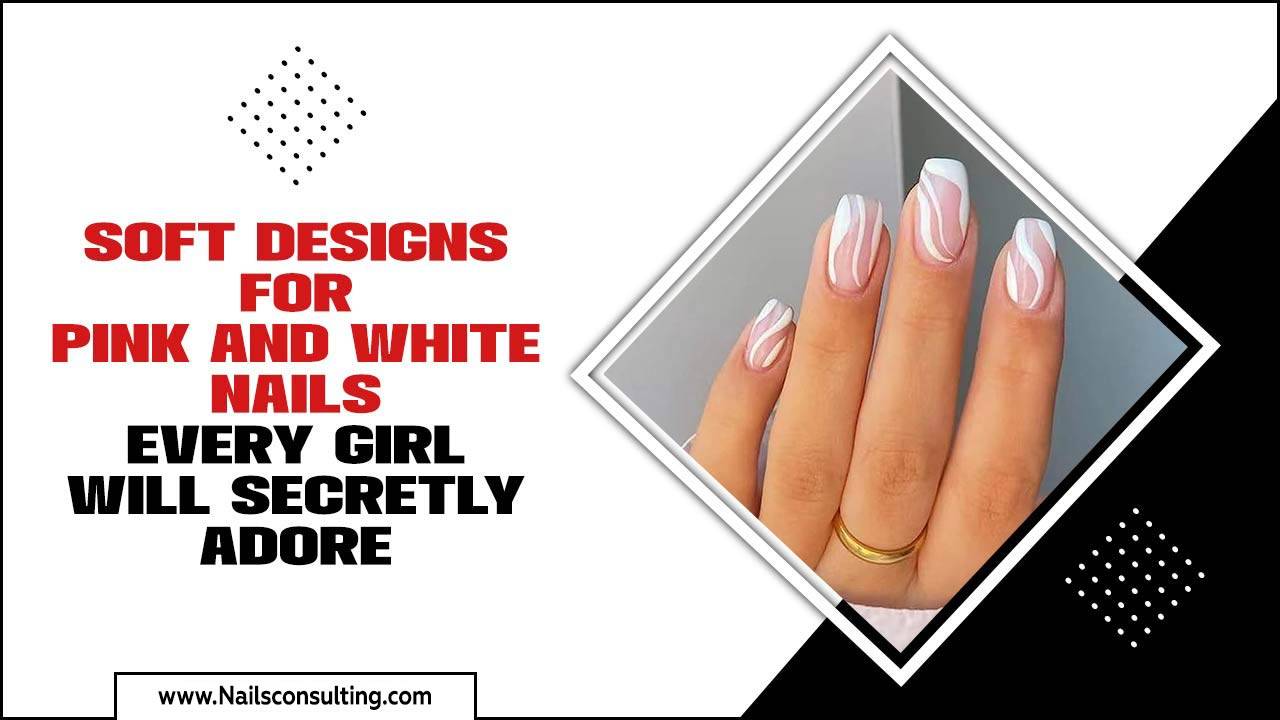
Short swirl nails are a chic and versatile way to add a playful yet sophisticated touch to your look. They’re perfect for beginners and busy individuals, offering a stylish statement without the fuss of longer lengths. Mastering this trend is easier than you think!
Finding a nail design that’s both trendy and easy to manage can feel like a quest! If you love a bit of artistic flair but prefer the practicality of shorter nails, you’re in for a treat. Short swirl nails are the answer! They’re fun, fabulous, and surprisingly simple to achieve at home. No more worrying about snags or chips; these designs look stunning at any length.
Get ready to unlock the secret to gorgeous, swirly short nails that will have everyone asking where you got them done. We’ll break down everything you need to know, from choosing your colors to applying the design like a pro, even if you’ve never tried nail art before. Let’s dive into the wonderful world of short swirl nails!
Why Short Swirl Nails Are a Genius Choice
Short nails get a bad rap sometimes, but they are incredibly practical and stylish! Short swirl nails take this practicality and inject a serious dose of personality and art. They’re a fantastic way to experiment with nail art without committing to a long canvas, making them perfect for everyday wear and various professions. Let’s explore why they’re such a brilliant option:
- Practicality Meets Polish: Shorter nails are less prone to breaking and are easier to manage for daily tasks like typing, cooking, or childcare. Adding a swirl design elevates them from basic to beautifully artistic.
- Versatile Style: Swirls can be adapted to fit any aesthetic. From muted pastels for a soft look to bold neons for a vibrant statement, there’s a swirl for everyone.
- Beginner-Friendly: The beauty of swirl nail art is its forgiving nature. Unlike intricate designs, swirls can be abstract and imperfect, making them ideal for those new to DIY nail art.
- Trend-Forward: Swirls have been a consistent trend in nail art, proving their timeless appeal. They offer a touch of retro charm and modern sophistication all at once.
- Cost-Effective: Achieving salon-worthy results at home saves money. With a few basic tools and polishes, you can recreate this look yourself.
Essential Tools for Your Short Swirl Manicure
Getting started with short swirl nails is all about having the right tools. Don’t worry; you don’t need a professional kit! Most of these items are likely already in your bathroom or easily accessible at a drugstore. Here’s what you’ll need:
- Base Coat: This protects your natural nails and helps your polish adhere better. A good quality base coat prevents staining and creates a smooth surface.
- Top Coat: Essential for sealing your design, adding shine, and making your manicure last longer.
- Nail Polish Colors: Choose at least two contrasting or complementary colors for your swirl design. A sheer nude or pink can also be a lovely base.
- Detailing Tools: This is where the magic happens!
- Thin Nail Art Brush: The most versatile tool for drawing lines and creating swirls. Look for one with fine, flexible bristles.
- Dotting Tool: Perfect for creating small dots and can also be used to help blend or shape swirls.
- Toothpick: A readily available household item that works surprisingly well for thin lines and small details.
- Nail Polish Remover: For cleaning up mistakes and your cuticles.
- Cotton Pads or Balls: To apply the nail polish remover.
- Optional: Clean-up Brush: A small, stiff-bristled brush (like an old eyeliner brush) dipped in remover can clean up stray polish around your cuticles with precision.
For more advanced swirl techniques or cleaner lines, you might consider specialized striping tape or even stencils, but for beginners, brushes and toothpicks are fantastic starting points.
Step-by-Step Guide to Creating Short Swirl Nails
Ready to get creative? Follow these simple steps to create beautiful short swirl nails at home. We’ll focus on an easy, classic swirl design that’s perfect for beginners.
Step 1: Prepare Your Nails
A clean canvas is crucial for any nail art. Start by ensuring your nails are prepped:
- Shape: File your nails into your desired short shape (square, squoval, or rounded).
- Cuticle Care: Gently push back your cuticles with an orange stick or cuticle pusher. You can also apply cuticle oil to soften them. This step makes your nail bed look longer and cleaner, which is especially beneficial for short nails.
- Clean: Wash your hands to remove any dust or oils. Ensure nails are completely dry before proceeding.
Step 2: Apply Base Coat
Apply one thin layer of your base coat to each nail. Let it dry completely. This protects your nails from staining and provides a smooth surface for your polish.
Step 3: Add Your Base Color (Optional but Recommended)
For a polished look, apply one or two thin coats of your chosen base polish color. This could be a nude, a soft pastel, or even a classic white or black, depending on the look you’re going for. Let each coat dry thoroughly. A sheer color can be particularly forgiving for beginner swirl designs.
Step 4: Create Your Swirls!
This is the fun part! Here’s a simple technique using a detailing brush or toothpick:
- Dip Your Tool: Dip the tip of your thin nail art brush or toothpick into your accent polish color. For a brush, load just a small amount of polish onto the tip. For a toothpick, swirl it in the polish to pick up a bead.
- Draw the Base Line: On one nail, gently draw a curved line across the nail, starting from one side and swooping towards the other. Don’t worry about perfection; a slightly wobbly line adds character!
- Add the Swirl: From the end of your first line, draw another curved line that loops back and connects, forming a loose “S” shape or a spiral. You can also create a C-shape or a more abstract curve. The key is gentle pressure and fluid motion.
- Refine (Optional): While the polish is still wet, you can use the tip of your brush or toothpick to gently guide or smooth out the lines if needed.
- Repeat: Repeat this process on your other nails, varying the direction or size of the swirls for a dynamic look. You can also opt for just one or two accent nails.
Pro Tip for Beginners: If using a toothpick, you can often clean it and use the tip to gently drag and blend the edges of your swirl while the polish is wet for a softer look. For a bolder swirl, ensure your lines are distinct.
Step 5: The Dotting Technique (Alternative Swirl)
If drawing freehand feels daunting, try this dotting method:
- Place Dots: Using your dotting tool or the end of a toothpick, place two or three small dots of your accent color in a curved line across your nail.
- Connect the Dots: With your thin brush or another clean toothpick, gently connect the dots by dragging the polish. You can create a smoother line or a more segmented swirl effect.
- Blend (Optional): Use the very tip of a clean brush or toothpick to lightly blend the edges if you want a softer transition.
Step 6: Let It Dry
Patience is key! Allow your swirl design to dry completely. This can take longer than regular polish because the designs can be thicker. Applying top coat too soon can smudge your hard work!
Step 7: Apply Top Coat
Once the swirls are bone dry, apply one to two thin layers of your glossy top coat. Make sure to cap the free edge of your nail by running the brush along the tip. This helps prevent chipping and seals in your design.
Step 8: Clean Up
Use a small brush dipped in nail polish remover to clean up any polish that got onto your skin or cuticles. This gives your manicure a professional, sharp finish.
Short Swirl Nail Design Ideas
The beauty of swirls is their adaptability! Here are a few popular and easy-to-achieve ideas to inspire your next manicure:
1. Classic Two-Tone Swirls
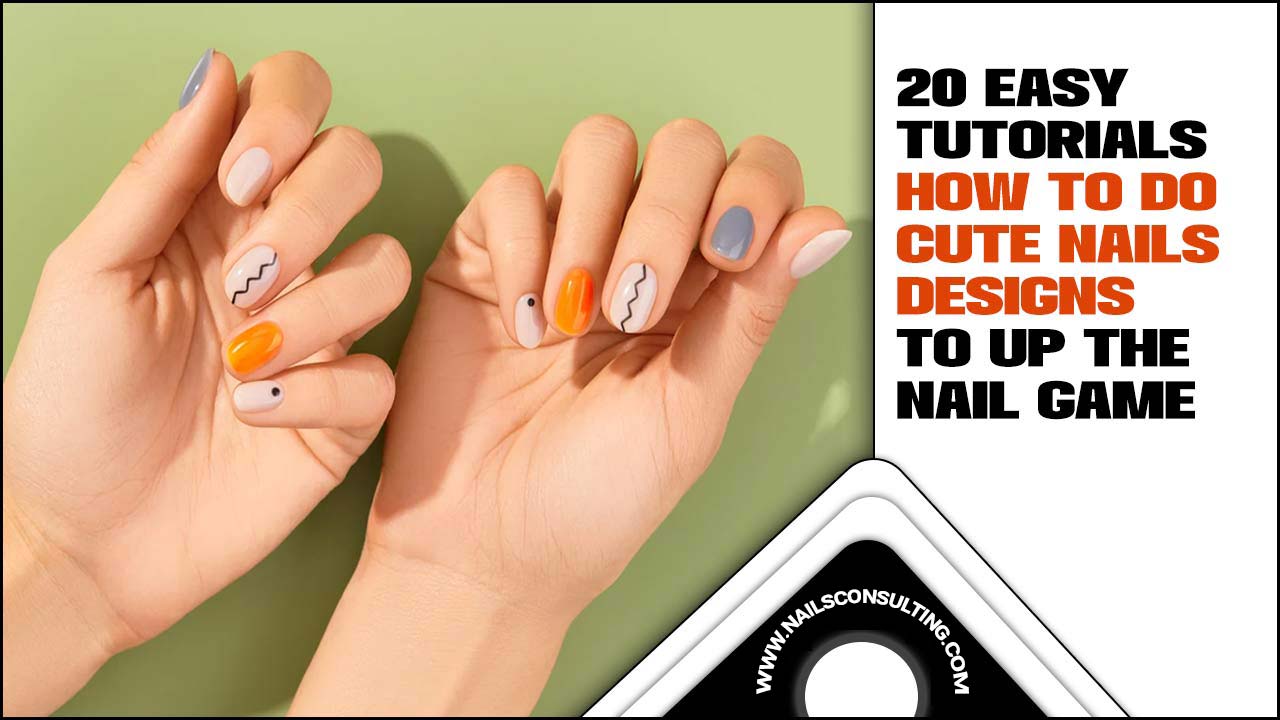
This is the most common and easiest style. Use a neutral base color (like nude, white, or a soft pastel) and add swirls in a contrasting or complementary color. Think a white base with black swirls, or a baby blue base with white swirls.
2. Pastel Dream Swirls
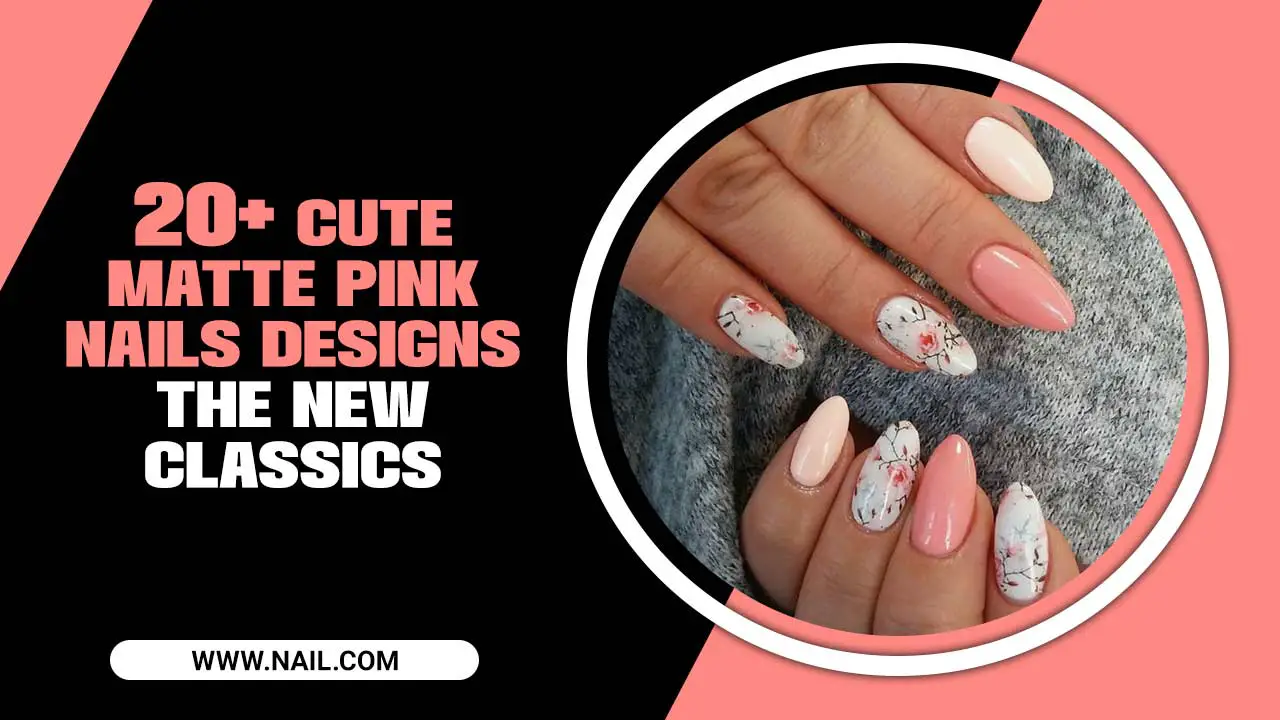
Choose soft, dreamy pastel shades like lavender, mint green, coral, or baby pink. You can use a creamy white base and add delicate swirls in two or three pastel shades, blending them slightly for an ethereal look.
3. Bold & Bright Swirls
For a statement look, opt for vibrant colors! A black base with neon pink and electric blue swirls, or a bright yellow base with orange and red swirls, can be incredibly eye-catching. This is a great way to experiment with color blocking.
4. Monochrome Swirls
Sticking to one color family creates a sophisticated swirl. For example, use different shades of blue – a navy base with light blue and turquoise swirls, or a grey base with charcoal and white swirls.
5. Micro Swirls
Instead of large, sweeping swirls, create smaller, more intricate ones. These can be very delicate and look fantastic on short nails. They are perfect for a subtle nod to the trend.
6. Swirl Accent Nails
Don’t feel like doing swirls on every nail? No problem! Keep all your nails a solid color and choose one or two accent nails (like your ring fingers) to feature the swirl design. This is understated yet stylish.
7. Marble Swirls
This technique mimics a marble effect. You can achieve this by applying a base color, then carefully drawing multiple thin, wavy lines of different colors on top, and gently blending them with a toothpick or brush while wet to create a marbled illusion.
Maintaining Your Short Swirl Nails
To keep your beautiful short swirl nails looking their best for as long as possible, follow these simple maintenance tips:
- Reapply Top Coat: Every 2-3 days, apply a fresh layer of top coat. This revives the shine and strengthens the design, preventing wear and tear.
- Avoid Harsh Chemicals: Wear gloves when doing household chores, especially when using cleaning products, as they can break down polish and diminish shine. Your natural nail health is also important, and there are great resources about protecting your nails from chemicals. The NHS provides excellent general advice on nail care.
- Moisturize: Keep your hands and cuticles moisturized with lotion or cuticle oil. Healthy cuticles make for a neater-looking manicure.
- Gentle Removal: When it’s time for a change, use a good quality nail polish remover and soak your nails rather than picking or peeling the polish off, which can damage your natural nails.
Troubleshooting Common Swirl Nail Problems
Even with simple designs, beginners can run into a few snags. Here’s how to fix them:
- Smudged Polish: This is the most common issue! If you smudge a fresh swirl, try to gently smooth it over with the brush you used or a clean toothpick while the polish is still wet. If it’s mostly dry, you might need to carefully paint over the smudged area or even start that nail again. The best prevention is to wait patiently for each layer to dry.
- Wobbly Lines: Don’t stress! Wobbly lines can actually add to the charm and handmade feel of swirls. If you want them straighter, practice drawing on paper first. You can also use nail art striping tape for perfectly straight lines if freehand is too challenging.
- Polish Too Thick: Using too much polish on your brush or toothpick can lead to globs and uneven lines. Make sure to wipe off excess polish on the bottle’s edge before applying it to your nail.
- Ends Chipping Quickly: Ensure you are “capping” the free edge of your nails with your top coat. This seals the polish and prevents lifting. Also, remember to reapply top coat every few days.
Pros and Cons of Short Swirl Nails
Like any trend, short swirl nails have their advantages and disadvantages. Understanding these will help you decide if they’re the right choice for you!
| Pros | Cons |
|---|---|
| Versatile & Stylish: Suits all ages, styles, and occasions. | Can Be Time-Consuming: Especially if you’re new to nail art. |
| Practical for Daily Life: Less likely to break or snag. | Requires Some Practice: Achieving perfect swirls takes a little skill. |
| Beginner-Friendly Art: Swirls are forgiving and easy to adapt. | Smudging Risk: Wet polish is prone to smudges if not handled carefully. |
| Cost-Effective DIY: Save money by doing it yourself. | Tool Investment: May require purchasing a few basic nail art tools. |
| Trendy & Fashionable: A popular and enduring nail art style. | Limited Canvas: Shorter nails offer less space for complex designs. |
Frequently Asked Questions About Short Swirl Nails
Q1: Are swirl nails hard to do for beginners?
Not at all! Swirls are one of the most beginner-friendly nail art designs. Their fluid nature means imperfections often add character. Using a toothpick or a thin brush makes it easy to draw and connect lines.
Q2: How long do short swirl nails typically last?
With proper application and care, including a good base and top coat and regular top coat touch-ups, short swirl nails can last anywhere from 7 to 14 days. The short length helps them endure daily activities better than longer nails.
Q3: Can I do swirl nails without special nail art brushes?
Absolutely! A simple toothpick is a fantastic alternative to a nail art brush for creating swirls. You can also try a fine-tipped ballpoint pen (used exclusively for art!) or even a straightened paperclip for drawing thin lines.
Q4: What colors are best for short swirl nails?
The beauty is in the choice! Classic combinations like black and white, or white and a pastel, are always chic. For a bolder look, try neon colors or metallics. You can also stick to a tonal palette, using different shades of the same color family for a sophisticated effect.
Q5: My swirls look messy. What can I do?
Don’t worry! A slightly messy swirl can look artistic. However, for cleaner lines, ensure you’re using just a small amount of polish on your brush or toothpick. Practice drawing on paper first. If a line is a bit off, you can sometimes gently nudge it back into place with a clean toothpick while the polish is still wet. For a truly clean edge, use a small brush dipped in nail polish remover to clean up around the nail bed and cuticle.
Q6: Can I put nail gems or glitter over my swirl nails?
Yes, you can! Adding a few small rhinestones at the base of the swirl or a dusting of glitter over the top coat can add extra sparkle and dimension. Just be sure the base swirl design is completely dry before adding embellishments.
Conclusion
Short swirl nails are a fantastic, stylish, and accessible trend for anyone looking to add a touch of art and personality to their fingertips. They prove that you don’t need long nails or complicated techniques to achieve a stunning manicure. Whether you’re a seasoned nail art enthusiast or trying something new for the first time, the simplicity and versatility of short swirl designs make them a nearly foolproof way to elevate your look.
From choosing your perfect color palette to mastering the easy application techniques, you now have all the tools and knowledge to create your own gorgeous short swirl nails. Embrace the creative freedom, experiment with different looks, and most importantly, have fun expressing yourself through your nails! So grab your polishes and your favorite detailing tool, and get ready to swirl your way to fabulous fingertips.

