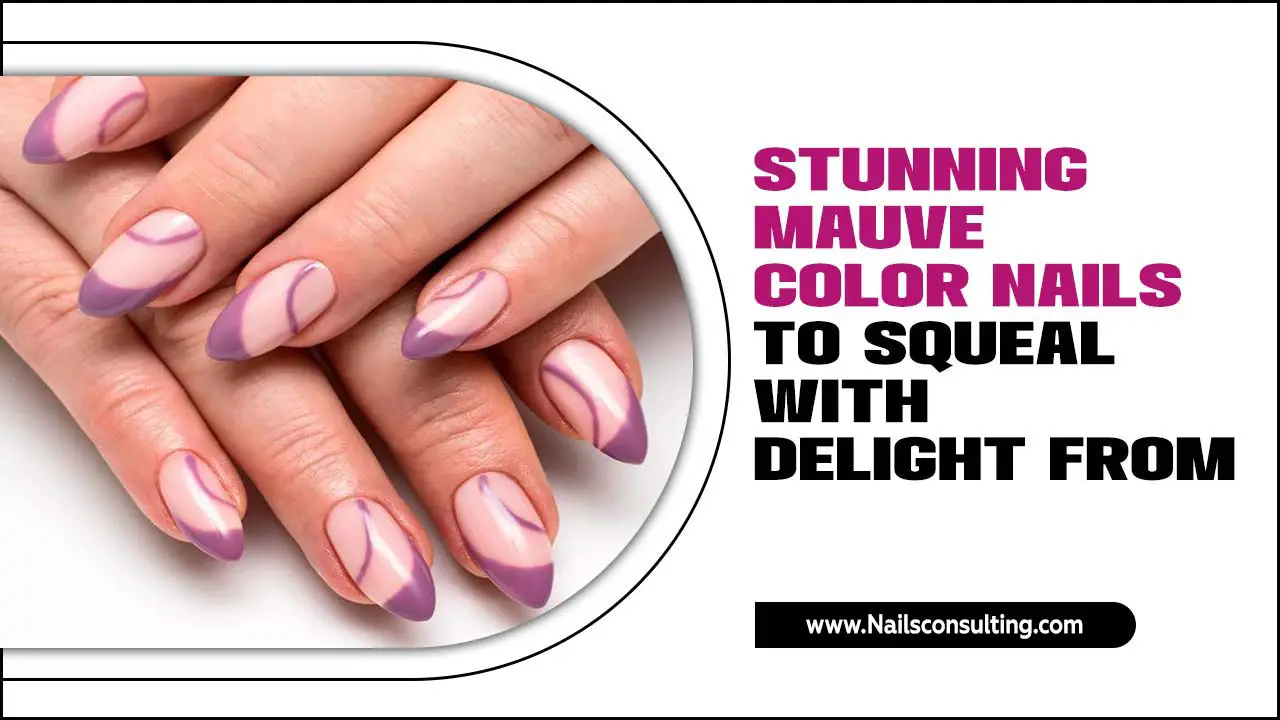
Short strawberry nails design is a fun and creative way to add a sweet touch to your manicure. These designs feature playful strawberry motifs, perfect for beginners looking for easy yet eye-catching looks. This guide breaks down simple techniques to achieve your own adorable strawberry nails at home.
Who doesn’t love a touch of sweet charm on their fingertips? Short strawberry nails designs are absolutely adorable and surprisingly easy to create, even if you’re just starting out with nail art. If you’ve ever scrolled through nail inspo and felt a little intimidated by complex designs, you’re in the right place! We’re going to dive into making those cute little strawberry pops come to life on your nails.
Think of your short nails as the perfect canvas for a mini fruit explosion. The shape is super practical for everyday life, and adding this playful design is a fantastic way to boost your mood and express your personal style. Forget complicated tools or advanced techniques; we’re keeping it simple and fun!
Ready to get your hands on some super cute strawberry nails? Let’s go from basic inspiration to a finished, fabulous manicure. We’ll cover everything you need to know, making sure you feel confident and excited about your DIY nail art journey. You’ll be surprised at what you can create!
Why Short Strawberry Nails Are a Sweet Choice
Short nails are often celebrated for their practicality. They’re less prone to breaking, easier to manage for daily tasks, and honestly, just super chic. But does being short mean you have to miss out on fun nail art? Absolutely not! Short strawberry nails design bring a burst of personality without the length.
The charm of strawberry nails lies in their cheerful simplicity. Red is a vibrant color that catches the eye, and the addition of little green leaves and black seeds creates an instantly recognizable and playful pattern. It’s a design that evokes summer vibes, sweet treats, and a generally happy mood. Plus, the size of short nails makes small, detailed elements like strawberry seeds look even more adorable and less overwhelming.
For beginners, short strawberry nails are a brilliant starting point because they don’t require perfect brush strokes or intricate layering. The iconic shape and colors do most of the heavy lifting. It’s a design that’s forgiving, fun to experiment with, and delivers a big impact with minimal fuss. Let’s break down why they are such a genius and essential design trend for anyone looking to add a touch of sweetness to their look.
Getting Started: Essential Tools & Materials
Before we start painting, let’s gather our supplies! Don’t worry, you probably have most of these already, or they are easy to find at any drugstore or online. Having the right tools makes the process so much smoother and more enjoyable.
Your Strawberry Nail Art Toolkit
Here’s what you’ll need to create your own short strawberry nails design:
- Base Coat: Protects your natural nails and helps polish adhere better.
- Top Coat: Seals your design and adds shine.
- Red Nail Polish: Your primary strawberry color! A classic bright red works beautifully.
- Green Nail Polish: For the strawberry leaves or stems.
- Black Nail Polish: To create the tiny seeds on your strawberries.
- White Nail Polish (Optional): For creating a shiny highlight effect, making your strawberries pop even more.
- Fine-Tipped Nail Art Brush or Dotting Tool: This is crucial for details like the seeds and leaf veins. You can find these at most beauty supply stores. Look for brushes with very fine bristles or a small ball tip.
- Toothpick or Orange Stick: A great everyday tool for placing small dots or cleaning up edges.
- Nail Polish Remover & Cotton Swabs: For those little “oops” moments!
- Clear Nail File and Buffer: To shape your nails perfectly before you start painting.
Sometimes, simple tools can create the most amazing results. A good fine-tipped brush is your best friend for detailed work. If you don’t have one, a toothpick can work in a pinch for applying small dots of polish.
Step-by-Step: Crafting Your Short Strawberry Nails Design
Ready to paint? Follow these simple steps to create adorable strawberry nails that will have everyone asking where you got them done!
Step 1: Prep Your Canvas
Like any good art project, starting with a clean and smooth surface is key. Gently push back your cuticles, and if needed, trim any dry skin. Shape your nails into your desired short style. A classic square, squoval, or even a soft almond shape works wonderfully for strawberry designs. Make sure your nails are clean and free of any old polish or oils.
Step 2: Apply Your Base Coat
Apply one to two thin coats of your base coat. This step is super important! It prevents your natural nails from getting stained, especially by bright red polish, and creates a smooth surface for your polish to stick to. Let it dry completely.
Step 3: Paint Your Strawberry Base
Now for the fun part! Apply two thin coats of your chosen red nail polish to each nail. For the best coverage and a streak-free finish, use thin, even strokes. Allow each coat to dry for a few minutes before applying the next. Don’t worry if it’s not perfectly opaque after one coat; a second coat will do the trick!
Step 4: Add the Strawberry Shape (Optional but Recommended for Realism!)
For a more realistic strawberry look, you can gently round the tip of your nails with a fine brush. Using a slightly lighter shade of red or even just slightly dabbing the tip with the same red polish while it’s still a bit wet can create a subtle gradient effect, making them look more like real strawberries. Alternatively, you can use a fine brush with black or dark brown polish to gently outline the bottom edge of each ‘strawberry’ to give it a bit more definition. This is totally optional and depends on how detailed you want to get!
Step 5: Create the Seeds
This is where your fine-tipped brush or dotting tool comes in handy. Dip your tool into your black nail polish. Gently dab tiny dots all over the red surface of your nails to represent the strawberry seeds. Aim for an irregular pattern, just like real strawberries! You don’t need too many; just a few strategically placed dots will do the trick. If you’re finding it tricky, you can also use a toothpick. A little goes a long way to make your strawberries look realistic.
Step 6: Add the Green Leaves
Now, let’s add the leafy tops! Using your fine-tipped brush and green nail polish, carefully paint a small cluster of leaves at the cuticle edge of each nail. You can paint a few simple pointy shapes extending from the top corner of the nail, or a tiny stem with a few leaf accents. Again, think about how strawberries naturally look. A small zig-zag brush stroke can create a nice leafy effect.
Step 7: The Optional Highlight (For Extra Pop!)
Want your strawberries to look glossy and juicy? Use a tiny dot of white polish on a fine brush or toothpick. Place a tiny dot near the top edge of the ‘strawberry’ on one side. This creates a reflection, making the polish look like it’s catching the light, giving it a realistic sheen. Be careful not to use too much white; a small speck is all you need!
Step 8: Apply Your Top Coat
Once all your paint is completely dry (this is important to avoid smudging!), apply a generous layer of your top coat. Make sure to cap off the free edge of your nails by running the brush along the very tip. This helps prevent chipping and keeps your adorable strawberry design looking fresh for longer. Let it dry thoroughly.
Variations & Creative Ideas for Your Strawberry Nails
The basic short strawberry nails design is fantastic, but why stop there? Let’s explore some fun ways to switch things up and make them uniquely yours!
Mix and Match Fun
Not every nail needs a full strawberry! Try these combinations:
- Accent Nail: Have one or two nails with the full strawberry design, and the rest solid red or a soft pink.
- Strawberry French Tips: Paint the tips of your nails red, and add the green leaf detail at the base of the red tip. Seeds optional!
- Strawberry Accents: Instead of full strawberries, paint small strawberry shapes on the side of a solid colored nail, or paint tiny strawberries tumbling down the nail.
- Half Strawberry: Paint half your nail red, and add the leaf detail.
Color Play
Who says strawberries have to be classic red?
- Pink Strawberries: Try a pastel pink polish for a softer, sweeter look.
- White/Cream Base: Use a white or cream polish as your base, and paint the strawberry details on top for a different effect.
- Bold Greens: Experiment with different shades of green for the leaves – from lime to deep forest green.
Adding Sparkle
For a touch of glamour, consider adding glitter!
- Glitter Top Coat: Apply a clear glitter polish over your finished strawberry nails.
- Glitter Seeds: Use a fine glitter polish for the ‘seeds’ instead of black polish.
- Subtle Shimmer: A sheer shimmer polish applied over the red can give a lovely glow without overwhelming the design.
Caring for Your Strawberry Nails
Once you’ve got your fabulous short strawberry nails, you’ll want them to last! Easy care tips will keep them looking fresh and fruity.
Keep Them Protected
Always wear gloves when doing chores that involve prolonged water exposure, like washing dishes or cleaning. Water can soften the nail and the polish, making it more prone to chipping.
Moisturize Regularly
Keep your hands and nails hydrated by using hand cream and cuticle oil daily. This prevents your nails from becoming dry and brittle, which can lead to chips and breaks.
Touch Ups Are Your Friend
If you notice a tiny chip or a worn-down tip, don’t despair! You can often touch up small imperfections with a tiny bit of red polish and a careful application of top coat. It’s a much quicker fix than redoing the whole nail.
Be Gentle
Avoid using your nails as tools (like to pry open cans or scrape things). This is especially important with polished nails, as it can cause chips and lift the polish.
Choosing the Right Nail Shape for Strawberry Designs
While strawberry designs are versatile, certain nail shapes tend to showcase them particularly well on short nails. The key is to complement the shape of the strawberry itself.
Square and Squoval
These shapes offer a flat, wide canvas that’s perfect for showing off the classic strawberry look. The straight edges provide a nice contrast to the rounded fruit shape, making the design stand out. For squoval nails, the slightly rounded corners offer a softer transition.
Soft Almond or Oval
If you prefer a softer look, a short almond or oval shape can also be very flattering. The natural curve of these shapes can mimic the gentle roundness of a strawberry, creating a cohesive and elegant design. This is a great option if you want your strawberry nails to feel a little more sophisticated.
The “Lipstick” Shape
This avant-garde shape isn’t for everyone, but imagine a short nail with a perfectly flat, angled tip like lipstick! It can create a really modern and artistic base for a strawberry design, especially if you place the strawberry motif at the top of the angled tip.
No matter the shape, the goal is to have enough surface area to comfortably paint the strawberry details without them looking cramped. Short shapes are ideal because they keep the overall design proportionate and manageable.
Pros and Cons of Short Strawberry Nails Design
Like any trend, short strawberry nails have their advantages and disadvantages. Let’s weigh them out:
| Pros | Cons |
|---|---|
| Beginner-Friendly: Simple shapes and colors make it easy to recreate. | Potential for Smudging: Smaller details require patience to dry. |
| Charming & Playful: Adds a fun, sweet touch to any outfit. | Durability: Tiny details can wear off faster than solid colors if no top coat is used correctly. |
| Practicality of Short Nails: Less prone to breakage, easier for daily tasks. | Requires Fine Tools: For best results, a detailing brush or dotting tool is helpful. |
| Versatile: Can be adapted with different colors and variations. | Color Staining: Red polishes can sometimes stain natural nails if a base coat isn’t used. |
| Mood-Boosting: Bright, fruity designs can uplift your spirits. | Can Look Messy if Applied Incorrectly: Precision is needed for clean lines and dots. |
Tips for Achieving Professional-Looking Results
Even as a beginner, you can make your strawberry nails look like they came straight from a salon!
- Thin Coats Are Key: It’s better to apply multiple thin coats of polish than one or two thick, gloopy ones. Thin coats dry faster and create a smoother finish.
- Steady Your Hand: Rest your wrists or forearms on a stable surface for extra stability when painting details. Leaning on your table can help prevent wobbles.
- Clean Up Mistakes Immediately: Dip a fine brush or a slanted cotton swab into nail polish remover and carefully erase any stray marks or smudges right after you make them, before the polish dries.
- Patience with Drying Time: Don’t rush the drying process between coats. Use a quick-dry top coat if you’re in a hurry, but still allow adequate time for each layer to set.
- Practice Makes Perfect: Don’t get discouraged if your first attempt isn’t flawless. The more you practice, the steadier your hand will become, and the better your designs will look.
Remember that nail polish technology has evolved, and many brands offer excellent formulations for ease of use. For instance, some quick-dry top coats can significantly cut down waiting times, allowing you to get to the fun part of admiring your work sooner.
FAQ: Your Strawberry Nail Questions Answered
Q1: What are the best polish colors to use for strawberry nails?
A: A bright, classic red polish is ideal for the strawberry body. For the leaves, a vibrant green or a slightly deeper forest green works well. Black is classic for seeds, but you could also use dark brown. White is perfect for subtle highlights.
Q2: Do I really need a special nail art brush?
A: While a fine-tipped nail art brush or a dotting tool makes creating details like seeds much easier and more precise, you can improvise! A clean toothpick can work for dots, and a very fine-tipped regular brush (used only for nails) can sometimes manage fine lines. However, investing in a couple of basic nail art brushes is highly recommended for beginners.
Q3: How long do short strawberry nails usually last?
A: With a good base and top coat, careful application, and daily moisturizing, short strawberry nails can last anywhere from 5-10 days before you might see minor chipping. How long they last also depends on your daily activities and how rough you are with your hands.
Q4: Can I do short strawberry nails on natural nails without tips?
A: Absolutely! Short strawberry nails are fantastic on natural nails. In fact, the shorter the nail, the less likely it is to chip or break, making it a perfect canvas for this design. Just ensure your natural nails are healthy and smooth.
Q5: Are strawberry nail designs only for summer?
A: Not at all! While they evoke summer vibes, strawberry nails are cheerful year-round. A bright red can be a fun pop of color during colder months, or you can adapt the colors – think softer pinks for spring or deeper berries for fall.
Q6: How do I remove strawberry nail art without damaging my nails?
A: Use an acetone-based nail polish remover for quicker and more effective removal, especially with darker colors. Soak a cotton ball or pad with remover, press it onto your nail for 10-15 seconds to loosen the polish, and then gently wipe it away. Avoid harsh scrubbing. Always follow up with cuticle oil to rehydrate.
For more information on nail health and proper polish removal techniques, you can refer to resources like the American Academy of Dermatology Association, which provides excellent general guidance on nail health.
Conclusion: Embrace Your Sweet Style!
And there you have it! Your guide to creating absolutely adorable short strawberry nails design. We’ve covered the essential tools, a simple step-by-step process, creative variations, and how to


