Short silver nails design is a fantastic choice for effortless beauty! You can achieve a chic, modern, and versatile look with simple techniques. Whether you prefer a subtle shimmer or a bold metallic statement, short silver nails are surprisingly easy to create and incredibly stylish for any occasion.
Are you looking for a nail design that’s both elegant and easy to manage? Short silver nails are a dream come true for many! They offer a touch of glamour without requiring lengthy upkeep. Sometimes, finding that perfect blend of style and simplicity can feel tricky, especially when you’re new to nail art. But don’t worry! With a few simple steps and some inspiration, you’ll be rocking stunning short silver nails in no time. Let’s dive into how you can easily bring this dazzling trend to life right at home.
Why We Love Short Silver Nails
Short silver nails are having a major moment, and for good reason! They’re incredibly versatile, fitting in seamlessly with almost any outfit and occasion. Think of them as the little black dress of the nail world – always chic, always appropriate. They convey sophistication and a modern edge, making your hands look polished and put-together. Plus, silver is a universally flattering metallic that catches the light beautifully, adding a subtle sparkle.
One of the biggest wins for short silver nails is their practicality. Long nails can be a hassle for everyday tasks, but shorter lengths are much more manageable. They’re less prone to breaking, making them ideal for busy individuals, those who work with their hands, or anyone who simply prefers a low-maintenance but high-impact manicure. They prove that you don’t need elaborate designs to make a statement; sometimes, a brilliant wash of color is all it takes.
Effortless Silver Nail Polish Application: The Basics
Getting a smooth, even coat of silver nail polish is the foundation of any great short silver nails design. It’s all about preparation and application technique. Don’t be intimidated; it’s simpler than you think!
Step 1: Prepare Your Nails
This is the most crucial step! Proper nail prep ensures your polish adheres well and lasts longer. Think of it as prepping a canvas for a masterpiece.
- Shape Your Nails: Start by filing your nails into your desired shape. For short nails, a square, squoval (square with rounded edges), or a soft round shape are excellent choices. Use a fine-grit nail file and always file in one direction to avoid weakening the nail. Aim for uniformity in length and shape.
- Push Back Cuticles: Gently push back your cuticles using a cuticle pusher. This gives you a cleaner nail surface to work with and prevents polish from bleeding onto the skin. Avoid cutting your cuticles unless absolutely necessary, as they protect your nails from infection. Visit the US National Library of Medicine for more on proper cuticle care.
- Buff Your Nails: Lightly buff the surface of your nails with a nail buffer. This smooths out any ridges and creates a slightly textured surface for the polish to grip onto, leading to better adhesion. Don’t over-buff; just a few gentle passes are enough.
- Cleanse Your Nails: Wipe your nails with a nail polish remover or rubbing alcohol on a cotton pad. This removes any oils, lotions, or residue that could interfere with polish application. Make sure your nails are completely dry before proceeding.
Step 2: Apply a Base Coat
A good base coat is your best friend! It protects your natural nails from staining (especially important with darker or metallic polishes) and provides a smooth surface for your color coats. Let it dry completely.
Step 3: Apply the Silver Polish
Now for the fun part! For a flawless silver finish, here’s how to apply your polish:
- Start with Thin Coats: It’s always better to apply two or three thin coats of polish than one thick, gloopy one. This prevents streaking and allows the polish to dry evenly.
- The Three-Stroke Method: For each coat, start with a stroke down the center of the nail, from cuticle to tip. Then, do one stroke on each side of the center, again from cuticle to tip. This ensures even coverage.
- Work Quickly but Carefully: Try to get your strokes done efficiently to avoid lifting drying polish. If you make a mistake, don’t panic! You can clean it up later or with the next coat.
- Allow Drying Time: Let each coat dry for at least a minute or two before applying the next. Patience here pays off in a smooth, chip-resistant finish.
Step 4: Apply a Top Coat
Once your final silver coat is almost dry, apply a good quality top coat. This seals in your color, adds shine, and protects your manicure from chips and smudges. A quick-dry top coat can be a lifesaver for busy bees!
Simple & Chic Short Silver Nail Design Ideas
Ready to elevate your silver polish? Here are some easy yet stunning design ideas perfect for beginners!
1. The Classic Full Silver
There’s nothing wrong with a universally flattering, full-coverage silver shimmer! This is the epitome of timeless elegance.
- How-to: Simply follow the basic application steps above using a beautiful metallic silver polish.
- Pro Tip: For extra oomph, choose a silver polish with a fine glitter or a chrome finish.
2. Silver French Tips
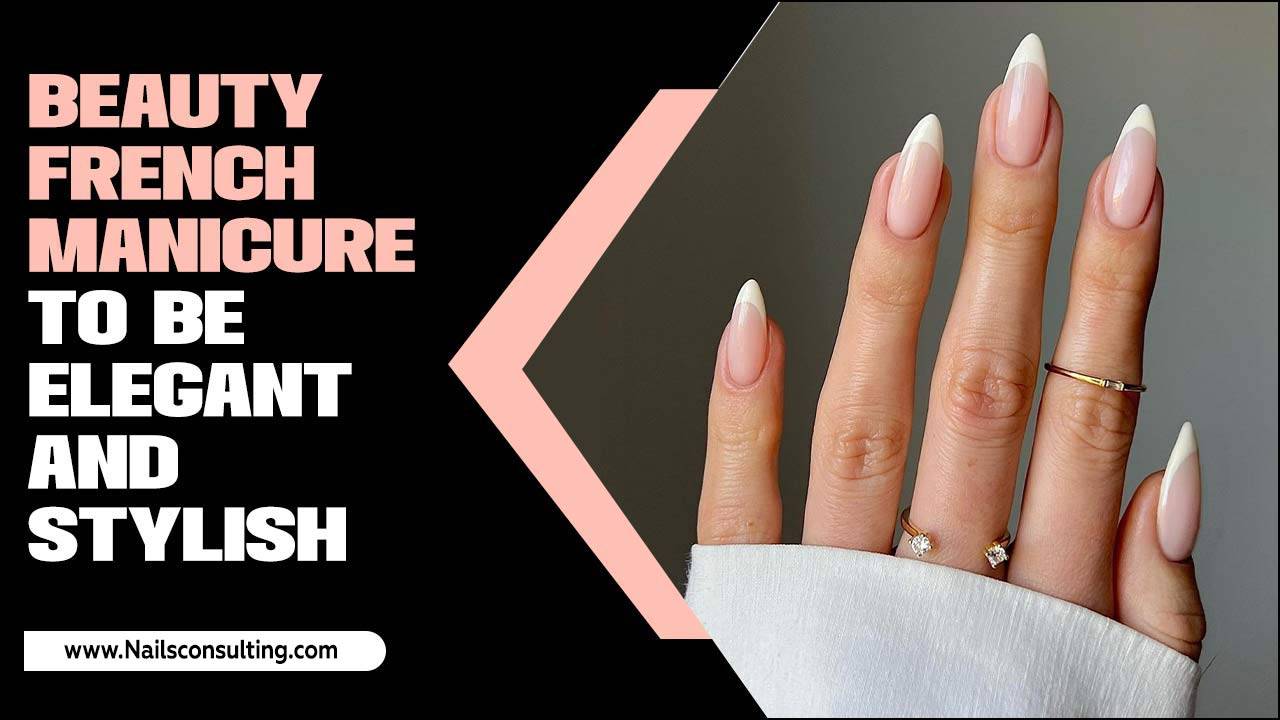
A modern twist on a classic. Instead of white, use a sleek silver polish to create the tips of your nails.
- How-to: After applying your base coat and at least one coat of a neutral or pale pink polish on the entire nail, use a fine nail art brush or a specialized French tip guide sticker to carefully paint a silver line along the free edge of your nail. Alternatively, you can use a glitter silver polish for an easier application.
- Variations: Try a silver smile line on a clear or nude base, or even a reverse French where the silver is at the cuticle.
3. Glitter Accent Nail
Add a touch of sparkle by making just one nail entirely silver glitter, while the rest are a solid, perhaps slightly softer, silver shade.
- How-to: Paint all nails with your chosen solid silver shade, applying two coats and letting them dry. Then, use a silver glitter polish on your accent nail (usually the ring finger) and apply two coats. A glitter polish can often be applied more forgivingly than a smooth metallic.
- Tip: For a subtle gradient of glitter, start with more glitter near the tip and less towards the cuticle.
4. Silver Dotting
Tiny silver dots can add a playful yet sophisticated touch. It’s super easy to achieve!
- How-to: After painting your nails a solid base color (nude, white, or even a deep contrasting color like navy), dip a dotting tool (or the tip of a toothpick or ballpoint pen) into your silver polish. Carefully place small dots along your cuticle line, or create a pattern across the nail.
- Tools: Nail dotting tools come in various tip sizes, allowing you to create different-sized dots. You can find these at most beauty supply stores.
5. Half-Moon Silver
This design highlights the nail shape near the cuticle, creating a modern, artistic look.
- How-to: Apply a base coat and your main color polish (e.g., a nude or pale pink). Once dry, use a small round sticker, a nail guide sticker, or even a hole punch reinforcer to mask off the base of your nail. Carefully paint the exposed half-moon area with silver polish. Remove the sticker once dry.
- Tip: For a clean line, ensure the sticker is pressed down firmly, and apply the silver polish in thin coats.
6. Subtle Silver Lines
Thin, delicate silver lines can add an unexpected geometric element.
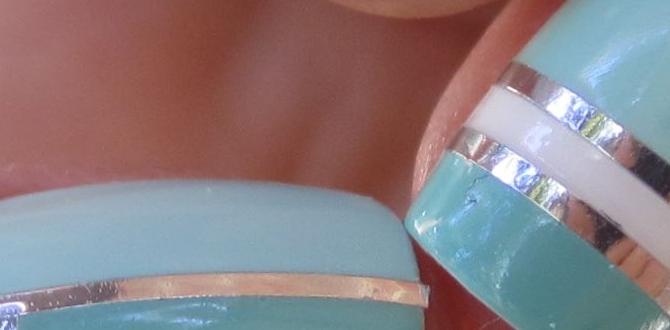
- How-to: Paint your nails with your desired base color. Once fully dry, use a very fine nail art brush dipped in silver polish to draw thin lines. This could be a single diagonal line, parallel lines, or a delicate criss-cross pattern.
- Ease: If freehand painting isn’t your strong suit, consider using striping tape. Apply the tape precisely to your dried base color, paint over it with silver, and carefully peel off the tape while the silver is still slightly wet.
Tools and Products for Your Short Silver Nails
You don’t need a professional salon to achieve beautiful short silver nails. Here are a few essential tools and product types:
| Tool/Product | Description | Why It’s Great for Silver Nails |
|---|---|---|
| Nail Files (Fine-Grit) | Used to shape and refine the edges of your nails. | Helps achieve clean, crisp edges for a polished look. Essential for maintaining short nail shapes. |
| Nail Buffer Block | A multi-sided block used to smooth, shine, and prepare the nail surface. | Removes ridges and creates a smooth surface for polish adhesion, preventing unevenness in metallic finishes. |
| Cuticle Pusher | Tool to gently push back the cuticle area. | Cleans up the nail plate, allowing for precise polish application right up to the edge. |
| Base Coat | A clear protective layer applied before polish. | Prevents staining from metallic pigments and creates a smooth canvas for even silver application. |
| Silver Nail Polish | This can range from metallic finishes, chrome, glitter, or even a subtle shimmer. | The star of the show! Choose a formula that offers good coverage in 1-2 coats for best results. Metallic and chrome finishes can be trickier, so practice helps. |
| Top Coat | A clear finishing layer for shine and protection. | Seals the deal, adds a glossy finish that enhances the metallic sheen of silver, and prevents chips. |
| Nail Art Brush/Dotting Tool | Fine brushes or tools with rounded tips for detailed work. | Perfect for adding delicate details like dots, thin lines, or French tips with your silver polish. |
| Nail Polish Remover & Cotton Pads | For cleaning mistakes and removing old polish. | Essential for cleanup and ensuring a pristine base for each new application. |
Tips for Long-Lasting Short Silver Nails
You’ve put in the effort to create a beautiful short silver nails design; now let’s make it last!
- Reapply Top Coat: Apply a fresh layer of top coat every 2-3 days. This refreshes the shine and reinforces the protective layer, significantly extending the life of your manicure.
- Wear Gloves: When doing household chores, especially those involving water or harsh chemicals (like washing dishes or cleaning), wear rubber gloves. Water exposure and chemicals are major culprits for polish chipping and lifting.
- Avoid Using Nails as Tools: Resist the urge to use your nails to open cans, scrape off stickers, or pry things open. This is a fast track to chips and breaks, especially on shorter nails where the protective polish layer is less likely to be stressed.
- Keep Cuticles Moisturized: Dry, ragged cuticles can draw attention away from even the most perfect manicure. Apply cuticle oil or a rich hand cream daily to keep the surrounding skin healthy and smooth.
- Touch Up Small Chips: If you notice a tiny chip or scuff on the edge of a nail, you can often fix it with a tiny dab of your silver polish and a careful touch-up with your top coat. This is much easier to get away with on short nails.
Troubleshooting Common Silver Polish Problems
Silver polishes, especially metallics and chromes, can sometimes be a little finicky. Here’s how to tackle common issues:
Streaky Application
Why it happens: Metallic and chrome polishes often have a higher pigment load, which can lead to streaks if not applied correctly.
Solution: Apply in thin, even coats using the three-stroke method. Work quickly to avoid dragging drying polish. Ensure your base coat is smooth. If streaks persist, layer a fine silver glitter polish over your solid silver for added depth and to mask minor imperfections.
Uneven Finish
Why it happens: This can be due to an uneven nail surface, not enough polish on the brush, or inconsistent strokes.
Solution: Always start with a smooth, buffed nail surface and a good base coat. Use enough polish on your brush for one to two nails per dip, and apply consistent, smooth strokes. A strong top coat can often help even out the overall appearance.
Polish Drying Too Fast
Why it happens: Some quick-dry formulas can set very rapidly, making them harder to work with.
Solution: Try to work slightly faster. Dipping your polish bottle briefly in a cup of hot water (not boiling!) can sometimes thin out thicker polish, making it more pliable. Avoid applying polish in very hot environments. A drop of nail polish thinner can also help revive old or thick polish.
Chrome Finish Not Reflective Enough
Why it happens: Achieving a true mirror-like chrome finish often requires a special chrome powder and a gel or specific base/top coat system. Regular chrome polishes offer a high shine but not usually a perfect mirror reflection.
Solution: For a high-shine, mirror-like effect at home without special powders, look for “chrome effect” or “mirror” silver polishes. Apply with thin, perfect coats. A very glossy and smooth top coat is essential to maintain the shine. For true chrome powder effects, you would typically need a UV/LED lamp and specific gel products, which might be a step beyond beginner DIY.
Short Silver Nails: A Timeless Trend
Silver has been a symbol of modernity and sophistication for ages, and its application to nails is no exception. From the ancient Egyptians using silver pigments to today’s futuristic chrome finishes, this precious metal has always captivated us. The trend of short silver nails taps into this enduring appeal, making it a reliable choice for those seeking a chic and contemporary look.
The beauty of short silver nails lies in their adaptability. They can be understated and elegant for a business meeting, dazzling for a night out, or festive for a holiday celebration. The reflective quality of silver adds a unique dimension that catches the light, making even the simplest manicure look special. As noted by fashion publications, metallics are consistently in vogue, and silver offers a cooler, more refined alternative to gold for many skin tones and styles.
Frequently Asked Questions (FAQ)
Q1: Are short silver nails suitable for all occasions?
Yes! Short silver nails are incredibly versatile. A subtle metallic silver can be perfect for professional settings, while a glitter or chrome finish can be stunning for parties and special events. They offer a touch of glamour that’s chic rather than overpowering.
Q2: How can I make my silver nail polish not look streaky?
Apply silver polish in thin, even coats using the three-stroke method (center, then sides). Allow each coat to dry slightly before applying the next. Using a good quality base coat and a smooth, glossy top coat also helps minimize streaking.
Q3: Is silver polish bad for my natural nails?
Metallic and glitter polishes can sometimes stain natural nails if applied directly without a base coat. Always use a good quality base coat before applying any polish, especially dark or metallic shades. This acts as a barrier and protects your nails.
Q4: What’s the best way to clean up mistakes with silver polish?
Use a small brush (like an old makeup brush or a specialized nail art brush) dipped in nail polish remover. Gently glide it around the edges of your nail to clean up any polish that has gotten onto your skin or cuticles. Clean cotton swabs also work but can sometimes leave lint.
Q5: Can I add other nail art to short silver nails?
Absolutely! Short silver nails are a fantastic base. You can add small rhinestones, delicate hand-painted details in contrasting colors, tape art, or even glitter gradients over your silver base. Experiment with accent nails featuring these additions.
Q6: How long does a simple short silver nails design typically last?
With proper application, including a base coat and top coat, and by following tips for longevity (like wearing gloves for chores), a simple short silver nails design can last anywhere from 7 to 14 days before significant chipping or wear becomes noticeable.
Conclusion
Embracing short silver nails design is a fantastic way to add a touch of modern elegance and effortless beauty to your look. We’ve covered everything from preparing your nails for the perfect canvas to simple application techniques and inspiring design ideas like French tips, glitter accents, and dainty dotting. Remember, the key to a flawless finish lies in patience, preparation,


