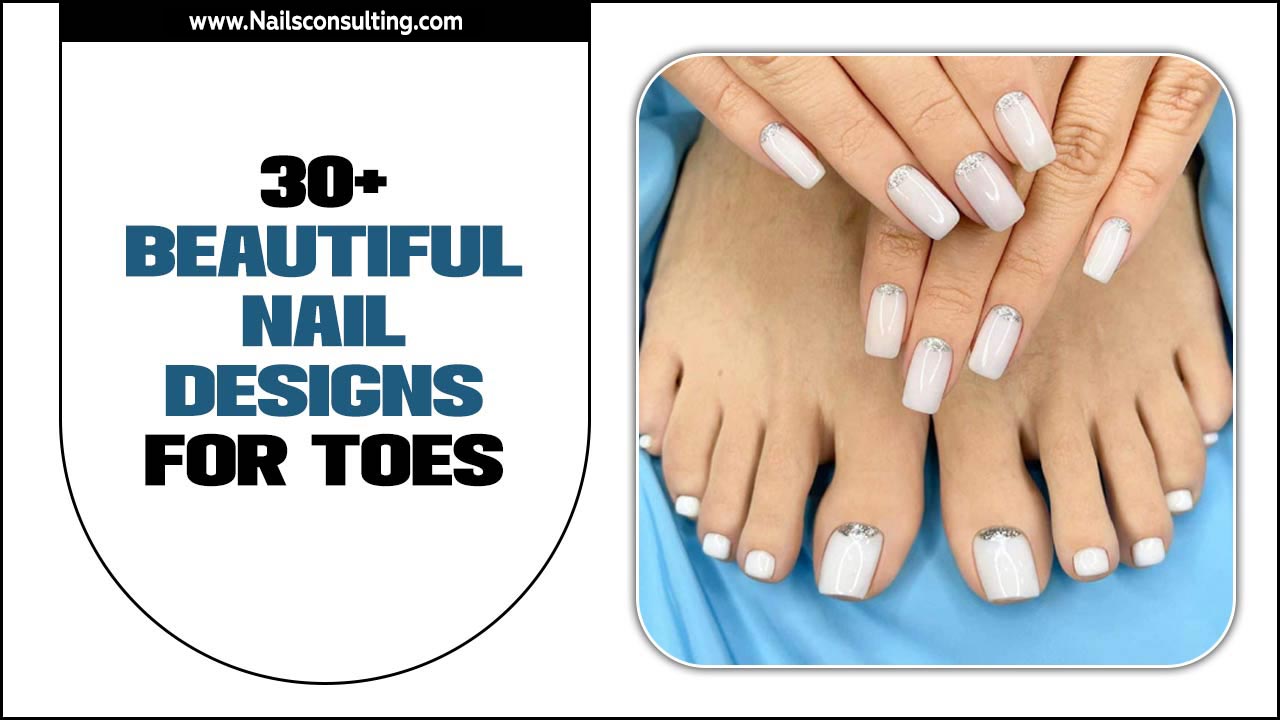
Short pink nails design ideas offer a playful yet sophisticated way to express yourself. Discover genius, easy looks perfect for beginners, transforming your nails into a mini canvas for fun and style with minimal effort.
Dreaming of cute nails but think you need super long nails or complex skills? Think again! Short nails can absolutely rock gorgeous pink designs. Many people believe intricate nail art is only for long nails or salon pros. This can feel frustrating when you want to add a pop of fun to your look. But guess what? You don’t need a degree in nail art to achieve stunning results. We’re diving into super simple, totally achievable pink nail designs perfect for short nails. Get ready to feel inspired and confident!
Why We Love Short Pink Nails
Pink is such a versatile color! It can be soft and sweet, bold and vibrant, or chic and elegant. When paired with short nails, it becomes incredibly practical and stylish. Short nails are easier to maintain, less prone to breaking, and perfect for everyday life. Adding pink, in any shade, brings a touch of joy and personality. From a subtle blush to a hot pink pop, short pink nail designs are a win-win for both style and functionality.
Getting Started: Your Pink Nail Toolkit
Before we dive into the designs, let’s make sure you have the basics. You don’t need a whole nail salon in your bathroom! Here are a few key items that will make your DIY nail art journey smooth sailing:
- Nail Polish Remover: For clean slates and fixing little mistakes.
- Cotton Pads or Balls: To apply the remover.
- Nail File and Buffer: To shape your nails and smooth any ridges.
- Base Coat: This protects your natural nail and helps polish adhere better. Essential!
- Top Coat: Seals your design, adds shine, and makes it last longer.
- Assorted Pink Nail Polishes: A few shades (light pink, hot pink, pastel pink) will give you options.
- Optional but Fun:
- Dotting Tools: These have little metal balls on the end, perfect for making dots.
- Thin Nail Art Brushes: For delicate lines and details.
- Stickers/Decals: The easiest way to add instant designs!
Remember, you can always find great tips on caring for your natural nails from resources like the American Academy of Dermatology.
Genius Easy Short Pink Nails Design Ideas
Ready to get creative? These designs are made for beginners and look amazing on short nails!
1. The Daintiest Dots
Dots are a classic for a reason – they’re simple and super cute! They add a playful touch without being overwhelming.
How to Create Dainty Dots:
- Prep: Start with clean, shaped nails. Apply your base coat and let it fully dry.
- Base Color: Apply one or two coats of your favorite pink polish. Let each coat dry completely.
- Dotting Time: Dip a dotting tool (or the tip of a toothpick, or even the end of a pen!) into a contrasting polish color (e.g., white, black, glitter).
- Place Your Dots: Gently press the tool onto your nail to create a dot. You can make one prominent dot on each nail, or create a pattern across the nail. Try varying the sizes of the dots for extra flair!
- Seal It: Once the polish is completely dry, add a layer of top coat to protect your work.
Pro-Tip: For a seamless look, try placing dots in a diagonal line or creating a charming constellation pattern.
2. The Chic French Tip Refresh
The French manicure is timeless, and a pink twist is incredibly modern and sweet. Forget the stark white; we’re going for soft and subtle or even a pop of bright pink!
How to Create a Pink French Tip:
- Prep: Base coat applied and dried.
- Sheer Pink Base: Apply one or two coats of a sheer or light pink polish. This will be your nail’s “natural” look, just enhanced. Let it dry.
- Pink Tips: Now for the fun part! You can use striping tape for a super clean line (apply tape where you want the pink tip to start, paint the tip, remove tape before dry). Or, for an easier method, use a thin nail art brush or even the polish brush itself to carefully paint a thin line of a brighter pink polish along the free edge of your nail.
- Seal: Once everything is dry, apply a clear top coat.
Variations: Try a hot pink tip for a bolder statement, or a glitter pink tip for some sparkle. You can even do a “reverse French” where you put the colored tip at the cuticle line.
3. The Gradient Dream
A gradient, or ombre, effect looks complex but is surprisingly easy to achieve, especially on short nails. It’s a beautiful way to blend colors.
How to Create a Pink Gradient:
- Prep: Base coat and dry pink base polish as usual.
- The Sponge Method: Grab a makeup sponge (the kind for foundation is great). Apply a couple of streaks of different pink shades (e.g., light pink and medium pink, or pink and a coral) directly onto the sponge.
- Dab, Dab, Dab: Quickly and gently dab the sponge onto your nail. You might need to reapply polish to the sponge and dab a few times to get an even blend.
- Clean Up: Use a small brush dipped in nail polish remover to clean up any polish that got onto your skin.
- Seal: Once completely dry, apply a generously shiny top coat.
Why it works: The sponge diffuses the color, creating a smooth transition that looks expertly done.
4. The Minimalist Accent Nail
Sometimes, less is more! An accent nail means decorating just one or two nails on each hand, letting the others be a solid color. It’s chic and effort-saving.
Ideas for an Accent Nail:
- Glitter Power: Paint all nails in a solid pink shade, then make one nail completely glitter pink.
- Simple Stripe: On one accent nail, paint a single vertical or horizontal stripe of a contrasting color over your pink base.
- Metallic Pop: Use a rose gold or metallic pink polish on just the accent nail.
- Tiny Heart: Use a dotting tool or fine brush to paint one tiny heart on your accent nail.
Simplicity is Key: The beauty of this is its understated elegance. It draws the eye without being overwhelming.
5. The Sweet Heart Detail
A tiny heart is undeniably cute and surprisingly easy to do on short nails. It’s perfect for a romantic vibe or just because!
How to Paint a Tiny Heart:
- Prep: Base coat, then your desired pink polish, all dried.
- Two Dots: Using a contrasting color polish (white, black, or even a darker pink) and a dotting tool or toothpick, make two small, close-together dots on your nail where you want the top of the heart.
- The V: Now, connect those two dots with a V-shape using the same color.
- The Bottom Curve: Finally, create a small curve connecting the bottom points of your V to form the heart shape.
- Refine (Optional): If your lines aren’t perfect, use a fine brush with a tiny bit of polish remover to gently clean up the edges.
- Seal: Once dry, apply your top coat.
Tip: Practice on a piece of paper first to get the hang of the shape!
6. The Simple Geometric Design
Geometric shapes like lines, triangles, and squares are modern and easy to create, especially with the help of tools.
Easy Geometric Look:
- Base: Apply your chosen pink polish and let it dry completely.
- Tape it Up: Use nail art striping tape to create a simple geometric pattern. For example, create a triangle at the tip of your nail, or a few parallel lines.
- Paint Over: Paint over the taped section with a contrasting color (white, black, silver, or gold work great) or even a glitter polish.
- Remove Tape: Carefully remove the striping tape while the polish is still slightly wet to get a clean line.
- Seal: Once dry, apply your top coat.
Where to find tools: You can find nail art striping tape at most beauty supply stores or online retailers.
7. The Ombre French Tip
Combining two popular trends: ombre and French tips! This creates a softer, more blended version of the classic French manicure.
How to Do an Ombre French Tip:
- Base: Apply a sheer pink or nude base coat and let it dry.
- The Ombre: Using a makeup sponge, create an ombre effect on the tip section of your nail. You can blend two shades of pink, or a pink with a nude or white. The key is to place the colors near each other on the sponge and then dab onto the nail tip.
- Clean Up: Clean any smudges around the cuticle with a cleanup brush and remover.
- Optional Line: If you want a more defined line, you can add a very thin line of glitter or a darker pink right where the ombre starts.
- Seal: Finish with a clear top coat.
Tip: This method works best if you focus the ombre effect a little higher up the nail than a traditional French tip. It creates a soft wash of color.
Tables for Quick Reference
Let’s break down some of these techniques and their difficulty.
| Design Idea | Ease Level (Beginner) | Key Tools Needed | Estimated Time (per hand) |
|---|---|---|---|
| Daintiest Dots | Very Easy | Dotting tool/toothpick, nail polish | 5-10 minutes |
| Pink French Tip | Easy | Thin brush/polish applicator, nail polish | 10-15 minutes |
| Gradient/Ombre | Medium | Makeup sponge, nail polish | 15-20 minutes |
| Minimalist Accent | Easy | Nail polish | 5 minutes (for accent nail only) |
| Tiny Heart | Medium | Dotting tool/toothpick, nail polish | 10-15 minutes |
| Geometric with Tape | Easy | Nail art tape, nail polish | 15-20 minutes |
| Ombre French Tip | Medium-Hard | Makeup sponge, nail polish, cleanup brush | 20-25 minutes |
This table gives you a quick glance at what to expect. Remember, practice makes perfect, and even the “Medium” or “Medium-Hard” designs will become easier with a little experience!
Caring for Your Short Pink Nails
Just because your nails are short and sporting cute designs doesn’t mean they don’t need TLC! Here’s how to keep them looking their best:
- Moisturize: Apply cuticle oil or hand cream daily, especially after washing your hands. This keeps your cuticles healthy and prevents hangnails, which can ruin even the prettiest manicure.
- Be Gentle: Avoid using your nails as tools! This can lead to chips, breaks, and damage to your designs.
- Touch-Ups: If you notice a tiny chip or wear on the edges, don’t fret. A quick touch-up with your top coat can often save the day.
- Safe Removal: When it’s time to change your polish, always use a good quality nail polish remover. Avoid harsh scrubbing.
For more in-depth nail care, the Mayo Clinic offers excellent advice on nail health.
Frequently Asked Questions (FAQ)
Q1: Can I really do these designs on very short nails?
Absolutely! These designs are specifically chosen because they work wonderfully on short nail beds. Shorter nails often make the designs look even more delicate and chic.
Q2: What if I don’t have a lot of nail polish colors?
You can create many of these looks with just two or three polishes! A base pink, a contrasting dotting/line color (like white or black), and maybe a glitter polish will go a long way. Don’t be afraid to mix and match what you have.
Q3: My lines aren’t straight. Help!
Don’t worry about perfection, especially when you’re starting out! For clean lines, nail art tape is your best friend. You can also dip a very fine brush into nail polish remover and gently clean up any wobbly lines. Practice will help you get steadier hands.
Q4: How long will these easy designs last?
With a good base coat and a strong top coat, many of these simple designs can last anywhere from 5 to 10 days. Proper application and gentle care are key!
Q5: Can I use regular craft paint for nail art?
It’s generally not recommended. Craft paints are not formulated for use on skin or nails and can contain ingredients that are irritating or potentially harmful. Stick to polishes specifically designed for nails.
Q6: What’s the easiest pink nail design of all?
The Daintiest Dots or a Solid Pink with a Glitter Accent Nail are often the easiest for absolute beginners. They require minimal precision and yield great results quickly!
Conclusion
See? Mastering short pink nail designs is totally within reach! We’ve explored everything from the simplest dots to chic French tip variations and subtle gradients, and they all look fantastic on shorter nails. You’ve got the inspiration, the simple steps, and the essential toolkit to get started.
Don’t be afraid to experiment with different shades of pink, play with patterns, and most importantly, have fun with it! Your nails are an extension of your personal style, and with these easy techniques, you can express yourself beautifully, day after day. So, pick up your favorite pink polish, try out a new design, and let your creativity shine. Happy painting!

