Get gorgeous short ombre French nails easily! This guide shows beginners how to create a soft, blended French manicure look on shorter nails, perfect for everyday elegance and effortless beauty. Learn simple steps and tips for a flawless finish.
Dreaming of that chic, softly blended French manicure but think it’s too tricky? You’re not alone! Many of us see those beautiful ombre French nails and imagine they require pro skills. But what if I told you that achieving this elegant look on short nails is totally doable, even for beginners? It’s all about the right technique and a little bit of patience. Get ready to ditch the plain old French tip for something with a touch more magic. We’re going to break down exactly how to get those dreamy short ombre French nails that elevate any look without extra fuss. Let’s dive in and make your nails the stars of the show!
What Are Short Ombre French Nails?
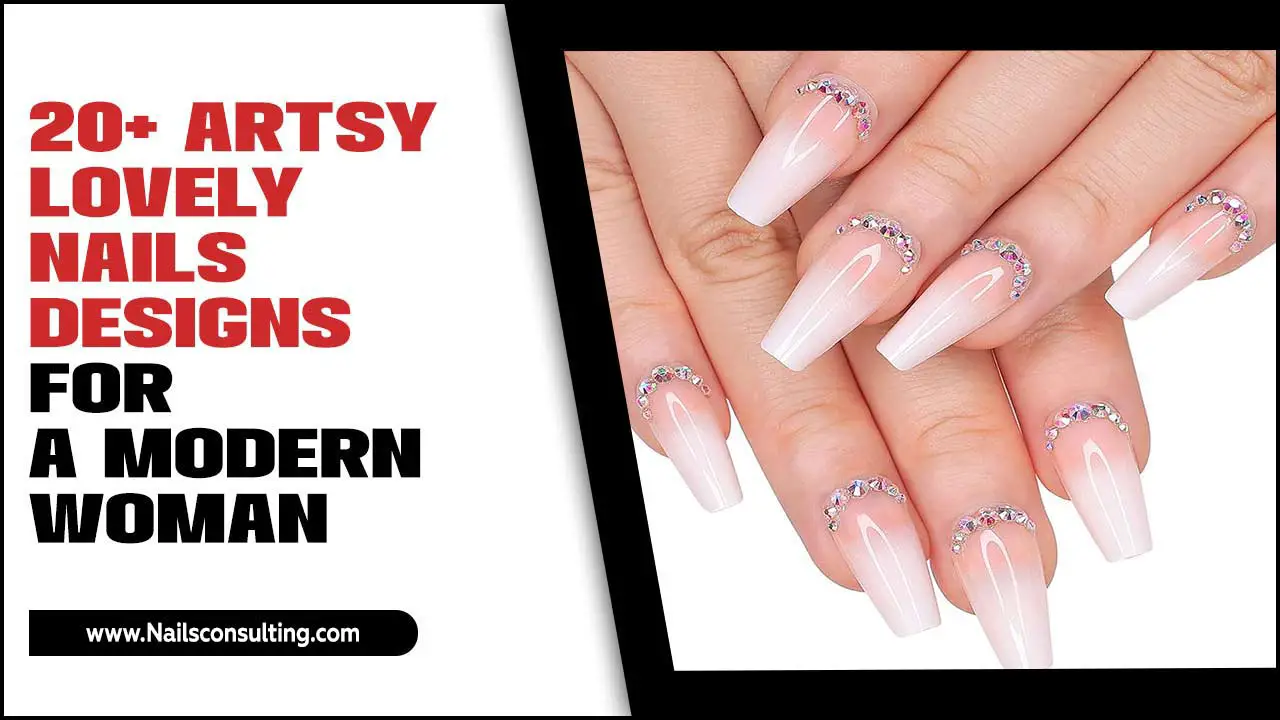
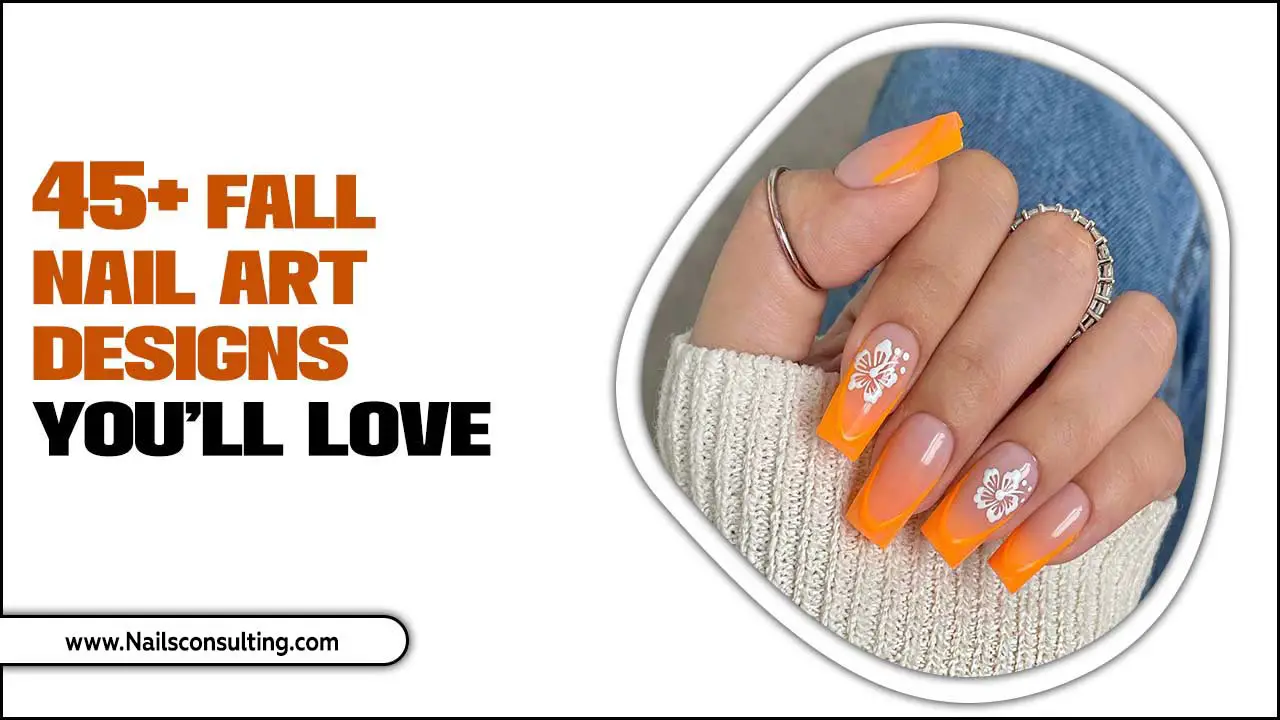
Short ombre French nails are a stylish twist on the classic French manicure. Instead of a stark white tip, the color on the nail gradually transitions from a natural base shade (like nude or pink) to a softer white or lighter shade at the tip. The “ombre” effect means a smooth, blended gradient, rather than a harsh line. When applied to shorter nails, it creates a delicate, sophisticated, and very natural-looking enhancement. This trend is popular because it offers a modern, subtle update to a timeless design, making it perfect for any occasion and ideal for those who prefer a less dramatic nail statement.
Why Choose Short Ombre French Nails?
Short ombre French nails offer a fantastic blend of classic elegance and modern flair. They are incredibly versatile, making them a go-to for many occasions, from everyday wear to special events. Here’s why they’re a favorite:
- Universally Flattering: The soft, blended colors are subtle and complement most skin tones beautifully.
- Chic & Modern: They update the traditional French manicure with a trendy, sophisticated gradient.
- Versatile: They look polished with casual outfits and elegant enough for formal attire.
- Appears Natural: The gradient effect can make nails look longer and more refined, even on short lengths.
- Easy to Achieve: With a few simple tools and techniques, beginners can master this look at home.
- Low Maintenance: They grow out gracefully, meaning fewer touch-ups are needed compared to bold colors or intricate designs.
Essential Tools & Supplies
Before you start creating your beautiful short ombre French nails, let’s gather everything you’ll need. Having the right tools makes the process so much smoother and the results even better. Don’t worry if some of these are new to you; they’re all easy to find and use!
The Nail Polish Lineup
- Base Coat: Essential for protecting your natural nails and helping polish adhere.
- Sheer Nude or Pink Polish: This will be your base color, creating the foundation of your ombre. Choose a shade that suits your skin tone.
- White or Off-White Polish: This creates the “French tip” part of the ombre. A classic white works, but a softer off-white or even a very pale pink can give a gentler look.
- Top Coat: Seals your design, adds shine, and protects against chipping.
Application Tools
- Small Sponge: A makeup sponge (a clean one!) or a dedicated nail art sponge is perfect for creating the blended ombre effect. You’ll want one with a fine texture.
- Nail Polish Remover: For cleaning up any mistakes.
- Cotton Swabs or Small Brush: Also for precise cleanup around the cuticles.
- Optional: Glitter or Shimmer Polish: A subtle shimmer polish can be applied over the top coat for extra sparkle.
- Optional: Nail File & Buffer: To shape and smooth your nails before you start.
Pro Tip:
Consider using gel polishes and a UV/LED lamp for a longer-lasting, salon-quality finish. The application process is similar, but the curing steps are crucial. If you’re new to gel, there are many beginner-friendly starter kits available.
Step-by-Step: Creating Your Short Ombre French Nails
Ready to get started? Follow these simple steps to achieve those gorgeous short ombre French nails. We’re focusing on making this accessible, so take your time and enjoy the process!
-
Prep Your Nails
Start with clean, dry nails. Gently push back your cuticles. If you like, shape your nails with a nail file to your desired short length and width. Buffing them lightly can help polish adhere better, but avoid over-buffing if your nails are prone to weakness.
-
Apply the Base Coat
Apply one thin layer of your favorite base coat. This protects your nails from staining and provides a smooth surface for the colors to come. Let it dry completely.
-
Apply the Sheer Base Color
Apply one or two thin coats of your chosen sheer nude or pink polish. Let each coat dry thoroughly. This color will be the dominant shade on your nail.
-
Prepare Your Sponge
Cut a small section of your makeup sponge. You want it to be manageable to hold and apply to your nail. Have a piece of paper or a paper towel handy to dab off excess polish from the sponge.
-
Create the Ombre Gradient
This is the magic step! Apply a line of your white or off-white polish next to a line of your sheer nude/pink polish directly onto the sponge. You can also paint one color, let it dry slightly, and then paint the second color right next to it on the sponge. Don’t drench the sponge, just enough to transfer the color. Quickly and gently dab the sponge onto the tip of your nail, concentrating the white polish where you want the tip to be and letting the base color blend upwards. Reapply polish to the sponge as needed and repeat the dabbing motion, working from the tip downwards, to create a subtle gradient. The goal is a seamless transition, not a harsh line.
Tip: For a very subtle ombre on short nails, you might only need to dab about a third to half of the nail length. Experiment with dabbing pressure to achieve your desired blend.
-
Refine and Clean Up
Once you’re happy with the gradient, let it dry for a minute. Dip a cotton swab or a small brush into nail polish remover and carefully clean up any polish that got onto your skin or cuticles. This step makes a huge difference in the finished look!
-
Seal the Deal with Top Coat
Apply one or two coats of a good quality top coat. This seals the ombre, adds incredible shine, and protects your manicure from chips. Ensure you cap the free edge of your nails by swiping a little top coat along the edge to prevent lifting.
-
Add Optional Sparkle
If you want a touch of glitter or shimmer, apply it now over the wet top coat or after the top coat has dried a bit. A sheer glitter polish can add a lovely dimension.
Tips for Perfect Short Ombre French Nails
Achieving flawless short ombre French nails is all about the details. Here are some extra tips to help you nail this look:
- Less is More with Polish: Don’t overload the sponge with polish. Start with a little and build up the color coverage and blend gradually. Too much polish will lead to a muddy mess.
- Work in Thin Layers: Whether it’s the base color, the white polish, or the top coat, thin layers are key for a smooth, professional finish and faster drying times.
- Patience is a Virtue: Let each layer dry sufficiently before moving to the next step. Especially when using the sponge, a slightly tacky surface can help the colors blend well.
- Sponge Texture Matters: Finer-textured sponges will give a smoother blend, while sponges with larger pores can create a more textured, stippled effect. Experiment to see what you prefer.
- Clean Your Sponge: If you’re reusing a sponge, gently clean it between nails if it gets too saturated with polish.
- Adjust Color Intensity For a subtler look, use a sheerer white polish or even just a hint of white. For a bolder contrast, use a vibrant white.
- Consider a Gradient Tool: While sponges are readily available, specialized nail art gradient tools can sometimes offer more control.
- Practice Makes Perfect: Your first attempt might not be flawless, and that’s okay! The more you practice, the better you’ll become at controlling the blend and application.
Ombre Technique Variations for Short Nails
While the sponge method is popular, there are a few other ways to achieve a beautiful ombre effect on your short nails. Each offers a slightly different look and might suit your preference or skill level.
1. The Brush Method
This technique uses a clean nail art brush (a fine-tipped one is ideal) to blend the colors manually.
- Apply your sheer base color and let it dry.
- Paint a clean white line or curve along the tip of your nail edge.
- Using a slightly damp (with water or nail polish remover, depending on polish type) clean brush, gently feather the edge of the white polish downwards, blending it into the base color. Work quickly before the polish dries too much.
- Repeat for desired opacity and blend.
Pros: Offers precise control, good for creating sharper ombre sections.
Cons: Can be more time-consuming, requires a steady hand.
2. The Stamping Method (with Ombre Plates)
Some nail art stamping plates are designed with ombre patterns. You can use these with different polishes to create a gradient effect.
- Apply your sheer base color and let it dry.
- Apply your white and/or lighter shade polish onto the desired section of the ombre plate.
- Scrape and stamp onto your nail using a stamper.
- Clean up edges and apply top coat.
Pros: Can be very quick and consistent once mastered.
Cons: Requires specialized stamping plates and tools.
3. The Clear Polish Blob Method
This is a less common but effective way to get a blended look, especially for smooth gradients.
- Apply your sheer base color and let it dry.
- On a palette or piece of foil, create a “blob” of white polish.
- Dip the very tip of your nail into the white polish blob, just enough to get a bit on the edge.
- Immediately use a fine brush (clean and dry or slightly damp) to blend the white polish upwards into the base color.
Pros: Can create a very smooth, diffused transition.
Cons: Can be messy, requires careful product placement.
For beginners, the sponge method is often the most forgiving and easiest to achieve a nice blend without needing advanced brush control.
Maintenance and Care
Keeping your short ombre French nails looking fresh is easy! Since the design is subtle and uses lighter colors, it tends to grow out gracefully. However, a little care goes a long way:
- Protect Your Nails: Wear gloves when doing household chores, gardening, or washing dishes. This protects your nails and manicure from harsh chemicals and excessive moisture.
- Moisturize: Regularly apply cuticle oil and hand lotion to keep your nails and skin hydrated. Healthy nails are less prone to breaking and chipping.
- Avoid Using Nails as Tools: Resist the urge to pry, scrape, or pick with your nails.
- Quick Touch-ups: If you notice any minor tip wear, a tiny dot of white polish and careful blending with a fine brush can often fix it. You can also reapply a thin layer of top coat to refresh the shine.
- Reapply Top Coat: About once a week, apply an extra layer of top coat to maintain shine and protection.
Pros and Cons of Short Ombre French Nails
Like any nail trend, short ombre French nails have their advantages and disadvantages. Understanding these can help you decide if they’re the right choice for you.
| Pros | Cons |
|---|---|
| Chic and modern update to a classic look. | Can be time-consuming to achieve the perfect blend, especially for beginners. |
| Universally flattering and works for all skin tones. | Requires multiple polish colors and application tools. |
| Appears sophisticated and elegant. | Cleanup around cuticles can be tedious if mistakes are made. |
| Versatile for any occasion, from casual to formal. | The gradient can sometimes look less defined on very short nails compared to longer ones. |
| Grows out gracefully, often requiring less frequent fills/touch-ups. | Sponge application might require practice to get smooth gradients. |
| Can make short nails appear longer and more refined. | Achieving a perfect, seamless blend without visible lines takes finesse. |
Frequently Asked Questions (FAQ)
Q1: Can I achieve short ombre French nails with regular nail polish?
Yes, absolutely! While gel polish offers durability, you can achieve beautiful short ombre French nails using regular air-dry nail polishes and a good top coat.
Q2: What’s the easiest way to blend the ombre effect on short nails?
For beginners, the sponge method is generally the easiest and most forgiving way to create a soft blend on short nails. Cut a small piece of a makeup sponge and dab gently!
Q3: My ombre looks streaky or patchy. What am I doing wrong?
This often happens if the polish on the sponge is too dry, or if you’re dabbing too hard or not enough. Try applying polish to the sponge and dabbing onto the nail quickly. Another tip is to use slightly more polish on the sponge, and then gently “roll” it onto the nail for a smoother transfer.
Q4: How do I prevent the white polish from going too far down my nail?
Use a stencil or tape to create a clean line if you’re struggling with control, then apply the ombre over the stencil. Alternatively, use a very fine brush dipped in nail polish remover to carefully clean up and define the line after sponging.
Q5: How long do short ombre French nails typically last?
With regular polish and a good top coat, you can expect them to last anywhere from 5 to 7 days, depending on how well you care for them. Gel versions can last 2-3 weeks.
Q6: Can I use dark colors for my ombre French nails?
While lighter shades are classic for the French ombre look, you can certainly experiment with darker gradients! Try a deep berry fading into a soft pink, or a charcoal grey fading into a lighter grey. The techniques remain the same.
Q7: Is there a way to make the ombre look more defined?
Yes! After creating your ombre blend and cleaning up, you can use a fine-tipped nail art brush or even a striping tool to gently sharpen the transition line between the two colors, if you prefer a more distinct separation.
Conclusion
And there you have it! Creating beautiful short ombre French nails is well within your reach. With these simple steps, the right tools, and a little practice, you can achieve that sophisticated, blended look that adds a touch of effortless elegance to your everyday style. Forget complicated techniques; we’ve focused on making this trend accessible for every nail lover. Whether you use a sponge, a brush, or even a stamping plate, the key is to have fun and experiment until you find what works best for you. Embrace the subtle charm of ombre and enjoy your gorgeous, updated French manicure. Your nails will thank you for the chic, modern makeover!

