Short neutral nails for work are the perfect blend of professional and polished. Learn essential, easy designs that boost your confidence without being distracting. Keep your manicure chic and workplace-appropriate with these simple yet stylish ideas.
Finding the perfect workplace manicure can feel like a balancing act. You want your nails to look neat and put-together, but many trendy designs can feel a bit too bold for a professional setting. Short, neutral nails offer a fantastic solution, providing a clean canvas that always looks sophisticated. But even with neutral colors, a little flair can go a long way in making your nails feel special and stylish. Don’t worry if you’re new to nail art – this guide is packed with simple, beginner-friendly ideas for short neutral nails that are perfect for any work environment. We’ll explore easy techniques and chic designs that require minimal effort but deliver maximum impact, ensuring your hands always look their best.
Why Choose Short Neutral Nails for Work?
Short neutral nails are a superhero in the world of manicures, especially when you need to maintain a professional appearance. They are universally flattering, incredibly versatile, and exude an understated elegance that complements any outfit or setting. Unlike bold colors or elaborate designs, neutral shades tend to be less distracting, making them ideal for environments where appearances matter. Plus, shorter nails are often more practical for daily tasks, reducing the risk of chips and breaks. This winning combination of style and practicality makes short neutral nails a go-to choice for many.
The Versatility of Neutral Tones
When we talk about “neutral,” we’re not just talking about beige! This palette spans a beautiful range of colors that act as a sophisticated base for any look. Think soft milky whites, delicate pale pinks, warm nudes, creamy beiges, and even muted greys or soft taupes. These shades are inherently understated, meaning they won’t clash with your work attire, no matter your industry’s dress code. They create a clean, polished finish that suggests attention to detail and a refined aesthetic.
Practicality for Your Busy Life
Let’s be honest, life gets busy! Whether you’re typing away at your desk, handling documents, or multitasking through your day, long or heavily decorated nails can sometimes get in the way. Short nails are inherently more practical. They are less likely to snag, chip, or break during everyday activities. This means your manicure stays looking fresh for longer, saving you time and the stress of constant touch-ups. Paired with neutral colors, short nails maintain their elegant look with minimal fuss, perfectly fitting into a demanding schedule.
Essential Neutral Nail Colors for the Workplace
Choosing the right neutral polish is the first step to nailing the “short neutral nails for work” look. Gone are the days when neutral meant boring; today’s neutral polish shades are nuanced and chic. Here are some of our favorites that work beautifully on short nails and are always appropriate for the office:
- Milky White: A softer alternative to stark white, it offers brightness and a clean look.
- Sheer Pink: Gives a healthy flush of color, mimicking naturally beautiful nails.
- Soft Nude: A classic for a reason, nude shades can be found to perfectly match many skin tones for a seamless look.
- Creamy Beige: Offers warmth and sophistication, a step up from basic beige.
- Light Grey/Taupe: A modern, cool-toned neutral that adds a touch of chic without being overwhelming.
When selecting your shade, consider your skin tone. Some nudes might lean too orange or too pink, so testing them out is always a good idea. A great resource for understanding color theory and how it applies to nail polish can be found through beauty education sites, which often discuss undertones. For instance, sites covering color analysis can offer insights into which warm or cool tones will best complement your natural complexion.
Beginner-Friendly Short Neutral Nail Designs
Now for the fun part! Elevating your short neutral nails doesn’t require advanced skills. These designs are simple, elegant, and perfect for beginners. They add just the right amount of personality without compromising professionalism.
1. The Classic Monochromatic Matte Finish
This is the epitome of subtle sophistication. A flat, velvety matte finish transforms any neutral shade into a modern masterpiece. It’s incredibly chic and avoids the high shine that can sometimes feel less professional. To achieve this, you’ll need a good quality neutral polish and a matte top coat. After applying your chosen neutral color (two coats are usually best for opaque coverage), simply apply the matte top coat. The change is instant and incredibly chic. You can find excellent matte top coats from reputable beauty brands online.
2. The Subtle Accent Nail
This design is perfect for adding a hint of something extra. Choose one nail on each hand (typically the ring finger) and give it a slightly different, yet complementary, treatment. The easiest way to do this for beginners is with a different texture or a very subtle design.
- Option A: Glitter Accent: Paint all nails in your chosen neutral color. On your accent nail, apply a sheer glitter polish or a fine glitter top coat over the neutral base. Opt for fine, subtle glitters in silver, gold, or a complementary tone rather than chunky or brightly colored ones.
- Option B: Different Finish Accent: Paint all nails with a glossy neutral polish. On your accent nail, apply a matte top coat. Or, vice versa – paint all nails in a matte neutral and add a glossy finish to the accent nail of the same color.
This creates visual interest without being loud. It’s a small detail that can make your nails feel more special.
3. The Delicate French Manicure
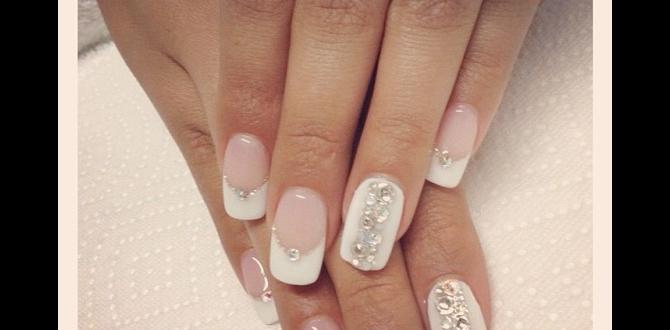
The French manicure has had a major glow-up! Forget the stark white tips of the past. Today’s modern French manicure uses sheer nudes, pinks, or milky whites as the base, with very fine, crisp tips in a slightly off-white, pale pink, or even a barely-there nude shade. For short nails, keeping the tips very thin is key to elongating the nail bed and making them look elegant. You can achieve clean tips using fine-tipped nail art brushes or specialized French tip guides. For an even simpler take, try a “baby boomer” ombre, where the white tip subtly fades into the nude base for a soft, blended effect.
A clean French tip requires a steady hand. Here’s a beginner tip: instead of painting the tip in one go, try dabbing the polish gently across the tip of the nail with a fine brush. Another trick is to use a makeup sponge to dab the color onto the free edge. For the most precise lines, consider investing in a good quality nail stamper and a fine line stamping plate with thin French tip designs.
4. The Minimalist Line Detail
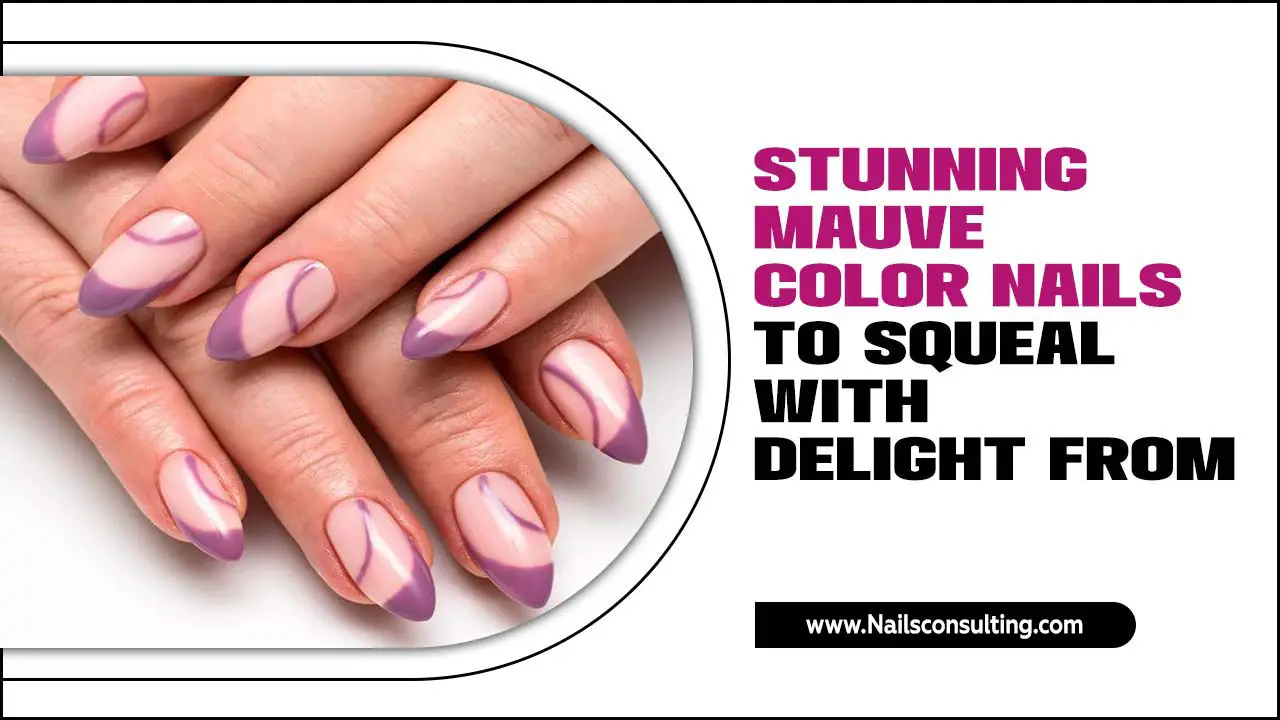
This is a fantastic way to add a touch of modern artistry. Using a fine-tipped nail art brush or a striping tool, add a single, thin line to one or two nails. This line can be placed horizontally across the nail, vertically down the center, or even diagonally. The color of the line can be a slightly darker or lighter shade of your base neutral, or a metallic like silver or gold for a subtle shimmer. For example, on a nude base, a thin black or gold line can look incredibly chic and graphic.
For the absolute easiest execution, a nail art pen can be your best friend. These pens work much like markers and offer great control for drawing fine lines. Ensure you have a good base and top coat, and practice drawing lines on a spare piece of paper first. The key is precision; thin, clean lines look far more professional than thick, wobbly ones.
5. The Subtle Dotting Detail
Dots are another playful yet professional element. You can use a dotting tool (available at most beauty supply stores) or even the tip of a bobby pin or a toothpick. The simplest approach is to add a few small dots near the cuticle or along the free edge of one or two nails. A single dot in the center of the nail can also be a minimalist statement. Choose a contrasting neutral shade or a subtle metallic for the dots.
For example, on a light grey nail, small, perfectly spaced black dots can look incredibly modern. On a soft pink, a single rose gold dot at the base of the nail adds a touch of luxury. The key is to keep the dots small and evenly spaced for a polished look.
6. The Gradient Fade
A subtle gradient or “ombré” can be achieved with two complementary neutral shades. This involves blending one color into another across a single nail. For short nails, a monochromatic gradient using shades of the same color family (e.g., a pale nude fading into a slightly deeper nude) is particularly effective. You can also achieve a softer, almost sheer gradient by layering a lighter shade over a darker one with a sponge or brush.
To create a simple gradient with a sponge:
- Apply your base neutral color and let it dry.
- Apply your second neutral color onto a makeup sponge (a dense sponge works best). Alternatively, you can place both colors side-by-side on a flat surface and dab the sponge to pick up both.
- Gently dab the sponge onto the nail, starting from the tip and working down slightly. Repeat the dabbing motion, building the color and blend.
- Allow to dry and then apply a top coat to smooth out the texture.
This technique requires a little practice, but the results are sophisticated and modern, perfect for adding depth to your neutral manicure.
Tools and Products for Your Short Neutral Nails
To achieve these designs with ease, having the right tools and products makes all the difference. As a beginner, you don’t need a vast collection, just a few essentials:
Essential Nail Polish Shades Table
| Color Family | Shade Examples | Why It Works for Work |
|---|---|---|
| Milky Whites | Opaque pale cream, soft ivory | Brightens and clean; sophisticated matte potential. |
| Soft Pinks | Sheer ballet pink, dusty rose | Natural, healthy-looking; universally flattering. |
| Warm Nudes | Light tan, peachy beige, caramel nude | Complements skin tones; chic and understated. |
| Cool Greys/Taupes | Slate grey, mushroom beige, greige | Modern, edgy, yet still professional. |
Key Tools for Beginner Nail Art
- Nail Files and Buffers: Essential for shaping short nails and smoothing the nail surface before polish. A fine-grit file (180-240 grit) is best for natural nails.
- Base Coat: Protects your natural nail from staining and helps polish adhere better.
- Top Coat: Seals your polish, adds shine (or can be a matte finish), and prevents chips. Opt for a quick-dry formula for busy schedules.
- Matte Top Coat: For that modern, velvety finish on any neutral shade.
- Dotting Tools: Inexpensive and come in various sizes for creating dots. A set usually includes multiple tools with different-sized ball tips.
- Fine-Tipped Nail Art Brush/Striper: Crucial for drawing thin lines and details. Look for brushes specifically designed for nail art.
- Nail Polish Remover and Cotton Pads: For clean-up and color changes. Ensure you have lint-free pads to avoid fuzz on your nails.
- Cuticle Oil: Keeps your cuticles hydrated and healthy, which enhances the overall look of your manicure.
For a deep dive into nail care essentials, including how to properly shape your nails and the benefits of different nail files, resources from organizations like the American Academy of Dermatology can provide reliable, evidence-based information on maintaining healthy nails.
Maintaining Your Workplace Manicure
To keep your short neutral nails looking flawless throughout the busy work week, a little maintenance goes a long way. These tips will help your manicure stay pristine:
- Seal the Deal: Always apply a good quality top coat. Reapply a thin layer every few days, especially on the tips, to prevent chipping and wear.
- Protect Your Polish: When doing chores that involve water or harsh chemicals (like cleaning), wear gloves. This is the best way to protect your polish from damage.
- Edge Protection: Pay attention to the free edge (the tip) of your nail. Applying a bit of your top coat along this edge can seal it and prevent white edges from showing after minor chips.
- Keep Cuticle Oil Handy: Dry cuticles can make a manicure look old fast. Apply cuticle oil daily, especially after washing your hands.
- Minor Fixes: If you get a tiny chip, you can often fix it by filing it down carefully and applying a dab of top coat. If the chip is too large, it might be time for a re-do.
Achieving a Flawless Finish
The secret to any great manicure, especially short neutral nails for work, is in the preparation and application. Here’s a simple, step-by-step guide:
- Prep Your Nails: Start by removing any old polish. Then, gently shape your nails with a file to your desired short length. Be sure to file in one direction to avoid weakening the nail. Follow up with a gentle buffing to smooth the nail surface. This creates a clean canvas.
- Cuticle Care: Gently push back your cuticles with an orange stick or cuticle pusher. If needed, trim any hangnails with sterile nippers. Apply a small amount of cuticle remover and let it sit for a minute before pushing them back.
- Apply Base Coat: Apply a thin, even layer of your base coat. This is essential for preventing staining and helping your polish last longer. Let it dry completely.
- Apply Color Coats: Apply your chosen neutral polish. A good rule of thumb is three thin coats: one down the center, one on the left side, and one on the right side of the nail. Let each coat dry for at least a minute or two before applying the next. Most neutral shades require two coats for full opacity; the third coat might be needed for some lighter pastels or very sheer formulas.
- Add Your Design: Once your color coats are dry, it’s time to add your chosen minimalist design – a dot, a line, or a glitter accent. Work slowly and deliberately. If you make a mistake, don’t panic!
- Clean Up Mistakes: Dip a small, fine-tipped brush or an orange stick wrapped with a tiny bit of cotton into nail polish remover. Carefully trace around your nail to clean up any polish that has gotten on your skin. This step makes a huge difference in how professional your manicure looks.
- Apply Top Coat: Once your design is dry, apply a generous layer of your top coat. Make sure to cap the free edge by running the brush along the tip of your nail. This seals the polish and design, preventing chips and adding longevity.
- Final Dry: Allow ample time for your nails to dry completely. Avoid doing anything strenuous for at least 15-20 minutes after your polish feels dry to the touch, and be extra gentle for the next hour.
For those looking to understand the science behind nail polish formulation and the benefits of base and top coats, cosmetic science resources can offer fascinating insights. These often explain how different ingredients contribute to adhesion, durability, and finish.
Frequently Asked Questions About Short Neutral Nails for Work
Here are some common questions beginners have about rocking short neutral nails in a professional setting:
Q1: Are short neutral nails unprofessional?
Absolutely not! Short neutral nails are considered the epitome of professional and polished in many industries. They are clean, understated, and always appropriate. The key is neatness and a well-maintained shape.
Q2: Can I wear a subtle nail design on short neutral nails for work?
Yes, as long as the design is minimalist and subtle. Think thin lines, tiny dots, or a single glitter accent nail in a complementary neutral or metallic tone. The goal is to add a touch of personality without being distracting.
Q3: How do I make my short neutral nails look longer?
A classic French manicure with very thin French tips can give the illusion of length. Also, choosing nudes that closely match your skin tone can create a seamless, elongating effect. Vertical lines or designs can also draw the eye upward, making nails appear longer.
Q4: What’s the best way to keep my neutral polish from chipping?
Good preparation is key! Ensure your nails are clean and dry before applying a base coat. Apply thin coats of polish, letting each dry slightly. Crucially, always finish with a high-quality top coat, and remember to cap the free edge of your nail. Reapplying top coat every few days can also help. Wearing gloves for dishwashing and cleaning is also a lifesaver.
Q5: How often should I reapply my neutral manicure?
This depends on your daily activities and how well your polish wears. For many, a touch-up with top coat every 2-3 days is sufficient. If you notice significant chips or wear, it might be time to remove the polish and reapply a fresh coat, which is usually needed about once a


