Short negative space nails are a chic, modern manicure trend that leaves a portion of your natural nail visible. They’re incredibly versatile, offering a sophisticated look that’s surprisingly easy to achieve, even for beginners. Get ready to rock this elegant style!
Feeling a little lost when it comes to trendy nail designs? You’re not alone! There’s a whole world of nail art out there, and sometimes it can feel a bit overwhelming. But what if I told you there’s a super stylish, eye-catching look that’s also incredibly easy to pull off, even if you’re just starting out? Enter short negative space nails! This trend is all about playing with polish and, well, space, creating designs that are minimalist yet impactful. They’re perfect for anyone who loves a polished look without being over the top. Ready to learn how to create these essential, chic designs for yourself? Let’s dive in!
What Exactly Are Short Negative Space Nails?
So, what’s the buzz about “negative space” in nail art? Simply put, negative space is the part of your nail that isn’t covered by polish or design. It’s the bare nail showing through! In negative space nail art, this unpolished area becomes an intentional part of the design, not just an afterthought.
For short nails, this technique is particularly brilliant. It can visually elongate the nail bed, making even the shortest of tips look elegant and feminine. Instead of covering your entire nail with color, you strategically place designs, lines, or shapes, leaving clear sections to create a modern, airy aesthetic. It’s like a clever optical illusion for your fingertips!
Why Opt for Short Negative Space Nails?
There are so many reasons why short negative space nails are a fantastic choice, especially for beginners and busy bees:
- Effortless Chic: They offer a sophisticated, minimalist vibe that’s always in style. Think understated elegance!
- Versatility: They look stunning with almost any outfit and for any occasion, from casual Fridays to fancy dinners.
- Beginner-Friendly: Many negative space designs are simple to execute, requiring fewer detailed steps than intricate nail art.
- Visually Lengthening: As mentioned, they can make short nails appear longer and more slender. This is a HUGE plus for many of us!
- Less Maintenance: Since a good portion is your natural nail, chips or growth are often less noticeable, meaning your manicure can look good for longer.
- Professional Look: They provide a polished finish that’s perfect for work environments where bold colors might not be suitable.
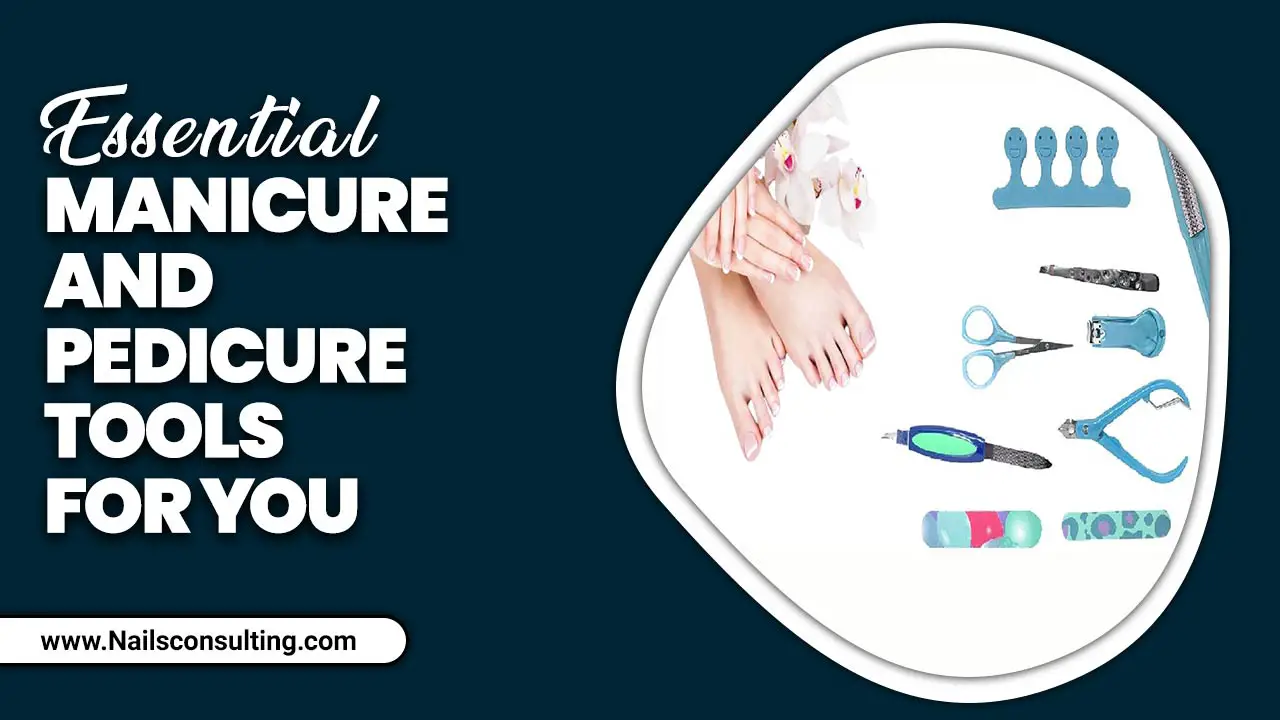
Essential Tools for Your Negative Space Manicure
Before we jump into designs, let’s gather our must-have tools. Don’t worry, you probably have most of these already!
- Nail Polish: Your base color(s) and a clear top coat are essential.
- Striping Tape or Stencils: These are your secret weapons for creating clean, straight lines and geometric shapes. You can find special nail tape or even use regular Scotch tape in a pinch!
- Fine-Tipped Nail Art Brush: Perfect for drawing delicate lines or filling in small areas.
- Tweezers: For precise placement and removal of striping tape or stencils.
- Nail Polish Remover & Cotton Swabs/Pads: For cleaning up any mistakes (we all make them!).
- Cuticle Pusher or Orangewood Stick: To gently push back your cuticles for a neat base.
- Nail File and Buffer: To shape and smooth your nails.
Classic Short Negative Space Nail Designs to Try
Ready to get creative? Here are some essential and chic designs that are perfect for short nails and easy for beginners to master. We’ll break down how to do them!
1. The Half-Moon Manicure
This is a timeless classic that plays beautifully with the negative space at the base of your nail. It’s super elegant and surprisingly simple!
How to achieve it:
- Start with clean, prepped nails. Apply a clear base coat and let it dry completely.
- Paint the tip of your nail with your chosen polish color. You can do a full tip or just a French-style tip. Let this dry thoroughly.
- Now for the magic! Using a fine-tipped brush or a small dotting tool, carefully paint a half-moon shape along the cuticle line. You can use a contrasting polish color or even a metallic shade for a pop.
- Alternatively, you can use circular nail stickers or carefully cut pieces of tape to create a guide for the half-moon before painting. Place the sticker/tape, paint the tip, remove the guide, then fill in the moon shape.
- Once your designs are dry, apply a generous layer of clear top coat to seal everything in and add shine.
2. The Minimalist Geometric Lines
Bold lines create a strong statement, and they’re fantastic for giving the illusion of longer nails on a shorter canvas. Think clean, sharp, and modern.
How to achieve it:
- Prep your nails and apply a clear base coat.
- Paint your nails with your desired color. You can go for a solid opaque shade or even a sheer nude for a super subtle look. Let it dry completely.
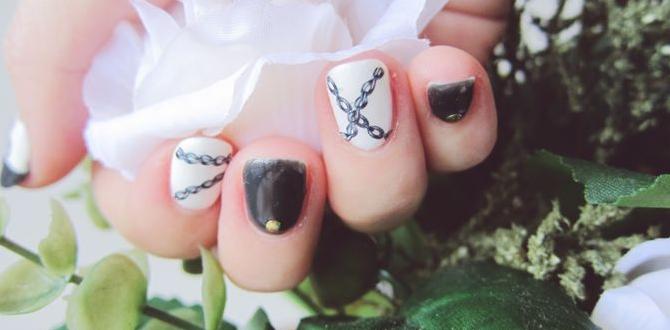
- This is where striping tape shines! Cut small pieces of nail striping tape and carefully apply them to your nail to create the shapes you want – think diagonal lines, chevrons, or even an ‘X’. Press the tape down firmly to prevent polish from seeping underneath.
- Using a contrasting polish color (a metallic like gold or silver works wonderfully here), carefully paint over the taped sections.
- While the polish is still wet, use tweezers to carefully peel away the striping tape. This reveals the negative space underneath.
- Let the polish dry completely, then apply a clear top coat.
Pro Tip: For an even cleaner look, consider using a gel polish and UV/LED lamp. Gel polish provides a more durable finish and precise application, and also ensures the tape doesn’t lift the dry polish underneath.
3. The Sheer Polish & Accent
This design is the epitome of understated elegance. It uses the natural nail color as the primary canvas, with just a hint of polish.
How to achieve it:
- Start with a mandatory clear base coat.
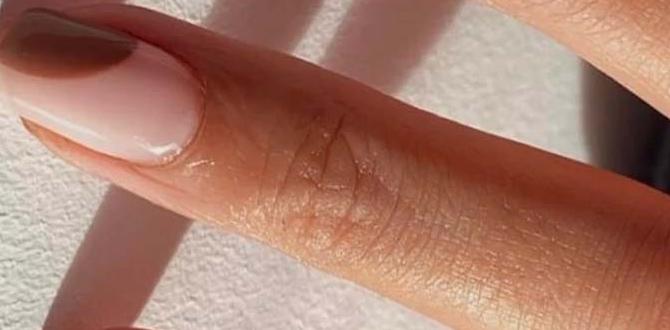
- Apply one or two thin coats of a sheer polish. Think milky white, soft pastels, or a delicate nude. The goal is to give a hint of color while still allowing your natural nail to peek through. Let each coat dry thoroughly.
- Now add your accent! This could be a small dot near the cuticle with a fine-tipped brush, a single thin line running vertically up the center of the nail, or even a tiny shape at the tip. Metallic polishes or fine glitter polishes work beautifully for this.
- Seal your masterpiece with a glossy top coat.
4. The Cut-Out & Color Block
This is a slightly more advanced technique but utterly stylish. It involves creating intentional gaps or “cut-outs” in your color block design.
How to achieve it:
- Apply a base coat.
- Paint your entire nail with your first color polish. Let it dry completely.
- Now, use striping tape or stencils to create the boundaries for your color block design. Think geometric shapes or abstract areas.
- Crucially, when applying your second color, leave a small gap between the tape and where the new color starts. This gap is your negative space.
- Fill in the taped-off area with your second polish color.
- While the second polish is wet, carefully remove the tape and stencils. This will reveal the negative space “cut-out.”
- Let everything dry thoroughly and finish with a top coat.
This technique requires a steady hand and patience, but the result is a super modern and unique manicure.
5. Simple Dot or Line Accents
Sometimes, less is more. A single dot or a clean line can add just enough detail to make your nails pop.
How to achieve it:
- Prep and apply a clear base coat.
- Paint nails with your preferred color, or opt for a sheer wash. Let dry.
- Using a dotting tool or a fine nail art brush, add a single dot near the cuticle, or draw a thin line vertically or diagonally across the nail. Contrast colors or metallics are great choices here.
- Seal with a top coat.
Tips for Perfect Short Negative Space Manicures
Achieving flawless negative space nails goes beyond just the design. Here are some insider tips to make your DIY manicures shine:
- Prep is Key: Always start with clean, dry nails. Push back your cuticles gently and ensure there’s no oily residue. A good base coat protects your nails and helps polish adhere better.
- Quality Polish Matters: Invest in good quality polishes. They often have better pigmentation and smoother application, which is crucial for clean lines and even coverage.
- Patience with Drying: This is probably the most important tip! Rushing the drying process is how mistakes happen. Let each layer dry completely before moving on.
- Steady Hands: If you’re painting freehand, rest your wrists on a stable surface. Breathe! Take your time. For lines, consider using a ruler or edge of a clean surface to steady your hand.
- Clean Up Crew: Keep a small brush (like an old fine eyeliner brush) dipped in nail polish remover handy. It’s perfect for correcting tiny mistakes or cleaning up the edges around your cuticle and sidewalls for a super neat finish. You can learn more about proper nail cleaning at the CDC’s guidelines on hand hygiene, which can translate to good nail prep practices.
- Practice Makes Perfect: Don’t get discouraged if your first attempt isn’t salon-perfect. Like any skill, nail art takes practice. Keep trying, and you’ll see improvement rapidly!
- Top Coat is Your Best Friend: Always finish with a good quality top coat. It seals your design, adds shine, and helps prevent chips, making your manicure last longer.
Popular Color Combinations for Short Negative Space Designs
Choosing the right colors can elevate your negative space design from simple to spectacular. Here are a few ideas to get you started:
| Design Type | Primary Color Ideas | Accent/Line Color Ideas | Negative Space Effect |
|---|---|---|---|
| Minimalist Lines | Opaque Nude, Soft Beige, Light Grey | Metallic Gold, Silver, Rose Gold, Black | Elegant, sophisticated, elongating |
| Half-Moon Chic | Sheer Pink, Milky White, Classic Red | Bright White, Black, Metallic Chrome, Glitter | Retro-modern, chic, polished |
| Geometric Color Block | Pastel Blue, Mint Green, Blush Pink | Deep Navy, Burgundy, Charcoal Grey | Bold, artistic, contemporary |
| Sheer Accent | Sheer White, Barely-There Pink | Single Black Dot, Fine Gold Line, Tiny Star | Subtle, delicate, minimalist |
| Bold Contrast | Classic Black, Deep Emerald Green | Bright White, Neon Pink, Electric Orange | Edgy, modern, eye-catching |
The Best Ways to Use Stencils and Tape
Striping tape and stencils are game-changers for achieving crisp, clean lines and shapes in your negative space designs. Here’s how to use them like a pro:
Using Striping Tape:
- Ensure your base polish color is 100% dry. If it’s not fully dry, the tape can peel it off.
- Cut small, manageable pieces of striping tape.
- Carefully place the tape onto your nail, pressing down firmly along the edges. This is crucial to prevent polish from bleeding underneath.
- Apply your contrasting polish color over the taped section. You might only need one coat for this accent.
- While the accent color is still wet, use fine-tipped tweezers to gently peel off the tape. Pull it away at an angle.
- Let the accent color dry completely before applying a top coat.
Using Nail Stencils:
- Start with a dry base coat and your first color polish. Ensure it’s completely dry.
- Peel the stencil carefully from its backing and apply it firmly onto your nail.
- Apply your second polish color over the stencil. You can use a dabbing motion or a thin brush for control.
- While the second polish is still wet, carefully peel off the stencil.
- Allow the design to dry completely before topping it off.
Experiment with different shapes and placements! For more on nail care best practices, you can always check out resources like The American Academy of Dermatology’s advice on nail health.
FAQ: Your Short Negative Space Nail Questions Answered
Got more questions? We’ve got answers!
Q1: Are short negative space nails hard to do for beginners?
Not at all! Many negative space designs, like simple lines or half-moons, are very beginner-friendly. Starting with striping tape or stencils makes it even easier to achieve clean lines and shapes.
Q2: How do I make my negative space designs last longer?
The keys are proper prep (clean, filed nails and a good base coat), patient drying between layers, and a high-quality, chip-resistant top coat applied generously. Reapplying the top coat every few days can also help extend the life of your manicure.
Q3: Can I achieve negative space with gel polish?
Yes! Gel polish works wonderfully for negative space designs. It offers a durable, high-shine finish. Just ensure you cure each layer under a UV/LED lamp according to the polish instructions. For tape application with gel, you might want to cure your base color until it’s fully hardened before applying tape and the accent color.
Q4: What if I don’t have striping tape or stencils?
No worries! You can improvise with regular Scotch tape (make sure it’s not too sticky by dabbing it on your hand first) or even use a fine-tipped nail art brush to freehand your lines and shapes. Practice with the brush is key!
Q5: How can I prevent polish from bleeding under the tape?
The most important step is ensuring your base color is completely dry and that you press down firmly on the edges of the tape. When painting over the tape, use thin coats of polish rather than thick ones, which are more likely to seep.
Q6: What kind of negative space designs work best on very short nails?
Minimalist designs are your best bet! Think thin accent lines (vertical or diagonal), small dots near the cuticle, or simple geometric shapes. These tend to elongate the look of the nail without overwhelming it.
Q7: How do I clean up my edges if I make a mistake?
A small, stiff brush (like an old fine eyeliner brush) dipped in nail polish remover is your best friend. You can also use a pointed cotton swab. Gently sweep away any polish outside the desired lines or shapes for a clean, professional finish.
Embrace Your Inner Nail Artist!
Short negative space nails are such a fun and accessible way to explore nail art. They prove that you don’t need complex techniques or hours of time to achieve a polished, trendy look. Whether you’re drawn to the clean lines of geometric patterns, the subtle elegance of a half-moon, or the minimalist charm of a single accent, there’s a negative space design out there for you.
Remember, nail art is all about self-expression and having fun. Don’t be afraid to experiment with colors, shapes, and placements. Grab your polishes, your tools, and give these chic designs a try. You might just discover your new go-to manicure! Happy polishing!

