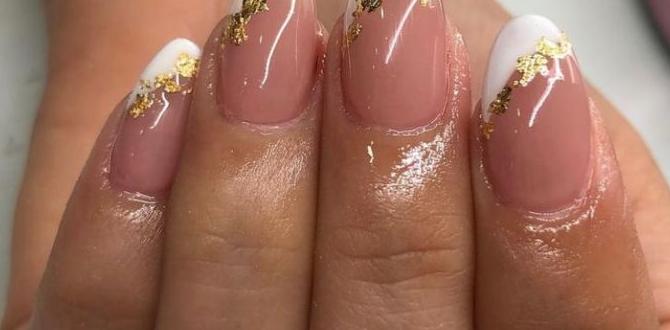
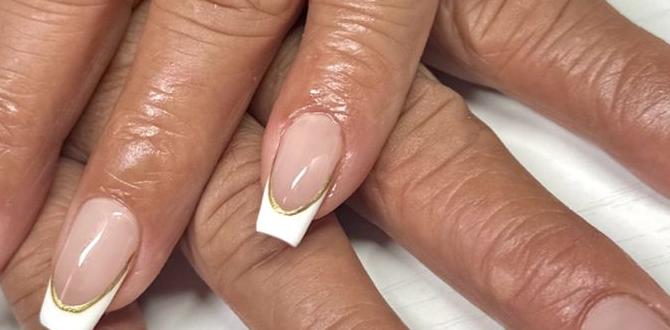
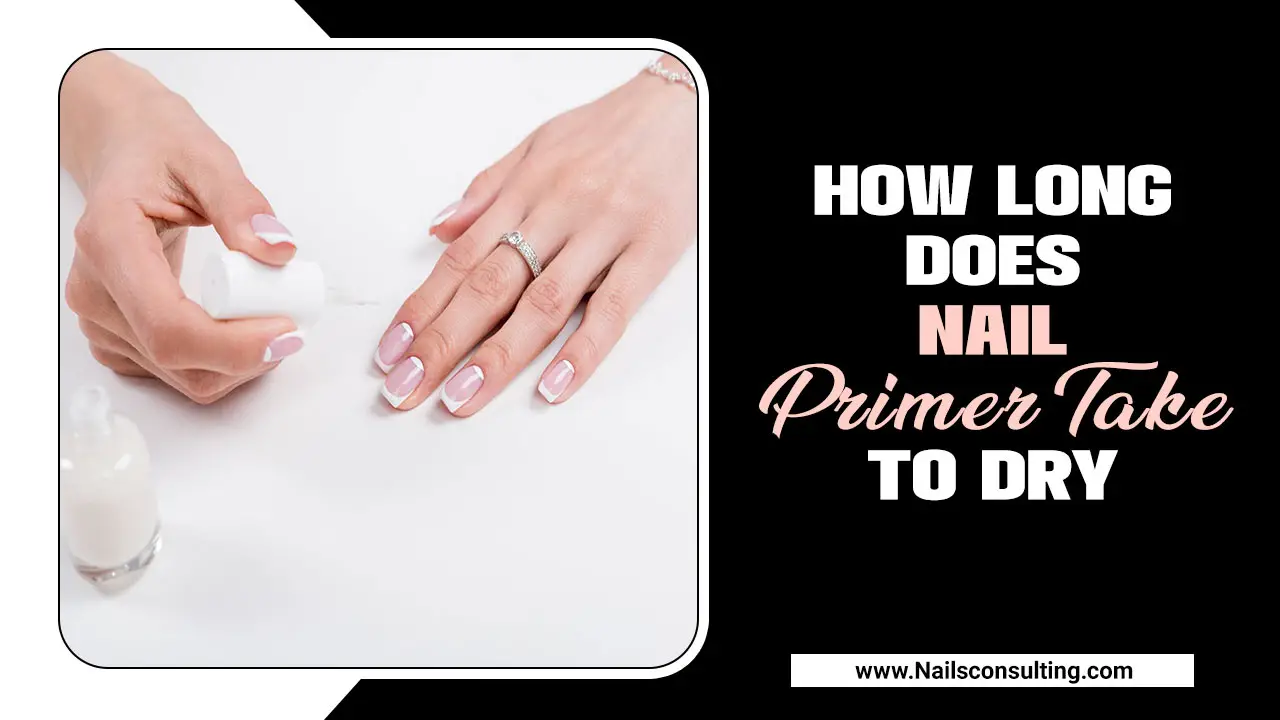
Short negative space nails are a chic and modern manicure trend that leaves a portion of your natural nail visible. This “negative space” creates a sophisticated, minimalist look that’s versatile, easy to achieve for beginners, and always stylish.
Short nails are amazing! They’re practical for everyday life and can look super chic. But sometimes, you want a little something extra to make them pop. That’s where a genius design like negative space comes in. If you’ve seen trendy manicures with cool geometric shapes or elegant lines that seem to float on bare nail, you’ve likely encountered negative space nails. Don’t worry if it sounds complicated – it’s totally beginner-friendly! We’re going to break down exactly what short negative space nails are and how you can rock this stylish look yourself. Get ready to give your short nails a modern makeover!
What Exactly Are Short Negative Space Nails?
At its heart, “negative space” in nail art simply means leaving a part of your nail bare, showing your natural nail color or skin underneath. When applied to short nails, this technique creates a visually interesting design without overwhelming the nail bed. It’s like drawing with polish around the empty spots.
Think of it as intentional gaps in your polish. Instead of coating your entire nail with color, you strategically place designs or color blocks, leaving intentional sections of your natural nail showing. This creates a sophisticated, almost ethereal effect that’s incredibly versatile. It’s a fantastic way to add a touch of artistry to short nails, making them look elegant and polished without being over the top.
Why is This Trend So Popular?
The magic of short negative space nails lies in their effortless chic. Here’s why everyone is loving this look:
Modern & Minimalist: It offers a clean, contemporary aesthetic that’s perfect for those who prefer subtle elegance.
Versatile: It works with almost any outfit and occasion, from casual days to formal events.
Visually Interesting: The contrast between color and bare nail creates a unique and eye-catching design.
Perfect for Short Nails: It elongates the look of short nails and prevents them from appearing too busy.
Beginner-Friendly: Many negative space designs are surprisingly easy to achieve at home.
Getting Started: Essential Tools and Prep
Before diving into the fun part – the design – let’s make sure you have everything you need and your nails are prepped for success. Starting with healthy, well-prepared nails is key to any stunning manicure, especially one that relies on clean lines and precise application.
Nail Prep Essentials:
Nail File: For shaping your nails. A gentle file helps avoid damage.
Nail Buffer: To smooth the nail surface for better polish adhesion.
Cuticle Pusher/Orange Stick: To gently push back cuticles.
Nail Polish Remover: To clean off any old polish and natural oils.
Lint-Free Wipes: Essential for a streak-free clean. Paper towels can leave fibers behind!
Base Coat: To protect your natural nail and help polish last longer.
Top Coat: To seal the design and add shine.
Design Tools:
Nail Polish: Your chosen colors for the design.
Thin Nail Art Brush or Fine-Liner Brush: For drawing lines and details. You can find excellent nail art brushes online or at beauty stores.
Dotting Tool: Great for creating small dots or filling in small spaces.
Striping Tape or Stencils (Optional): For creating super clean lines and geometric shapes.
Tweezers (Optional): Helpful for placing striping tape accurately.
The Perfect Prep Routine:
1. Shape Your Nails: File your nails to your desired shape. For short nails, a soft square or squoval shape is classic and works beautifully with negative space designs.
2. Buff the Surface: Gently buff your nails to create a slightly even surface for the polish to cling to.
3.
Push Back Cuticles: Use a cuticle pusher or an orange stick to gently push back your eponychium (the skin at the base of your nail). This gives you more canvas to work with and makes the design look cleaner.
4. Cleanse: Wipe your nails with nail polish remover to remove any oils or residue. This ensures your polish will adhere properly and last longer.
5. Base Coat Magic: Apply a thin, even layer of base coat and let it dry completely. This is crucial for protecting your nails and making your manicure last.
Easy Short Negative Space Nail Designs for Beginners
Now for the fun part! We’ve picked designs that are simple to execute but look incredibly sophisticated. These are perfect for dipping your toes into the world of negative space manicures.
Design 1: The Minimalist Crescent
This is one of the easiest and most elegant negative space designs. It’s all about a clean, curved line.
What you’ll need:
- Base coat
- Your favorite nail polish color
- Thin nail art brush or fine-liner brush
- Top coat
How to do it:
- Start with prepped nails and a base coat. Let it fully dry.
- Apply one or two thin coats of your chosen nail polish color. Let each coat dry completely.
- Using your thin nail art brush dipped in your chosen polish, paint a thin, curved crescent moon shape along the cuticle line. You want this to follow the natural curve of your nail base, leaving the rest of your nail bare.
- Clean up any mistakes with a small brush dipped in nail polish remover.
- Once the crescent line is dry, apply a layer of top coat to seal your design.
Design 2: The Geometric Block
This design plays with sharp lines and contrasting colors. It’s modern and very effective.
What you’ll need:
- Base coat
- Nail polish colors (one for the block, one for outline if desired)
- Stripping tape or a clean, precise brush
- Top coat
How to do it:
- After applying your base coat and letting it dry, paint your entire nail with your main polish color. Let this be completely dry.
- If using striping tape: Carefully place a strip of the tape across your nail, where you want the edge of your colorful block to end. Press it down firmly to prevent polish bleeding.
- Paint over the taped area with your second polish color (or you can leave this section bare for a different effect).
- While the second color is still wet, carefully peel off the striping tape. This creates a super sharp line.
- Alternatively, if not using tape: Use a fine-liner brush to carefully paint a straight line across your nail. You can then fill in the space above or below this line with color, or simply use it as a divider.
- Let the polish dry completely.
- Apply a top coat for protection and shine.
Design 3: The Diagonal Halves
This is another simple yet striking design that uses a single line to divide the nail.
What you’ll need:
- Base coat
- Nail polish color
- Thin nail art brush or fine-liner brush
- Top coat
How to do it:
- Prep your nails and apply a base coat. Let it dry.
- Apply one or two coats of your polish color, allowing each to dry completely.
- With your fine-liner brush and polish, carefully paint a straight diagonal line from one side of the nail’s free edge to the other side of the cuticle.
- This line divides your nail into two sections – one colored, one natural.
- Clean up any wobbly bits with a precision brush.
- Once dry, seal with a top coat.
Design 4: The Floating French Tip
A modern twist on the classic French manicure, this design uses negative space to create a chic uplift.
What you’ll need:
- Base coat
- Nail polish color
- Thin nail art brush or fine-liner brush
- Top coat
How to do it:
- Apply base coat and let it dry.
- Paint your entire nail with your chosen polish color. Let it dry completely.
- Using your fine-liner brush and polish, paint a line just above the cuticle area, following the natural curve of your nail. This is your new “tip.”
- The majority of your nail will remain the original polish color, with the “tip” being the negative space.
- Refine the edges with a cleanup brush if needed.
- Seal everything with a top coat.
Advanced Techniques & Variations
Once you’re comfortable with the basics, you can start experimenting with more intricate negative space designs. These variations add a bit more flair and can be customized to your heart’s content.
Using Stencils and Decals
For perfect geometric shapes or intricate patterns, stencils and decals are your best friends.
Stencils: You can buy pre-made nail stencils with all sorts of shapes – stripes, triangles, dots, etc. Apply your base polish, let it dry, place the stencil precisely where you want it, paint over it with your second color (or use it to block out a section), and carefully peel away the stencil while the polish is still wet for clean lines. Websites like Born Pretty Store offer a wide variety.
Water Decals/Stickers: These are pre-printed designs you can apply to your nail. Some are designed to mimic negative space with cut-out areas, or you can layer them over a bare nail section for an added pop of design.
Combining Colors and Finishes
Don’t be afraid to mix things up!
Matte vs. Glossy: Try a matte top coat over a glossy colored section for a sophisticated contrast.
Glitter in Negative Space: Apply a sheer glitter polish or loose glitter over the bare nail section for a subtle shimmer.
Color Blocking: Use multiple colors in abstract shapes, always leaving intentional gaps of bare nail between them.
Tips for Precision
Use a Clean Brush: Always start with a clean brush. If you’re using a brush for multiple colors, wipe it thoroughly between applications.
Thin Coats are Key: Thick polish is prone to smudging and bleeding. Apply thin, even coats.
Patience! Allow each layer to dry completely before moving on to the next step. This is the golden rule for a clean, professional-looking manicure, especially with negative space designs.
Cleanup Brush: Keep a steady hand and a small brush dipped in nail polish remover handy for tidying up any stray marks.
Maintaining Your Short Negative Space Nails
Keeping your manicure looking fresh is just as important as creating it. Luckily, short negative space nails are generally quite durable.
Daily Care:
Wear Gloves: When doing household chores, washing dishes, or using cleaning products, wear rubber gloves. This protects your polish from harsh chemicals and prevents chipping. Check out these tips for protecting your nails from common household tasks.
Be Gentle: Avoid using your nails as tools to open cans or scrape things. Short nails are less prone to breaking, but it’s still good practice.
Moisturize: Keep your hands and cuticles hydrated with a good cuticle oil or hand cream. This prevents dryness, which can make your manicure look dull.
Touch-Ups:
Small Chips: If you notice a tiny chip or a smudge on a colored section, you can carefully apply another thin coat of polish to that specific area. If the negative space area itself gets smudged, you might need to use a small cleanup brush with remover to redefine the edge or simply reapply that section.
Refreshing the Shine: If the top coat starts to lose its shine, you can gently buff the surface and apply a fresh layer of top coat to bring back the gloss.
When to Redo:
Negative space designs typically last well for 1-2 weeks. You’ll know it’s time for a change when you see significant lifting at the edges, the color is heavily chipped, or your natural nail growth becomes very prominent and bothersome.
Pros and Cons of Short Negative Space Nails
Like any trend, there are aspects to consider. Understanding these can help you decide if it’s the right look for you.
Pros:
| Advantage | Description |
| :—————————- | :———————————————————————————————————————– |
| Chic & Modern Aesthetic | Offers a sophisticated, minimalist look that’s on-trend. |
| Versatility | Fits seamlessly with casual, professional, and formal attire. |
| Visual Elongation | Can make short nails appear longer and more slender due to the strategic use of empty space. |
| Beginner-Friendly Options | Many designs are simple to create at home with basic tools and a steady hand. |
| Subtle Yet Stylish | Adds an artistic touch without being overbearing or flashy, perfect for those who prefer understated elegance. |
| Less Polish Used | Can be more economical in terms of polish usage for certain designs. |
Cons:
| Disadvantage | Description |
| :————————— | :————————————————————————————————————– |
| Requires Precision | Achieving clean lines can be challenging for absolute beginners, especially without the right tools. |
| Maintenance of Edges | Keeping the edges of the negative space clean and sharp might require more frequent touch-ups than solid colors. |
| Visible Grow-Out | As nails grow, the gap between the cuticle and the design becomes more apparent, necessitating timely redos. |
| Can Emphasize Imperfections | If your natural nail has ridges or unevenness in the bare sections, it might be more noticeable. |
FAQs About Short Negative Space Nails
Q1: Is negative space nail art difficult for beginners?
A: Not at all! Many negative space designs, like the crescent or diagonal line, are very simple and perfect for beginners. You just need a steady hand and a few basic tools.
Q2: How do I create really clean lines for negative space designs?
A: For the cleanest lines, use striping tape or nail stencils. Apply your base color, let it dry, place your tape/stencil, apply your second color, and peel away the tape/stencil while the polish is still wet. Alternatively, a thin liner brush and a steady hand can achieve great results.
Q3: Can I do negative space designs on very short nails?
A: Absolutely! Negative space designs work wonderfully on short nails. They can actually help make short nails look more elegant and visually elongated.
Q4: What if my natural nail isn’t perfectly smooth for the negative space?
A: A good base coat and a smoothing ridge-filling base coat can help. You can also opt for designs that cover more of the nail, or embrace the natural texture! For a truly smooth finish, consider if a sheer builder gel or acrylic overlay on the “negative space” parts could be an option in the future.
Q5: How long do negative space manicures typically last?
A: With proper prep and a good top coat, negative space manicures can last anywhere from 1 to 2 weeks. Regular moisturizing and wearing gloves for chores will help extend their life.
Q6: Can I use any nail polish for negative space designs?
A: Yes, you can use any nail polish! However, smoother, more opaque polishes tend to work best for creating crisp designs. Avoid very thick or chunky glitter polishes for the design lines, as they can be harder to control.
Conclusion
You’ve got this! Short negative space nails are a brilliant way to elevate your manicure game, offering a stylish, modern look that’s surprisingly accessible. Whether you’re aiming for a subtle crescent along your cuticle or a bold geometric statement, the key is to embrace the empty space as part of the art.
Remember, practice makes perfect. Don’t

