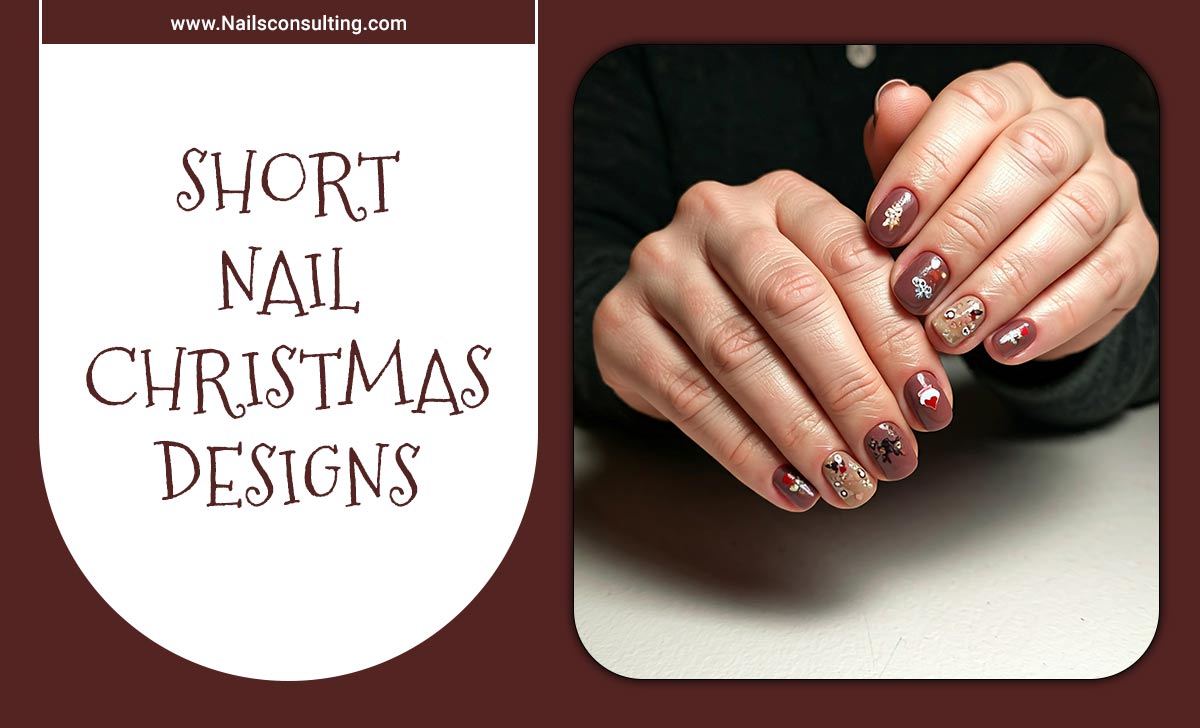
Short leopard print nails are a super chic and surprisingly easy way to add a touch of playful wildness to your look! They’re versatile, cute, and perfect for anyone wanting a fun, trendy manicure that doesn’t require super long nails. Get ready to unleash your inner fashionista with this must-have style!
Dreaming of a nail design that’s both fierce and fabulous, but worried you need long nails to pull it off? You’re not alone! Many gorgeous nail trends seem to demand Rapunzel-like length. But guess what? You absolutely do NOT need long fingers to rock stunning leopard print nails. In fact, short nails can be the perfect canvas for this iconic pattern, making it feel modern, sophisticated, and totally wearable for everyday life. It’s like giving your nails a tiny, stylish roar! We’re going to break down why short leopard print nails are a genius choice and how you can achieve them without any fuss.
Forget complicated techniques or endless practice. We’ll guide you through everything, from picking the right colors to mastering the simple shapes. Get ready to feel inspired and confident, because your next favorite manicure is just a few steps away. Let’s dive into why this trend is a must-have and explore some fun ways to wear it!
Why Short Leopard Print Nails Are a Genius Choice
Let’s be honest, leopard print is a classic for a reason. It’s bold, it’s a little wild, and it adds an instant pop of personality to any outfit. When you translate this iconic pattern onto short nails, something magical happens. It becomes incredibly practical, chic, and surprisingly versatile.
Think about it: long nails are beautiful, but they can be a handful. Typing, opening cans, or even just everyday tasks can become a bit of a challenge. Short nails, on the other hand, are all about comfort and functionality. They stay out of the way, are less prone to breaking, and are generally easier to maintain. When you add leopard print to this low-maintenance base, you get a manicure that’s both stylish and practical. It’s the best of both worlds!
Here’s why short leopard print nails are a total win:
- Versatility: Leopard print can be dressed up or down. A classic black and brown combo feels sophisticated, while pops of neon or pastel can make it playful and trendy. It pairs well with almost any outfit, from casual jeans to a little black dress.
- Universally Flattering: Unlike some trends that can feel overwhelming, leopard print on short nails is incredibly approachable. It adds a touch of edge without being too much, making it a great choice for almost anyone.
- Chic and Trendy: Leopard print never truly goes out of style, but it has seen a huge resurgence in fashion and beauty. Short, clean nails with a leopard accent are incredibly modern and on-trend right now.
- Easy to Achieve: You don’t need to be a professional nail artist to create a decent leopard print. With a few simple tools and techniques, anyone can achieve this look at home. We’ll show you how!
- Durability: Shorter nails are naturally stronger and less likely to chip or break compared to long ones. This means your fabulous leopard print design will last longer, looking great throughout the week.
Essential Tools for Your Short Leopard Print Manicure
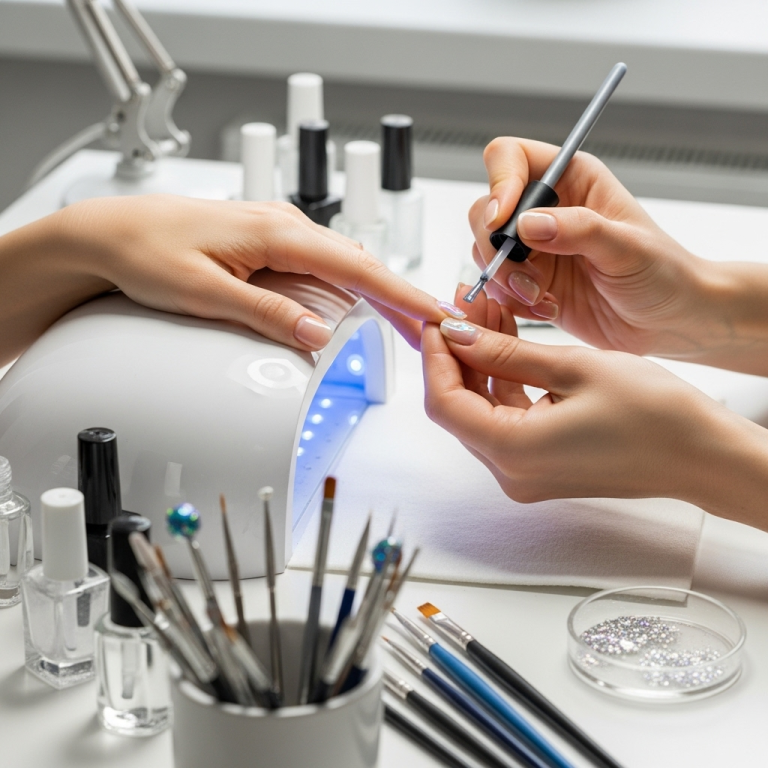
Getting your short leopard print nails looking amazing at home is totally doable, and you don’t need a mountain of fancy supplies. A few key items will set you up for success. Think of these as your trusty sidekicks in creating a mini masterpiece on your fingertips!
Here’s a rundown of what you’ll want to have on hand:
- Base Coat: This is your nail’s best friend! A good base coat protects your natural nail from staining and helps your polish adhere smoothly. It’s the foundation for a long-lasting manicure.
- Your Chosen Nail Polish Colors:
- The base color for your nails (this can be anything from a classic nude, a chic black, a bold red, or even a trendy pastel!).
- The “spots” color (usually black or dark brown for a classic look).
- The “outline” or “blob” color (often black or dark brown to define the spots).
- Optional accent colors (like a metallic shimmer or a pop of contrasting color for a modern twist).
- Dotting Tools or Toothpicks: These are your secret weapons for creating those signature leopard spots! Dotting tools come in various sizes, allowing you to create different sized “blobs.” If you don’t have dotting tools, the rounded end of a toothpick or even the tip of a fine-tipped eyeliner brush can work in a pinch. For more information on nail art tools, check out this helpful guide on essential nail art tools for beginners.
- Fine-Tipped Nail Art Brush (Optional): If you prefer a more freehand approach to drawing the spot outlines, a very fine-tipped brush can give you more control.
- Top Coat: This is crucial for sealing in your design, adding shine, and protecting your manicure from chips and wear. A good quality top coat will make your leopard print last.
- Cuticle Oil: Once your nails are dry, a little cuticle oil will keep your skin looking soft and healthy, completing that polished look.
- Nail Polish Remover and Cotton Pads/Balls: For any little oopsies or to clean up the edges.
Step-by-Step Guide to Creating Short Leopard Print Nails
Ready to get creative? Making short leopard print nails is easier than you think! We’ll walk you through it, step by step. The key is to have patience and remember that perfection isn’t the goal – a cute, stylized version is!
Step 1: Prep Your Nails
This is the foundation for any great manicure. Start by cleaning your nails thoroughly. If you have any old polish on, remove it completely. Gently push back your cuticles with an orangewood stick or a cuticle pusher. If your nails are a bit rough, you can very lightly buff the surface to create a smooth canvas. Make sure your nails are dry and free of any oils or lotions before you apply polish.
Step 2: Apply Base Coat
Apply one thin layer of your chosen base coat. This step is vital for protecting your natural nail color and preventing staining, especially if you’re using darker polish colors. Let it dry completely. This usually takes about a minute.
Step 3: Apply Your Base Color
Now, choose your main nail polish color. This will be the background for your leopard print. Apply two thin, even coats of your base color. Make sure each coat is fully dried before applying the next. Thin coats dry faster and give a smoother finish than one thick, gloopy layer. Let the second coat dry thoroughly – you don’t want to smudge it when you start the leopard print!
Step 4: Create the Leopard Spots
This is the fun part! You have a couple of options for creating the “spots”:
- Using Dotting Tools:
- Dip your dotting tool (or toothpick) into your spot color (e.g., black or dark brown).
- Gently place irregular dots or small “blobs” onto your nail. Don’t aim for perfect circles! Leopard spots are uneven and organic. Vary the size and spacing of your dots. Some can be small, some a little bigger.
- While the spots are still wet, use a smaller dotting tool or a toothpick dipped in the same spot color to add a tiny sliver or comma shape to one side of some of the larger dots. This mimics the natural irregularity of a leopard’s markings.
- Using a Nail Art Brush:
- Dip your fine-tipped brush into your spot color.
- Freestyle your spots! Create irregular shapes rather than perfect circles or ovals.
- Again, while the spots are wet, use a tiny bit of polish on the brush to add little dashes or curves to the edge of some spots to create that signature “broken” look of leopard print.
Tip: It’s often easier to create the main spots first, let them dry slightly, and then add the defining edges. You can also keep a visual reference of leopard print handy on your phone for inspiration!
Step 5: Add Optional Accents & Details
Want to jazz it up? You can add tiny dots of a secondary color (like a lighter brown or a metallic gold) within or around some of the main spots for added dimension. Or, create a French tip with the leopard print design instead of the full nail! The possibilities are endless and totally up to your style.
Step 6: Apply Top Coat
Once your leopard print design is completely dry – this is important to avoid smudging! – apply a generous layer of your favorite top coat. Make sure to cap the free edge of your nail by running the brush along the tip. This seals in the design, adds a glossy finish, and helps prevent chips. Let it dry thoroughly.
Step 7: Finish with Cuticle Oil
After your top coat has dried, apply a little cuticle oil around the base of your nails. Massage it in gently. This not only makes your nails look super healthy and cared-for but also helps to rehydrate the skin after all the polishing. And voilà! You have fabulous short leopard print nails!
Leopard Print Nail Color Combinations to Try
While the classic black and brown leopard print is timeless, don’t be afraid to experiment with color! Changing up the base and spot colors can give you a completely different vibe. Here are a few winning combinations to inspire your next manicure:
| Vibe/Look | Base Color Ideas | Spot/Outline Color Ideas | Accent Color (Optional) |
|---|---|---|---|
| Classic & Chic | Black, Deep Brown, Nude Beige | Black, Dark Chocolate Brown | None, or a subtle metallic gold edge |
| Modern & Edgy | White, Grey, Matte Black | Black, Deep Red | Silver, Gunmetal |
| Playful & Fun | Pink, Teal, Lavender, Mint Green | Black, White, Navy Blue | Bright contrast colors (e.g., yellow spots on a teal base) |
| Glamorous & Bold | Red, Burgundy, Deep Emerald Green | Black, Gold Metallic | Glitter top coat, or gold flakes |
| Subtle & Sophisticated | Creamy Beige, Soft Taupe, Milky White | Medium Brown, Deep Grey | A touch of rose gold |
How to Care for Your Short Leopard Print Nails
The beauty of short nails is their inherent resilience, but a little TLC can make your gorgeous leopard print design last even longer and keep your hands looking fabulous. Proper care ensures your manicure stays chip-free and your nails remain healthy.
Here are some simple tips:
- Reapply Top Coat: Every couple of days, apply another thin layer of top coat. This is the easiest way to refresh the shine and add extra protection against daily wear and tear.
- Moisturize Regularly: Keep your hands and cuticles hydrated! Use hand cream throughout the day and cuticle oil before bed. Healthy cuticles blend seamlessly with your polish, making the entire manicure look neater.
- Be Gentle: While short nails are less prone to snagging, still try to avoid using them as tools. If you need to scrape something, use the right tool, not your nail!
- Avoid Harsh Chemicals: When cleaning or doing dishes, wear gloves. Harsh cleaning products can strip the polish and dry out your nails and skin.
- Touch-Ups as Needed: If you notice a tiny chip or a spot losing its shine, don’t despair! A small dab of your base color followed by a dot of the spot color can often fix minor imperfections. A quick touch-up with top coat will seal it.
- Proper Removal: When it’s time for a change, use a good quality nail polish remover. Soak a cotton pad, hold it on your nail for a few seconds to let the remover work, and then gently wipe away the polish. Avoid scraping or peeling, as this can damage your nail bed. For more on nail health, the American Academy of Dermatology has some great tips on maintaining healthy nails.
FAQs About Short Leopard Print Nails
Q1: Can I really do leopard print on short nails?
Absolutely! Short nails are actually a fantastic canvas for leopard print. The pattern scales down beautifully, looking chic and modern rather than overwhelming. You don’t need long nails to rock this fierce look.
Q2: What colors work best for short leopard print nails?
While classic black and brown is always a winner, don’t be afraid to get creative! Nudes, whites, and pastels make great base colors. For spots, consider contrasting colors like deep red, navy, or even metallic shades. Experiment with what matches your style and outfits!
Q3: Is creating leopard spots difficult?
Not at all! The key is to make irregular blobs and then add a little dash or U-shape to the side of some of them. You don’t need perfect circles. Using dotting tools or even a toothpick makes it super easy. There are plenty of simple techniques that beginners can master quickly.
Q4: How long does a short leopard print manicure usually last?
With a good base coat and top coat, and proper care, your short leopard print nails can last anywhere from 5 to 10 days. Shorter nails are less prone to breakage, which helps the polish stay intact longer.
Q5: Can I make leopard print my own?
Definitely! Leopard print is incredibly customizable. You can play with different color combinations, add glitter accents, use matte top coats, or even do a reverse French tip with the leopard design. Your nails, your rules!
Q6: What if my spots don’t look perfect?
That’s the beauty of leopard print – it’s naturally irregular! Don’t aim for perfection; aim for character. Wobbly dots and uneven edges are what make it look authentic. Embrace the imperfections; they add to the charm!
Conclusion: Unleash Your Wild Side with Short Leopard Print Nails
So there you have it! Short leopard print nails are more than just a trend; they’re a brilliant way to express your style with confidence and ease. We’ve seen why they’re a genius choice – practical, versatile, and endlessly chic. You’ve learned the simple tools you need and, most importantly, how to create this eye-catching design step-by-step, even if you’re a total beginner.

