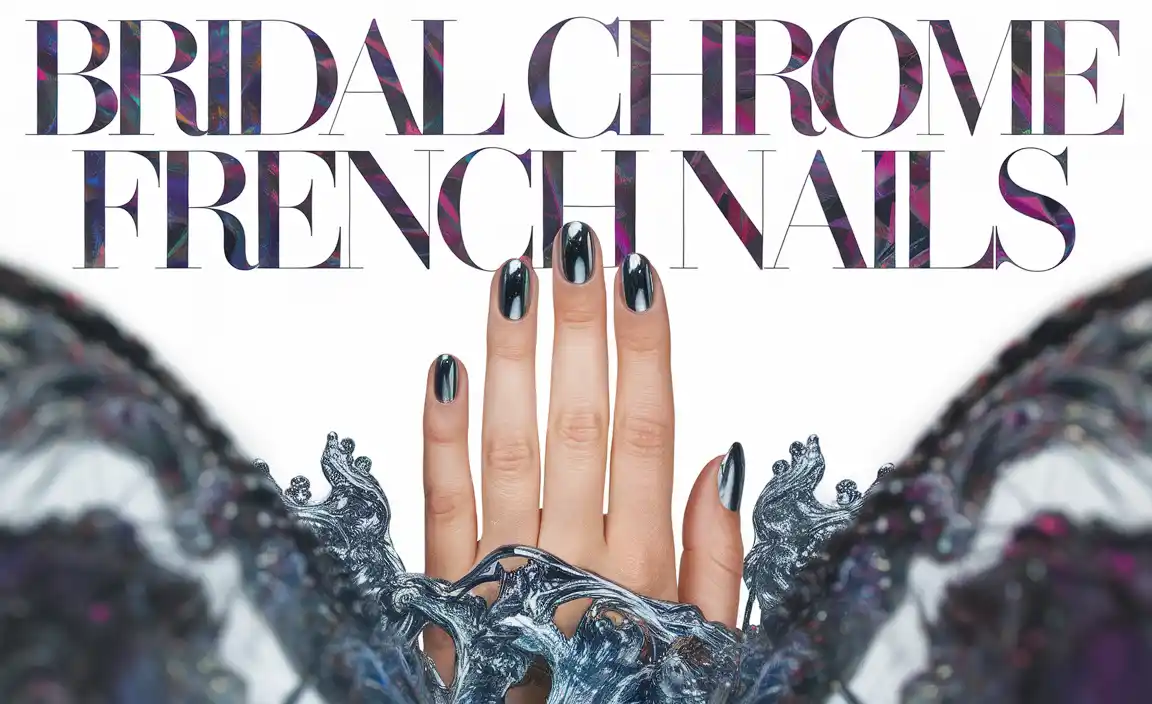
Short colored French nails are a chic and versatile way to update your look! They offer the classic elegance of a French manicure with a fun, modern twist. Perfect for beginners, these nails are easy to achieve and can be customized to fit any style or occasion, proving they are truly essential for a trendy yet timeless manicure.
Ever looked at those perfectly polished nails and thought, “I could never do that”? Many of us do! The classic French manicure is beautiful, but sometimes, it can feel a little too… well, classic. You might be craving a pop of color or a fresh take on a timeless style. The good news is, we can totally achieve stunning short colored French nails right at home! It’s less intimidating than you think. Instead of reaching for a basic white tip, we’ll dive into how to create these vibrant looks and why they’re a must-have in your nail wardrobe. Get ready to transform your fingertips!
Why Short Colored French Nails Are a Game-Changer
Let’s be honest, the traditional French manicure has been around forever. While it’s a staple for a reason – sleek, elegant, and always appropriate – it can sometimes leave us wanting more. Enter the colored French tip! This modern twist takes everything we love about the French manicure and injects it with personality and flair.
Think about it: short nails are incredibly practical for everyday life. They’re less likely to snag, break, and are generally easier to manage. Combined with the playful sophistication of colored tips, you get a manicure that is not only beautiful but also perfectly suited for a busy lifestyle. Whether you’re heading to the office, running errands, or enjoying a night out, short colored French nails strike the perfect balance between polished and playful.
The Versatility Factor
One of the biggest draws of short colored French nails is their incredible versatility. They can be adapted to suit almost any mood, outfit, or event.
- Work-Appropriate Fun: Opt for softer pastel shades like light pink, dusty blue, or mint green for a subtle yet stylish touch that won’t raise eyebrows in a professional setting.
- Weekend Vibes: Go bold with bright reds, electric blues, sunshine yellows, or even vibrant purples and oranges. These make a statement and are perfect for festivals, parties, or just boosting your mood.
- Seasonal Swaps: Embrace seasonal colors! Think deep burgundies and emeralds for fall, rosy pinks and bright corals for spring, icy blues and silvers for winter, and cheerful yellows and peaches for summer.
- Match Your OOTD: Feeling particularly coordinated? You can even match your nail tips to your outfit for a perfectly put-together look.
This adaptability means your short colored French manicure is never boring. It’s a canvas for your personal style, offering endless possibilities for self-expression.
Getting Started: Essential Tools and Supplies
Before we jump into the “how-to” part, let’s gather our superhero tools! Don’t worry; you probably have most of these already, and if not, they’re super easy to find at your local drugstore or beauty supply store. Having the right supplies makes the process smooth and the results amazing!
The Must-Haves for Your Mani Kit
- Nail Polish Remover: To start with a clean slate. An acetone-free remover is gentler on your nails and cuticles.
- Cotton Pads or Balls: For applying the remover.
- Nail File: To shape your short nails perfectly. A fine-grit file is best for natural nails. For tips on choosing the right file, check out resources like Nails Magazine’s guide to nail files.
- Buffer Block: To smooth out any ridges and create a nice base for polish.
- Base Coat: This is crucial! It prevents staining and helps your polish last longer.
- Colored Nail Polish for Tips: Your chosen shades! Pick one, two, or even three colors.
- Nail Polish for the Base: Usually a sheer pink, nude, or milky white for the classic French look.
- Thin Nail Art Brush or Fine-Tip Polish Brush: This is your magic wand for creating those clean tips! You can often find these in art supply stores or dedicated nail art kits.
- Stripping Tape or French Manicure Guides (Optional): These can help you achieve a super crisp line if freehanding feels daunting.
- Top Coat: To seal everything in, add shine, and protect your masterpiece.
- Cuticle Oil: For nourishing your cuticles post-mani.
Having these on hand will make creating your short colored French nails a breeze. Remember, practice makes perfect, so don’t be discouraged if your first attempt isn’t salon-perfect. It’s all part of the fun!
Step-by-Step: Creating Stunning Short Colored French Nails
Ready to make some magic? Follow these simple steps to get your gorgeous short colored French nails. We’ll focus on a method that’s easy for beginners and delivers fantastic results!
Step 1: Prep Your Canvas
First things first, let’s get your nails ready. A good prep is the foundation of any great manicure.
- Remove Old Polish: If you have any old polish on, use your nail polish remover and cotton pads to get a clean surface.
- Trim and Shape: For short nails, trim them to your desired length. Then, use your nail file to shape them. Squoval (a square with rounded corners) and rounded shapes are perfect for short Frenchies. File in one direction to avoid weakening your nails.
- Buff Gently: Use your buffer block to lightly smooth the surface of your nails. This helps polish adhere better. Don’t over-buff!
- Clean and Dry: Wash your hands thoroughly to remove any dust, and make sure your nails are completely dry.
Step 2: Apply the Base Coat
This is a non-negotiable step! A good base coat protects your natural nails from staining (especially important with colored polishes!) and gives your manicure staying power.
- Apply one thin layer of your base coat.
- Let it dry completely. This usually takes about 60 seconds.
Step 3: Lay Down the Foundation Color
Now, let’s add the main color for your nails. This is the color that will show from the cuticle to the start of your colored tip.
- Apply one or two thin coats of your chosen sheer pink, nude, or milky white polish.
- Make sure each coat is completely dry before applying the next. Patience is key here! Drying between coats prevents streaks and air bubbles.
Step 4: The Colorful Tip Application
This is where the fun begins! You have a few options here depending on your comfort level and desired precision.
Method A: Freehand with a Thin Brush
- Dip your thin nail art brush into your colored polish. Wipe off excess polish on the bottle neck to avoid a thick application.
- Start from one side of the nail, creating a smile line that curves towards the center. Don’t worry about perfection; you can always clean it up.
- Work your way across the tip of the nail, aiming for an even width.
- Repeat on the other side to complete the tip.
- Clean up any mistakes immediately with a small brush dipped in nail polish remover (a fine-tipped brush used solely for this purpose works wonders).
Method B: Using French Manicure Guides or Stripping Tape
- Once your base color is dry, carefully apply a French manicure sticker or a piece of stripping tape across your nail, creating the line where you want your colored tip to start. Press down firmly to ensure a good seal.
- Apply your colored polish over the tip of the nail, up to the guide.
- Let the colored polish dry for a minute or two until it’s slightly tacky but not fully dry.
- Carefully peel off the guide or tape. Doing this while the polish is still a bit soft helps prevent chipping and ensures a cleaner line.
Pro Tip: If you’re using multiple colors for your tips (e.g., different colors on different nails, or even a gradient effect!), make sure each color is applied and allowed to dry adequately before moving to the next or attempting to peel off guides.
Step 5: Seal the Deal with Top Coat
Your beautiful colored tips are almost complete! Now it’s time to protect your work and add that gorgeous shine.
- Apply one to two coats of your favorite top coat over your entire nail, including the colored tips.
- Be sure to cap the free edge of your nail (paint a little on the very edge) to prevent chipping.
- Let it dry completely. This can take anywhere from 5 to 15 minutes depending on the thickness of your application and the top coat used.
Step 6: The Finishing Touches
You’ve done it! Your short colored French nails are ready to impress.
- Once your top coat is fully dry and hardened, apply a drop of cuticle oil to each nail.
- Gently massage it into your cuticles and nail beds. This rehydrates your skin after the polishing process and makes your manicure look even more polished.
And there you have it! Stunning, custom short colored French nails, created by YOU!
Color Combinations and Design Ideas
Now that you know the basic technique, let’s explore some fun color combinations and design ideas to inspire your next manicure. The beauty of short colored French nails is how easily they can be adapted for different vibes.
Classic Meets Contemporary
This is where you take the traditional French and give it a small but impactful twist.
- Pastel Pink Tips: A soft, milky base with delicate baby pink tips. It’s feminine and subtle.
- Sheer Nude with White & Beige: Instead of just one tip color, try a thin line of white polish directly above a slightly thicker line of beige or light tan.
- Milky White Base with Gray Tips: A modern, chic alternative to the classic white tip.
Bold & Bright Statements
These are for when you want your nails to be the star of the show!
- Clear Base with Neon Tips: Think electric pink, lime green, or bright orange. These are showstoppers!
- Nude Base with Primary Colors: Red, blue, and yellow tips on different fingers for a playful, artistic look.
- Matte Black Base + Glossy Color Tip: A dark, sophisticated base with a vibrant glossy tip (like electric blue or hot pink) creates fantastic contrast.
Seasonal & Thematic Looks
Tap into the mood of the season or an upcoming holiday.
- Autumn: Think deep burnt orange, olive green, or mustard yellow tips on a nude or sheer brown base.
- Winter: Icy blue, silver foil tips, or deep burgundy on a sheer white or milky base.
- Spring: Mint green, lilac, peach, or coral tips on a clean, clear base.
- Summer: Tropical brights like turquoise, fuchsia, or sunshine yellow.
Advanced Fun (for when you’re feeling confident!)
Once you master the basics, try these variations:
- Ombre Tips: Blend two colors together on the tip for a seamless gradient effect.
- Micro French: A very thin, delicate line of color right at the very edge of the nail.
- Double French: Two thin lines of different colors stacked on top of each other.
- Wavy French: Instead of a straight smile line, create a gentle wave with your colored polish.
When choosing your colors, consider the undertones of your skin. Some may find cooler tones (blues, purples, cool pinks) particularly flattering, while others might glow with warmer tones (oranges, yellows, warm reds). Ultimately, pick what makes you happy!
Caring for Your Short Colored French Nails
You’ve achieved a gorgeous manicure, and now you want it to last! Proper care will keep your short colored French nails looking fresh and fabulous for as long as possible. It’s all about protecting that beautiful tip!
Daily Habits for Longevity
- Wear Gloves: When doing household chores like washing dishes, cleaning, or gardening, protective gloves are your best friend. Water and harsh cleaning chemicals can weaken polish and lift the edges, especially the colored tips.
- Avoid Harsh Chemicals: Even if you don’t wear gloves all the time, try to minimize prolonged contact with strong cleaners, hairspray, or acetone-based products (other than for removal!).
- Moisturize: Keep your hands and cuticles hydrated. Dry skin can lead to hangnails and make your whole manicure look less polished. Regular application of cuticle oil (as mentioned in step 6) is key.
Touch-Ups and Maintenance
Even with the best care, minor wear and tear can happen.
- Minor Chips: For a tiny chip on the colored tip, you can sometimes carefully apply a thin layer of the same colored polish to fill it in. Let it dry, then follow with a tiny bit of top coat to blend.
- Reapply Top Coat: Every 2-3 days, apply an extra layer of top coat to refresh the shine and add a protective layer. This can significantly extend the life of your manicure.
- Don’t Pick! Resist the urge to pick at or peel off chipped polish. This will only cause more damage to your natural nail. You’re better off removing the polish cleanly when you’re ready for a new set.
When It’s Time for a Change
Most manicures, especially if well-maintained, can last between 7-14 days. Signs that it’s time for a refresh include:
- Significant chipping or lifting of the polish.
- Visible new nail growth at the cuticle.
- The colored tips themselves looking worn or faded.
Removing your manicure properly is just as important as applying it. Use a good quality nail polish remover and soak your nails for a few minutes if needed, rather than trying to scrape or peel the polish off. A gentle removal process helps keep your nails healthy and strong for your next colorful creation!
Troubleshooting Common Issues
Even the most experienced nail enthusiasts run into a hiccup now and then! If you’re trying out short colored French nails for the first time, here are some common problems and how to fix them.
Issue 1: Wobbly or Uneven Tips
The Problem: Your colored tips look shaky, and the smile line isn’t smooth.
The Fix:
- Clean Up Crew: Don’t panic! Grab a small, flat brush (an old eyeliner brush works well) dipped in acetone-free nail polish remover. Gently trace along the edge of your colored tip to clean up any wobbles. Do this immediately after applying the color, before it dries.
- Use Guides: If freehanding is consistently tricky, invest in French manicure stickers or stripping tape. These are designed to help you create a perfect line. Always ensure they are pressed down firmly to prevent polish from bleeding underneath.
- Patience is a Virtue: If the paint is too thick or the brush is too wet, it’s harder to control. Use thin coats and wipe excess polish off your brush before applying.
Issue 2: Polish Streaky or Patchy
The Problem: Your base color or colored tip looks uneven with visible streaks.
The Fix:
- Thin Coats are Key: Thick coats of polish are more prone to streaking. Apply multiple thin coats rather than one thick one.
- Allow Drying Time: Ensure each layer is dry before applying the next. If you rush this, the polish can get streaky or pull with the brush.
- Use a Good Brush: Some polish brushes are just better than others. If your polish is consistently streaky, the formula or the brush might be the issue.
- Add a Smoothing Top Coat: Sometimes, a good smoothing top coat can help even out minor imperfections over the whole nail.
Issue 3: Bubbles in the Polish
The Problem: Little air bubbles have appeared in your polish layers.
The Fix:
- Shake Less, Roll More: Avoid vigorously shaking your nail polish bottles. This introduces air bubbles. Instead, gently roll the bottle

