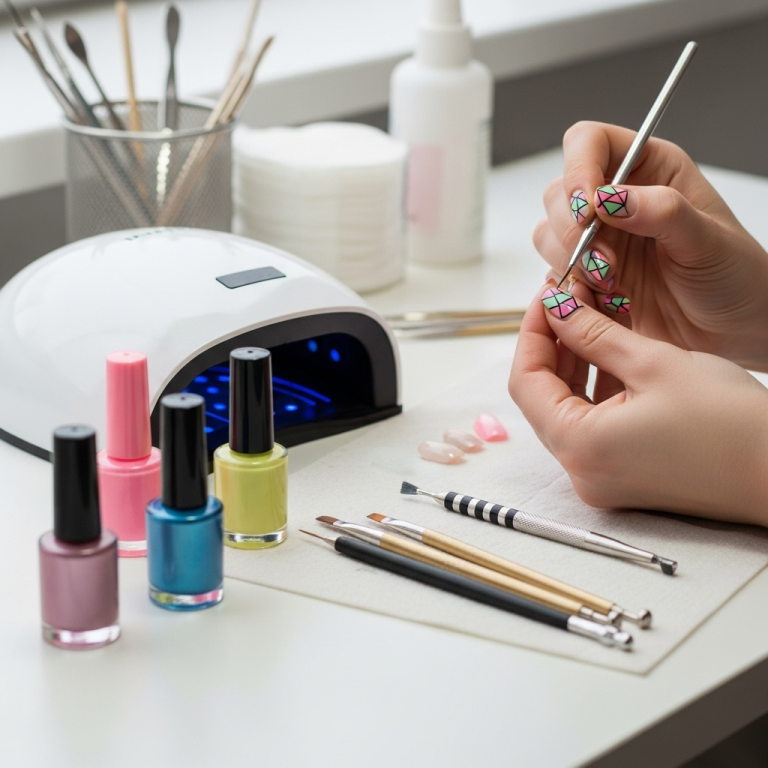
Short aura nails design is all about creating a beautiful, faded color gradient effect on short nails. It’s a trendy, eye-catching look that’s surprisingly easy to achieve, even for beginners. Get ready to master this stunning technique for gorgeous nails!
Love the idea of trendy nails but think you need super long nails to pull them off? Think again! Short nails can rock stunning designs too, and the aura nail trend is one of the most beautiful. It’s that gorgeous, diffused colorful center that fades outwards, almost like a soft halo or, well, an aura! Many people find it tricky to get that smooth blend, worrying it’ll look messy or that their short nails won’t show it off. But don’t worry! Creating an amazing short aura nails design is totally achievable, and I’m here to guide you through it. We’ll cover everything you need to know, from the basic tools to super chic design ideas that will make your short nails shine.
Why Short Aura Nails Are Your New Best Friend
Short aura nails are a revelation! They offer a sophisticated yet playful look that is incredibly versatile. Whether you’re heading to work, a casual brunch, or a special event, this design adds a touch of magic without being overbearing. The beauty of the aura effect is its ability to be subtle or bold, depending on your color choices and intensity. Plus, short nails are generally easier to manage, less prone to breaking, and perfect for everyday life. This means you can enjoy a gorgeous, professionally-inspired manicure that’s both practical and stylish.
The Magic Behind the Aura Effect
So, what exactly IS an aura nail? It’s a nail art technique that uses an airbrush, sponges, or even sturdy makeup brushes to create a soft, blurred gradient of color. Imagine a beautiful sunset captured on your fingertip, or the gentle glow of a pastel light. The effect is achieved by applying a darker shade around the cuticle and edges, then a lighter, brighter shade in the center, blending the two seamlessly. This diffusion creates that signature “aura” or “halo” look that is so captivating.
Getting Started: Your Aura Nails Toolkit
Before we dive into the designs, let’s gather our essential tools. Don’t be intimidated; most of these are common nail supplies or easily accessible!
Essential Supplies for Short Aura Nails
- Base Coat: To protect your natural nails and help polish adhere.
- Top Coat: For shine and longevity.
- Nail Polish Colors: You’ll need at least two complementary colors for the gradient. Consider a neutral base color (like white, nude, or sheer pink) if the polish colors are very vibrant.
- Applicators: This is where the magic happens!
- Makeup Sponges: Small cosmetic sponges are fantastic for beginners.
- Sturdy Makeup Brushes: Flat, dense brushes work well for blending.
- Small Stencil or Cut-out Shape: (Optional, for a more defined aura center)
- Palette or Piece of Cardboard: To dab excess polish from your applicator.
- Rubbing Alcohol or Nail Polish Remover: For cleaning brushes/sponges.
- Cuticle Pusher and/or Orangewood Stick: For tidying up edges.
- Nail File and Buffer: To shape and prep nails.
Optional (but helpful!) Tools
- UV/LED Lamp: If you’re using gel polish.
- Mini Airbrush Kit: For a truly professional, seamless finish (this is more advanced but worth mentioning!).
The Basic Technique: Step-by-Step for Beginners
Ready to try it yourself? This method focuses on using a makeup sponge, which is super beginner-friendly!
Step 1: Prep Your Nails
- Start with clean, dry nails.
- Push back your cuticles gently.
- Shape your nails to your desired length and style. Short nails often look great with a squoval, round, or almond shape.
- Lightly buff the surface of your nails to create a smooth canvas.
- Apply a thin layer of base coat and let it dry completely. This is crucial for polish longevity and preventing staining.
Step 2: Apply a Base Color (Optional, but recommended!)
For the most vibrant and smooth aura effect, especially with lighter colors, applying a sheer white, nude, or opaque white polish as a base can make a huge difference. Let this dry completely.
Step 3: Prepare Your Aura Colors
Choose your two or three main colors. For a classic aura, you might use a deeper pink/purple and a lighter pink/purple or a peach. Many opt for a darker shade for the outer ring and a brighter, Lighter shade for the center.
Step 4: Create the Aura Gradient
This is the fun part! You have a few options:
Option A: Sponge Method (Easiest for Beginners)
- Cut a makeup sponge into small, manageable pieces (about 1-inch squares work well).
- Apply a small amount of your ‘outer’ color onto your palette or cardboard.
- Gently tap the sponge onto the polish, picking up a little bit.
- Lightly dab the edges of your nail with this color. Think of applying it just around the cuticle and the free edge of the nail. Don’t go too heavy!
- Clean off the sponge or use a fresh one.
- Now, apply a small amount of your ‘inner’ (lighter/brighter) color to the palette.
- Tap a clean part of the sponge or a fresh sponge piece onto this color.
- Gently dab in the center of the nail, overlapping slightly with the outer color. The goal is to blend the edges where the colors meet.
- You can go back and forth with light dabs of each color, focusing on blending until you achieve your desired gradient. Less is often more – you can always add more.
Option B: Brush Method (Slightly More Control)
- Apply your ‘outer’ color from the bottle directly onto the nail, focusing on the edges and cuticle area.
- Immediately take a clean, sturdy makeup brush (a dense eyeshadow brush works) and gently blend the edges of the polish inwards.
- Wipe any excess polish from the brush on a paper towel.
- Apply your ‘inner’ color in the center of the nail.
- Use the same blending brush to gently swirl and blend the colors where they meet.
- Be sure to clean your brush thoroughly with rubbing alcohol or nail polish remover between colors and when you’re done.
Step 5: Refine and Clean Up
Once you’re happy with the gradient:
- Use a clean brush dipped in nail polish remover or rubbing alcohol to carefully clean up any polish that got onto your skin or cuticle area. This step makes a HUGE difference to a salon-quality finish!
- If you used regular polish, let it dry completely. For gel polish, cure it under your UV/LED lamp.
Step 6: Seal the Deal
Apply a generous layer of top coat. This will smooth out any texture from the sponging or brushing, add incredible shine, and protect your beautiful aura design.
Stunning Short Aura Nails Design Ideas
Now for the fun part – inspiration! Short aura nails are incredibly versatile. Here are some of our favorite designs to get you started.
Classic Pastel Aura
This is the go-to for a reason! Think soft pinks fading into purples, peaches into yellows, or blues into greens. It’s dreamy and delicate.
- Colors: Light pink center, soft lilac outer edges.
- Vibe: Romantic, ethereal, soft.
- Pro Tip: A sheer white base coat really makes pastel colors pop.
Vibrant Sunset Aura
Embrace the warmth with fiery oranges, pinks, and yellows. These are perfect for adding a pop of energy to your look.
- Colors: Bright orange center, fading into hot pink and then a deep red or purple edge.
- Vibe: Bold, energetic, summery.
- Pro Tip: Use a slightly darker neutral base if you want the colors to appear even richer.
Monochromatic Magic
This sophisticated take uses different shades of the same color. It’s subtle but incredibly chic.
- Colors: Deep navy center, fading into a lighter royal blue and then a soft sky blue edge. Or use shades of green, red, or even grey.
- Vibe: Elegant, modern, minimalist.
- Pro Tip: This works beautifully with glitter top coats added at the end.
Ombre Aura Hybrid
Combine the aura technique with a classic ombre! You can have the aura effect in the center and then have the colors blend more smoothly towards the tip, or vice versa.
- How-to: After creating your aura, use a fine brush and a darker color to draw a line at the tip, then gently blend it down into the aura.
- Vibe: Trendy, multi-dimensional, sophisticated.
Glitter Aura
Add some sparkle! You can apply a glitter polish as your inner color, or dust fine glitter over the blended area for extra shine.
- How-to: After blending your main colors, lightly dab a glitter polish onto the center, or gently press fine cosmetic glitter onto the wet top coat right over the blended section.
- Vibe: Glamorous, festive, fun.
Deep & Moody Aura
Don’t shy away from darker shades! Think deep purples, burgundies, and even blacks for a mysterious and captivating look.
- Colors: Deep plum center, fading into a dark fuchsia, with a hint of black at the very edge.
- Vibe: Mysterious, bold, gothic chic.
- Pro Tip: Ensure your blending is precise with darker colors as mistakes can be more noticeable.
Metallic Aura
Metallic polishes add a futuristic edge. Try a chrome, gold, or rose gold as your inner color.
- Colors: Pearly white center, fading into a rose gold metallic edge.
- Vibe: Modern, edgy, luxurious.
Tips for Perfect Short Aura Nails
Even with the easiest methods, a few tricks can elevate your short aura nails design.
Mastering the Blend
The key to a stunning aura is a smooth blend. Don’t press too hard with your sponge or brush. Light, tapping motions are best. You can build up the color intensity gradually.
Color Combinations Matter
While you can experiment, some color combinations naturally work better. Think about complementary colors (opposite on the color wheel) for contrast or analogous colors (next to each other on the color wheel) for a harmonious blend. Websites like Canva’s color wheel can be a great resource for finding trending and harmonious color pairings.
Less is More, Especially at First
It’s tempting to go heavy on the polish, but it can lead to a muddy or textured finish. Start with very light applications of each color and build them up. You can always add more color, but it’s harder to take it away!
Cleanliness is Key
A clean cuticle line makes a world of difference. Invest a few minutes in carefully cleaning up the edges with a brush and remover. It transforms a DIY job into something that looks professionally done.
Short Nail Shapes that Complement the Aura
While aura nails look good on any shape, some shapes can enhance the effect on short nails:
| Nail Shape | Why it Works for Aura Nails |
|---|---|
| Squoval / Soft Square | Provides a nice flat surface for the gradient to spread evenly. The straight sides emphasize the rounded center of the aura. |
| Round | Complements the soft, circular gradient of the aura perfectly. It’s a classic, natural look that’s easy to maintain. |
| Almond | The elongated shape can give the illusion of slightly longer nails, and the pointed tip offers another area for color transition if desired. |
| Short Coffin / Tapered Square | For those who like a bit more edge, this shape can create a striking contrast with the soft aura gradient. |
The Importance of Nail Health
Healthy nails are the best base for any design. Ensure you’re keeping your cuticles moisturized and your nails strong. For tips on nail health, the American Academy of Dermatology offers excellent advice.
Common Beginner Mistakes and How to Avoid Them
We’ve all been there! Here are some common pitfalls and how to sidestep them to ensure your short aura nails design is a success:
- Over-Blending: Trying too hard to blend can mix the colors into a muddy mess. Gentle tapping is usually enough.
- Too Much Product: Using too much polish on the sponge or brush can create a thick, uneven texture.
- Not Letting Layers Dry: Rushing the process, especially between base coat, color coats, and even the aura colors, can lead to smudging.
- Forgetting Cleanup: Leaving polish on the skin makes even the best design look unfinished.
- Using a Sponge That’s Too Dense: A sponge with large pores can create a streaky, uneven finish. Look for fine-celled makeup sponges.
Frequently Asked Questions About Short Aura Nails
What are the best colors for short aura nails?
Pastels, neons, and sunset tones are very popular for a vibrant look. Monochromatic shades (different tones of the same color), deep jewel tones, and even black and white work for a more sophisticated or edgy vibe. It really depends on your personal style!
Can I do aura nails with regular nail polish?
Yes, absolutely! While gel polish offers better durability and a smoother finish, regular polish is perfectly fine for practicing the aura technique. You might need to work a bit faster with regular polish before it dries.
How do I get a smooth blend?
The key is light tapping motions with your sponge or brush. Build up the color gradually. Don’t press too hard. You can also use a clear polish or a slightly more liquidy color to help blend the edges if they look too harsh.
How long do short aura nails last?
With regular nail polish, you can expect them to last 3-7 days, depending on how well you prepped your nails and the quality of your top coat. Gel polish can last 2-3 weeks.
Are aura nails complicated to do?
The basic aura effect using a sponge is quite beginner-friendly! It might take a couple of tries to get the hang of the blending, but it’s much simpler than intricate freehand designs.
My aura looks patchy. What am I doing wrong?
This often happens if you’re not applying enough color or if your sponge/brush isn’t picking up enough product. Try dabbing your applicator onto the polish a bit more firmly. Alternatively, you might be blending too much, which can lift the color off. Try lighter, quicker dabs.
Conclusion
Short aura nails are a fantastic way to express your style and embrace a trendy look without needing long nails. From dreamy pastels to fiery sunsets and chic monochromes, the possibilities are as vast as your imagination. By using the right tools and a little bit of practice, you can absolutely master this beautiful gradient effect right at home. Remember to prep well, blend gently, and always finish with a good top coat. So, gather your polishes, grab a sponge, and get ready to create some stunning short aura nails that will have everyone asking where you got them done!

