Short almond nail designs offer a chic and versatile way to elevate your manicure. These effortless styles are perfect for beginners and busy individuals, blending elegance with easy upkeep. Discover simple yet stunning looks that enhance your natural nail shape.
Hello, nail lovers! Are you dreaming of a nail shape that’s both elegant and easy to manage? The almond shape, especially when kept short, is a total game-changer! It’s chic, flattering, and surprisingly simple to achieve and maintain. But you might be wondering, “Can I really rock cute designs on short almond nails?” The answer is a resounding YES!
Many of us shy away from nail art thinking it’s too complicated or requires super long nails. But that’s not true at all! Short almond nails are the perfect canvas for subtle, sophisticated, and super stylish designs that don’t demand hours of your time.
We’re going to dive into some of the most genius and effortless short almond nail designs out there. Whether you’re a total DIY novice or just looking for quick ways to spice up your mani, you’ll find inspiration here. Get ready to transform your nails into tiny works of art that fit your busy life!
Why Short Almond Nails Are a Dream
The almond nail shape is beloved for a reason. It naturally elongates the fingers, giving a graceful appearance. When you keep them short, you get the best of both worlds: the flattering silhouette of the almond shape with the practicality of shorter nails. They’re less prone to snagging and breaking, making them ideal for everyday life. Plus, they look stunning with almost any polish color or design!
Getting the Short Almond Shape Right
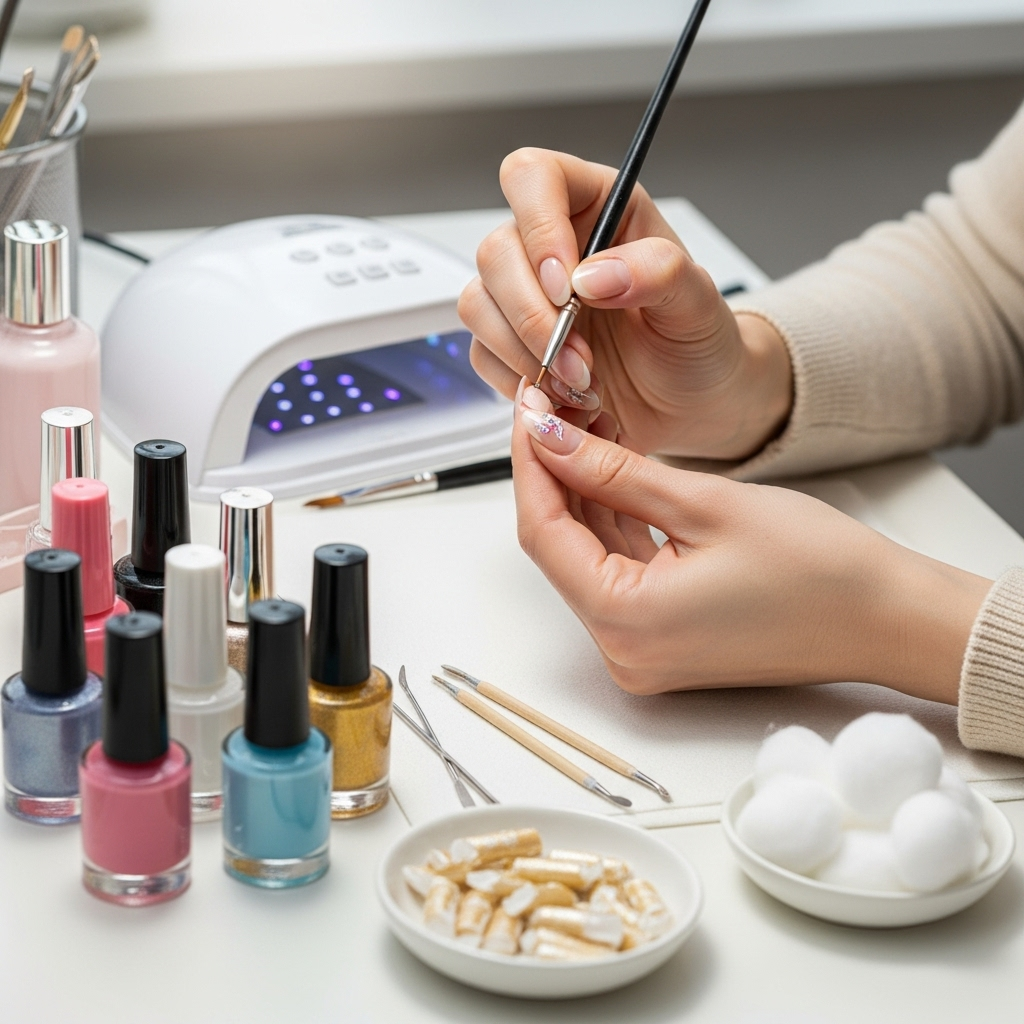
Before we dive into designs, let’s quickly touch upon how to get that perfect short almond shape. It’s easier than you think!
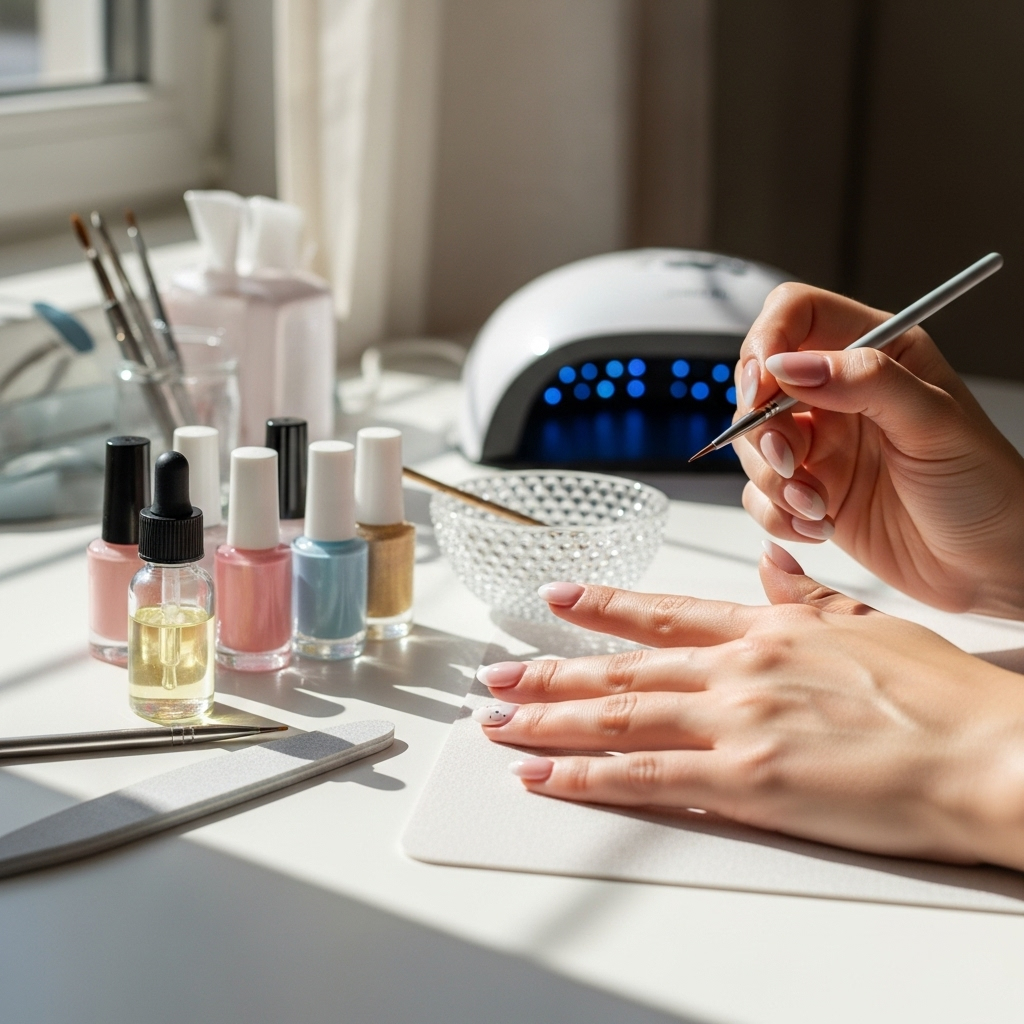
Tools You’ll Need:
- Nail file (a fine-grit file is best for shaping)
- Nail clippers (optional, for initial shortening)
- Cuticle pusher (optional, for tidying up cuticles)
- Top coat and base coat
- Your favorite nail polish colors
Step-by-Step Shaping:
- Start with Clean Nails: Remove any old polish.
- Shape into a Square-ish First: Gently file the sides of your nails straight across to create a soft square shape. This gives you a base to work from.
- Create the Taper: Now, gently file the sides inwards towards the center of your nail tip. Imagine drawing a gentle curve from the sidewall to the center.
- Refine the Tip: File the very tip into a soft point. Don’t go too sharp; we’re aiming for a subtle curve, not a stiletto.
- Smooth Edges: Go over the entire nail, smoothing any rough edges with your file.
- Buff (Optional): A gentle buff can make the surface super smooth.
- Clean Up: Push back cuticles and clean any dust.
Remember, patience is key! It might take a couple of tries to get the symmetry just right, but the more you practice, the easier it becomes. For more detailed guidance, resources like the Nailpro comprehensive guide to nail shapes can offer visual aids and further tips.
Genius, Effortless Short Almond Nail Designs
Now for the fun part! These designs are all about enhancing the almond shape without being overbearing. They’re quick to do and make a big impact.
1. The Chic Monochromatic Mani
This is the ultimate easy win. A single, sophisticated color applied flawlessly can be incredibly striking on short almond nails.
Why it Works:
- Simplicity is Key: It’s incredibly easy to execute.
- Elegance Factor: Deep, rich colors like burgundy, navy, emerald green, or classic nude shades look incredibly luxe.
- Versatility: Perfect for any occasion, from the office to a night out.
How to Achieve It:
- Apply a good base coat to protect your nails.
- Apply two thin coats of your chosen polish color.
- Finish with a high-shine top coat for that polished look.
2. The Subtle French Tip Reimagined
Forget the harsh white lines of traditional French manicures. We’re talking about a soft, modern take that looks amazing on short almond nails.
Why it Works:
- Sophistication: It adds a touch of refinement without being too much.
- Flattering on Almonds: It accentuates the natural curve of the nail.
- Customizable: Play with different accent colors or finishes.
How to Achieve It:
- Start with a sheer nude or milky pink base coat.
- Using a fine brush or a nail stamper, create a thin, curved line of color (white, a soft pastel, or even a metallic) along the tip. Aim for a delicate “smile line.”
- Alternatively, try a “baby French” where the tip line is extremely thin and delicate.
- Seal with a top coat.
3. The Negative Space Design
Negative space nails are super trendy and surprisingly easy. They involve leaving parts of your natural nail visible, creating a cool, minimalist effect.
Why it Works:
- Modern & Edgy: It looks very contemporary.
- Low Maintenance: Chips are less noticeable as the natural nail is part of the design.
- Subtle Pop: You can add a geometric line or a small detail without a full-color commitment.
How to Achieve It:
- Apply a clear or sheer base coat.
- Using tape (nail art tape is best) or a fine brush, create geometric shapes or lines in your chosen color (gold foil, black, or white work well) over the natural nail.
- Ensure the tape is firmly adhered to prevent polish bleeding.
- Carefully remove the tape while the polish is still slightly wet.
- Apply a top coat.
4. The Minimalist Dot or Line Accent
Sometimes, all you need is a single, strategic detail. A tiny dot or a fine line can make a huge difference.
Why it Works:
- Effortless Chic: It’s understated and sophisticated.
- Quick Fix: Takes mere seconds to add.
- Focus on Shape: It draws attention to the lovely almond shape.
How to Achieve It:
- Paint your nails with a solid color or a sheer base.
- Using the tip of a bobby pin, a fine nail art brush, or even the edge of your polish bottle, carefully place a single dot near the cuticle or on one side of the nail.
- Or, draw a thin vertical or horizontal line across the nail. Metallic gold, silver, or black are great choices.
- Let dry completely and add a top coat.
5. The Subtle Glimmer: Metallic Tips
Add a touch of sparkle without going full-on glitter bomb. Metallic tips on short almond nails are incredibly chic.
Why it Works:
- Elegant Shine: Adds a sophisticated gleam.
- Modern Twist: A fresh take on the French tip.
- Quick Application: Can be done with polish or foil tape.
How to Achieve It:
- Paint your nails with a neutral, nude, or soft pastel base color.
- Once dry, apply a thin line of metallic polish (gold, silver, rose gold, or holographic) along the very tip of each nail. A fine detail brush or striping tape can help with precision.
- Alternatively, use metallic nail foil tape by applying polish, sticking the tape, and then removing the excess.
- Seal with a top coat.
6. The Two-Tone Effect
This design plays with two complementary or contrasting colors to create a modern and visually interesting look.
Why it Works:
- Unique & Stylish: Stands out from single-color manicures.
- Can be Done Simply: Doesn’t require complex artistry.
- Customizable: Play with color combinations.
How to Achieve It:
There are a few ways to do this:
- Half and Half: Paint the top half of your nail one color and the bottom half another, with a clean line down the middle. Use tape for a crisp division.
- Color Blocking: Paint one nail a solid color, and another a different solid color. Or, divide a single nail into two distinct color blocks.
- Ombre (Subtle): While often done longer, a very subtle, soft ombre effect with two muted tones can look beautiful on short almond shapes too.
Nail Art Tools and Techniques for Beginners
Don’t be intimidated by nail art! With the right tools and a little practice, you can create these designs with ease.
Essential Tools:
Here’s a quick breakdown of some handy tools:
| Tool | Purpose | Beginner Tip |
|---|---|---|
| Fine-grit Nail File | Shaping, smoothing edges. | Use gentle, one-direction strokes to avoid nail damage. |
| Detail/Art Brushes | For drawing fine lines, dots, and details. | Start with one or two thin brushes. Keep them clean! |
| Dotting Tools | Creating perfect dots of various sizes. | They have ball tips of different diameters. Easy to use! |
| Nail Art Liner Tape | Creating straight lines, geometric shapes. | Apply to dry polish; remove while still wet to prevent lifting. |
| Stencils | For creating specific shapes like French tips or patterns. | Can be used with polish or stamping. Research reviews for best adhesion. |
| Clear Top Coat | Sealing the design, adding shine, durability. | Apply generously but avoid flooding cuticles. |
Quick Techniques:
- The Dotting Tool Method: Dip your dotting tool into a small pool of polish and gently press onto the nail. Vary the pressure for different sizes.
- The “Freehand” Brush Stroke: For simple lines or curves, use the side of a fine brush and a steady hand. Practice on a piece of paper first if you’re nervous.
- Stamping: Use specialized nail stamping plates and a stamper to transfer intricate designs. It’s easier than it looks! You can find beginner-friendly stamping kits online.
Tips for Long-Lasting Short Almond Manicures
Want your gorgeous designs to last? Here are a few pro tips:
- Prep is Paramount: Always start with clean, dry nails. Buffing gently can help polish adhere better.
- Base Coat is Your Best Friend: A good base coat protects your nails from staining and helps polish grip.
- Thin Coats are Key: Avoid thick, goopy layers of polish. Two thin coats are always better than one thick one. This also helps with drying time.
- Cap the Free Edge: When applying your top coat, sweep a little bit of it along the very edge (the tip) of your nail. This seals the polish and prevents chipping.
- Avoid Harsh Chemicals: Wear gloves when doing household chores, especially those involving water or cleaning agents, as they can break down polish.
- Nightly Nail Oil: Applying cuticle oil regularly helps keep your cuticles and nails hydrated, preventing dryness and brittleness which can lead to chips. Learn more about nail care from resources like the American Academy of Dermatology’s guide to nail health.
Common Mistakes to Avoid
Even with simple designs, a few slip-ups can happen. Here’s how to steer clear:
Mistake 1: Rushing the Drying Process
Polishing and moving on too quickly is the fastest way to get smudges and dents. Allow adequate drying time, especially between coats and before adding art.
Mistake 2: Overpowering the Shape
Very intricate or heavy designs can sometimes make short nails look shorter. Simplicity really is best for this shape and length.
Mistake 3: Forgetting the Top Coat
The top coat is crucial for shine, longevity, and protecting your design. Don’t skip it!
Mistake 4: Improper Shaping
Uneven or overly sharp almond shapes can look less flattering. Take your time with the file and aim for symmetry.
Frequently Asked Questions About Short Almond Nails
Q: Are short almond nails hard to maintain?
A: Not at all! Short almond nails are celebrated for their practicality. They’re less likely to break or snag during daily activities compared to longer nails, making them a low-maintenance choice.
Q: Can I do nail art on short almond nails?
A: Absolutely! Short almond nails are a fantastic canvas for nail art. Simple designs like minimalist dots, fine lines, subtle French tips, or single accent colors look especially chic and elegant on this shape and length.
Q: What colors look best on short almond nails?
A: Almost any color can look great! Deeper, richer tones like burgundy, navy, or forest green provide a sophisticated look. Nudes and pastels offer a soft, elegant feel. Metallics and neons can add a fun pop. It really depends on your personal style and the occasion!
Q: How do I prevent my nail polish from chipping on short nails?
A: To prevent chipping, always use a good base coat and top coat. Apply polish in thin layers, and be sure to “cap” the free edge of your nail with your top coat. Avoid exposing your nails to excessive water or harsh chemicals without gloves.
Q: Is the almond shape good for weak nails?
A: Yes, the tapering shape of the almond can actually make nails appear stronger and less prone to breakage compared to square-shaped nails, especially when kept at a shorter length. It distributes stress away from the tips.
<

