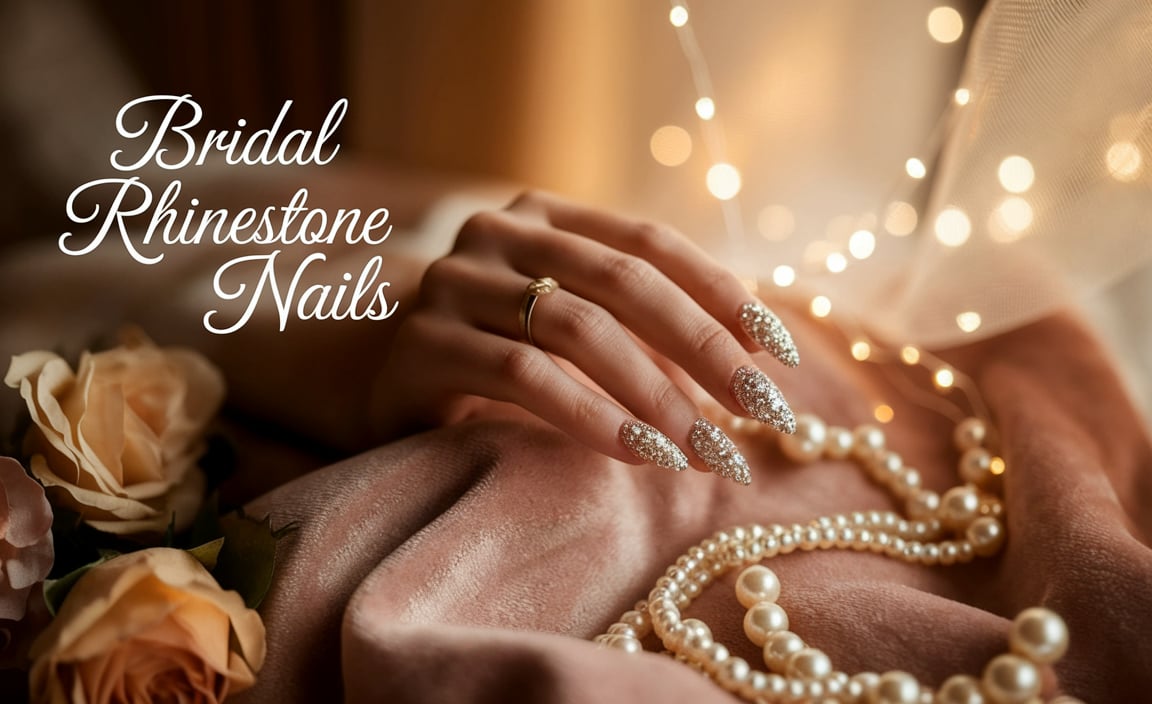
Short almond nail designs offer a universally flattering and chic way to elevate your manicure, providing a sophisticated silhouette that’s both practical and stylish. These versatile looks are perfect for beginners and pros alike, proving that elegance comes in all lengths and that simple shapes can be incredibly impactful.
Ever feel like your nails are just… there? You want something special, something that adds a little sparkle to your day, but the thought of complicated nail art can feel overwhelming. Maybe you love the elegant shape of almond nails but worry they’d be too long or impractical for everyday life. Well, get ready to fall in love with short almond nails! They’re the perfect blend of chic and convenient, and mastering a few simple designs is easier than you think. We’ll walk you through everything you need to know to create stunning short almond manicures that are totally achievable, even if you’re just starting out.
Why Short Almond Nails Are Your New Best Friend
The almond shape is famously flattering. It elongates the fingers, giving them a graceful appearance. When you bring this shape down to a shorter length, you get all the elegance without sacrificing practicality. Think about it: gorgeous shape, less likely to snag or break, and a perfect canvas for so many adorable designs. It’s a win-win!
For many of us, daily life involves a lot of typing, chores, and general hand-use. Long nails can sometimes get in the way or be prone to chipping and breaking. Short almond nails offer a beautiful compromise. They provide the sophisticated silhouette that the almond shape is known for, but with a length that is much more manageable for everyday tasks. This makes them an incredibly practical choice for busy individuals who still want to sport a polished and stylish manicure.
This shape also naturally draws the eye upward towards the fingertip, which can make your fingers appear longer and more slender – a universally desired effect! Plus, they tend to feel very natural and comfortable once you get used to them. So, whether you’re a nail art novice or a seasoned pro, short almond nails are a fantastic base for expressing your personal style.
Getting Started: The Essential Tools for Short Almond Nails
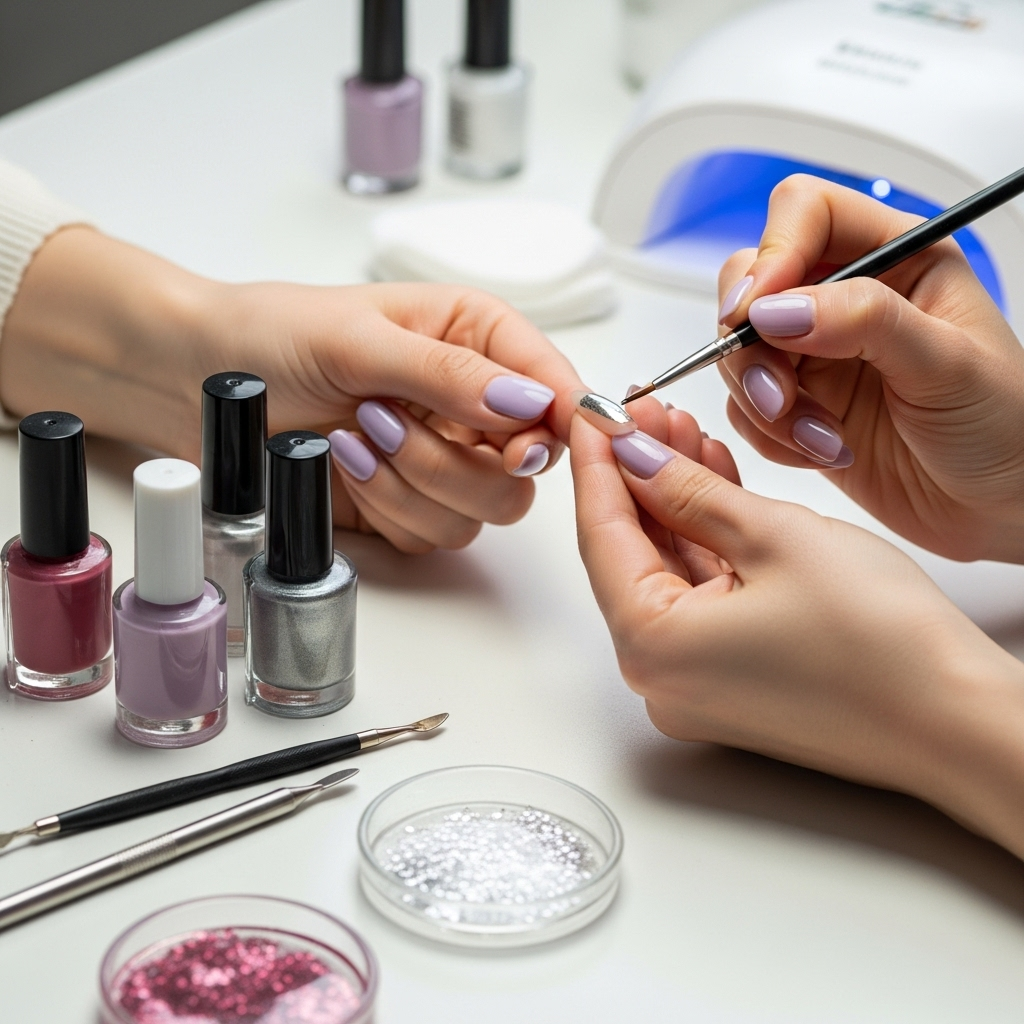
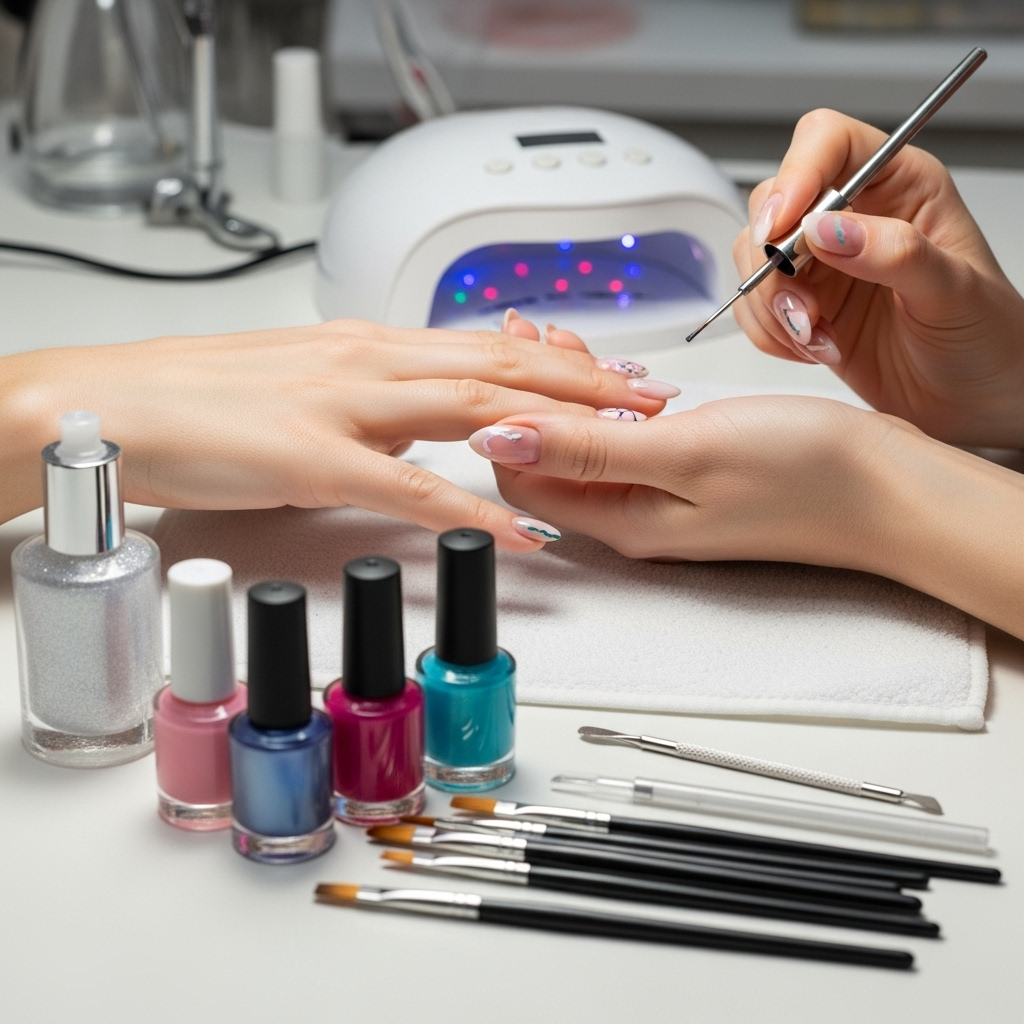
Before we dive into the fun designs, let’s make sure you have the right gear. Don’t worry, you don’t need a whole professional salon in your home! A few key items will set you up for success.
The Must-Have Nail Tools:
- Nail Clippers: For the initial shaping.
- Nail File (preferably glass or a fine-grit emory board): Crucial for shaping the almond tip and smoothing. A glass file is great because it seals the nail edge, helping to prevent chips. You can find excellent options online, for example, this popular crystal nail file is a favorite among many DIY enthusiasts.
- Cuticle Pusher or Orangewood Stick: To gently push back your cuticles for a clean nail bed.
- Nail Buffer: To smooth out any ridges and prep the nail surface for polish.
- Base Coat: Essential for protecting your natural nails and helping polish adhere better.
- Top Coat: Seals your design and adds a glossy, long-lasting finish.
- Nail Polish or Gel Polish: Your chosen colors!
- Optional: Dotting Tools, Thin Brushes, or Toothpicks: For creating simple designs.
Shaping Your Nails into the Perfect Short Almond
This is where the magic begins! Don’t be intimidated; it’s a simple process. The key is patience and a good file.
Step-by-Step Shaping Guide:
- Prep Your Nails: Start with clean, dry nails. Remove any old polish. Gently push back your cuticles with a cuticle pusher.
- Initial Length and Shape: If your nails are longer, use clippers to trim them down to your desired starting length. Aim for a length you’re comfortable with for daily wear. Then, start filing the sides of your nails straight up towards the free edge, creating a rough square or squoval shape.
- Creating the Almond Point: This is the defining step! Imagine a gentle curve connecting each side wall of your nail to a central point at the free edge. Using your nail file, file from the outer sidewalls inwards towards the center of the nail’s free edge. Work slowly and carefully, filing in one direction to avoid damaging the nail. Aim for a soft, rounded point rather than a sharp, harsh one.
- Refine and Smooth: Once you have the basic almond shape, use your file to smooth out any rough edges and perfect the symmetry. Gently file the tip to ensure it’s smooth and not sharp.
- Buff and Polish: Lightly buff the surface of your nails to create a smooth canvas. Apply a base coat, followed by your desired polish colors, and finish with a top coat for shine and durability.
Remember, it’s okay if your first few attempts aren’t perfectly symmetrical. Practice makes progress! The beauty of a file is that you can always adjust and refine.
Genius Short Almond Nail Designs for Every Occasion
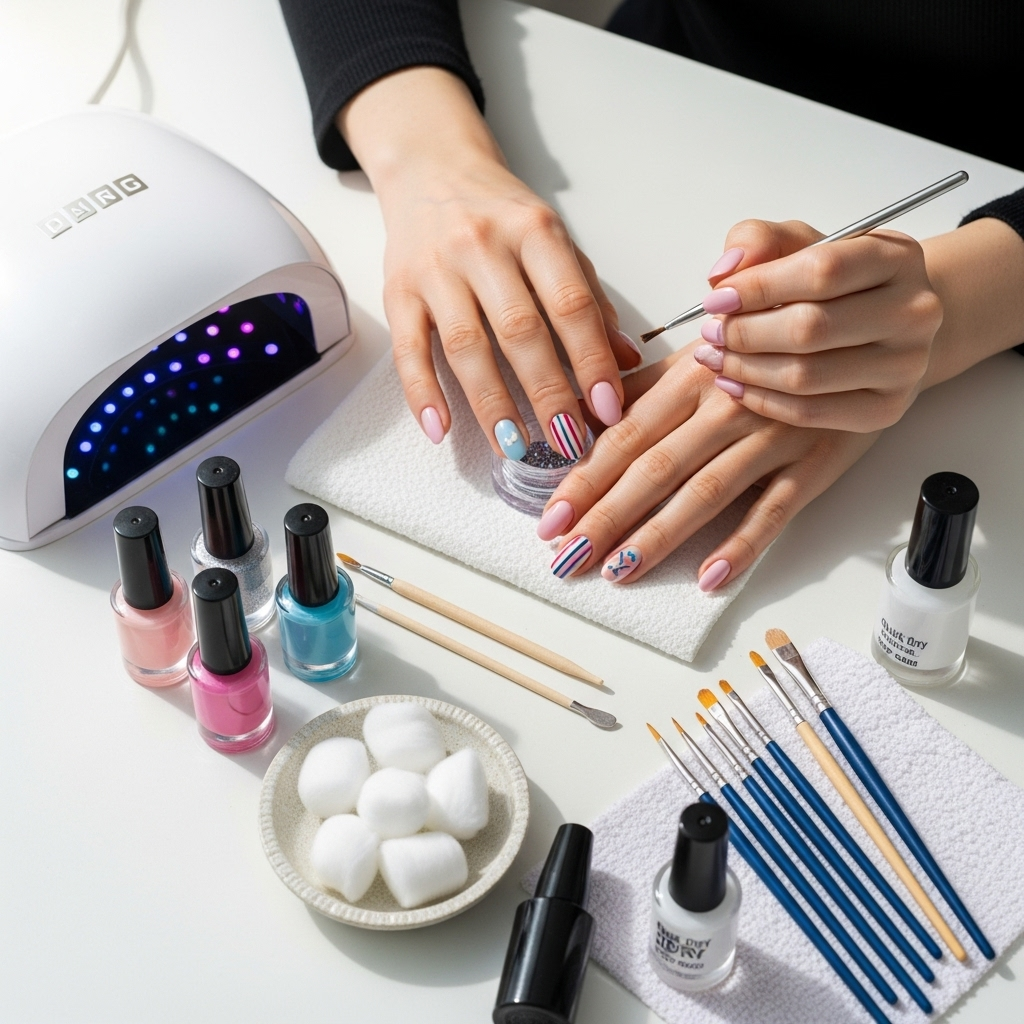
Now for the fun part! Short almond nails are incredibly versatile, meaning they look fabulous with a wide range of designs. Here are some essential and genius ideas to get you started.
1. The Classic French Manicure (with a Twist!)
The French manicure is timeless for a reason. On short almond nails, it looks sophisticated and clean. For a modern twist, try a colored tip instead of white, or a “baby French” with a very thin line of color.
- How-to:
- Apply a sheer nude or pink base coat.
- Using a very fine brush or a stencil, carefully paint a thin line of white or colored polish across the tip of each nail.
- Alternatively, use guide strips specifically designed for French tips. Place them where you want the tip to begin.
- Fill in the tip area.
- Once dry, apply a clear top coat.
2. Minimalist Single Accent Nail
If you love a clean look but want a touch of flair, an accent nail is perfect. Paint all but one nail in a solid color (like a chic nude, classic red, or sophisticated navy) and then decorate the accent nail with something special.
- Design Ideas for Accent Nail:
- A single metallic stripe.
- A tiny dot at the base of the nail (a “moon micro-dot”).
- A small, delicate floral sticker.
- A sprinkle of fine glitter.
- How-to (for a metallic stripe):
- Paint all nails except your accent nail in your chosen base color.
- On the accent nail, paint your base color. Let it dry completely.
- Using a fine liner brush dipped in metallic polish (gold, silver, rose gold), paint a single, straight line down the center of the nail, or create a subtle V-shape near the cuticle.
- Seal with top coat.
3. Elegant Ombre/Gradient Nails
Ombre is a smooth transition of colors, and it looks stunning on the almond shape. You can go for subtle nude-to-pink transitions or bold, multi-color gradients.
- How-to (using a sponge):
- Apply your lightest color polish and let it dry.
- Apply your darker color(s) horizontally onto a makeup sponge.
- Gently dab the sponge onto the nail, blending the colors upwards. You may need to dab a few times.
- Clean up any polish that got on your skin with a brush dipped in nail polish remover.
- Repeat for opacity if needed.
- Finish with a top coat.
4. Chic Geometric Patterns
Simple geometric shapes like lines, dots, or chevrons add a modern and artsy touch. These are surprisingly easy to achieve with dotting tools or fine brushes.
- How-to (for diagonal lines):
- Paint your nails in a solid color and let them dry completely.
- Use a striper brush or a toothpick dipped in a contrasting color.
- Carefully paint diagonal lines across each nail. You can do parallel lines or create a chevron shape.
- Clean up any stray marks and seal with a top coat.
5. Glitter and Sparkle Accents
Who doesn’t love a bit of sparkle? Glitter can be used all over, as an accent, or in specific designs like glitter French tips or a glitter gradient.
- How-to (for a glitter gradient):
- Apply your base color and let it dry.
- Apply a clear top coat or a glitter adhesive to the bottom half or two-thirds of your nail.
- Dip the nail into a pot of fine glitter, or gently press loose glitter onto the sticky area with a brush.
- Gently tap off excess glitter.
- Apply another layer of topcoat over the entire nail to seal the glitter and smooth the surface. You might need a couple of top coats for a perfectly smooth finish.
Short Almond Nail Design Inspiration Table
Here’s a quick reference table to inspire your next manicure. Consider the occasion, your outfit, and your mood!
| Design Style | Best For | Ease Level | Color Palette Suggestions |
|---|---|---|---|
| Classic French Tip | Everyday, Professional, Elegant | Easy to Medium | White on nude/pink; Black on nude; Pastel colors |
| Minimalist Single Stripe | Chic Casual, Office, Modern | Easy | Gold or Silver on deep jewel tones (burgundy, navy, forest green) |
| Subtle Ombre | Soft Feminine, Bridal, Everyday | Medium | Nude to light pink; Peach to ivory; Soft blues and greys |
| Geometric Accent | Trendy, Artsy, Casual | Medium | Black and white; Contrasting bright colors; Metallic accents |
| Full Glitter Accent | Party, Special Occasions, Glam | Easy | Silver, Gold, Rose Gold, Holographic, Iridescent |
| Polka Dots | Playful, Cute, Casual | Easy | Black dots on white; White dots on pastel; Multi-colored dots |
Advanced Techniques (for the Adventurous Beginner!)
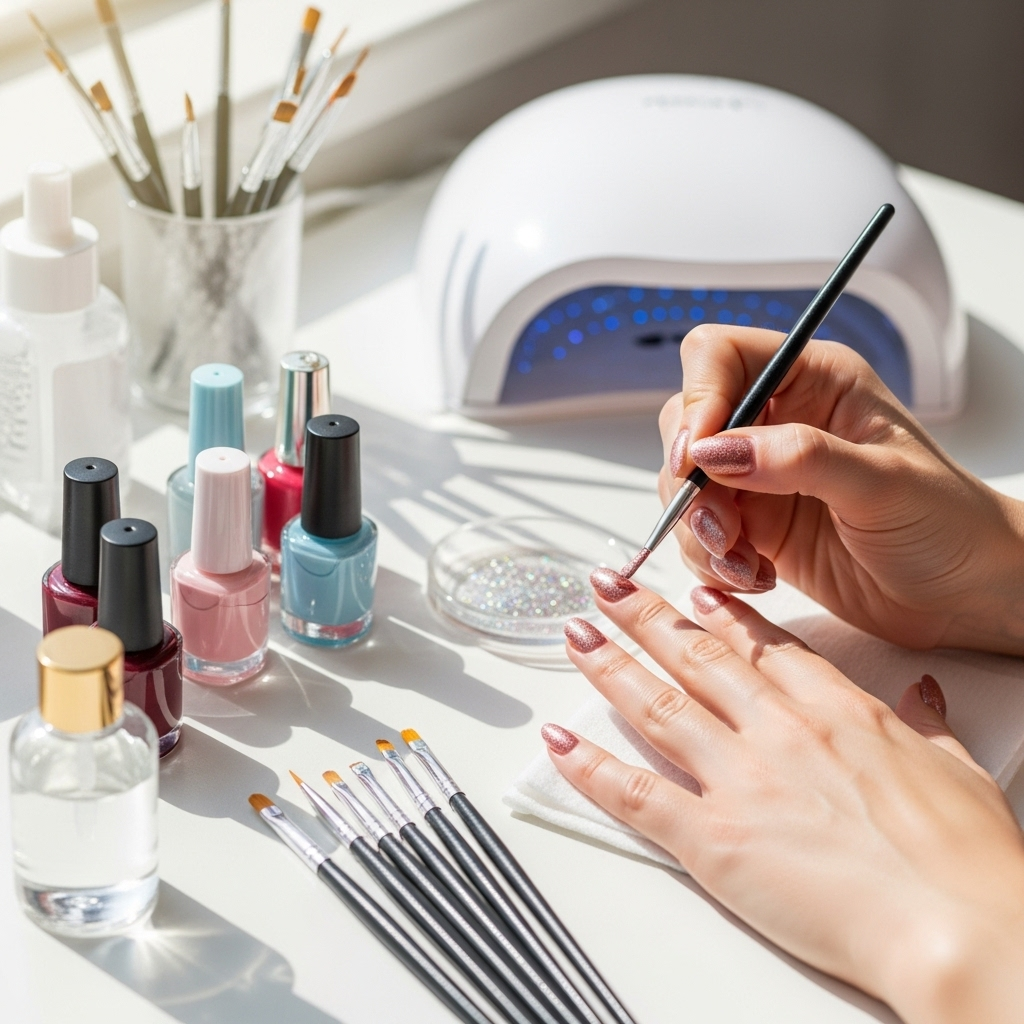
Once you’re comfortable with the basics, you might want to try these slightly more involved techniques. They still use the short almond shape as a perfect foundation!
1. Marble Effect Nails
Marble looks sophisticated and intricate, but can be surprisingly achievable with a bit of practice. You can do a full marble look or an accent nail.
- How-to (simplified version):
- Apply a white or light cream base coat and let it dry completely.
- On a piece of plastic wrap or foil, randomly add small drops of black or grey polish and a clear top coat.
- Swirl them together gently with a toothpick to create a marbled pattern.
- Gently press the plastic wrap onto your nail, picking up some of the marbled design.
- Lift and reposition as needed to get the desired look.
- Clean up edges and seal with a top coat.
2. Negative Space Designs
Negative space designs involve leaving parts of your natural nail visible, adding a modern and airy feel. These often use tape or stencils to create clean lines or shapes.
- How-to (using tape):
- Paint your nails with your base color and let it dry completely.
- Apply nail art tape in geometric patterns (lines, triangles) over your dried polish. Ensure the tape is pressed down firmly to prevent polish bleeding underneath.
- Paint over the tape with a contrasting color.
- While the second color is still wet, carefully peel off the tape using tweezers.
- Let the nails dry completely before applying a top coat.
3. Delicate Floral Accents
Tiny, hand-painted flowers or floral decals can add a beautiful touch of nature and artistry to your short almond nails.
- How-to (using a fine brush):
- Paint your nails in your desired base color and let them dry.
- Using a very fine tip brush, dip into a contrasting polish color (e.g., pink, white, or yellow).
- Create tiny dots for petals or gently swirl to form flower shapes. Start small!
- Add a tiny dot of a different color for the center or a tiny green leaf.
- Seal with a top coat once completely dry.
Maintaining Your Short Almond Manicure
Keeping your short almond nails looking their best is key to enjoying your designs for longer. Here are some easy tips:
- Reapply Top Coat: Every 2-3 days, add another layer of top coat. This refreshes the shine and protects your design from wear and tear.
- Moisturize, Moisturize, Moisturize!: Keep your cuticles and hands hydrated with cuticle oil and hand cream. Healthy cuticles make for a beautiful manicure base. Cuticle oil is especially important for keeping the skin around your nails soft and preventing hangnails. A good quality cuticle oil, like those containing jojoba or vitamin E, can work wonders. You can find many options, for example, Nail’s Magazine offers a helpful guide on effective cuticle oils.
- Be Gentle: Avoid using your nails as tools to pry or scrape. This can lead to chipping or breakage, no matter how short they are.
- File Away Snags Immediately: If you notice a snag or rough edge, gently file it smooth right away to prevent it from worsening.
Frequently Asked Questions About Short Almond Nail Designs
Q1: Are short almond nails good for beginners?
Absolutely! The short almond shape is very forgiving and practical. Shaping them is simple with a good file, and they provide a versatile canvas for easy designs like solid colors, simple stripes, or accent glitter nails.
Q2: How do I keep my nail polish from chipping on short almond nails?
Ensure you prep your nails properly by cleaning them, applying a good base coat, and sealing your color with at least two layers of high-quality top coat. Reapplying top coat every few days also helps extend the life of your manicure.
Q3: Can I wear dark colors on short almond nails?
Yes! Dark colors like deep blues, purples, greys, and even black look incredibly chic and sophisticated on short almond nails. They can actually make your fingers look more slender.
Q4: What’s the difference between almond and stiletto nails?
Almond nails are shaped with a rounded, soft peak at the tip, while stiletto nails come to a sharp, pointed end. Short almond nails retain the elegance without the sharp point, making them more practical.
Q5: How often should I reshape my nails if they’re growing out?
If you’re maintaining a short almond shape, you might need to gently file and reshape them every 1-2 weeks as they grow, depending on how quickly your nails grow and how much you file them down initially.
Q6: What are the benefits of short almond nails?
They are universally flattering, elongate the fingers, are less prone to breaking than long nails, are practical for everyday activities, and serve as an elegant base for a wide variety of nail art designs.
Conclusion
Short almond nail designs are truly genius because they offer the perfect fusion of style and practicality. They provide an elegant, elongating shape that flatters almost everyone, without the upkeep or inconvenience of longer nails. Whether you opt for a classic French twist, a subtle ombre, a bold geometric pattern, or a touch of glitter, the short almond canvas is your playground for creativity. With just a few essential tools and a willingness to experiment, you can easily achieve salon-worthy manicures right at home. So go ahead, embrace the chic simplicity and endless possibilities of short almond nails – your hands will thank you!

