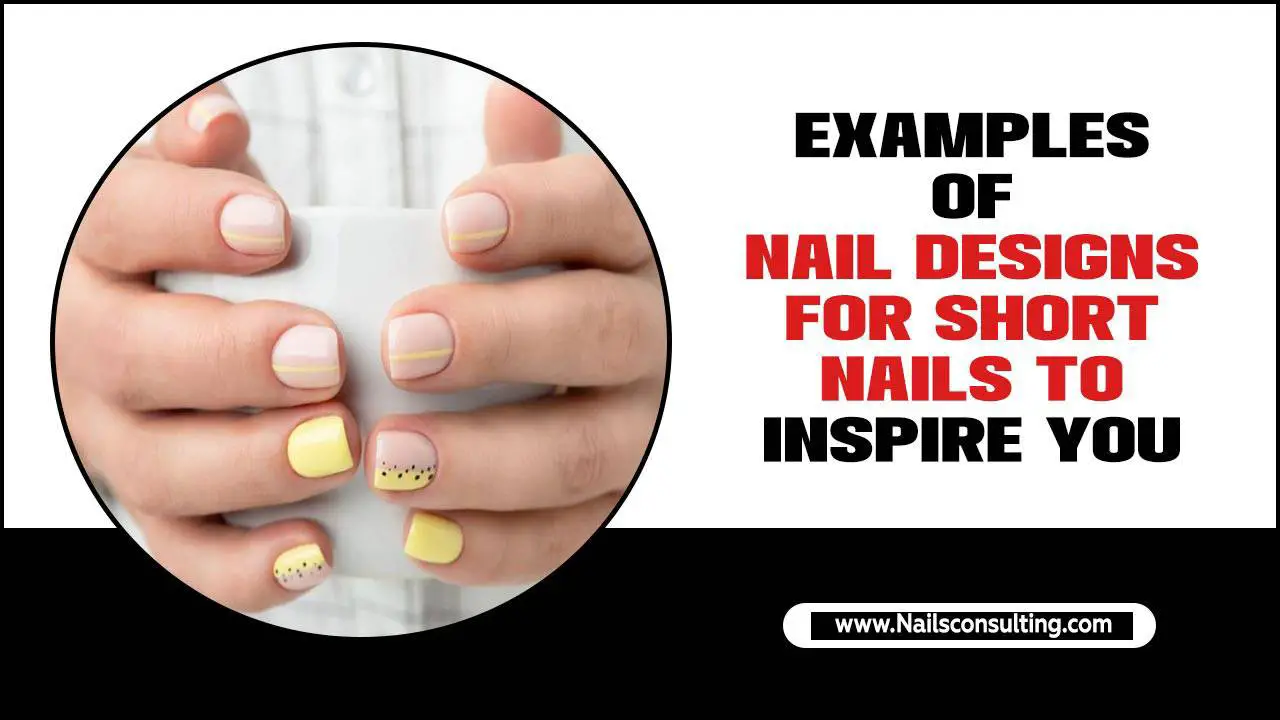
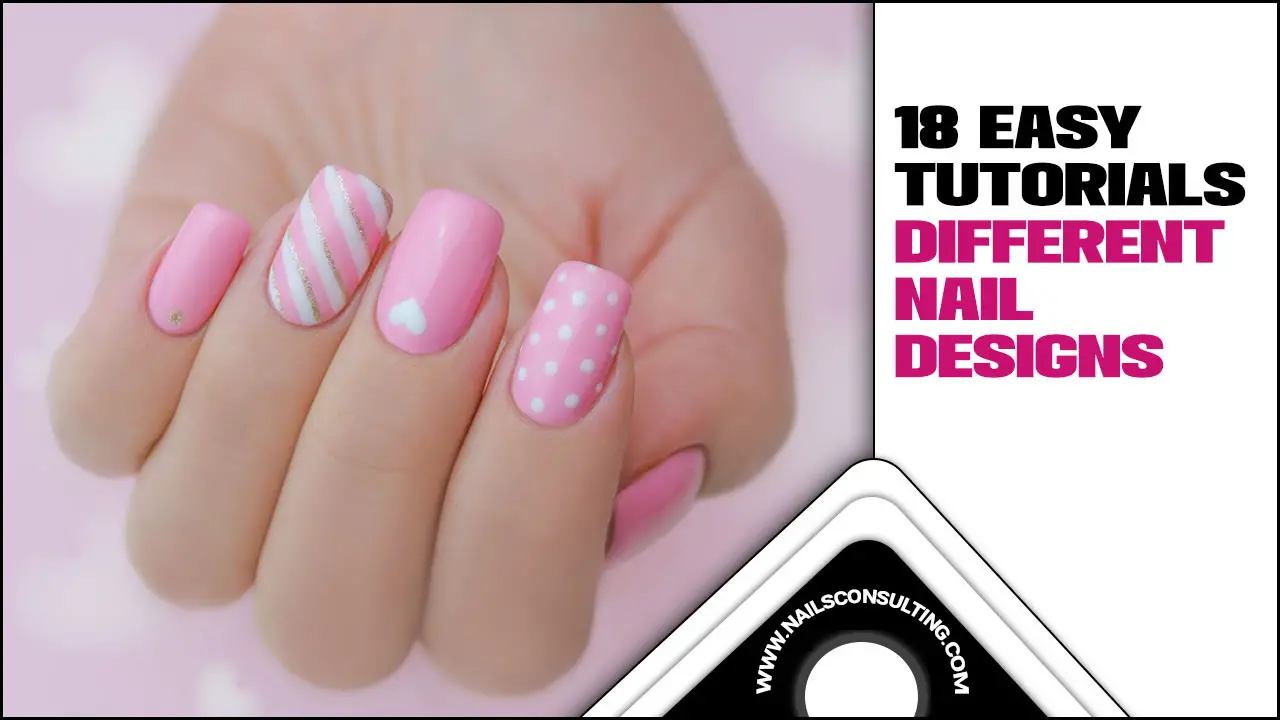
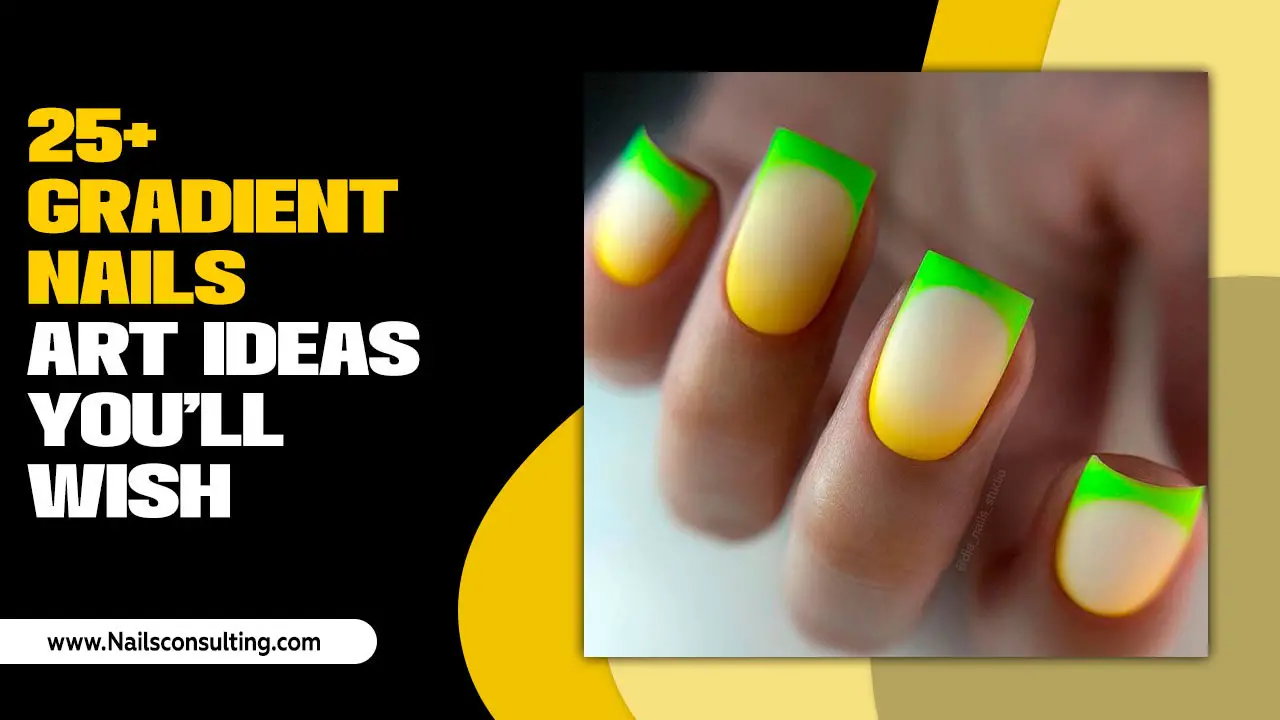
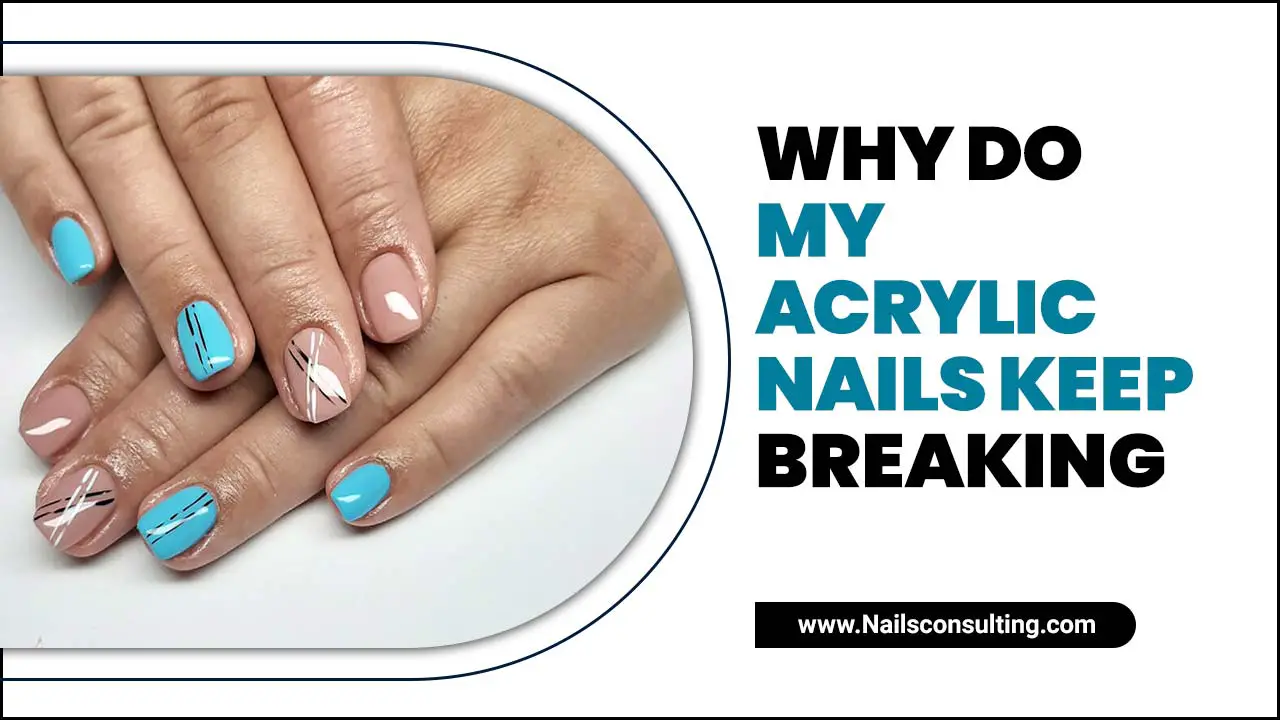
Short abstract nails offer a chic and versatile way to express your style. These designs embrace non-representational art, using shapes, lines, and colors to create unique, eye-catching looks perfect for any occasion. They are surprisingly easy to achieve, even for beginners, proving that impressive nail art doesn’t require long nails.
Short nails are fantastic! They’re practical for daily life, and you can totally rock stunning nail art on them. Thinking abstract? It’s a brilliant choice because it’s all about fun shapes, lines, and colors, not perfect realism. You don’t need a degree in art to make them look amazing. We’ll dive into some super cool, easy-to-do short abstract nail designs that will make your fingertips pop. Get ready to unleash your inner artist and create manicures you’ll love!
Welcome to the World of Short Abstract Nails!
Abstract nail art is like a mini canvas for your creativity. Forget trying to paint tiny flowers perfectly; abstract is all about playful swirls, bold lines, geometric shapes, and splashes of color. The best part? It looks absolutely fabulous on short nails! They offer a clean, modern backdrop that makes abstract designs pop. Whether you’re heading to work, a casual get-together, or a special event, short abstract nails can be your perfect accessory.
Why are short nails so great for abstract art?
Practicality: They don’t get in the way of your daily tasks.
Versatility: Easy to paint and maintain.
Modern Appeal: They scream chic and contemporary.
Design Focus: Abstract art looks stunning without being difficult to execute.
This guide is here to show you just how easy and fun creating short abstract nails can be. We’ll cover everything from basic techniques to some seriously genius design ideas. So, grab your nail polish, and let’s get started!
Why Are My Abstract Nails Not Turning Out How I Imagined?
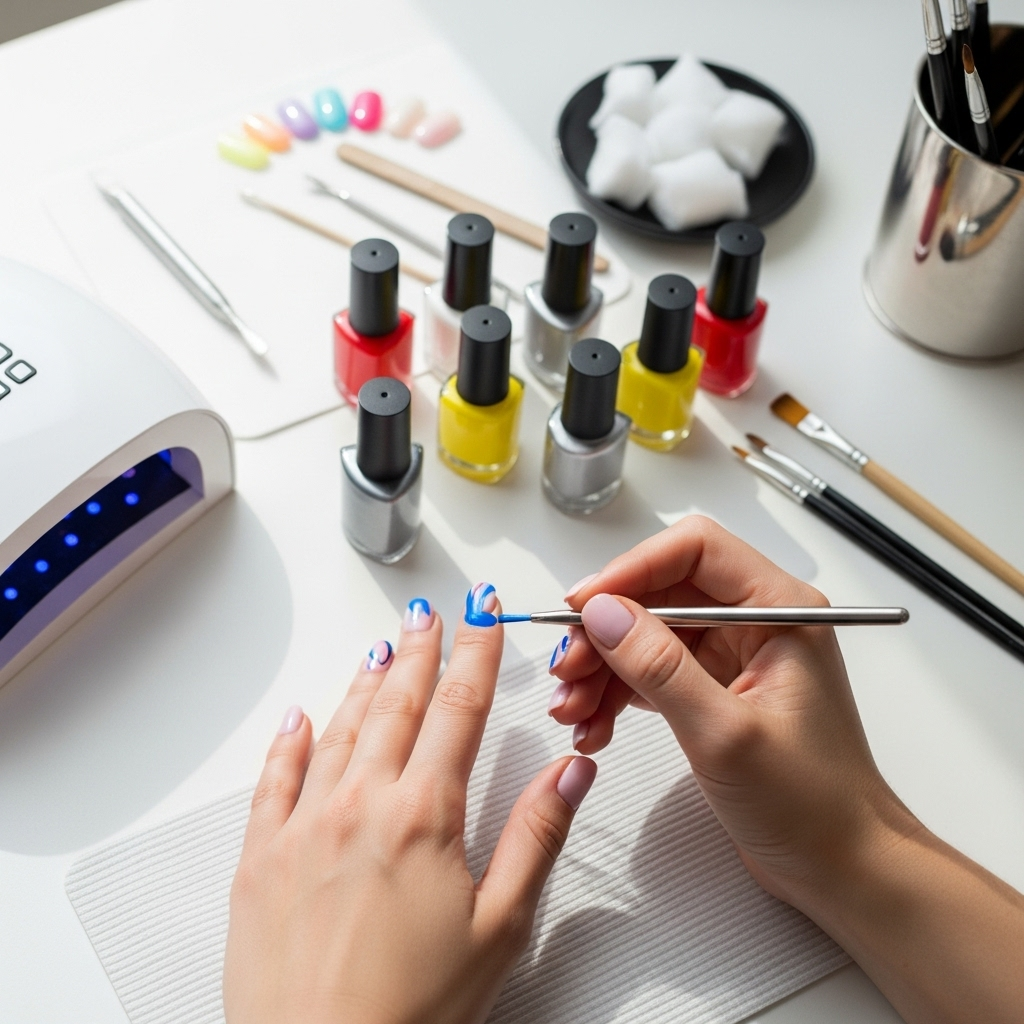
It’s a common frustration! You see a gorgeous abstract design online, and your attempt looks… well, a bit messy. Don’t worry, this happens to everyone when they’re starting. Often, the issue comes down to a few key things: the tools you’re using, the consistency of your polish, or perhaps the complexity of the design for your current skill level. The good news is that abstract art is forgiving! We’ll break down simple ways to achieve polished results.
Genius Short Abstract Nail Design Ideas for Beginners
Ready for some inspiration? These designs are chosen for their visual impact and beginner-friendly execution on short nails.
1. The Minimalist Dot and Line
This design is the epitome of chic simplicity. It’s incredibly easy to achieve and looks incredibly sophisticated.
What You’ll Need:
Base coat and top coat
A neutral polish color (like beige, soft gray, or milky white)
A contrasting polish color (black, white, gold, or silver are great)
A fine-tip detail brush or a dotting tool
How-To:
1. Apply your base coat and let it dry completely.
2. Paint all your nails with your chosen neutral polish. Apply two thin coats for an even finish. Let them dry thoroughly.
3. Using your detail brush or dotting tool and the contrasting polish, add a few random dots and thin lines. Think sparse and deliberate. A single line across the nail, a cluster of dots at the cuticle, or a couple of thin lines reaching from the side.
4. Less is more here! The beauty is in the subtlety.
5. Once completely dry, seal with a durable top coat.
2. The Geometric Block
Bold geometric shapes are striking and surprisingly simple to create with tape or stencils.
What You’ll Need:
Base coat and top coat
2-3 contrasting polish colors (e.g., black, white, and a pop of color like teal or coral)
Nail art tape or geometric nail stencils
A pair of small, sharp scissors (if using tape)
How-To:
1. Apply base coat and let it dry.
2. Paint your nails with your first color. Let it dry fully. This is crucial for the tape to peel off cleanly.
3. Apply nail art tape in geometric patterns over the dried polish. You can create triangles, squares, or intersecting lines. If you’re using stencils, place them carefully.
4. Paint over the taped sections with your second color. Make sure to get the polish into the edges of the tape.
5. While the second color is still wet (or very slightly tacky, test a corner first), carefully peel off the tape. If it’s too dry, the polish might peel off with the tape. If it’s too wet, it’ll smudge.
6. Let the second color dry completely.
7. If you want a third color, repeat steps 3-6 with new tape placement.
8. Once all colors are dry and you’ve removed all tape, apply a generous top coat to seal the design and smooth out any edges.
3. The Wavy Lines
Soft, organic waves add a fluid, artistic touch to short nails.
What You’ll Need:
Base coat and top coat
1-2 polish colors (one for the base, another for the waves)
A fine-tip detail brush
How-To:
1. Apply base coat and let dry.
2. Paint your nails with your base color. Apply two thin coats and let them dry thoroughly.
3. With your detail brush and contrasting color, paint smooth, undulating wavy lines across each nail. You can stack a few waves, or have one prominent one.
4. Think about the natural flow of your nail. Don’t worry if they aren’t perfectly uniform; organic lines are part of the charm!
5. Let the wavy lines dry completely.
6. Finish with a good top coat.
4. The Abstract Splash
This technique involves dabbing or swirling colors for a painterly effect.
What You’ll Need:
Base coat and top coat
1-2 base colors
2-3 “splash” colors (think bold and complementary)
A small sponge (like a makeup sponge or a specialized nail art sponge) or a thin brush
How-To:
1. Apply base coat and let dry.
2. Apply one or two coats of your base color and let them become completely dry. For a white base, this is a great way to make colors pop.
3. If using a sponge: Apply small amounts of your “splash” colors directly onto the sponge. Lightly dab the sponge onto your nail, concentrating the colors in a specific area or blending them across the nail. You can layer colors for more depth.
4. If using a brush: Load your thin brush with one color and gently swirl or dab it onto the nail. Clean your brush and repeat with other colors.
5. Don’t aim for perfection; embrace the randomness!
6. Let the design dry thoroughly before applying a top coat. A thicker top coat can help smooth out any texture from the sponge.
5. The Color Block French
A modern twist on the classic French manicure.
What You’ll Need:
Base coat and top coat
A nude or sheer polish for the base
2-3 vibrant or contrasting colors for the tips
A very fine-tip brush or nail art striper brush
How-To:
1. Apply base coat and let dry.
2. Apply 1-2 coats of your nude or sheer polish. Let dry completely.
3. Using your fine brush and a contrasting color, paint an abstract “tip” on each nail. This could be a thick, uneven line, a few scattered dots, or a jagged edge instead of a smooth curve.
4. You can use different colors on different nails or even layer two colors on one tip for a more abstract feel.
5. Let the tips dry thoroughly.
6. Seal with a top coat.
Essential Tools for Short Abstract Nail Art
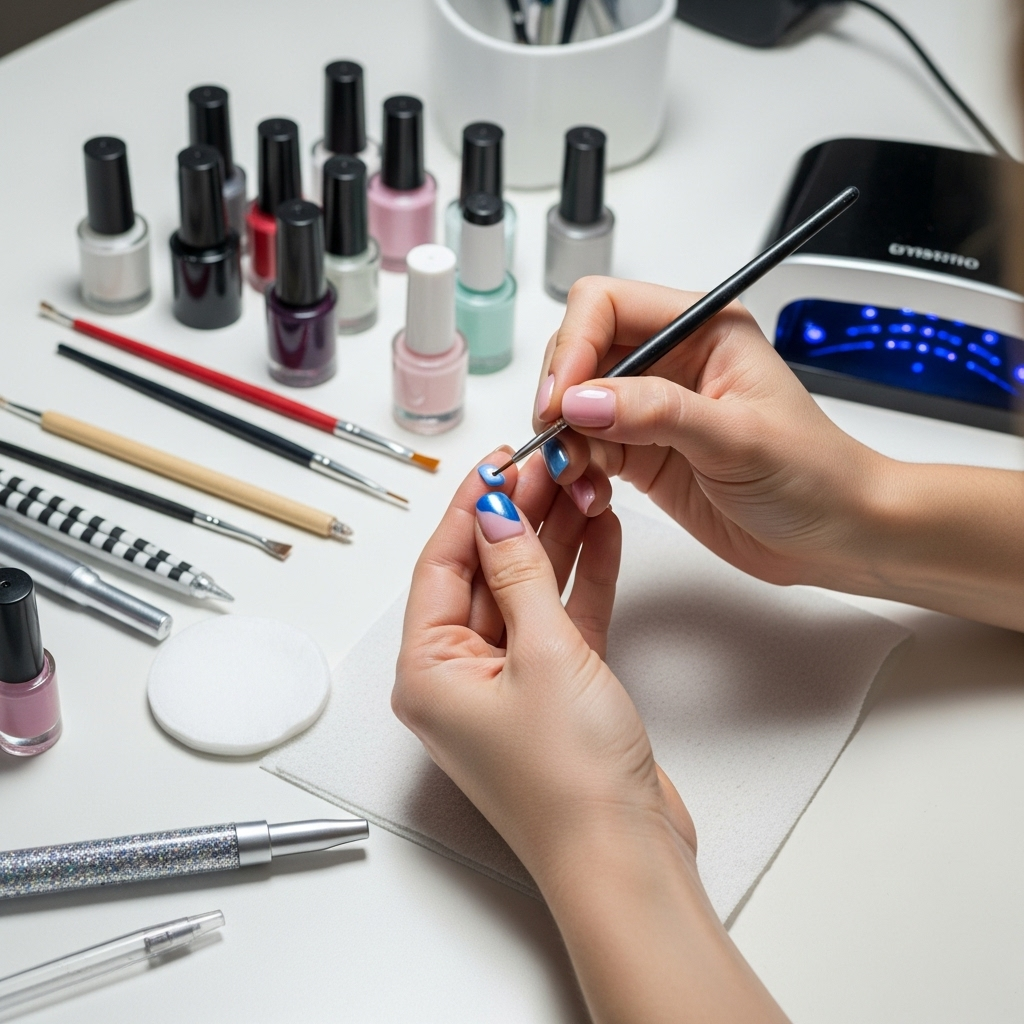
You don’t need a professional salon setup to create amazing abstract nails. Here are a few key tools that will make your life much easier:
1. Fine-tip Detail Brushes: These are your best friends for drawing thin lines, dots, and intricate details. You can find sets online or at craft stores.
2. Dotting Tools: These come in various sizes and are perfect for creating uniform dots, which can be used as standalone elements or to build up more complex designs.
3. Nail Art Tape: Thin, adhesive tape that’s easily cut and applied to create sharp, clean lines for geometric designs. Available in various colors, too!
4. Stencils: Pre-cut adhesive stencils offering all sorts of shapes and patterns, making intricate designs incredibly accessible.
5. Small Sponge: A piece of a makeup sponge or a specialized nail art sponge is great for creating gradient or abstract “splatter” effects.
6. Clean-up Brush: An old, fine-tipped makeup brush (like an angled liner brush) can be cleaned with nail polish remover to tidy up any smudges or stray polish around your cuticles and sidewalls. Be sure to use it when the polish is still wet for the easiest clean-up.
Getting Started: A Step-by-Step Guide to Abstract Nail Art
Here’s a general process you can follow for most abstract nail designs on short nails.
-
Prep Your Nails:
- Start with clean, dry nails. Remove any old polish.
- Gently push back your cuticles using an orange stick or cuticle pusher. Avoid cutting them unless you are very experienced, as this can lead to infection.
- Shape your nails. For short nails, a square, squoval, or soft almond shape works beautifully with abstract designs.
- Buff your nails lightly to create a smooth surface and remove any shine, which helps polish adhere better.
- Wipe nails with a nail cleanser or rubbing alcohol to remove any dust or oils.
-
Apply Base Coat:
- This is essential for protecting your natural nails from staining and for making your manicure last longer.
- Apply one thin coat and let it dry completely.
-
Apply Your Base Color(s):
- Choose your main polish color(s) for the nail.
- Apply one or two thin, even coats. Thin coats dry faster and are less likely to clump or bubble.
- Allow each coat to dry thoroughly before proceeding. This is the most important step for clean lines and preventing smudging, especially when using tape or other design elements.
-
Create Your Abstract Design:
- This is where the fun begins! Refer to the design ideas above or get creative.
- Use your chosen tools (brushes, dots tools, tape, etc.) and polishes to build your design.
- Remember, abstract art embraces imperfection and creativity. Don’t be afraid to experiment!
- Work in thin layers for polish application.
- If using tape: Apply to fully dried base color.
- If using a brush: Clean your brush regularly with acetone or nail polish remover to prevent colors from becoming muddy.
-
Drying Time:
- Let your design dry completely. Depending on the polishes used and the complexity, this can take anywhere from 5 to 20 minutes or more. Patience here prevents smudges!
- A quick-dry top coat can help speed up the final hardening process.
-
Apply Top Coat:
- Once the design is bone dry, apply a generous layer of a good quality top coat.
- This seals your design, adds shine, and protects your manicure from chipping.
- Cap the free edge of your nails by running the brush lightly across the tip of your nail. This helps prevent chips.
-
Clean Up:
- Use your clean-up brush dipped in nail polish remover to carefully tidy any polish that may have gotten onto your skin, cuticles, or sidewalls.
- Apply cuticle oil to moisturize your cuticles after your manicure is complete.
Tips for Making Abstract Art Look Polished
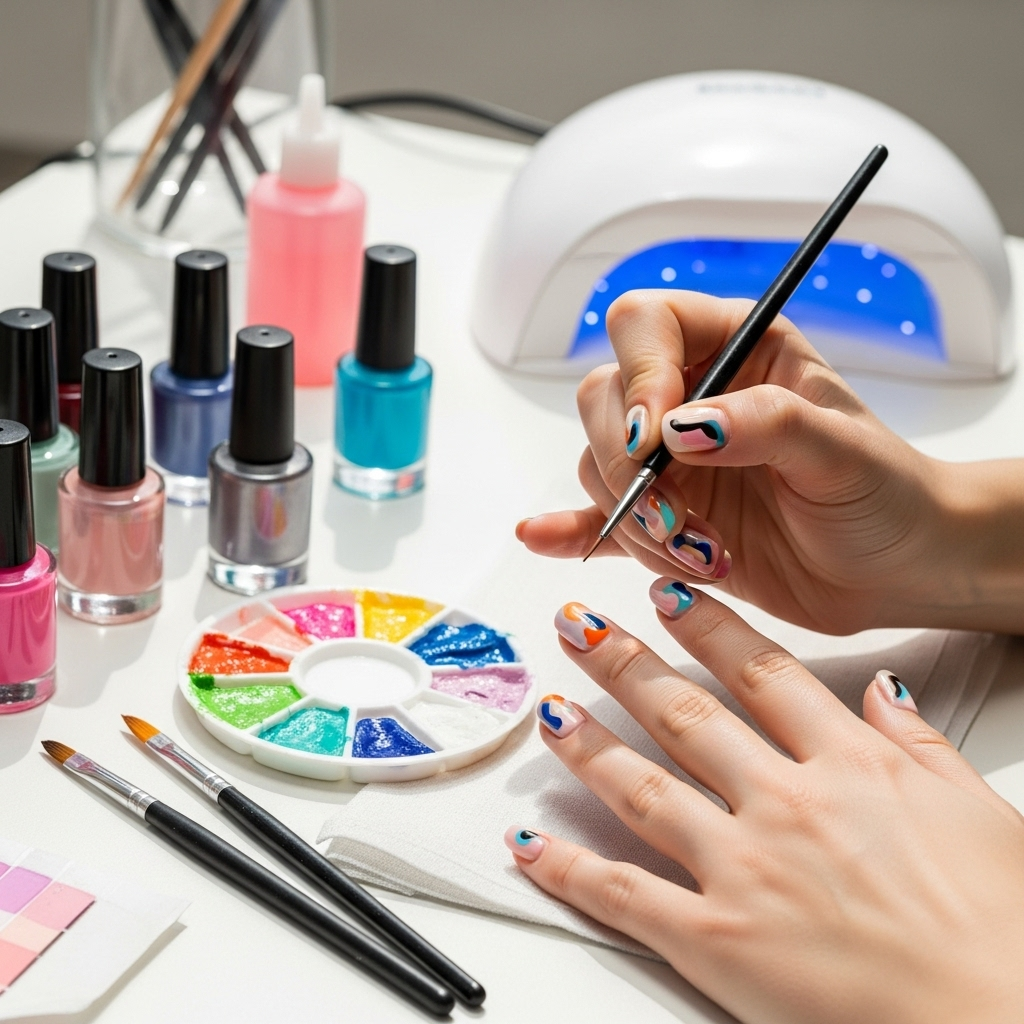
Even simple abstract designs can look incredibly chic with a few tricks up your sleeve.
Color Palette is Key: Stick to a complementary color scheme. Three colors are usually plenty for a sophisticated look. Think about what looks good together – neutrals with a pop of metallic, or analogous colors (colors next to each other on the color wheel) can be very pleasing.
Negative Space: Don’t feel like you need to cover every inch of the nail. Using negative space (leaving parts of the nail bare, or using a clear or sheer polish) can make a design feel airy and modern, especially on short nails.
Consistency is King (for the polish!): Your nail polish should be a good painting consistency. If it’s too thick, it will be difficult to work with and may look clumpy. If it’s too thin, it might be sheer and require too many coats.
Clean Lines: For designs that rely on lines or shapes, ensure your brushes are clean and your polish is not too goopy. Patience in applying thin coats and letting them dry is vital. For geometric tape art, pressing the tape down firmly before painting is essential to prevent polish from bleeding underneath.
Practice Makes Perfect: The more you practice, the steadier your hand will become, and the better you’ll get at translating your ideas onto your nails. Start with simpler designs and gradually move to more intricate ones.
Seal it Right: A great top coat not only adds shine but also smooths out any minor imperfections and makes your design last. Make sure it’s fully dry before you start using your hands a lot!
Popular Color Combinations for Short Abstract Nails
Choosing the right colors can make or break your abstract design. Here are some ideas that are always a hit:
| Base Color | Accent Colors | Vibe/Occasion |
| :—————— | :—————————————— | :—————————————— |
| Milky White | Black, Gold, Deep Red | Chic, Elegant, Evening |
| Beige/Nude | White, Light Pink, Metallic Silver | Subtle, Professional, Everyday |
| Clear/Sheer Pink | Teal, Mustard Yellow, Navy Blue | Artistic, Modern, Casual |
| Black | Electric Blue, Hot Pink, Neon Green | Bold, Edgy, Statement |
| Soft Gray | Pastel Lavender, Muted Rose, Copper | Sophisticated, Feminine, Gentle |
| Burgundy | Cream, Bronze, Deep Emerald Green | Luxurious, Autumnal, Rich |
Understanding Nail Polish Consistency and Application
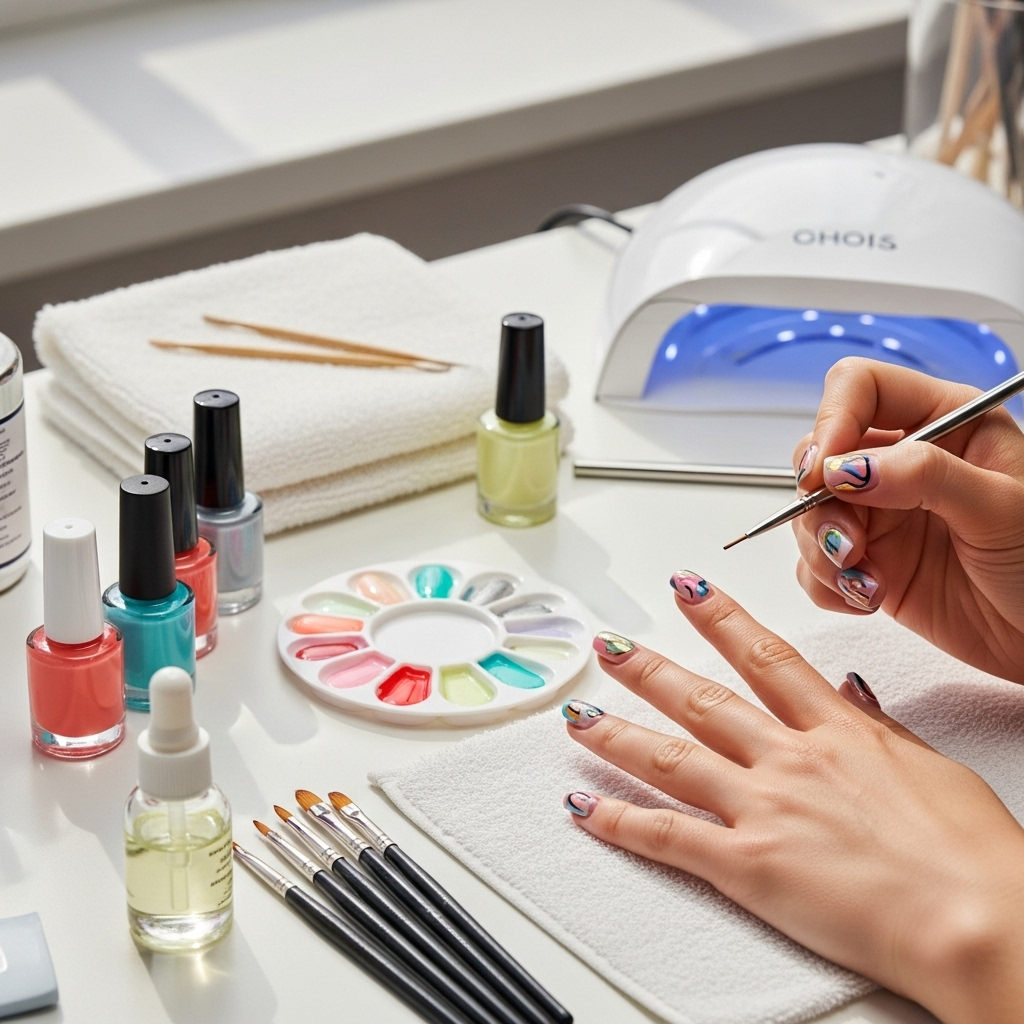
Getting the right consistency for your nail polish is crucial for abstract nail art. It affects how smoothly it applies, how well it creates lines, and how well it dries.
Too Thick Polish:
Problem: Looks clumpy, difficult to get smooth lines, can take forever to dry, prone to bubbling.
Solution: Avoid adding remover directly to your bottle, as it can break down the formula. Instead, use a few drops of nail polish thinner designed specifically for lacquers. This will restore a smoother consistency.
Too Thin Polish:
Problem: Watery, often requires multiple coats to achieve opacity, designs might look faded.
Solution: Let the bottle sit open for a few minutes to allow some of the solvent to evaporate, thickening it slightly. Adding a drop of polish thinner (in some cases, if it’s just a little too thick) can also help even it out. However, usually, thinning is for polish that’s too thick. For polish that’s too thin, patience with multiple thin coats is best.
Ideal Consistency:
Smooth, fluid, and easy to control with your brush. It should glide onto the nail without being streaky or clumpy.
How to Apply Thin Coats for Abstract Art:
The key to a professional-looking finish, especially with abstract designs, is applying multiple thin coats rather than one thick one.
Load your brush sparingly: Don’t overload your brush with polish. Wipe off excess polish on the neck of the bottle.
Start at the cuticle: Place a small bead of polish near your cuticle and gently push it back to form a clean line.
Use three strokes: From cuticle to tip, one stroke down the center, then one stroke on each side. This ensures even coverage.
Let each coat dry: Patience is your best friend. Allow each thin coat to dry for at least a minute or two before applying the next. This prevents the polish from becoming a sticky mess and makes your design less prone to smudging.
Durability and Maintenance of Short Abstract Nails
The good news is that short abstract nails tend to be quite durable! Because they are less prone to snagging and breaking than longer nails, your beautiful art can last.
Wear Time: With proper application and a good top coat, you can expect your short abstract nails to last anywhere from 5 to 10 days.
Maintenance:
Reapply Top Coat: Every 2-3 days,

