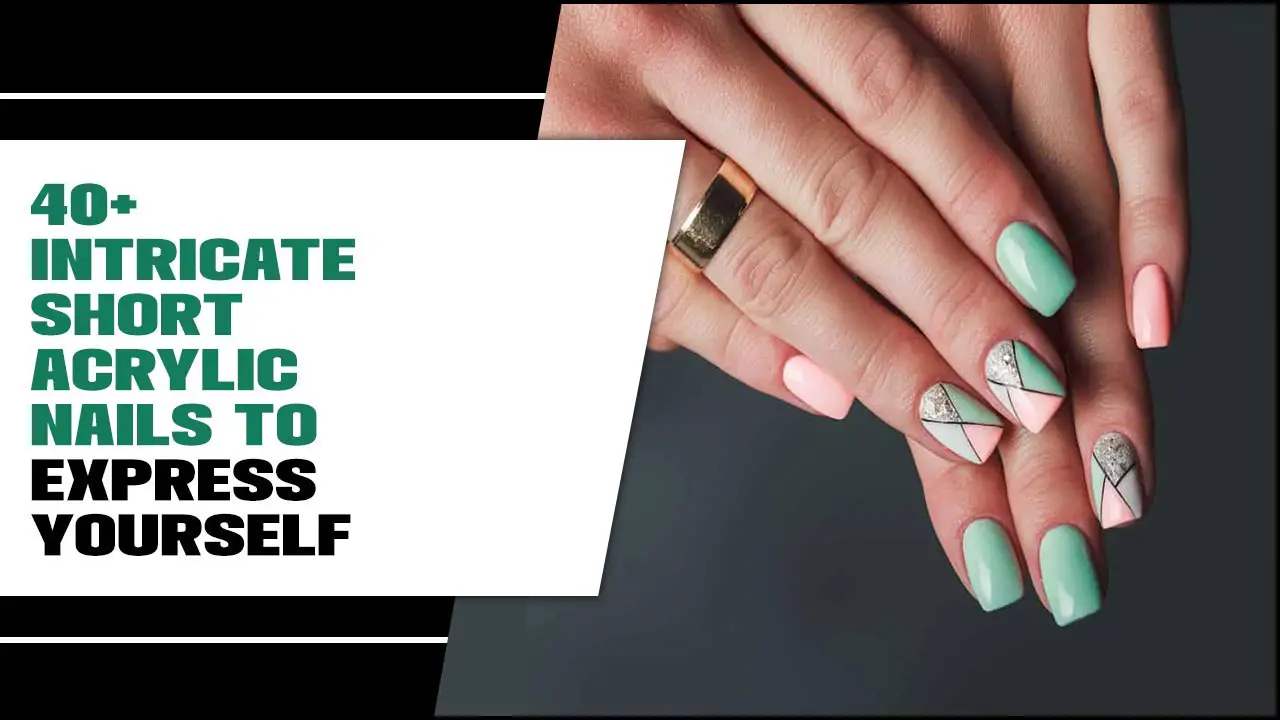
Short abstract nails are a chic, versatile choice for anyone looking to add a touch of modern art to their fingertips. These designs are surprisingly easy to achieve, perfect for beginners, and offer endless creative possibilities for self-expression, proving that a perfect manicure doesn’t need to be complicated or time-consuming.
Hey nail lovers! Are you looking for a fresh, fun way to decorate your nails? Maybe you’ve seen those super cool, artistic-looking manicures and thought, “That looks way too hard for me!” Well, I’m here to tell you it’s not! Short abstract nails are your new best friend. They’re stylish, unique, and totally doable, even if you’re just starting out. We’re about to dive into some genius designs that are essential for any nail enthusiast, no matter your skill level. Get ready to unleash your inner artist!
Why Short Abstract Nails Are a Game-Changer
Short nails are incredibly practical for everyday life. You can type, text, and do all your usual things without worry. Adding abstract art to them takes them from simple to stunning. Abstract designs are all about shapes, lines, colors, and textures working together in a non-representational way. This means there are no strict rules! It’s pure creative freedom.
Think of it as painting on a tiny canvas. Short abstract nails embrace this idea by allowing you to play with:
- Bold color combinations
- Geometric shapes
- Playful squiggles and lines
- Minimalist designs
- Textural elements
Best of all, you don’t need a steady hand like a surgeon to create something beautiful. We’ll guide you through simple techniques that look impressive but are easy to master.
Essential Tools for Your Abstract Nail Journey
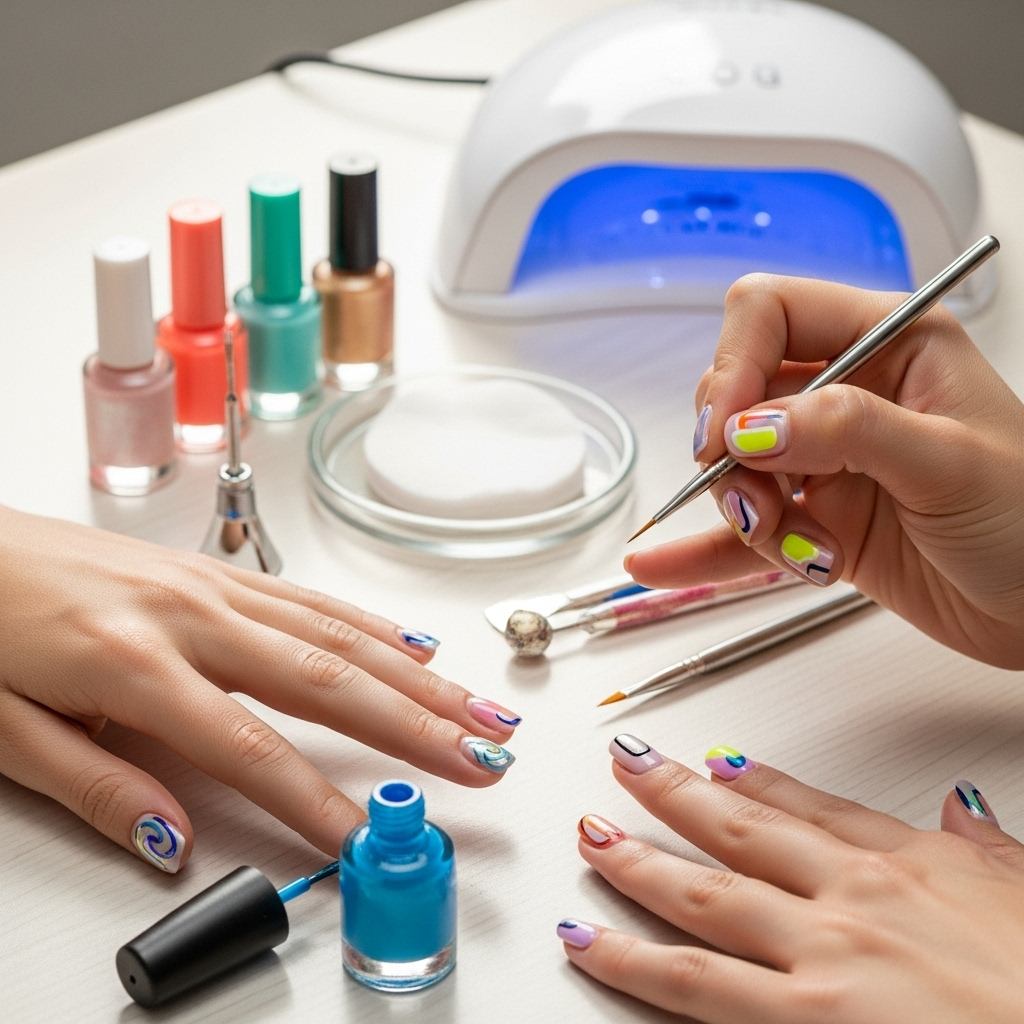
Before we jump into designs, let’s gather your nail art toolkit. You probably have some of these already! Don’t feel overwhelmed; start with what you have.
The Must-Haves:
- Base Coat: Protects your natural nails and helps polish adhere.
- Top Coat: Seals your design, adds shine, and prevents chipping.
- Nail Polish Colors: Choose a few shades that you love! Neutrals, brights, metallics – anything goes.
- Thin Detail Brushes: These are your best friends for creating lines and small details. You can find affordable sets online or at beauty supply stores.
- Dotting Tools: Perfect for creating dots of various sizes.
- Toothpicks/Orange Wood Sticks: Great for picking up small embellishments or cleaning up edges.
- Nail Polish Remover & Cotton Pads: For correcting mistakes (because they happen!).
Nice-to-Haves (for Extra Flair):
- Stencils: For creating perfect geometric shapes if freehand is tricky.
- Stamping Plates & Stamper: A fantastic way to get intricate patterns quickly.
- Gems, Glitter, or Foil: For adding dimension and sparkle.
Genius Short Abstract Nail Designs for Beginners
Let’s get to the fun part! These designs are chosen for their simplicity and high impact. They look way more complicated than they are.
1. The Minimalist Masterpiece: Simple Lines & Dots
This is your entry point into abstract art. It’s clean, chic, and incredibly easy.
How to Create:
- Prep Your Nails: Start with clean, shaped nails. Apply your favorite base coat.
- Apply Base Color: Paint your nails with a single color. A neutral like nude, white, or a soft pastel works beautifully here, or go bold with a deep shade. Let it dry completely.
- Add Your Art:
- For Lines: Using a thin detail brush dipped in a contrasting color polish (black, white, gold, or silver are great options), draw a few simple lines. They can be straight, slightly curved, or even intersect. Don’t aim for perfection – messy lines are part of the abstract charm!
- For Dots: Dip a dotting tool or the tip of a toothpick into polish and create dots of varying sizes. Place them strategically – maybe a few clustered together, or scattered across the nail.
- Let it Dry: Allow the art to dry thoroughly before applying a top coat.
- Seal the Deal: Apply a generous layer of top coat to protect your design.
Pro Tip: Practice drawing lines and dots on a piece of paper first to get a feel for the brush or tool.
2. The Geometric Gem: Easy Shapes
Squares, triangles, and lines – when arranged in an abstract way, they look incredibly modern.
How to Create:
- Prep & Base: Apply base coat and your chosen main color. Let it dry completely.
- Create Your Shapes:
- Using Tape (for crisp lines): Once your base color is dry, carefully apply strips of nail art tape or regular sticky tape to create sections. Paint over the tape with a new color. Once the new color is almost dry (tacky but not wet), carefully peel off the tape to reveal a sharp line. Repeat for different sections and colors.
- Freehand Geometric: Use a thin brush to draw abstract geometric shapes directly onto the nail. Think half-circles, small squares in corners, or bold diagonal lines.
- Add Accents (Optional): You can fill in some shapes with color, leave them as outlines, or add tiny dots within or around the shapes.
- Top Coat: Apply your shiny top coat once everything is dry.
A great place to find nail art tape is from brands like.Born Pretty Store, which offer a wide variety of colors and sizes perfect for creating these segmented looks.
3. The Fluid Flow: Wavy Lines & Swirls
This design mimics organic, flowing patterns and is surprisingly forgiving.
How to Create:
- Prep & Base: Base coat, then your chosen main color. Let it dry.
- Paint the Swirls: Load your thin detail brush with a contrasting color. Gently draw wavy lines or loose swirls across your nail. You can make them follow the curve of your nail, or just let them meander artistically.
- Layering (Optional): For a bit more depth, you can add a second, thinner wavy line in a different color over or next to the first one.
- Little Details: Add a tiny dot or two to finish off the look.
- Seal: Finish with a clear top coat.
Beginner Hack: Don’t worry about perfect symmetry. Think more about natural movement. You can even use the brush from your polish bottle to help create thicker, bolder wavy lines!
4. The Color Block Cool: Bold Segments
This is about blocking out different sections of the nail with solid colors. It’s modern and impactful.
How to Create:
- Prep & Base: Apply base coat and one color as your main polish. Let it dry.
- Section It Off: Decide how you want to divide your nail. You could do one half a different color, create a diagonal split, or even a small square in one corner.
- Apply New Colors:
- With Tape: Use nail art tape to create a clean division line. Paint the ungoverned section with a new color. Let it dry, then carefully remove the tape.
- Freehand: Use a thin brush to carefully paint the border of your next color section. This requires a bit more control but is achievable with practice.
- Add More Blocks: Continue adding color blocks, using tape for clean lines or freehand for a more organic feel.
- Final Top Coat: Once all colors are dry, apply a good top coat.
Tip: Pair bold, contrasting colors for a high-impact look, or use shades from the same color family for a more subtle effect.
5. The “Oops, I Dropped My Polish” Effect (Intentional!)
This mimics splatters and drips in an artistic way. It’s surprisingly easy and looks super cool.
How to Create:
- Prep & Base: Base coat and your main color. Let it dry completely.
- Create Splatters:
- Using a Brush: Take an old or cheap detail brush and load a tiny bit of contrasting polish onto the bristles. Hold the brush a short distance above your nail and flick the bristles with your finger, or gently tap the brush handle. This will create small splatters. Do this sparingly to avoid looking messy rather than artistic.
- Using a Toothpick: Dip a toothpick into polish and carefully flick tiny bits of color onto the nail.
- Don’t Overdo It: The key here is intention. A few well-placed “splatters” look great. Too many can overwhelm the design.
- Top Coat: Seal with a clear top coat.
For more information on nail polish ingredients and safety, you can check out resources from the U.S. Food & Drug Administration (FDA).FDA cosmetic ingredient page
Nail Shape & Length Considerations for Abstract Art
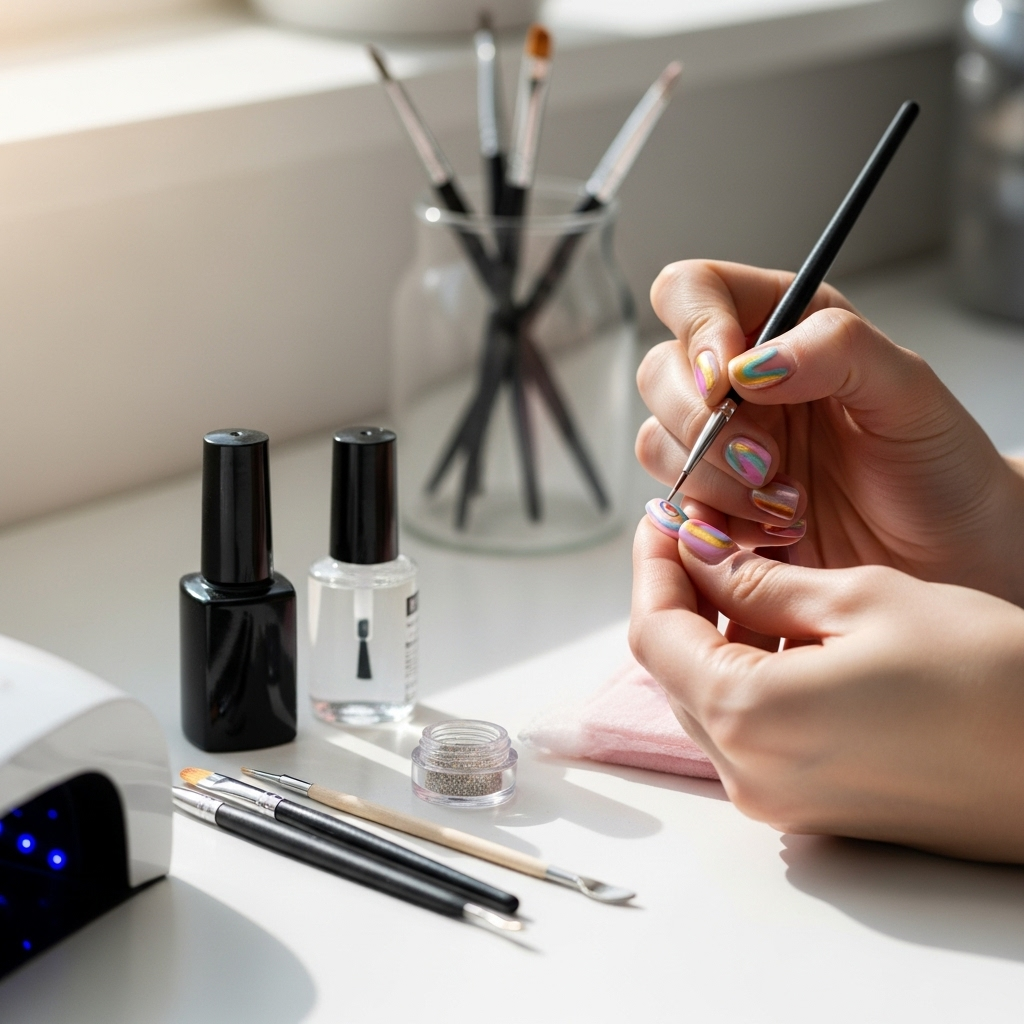
While abstract art can be done on any nail, certain shapes and lengths lend themselves particularly well to short abstract designs.
Best Nail Shapes:
- Square: The straight edges provide a fantastic base for geometric patterns and clean lines.
- Squoval (Soft Square): A bit softer than square, still offers a good surface area for designs.
- Round: Great for flowing designs, swirls, and dot patterns.
- Almond/Ballerina (Short Version): Even shorter almond or ballerina nails can rock abstract art, especially minimalist designs or accent nails.
The Advantage of Short Length:
Short abstract nails are fantastic because they:
- Are Practical: Less likely to chip or break.
- Highlight the Art: The design becomes the focal point.
- Are Easy to Maintain.
- Look Polished: Even a simple design elevates your whole look.
Making Your Short Abstract Nails Last Longer
Even the most genius nail art needs a little care to stay looking fresh.
Care Tips:
- Always Use a Top Coat: This is non-negotiable! Reapply every 2-3 days if you want to extend the life of your manicure.
- Be Gentle: Avoid using your nails as tools (like scraping or prying).
- Use Gloves: Wear rubber gloves when doing household chores, especially washing dishes or cleaning with harsh chemicals.
- Moisturize: Keep your hands and cuticles hydrated with cuticle oil or hand cream. Healthy nails and skin make your manicure look better.
- Avoid Hot Water Soaks: Prolonged exposure to hot water can soften the nail and weaken the polish.
Troubleshooting Common Abstract Nail Art Issues
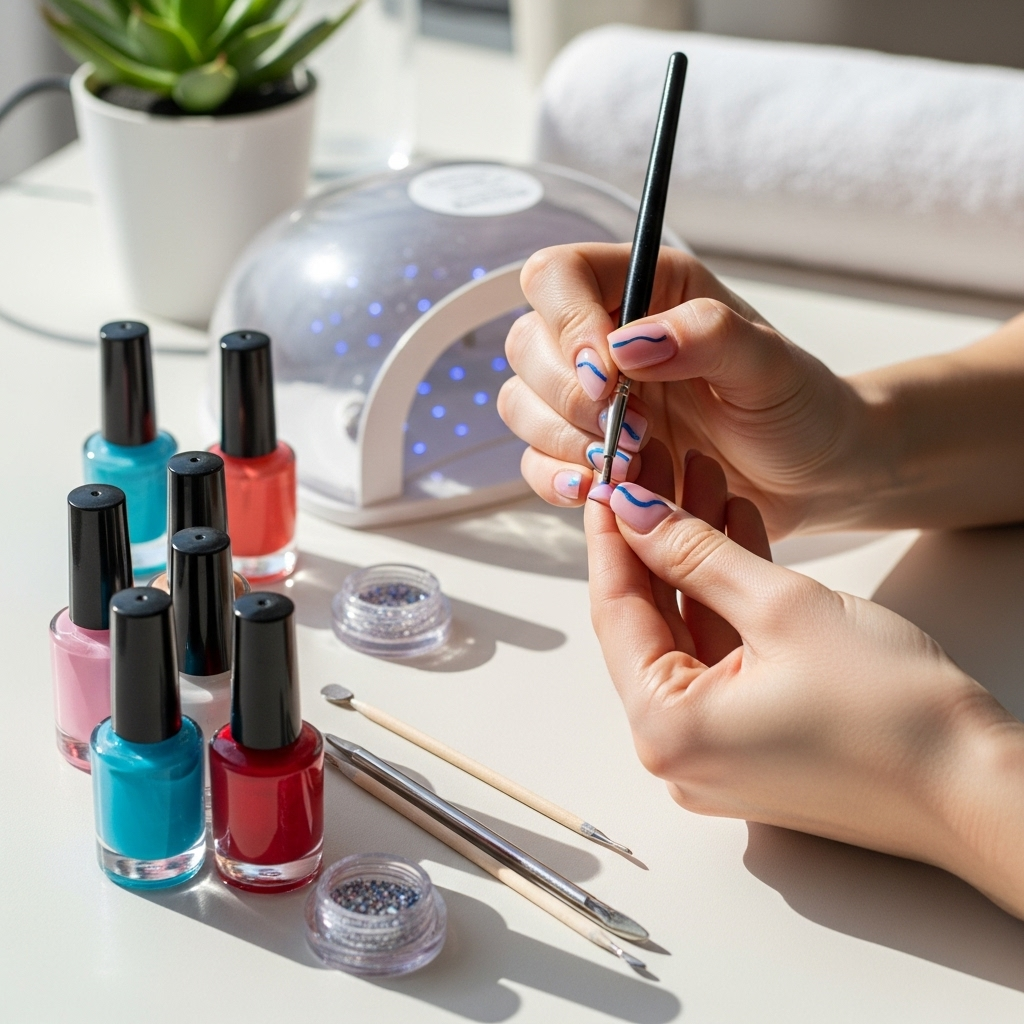
We all make mistakes, but they’re easily fixed!
Common Problems & Solutions:
| Problem | Solution |
|---|---|
| Polish is too thick/stringy for brushstrokes. | This usually means the polish is old or has been left open too long. Try adding a drop or two of nail polish thinner (not remover!). Alternatively, use a brand that has a good consistency. |
| Lines are shaky or uneven. | Don’t worry! Embrace it as part of the abstract look. If you really want to fix it, use a cleanup brush dipped in nail polish remover to gently refine the line. For future attempts, try resting your pinky finger on a stable surface for extra steadiness. |
| Splatters look messy, not artistic. | Less is more! Try to do fewer splatters, or use a darker color as your base so the splatters stand out better. Sometimes, a full-coverage design can hide minor imperfections. |
| Designs are smudging. | Your design is not dry enough before you apply the top coat or move on. Be patient! You can also try the “one-stroke” method with your top coat: pick up a good amount of product on your brush and apply it in one smooth swipe without going back and forth. |
| Polish is chipping quickly. | Ensure you’re using a good quality base and top coat. Always cap the free edge of your nail with your top coat – this means painting a tiny bit over the edge of your nail tip where it’s exposed. |
Short Abstract Nail Ideas: Color Palettes to Inspire You
Let’s talk inspiration! The colors you choose can dramatically change the vibe of your abstract nail art.
Classic & Chic:
- Black, White, and Gold/Silver: Always sophisticated.
- Nude, Cream, and Delicate Pink: Subtle elegance.
- Deep Navy, Burgundy, and a touch of metallic bronze: Rich and moody.
Bold & Playful:
- Primary Colors (Red, Blue, Yellow) with Black or White accents: Graphic and fun.
- Neons (Lime Green, Hot Pink, Electric Blue): Energetic and eye-catching.
- Pastels (Mint Green, Baby Blue, Lavender) with white or silver details: Sweet and artistic.
Trendy Combinations:
- Earthy Tones: Terracotta, olive green, mustard yellow.
- Jewel Tones: Emerald, sapphire, amethyst with a hint of pearl.
- Monochromatic: Different shades and textures of a single color family (e.g., various blues).
Don’t be afraid to mix and match or create your own unique palettes. Pinterest and Instagram are amazing resources for finding color inspiration!
Frequently Asked Questions About Short Abstract Nails
Q1: Are short abstract nails really easy for beginners?
A1: Absolutely! The beauty of abstract art is that perfection isn’t the goal. We’ve focused on designs using simple lines, dots, and shapes that are easy to replicate even with minimal practice.
Q2: What’s the best way to clean up mistakes on abstract nails?
A2: Keep a small cleanup brush (an old fine-tip eyeliner brush works too!) or an orangewood stick handy. Dip it lightly in nail polish remover and carefully trace along the edges of your design to sharpen lines or remove stray polish.
Q3: Can I use regular nail polish for abstract art?
A3: Yes! Regular nail polish is perfect for abstract designs. Ensure you have a good base coat and top coat to make your artwork last.
Q4: How do I get thin, precise lines?
A4: A good quality fine-detail nail art brush is key. For even thinner lines, try using a polish with a slightly thinner consistency. Remember to load just a small amount of polish onto the brush and practice on paper first.
Q5: Can I combine different abstract techniques on one manicure?
A5: Definitely! Mix geometric shapes on one nail with wavy lines on another, or add dots to a color-blocked design. This adds even more dimension and personal flair.
Q6: How often should I reapply my top coat?
A6: To maximize the lifespan of your abstract design, reapply a thin layer of top coat every 2-3 days. This will help protect the polish from chipping and keep the shine looking fresh.
Conclusion: Embrace Your Inner Abstract Artist!
See? Short abstract nails are not only achievable but incredibly fun and stylish. You’ve learned about the essential tools, simple yet genius designs, and tips to make your manicures last. Whether you’re a total beginner or looking to spice up your nail game, these techniques prove that you can create unique, eye-catching art right at home.
Don’t be afraid to experiment with colors, shapes, and patterns. Your nails are your canvas, and abstract art is all about personal expression. So grab those polishes, find your favorite thin brush, and start creating! Which design will you try first? Let your creativity flow and enjoy the process!

