Short 3D nails are amazing! They add fun texture and flair to any look without being too much. Think cute bumps, raised lines, or tiny sculpted elements that pop. These designs are perfect for beginners and busy bees because they’re versatile and eye-catching. Get ready to explore super stylish and easy-to-achieve 3D nail art for your short nails!
Short nails can totally rock amazing nail art! Sometimes, we think 3D designs are just for long, dramatic nails, but that’s not true. Short nails are actually a fantastic canvas for little pops of creativity. Are you afraid 3D nail art might look too chunky or be too difficult to do yourself? Don’t worry! We’ll show you how to create eye-catching short 3D nail designs that are easy for anyone to try. Get ready to add some serious sparkle and dimension to your fingertips!
Why Short Nails Are Perfect for 3D Designs
You might think 3D nail art needs long nails to shine, but short nails have a special kind of magic when it comes to this trend. They offer a neat and tidy look that makes tiny 3D elements stand out beautifully. Think of them as tiny sculptures! Plus, 3D designs on short nails can be super practical. They’re less likely to snag on things, making them ideal for everyday wear. If you’re looking for a way to express your style without the fuss of long extensions, short 3D nails are your golden ticket.
Understanding 3D Nail Art
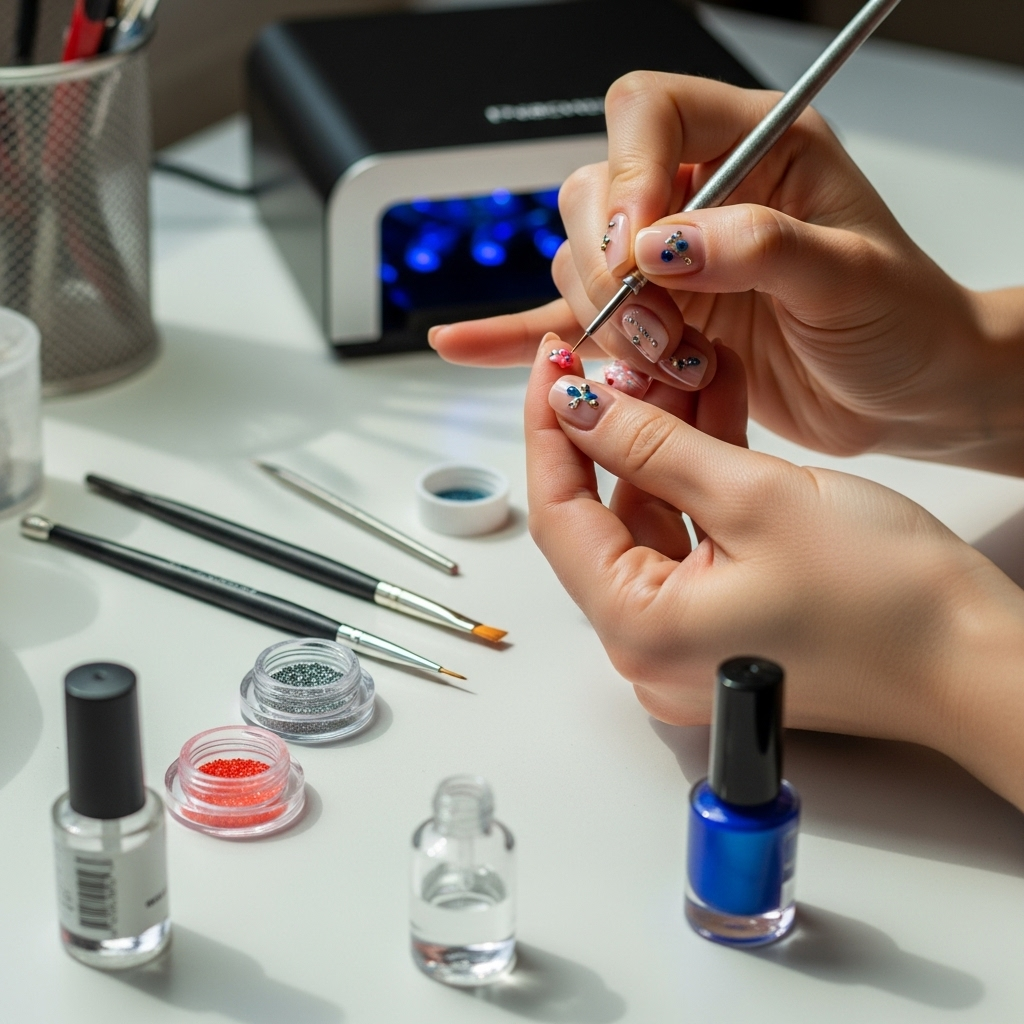
What exactly makes a nail “3D”? It’s all about adding elements that stand off the nail’s surface. This can range from simple raised lines and dots to intricate sculpted flowers or geometric shapes. Unlike flat nail art, 3D designs have depth and texture, making your manicure truly unique. For beginners, starting with simpler textures is the way to go. It’s all about adding that extra dimension that catches the light and the eye.
Popular 3D Nail Art Materials
To create these amazing designs, you’ll need a few key supplies. Don’t be intimidated; many are surprisingly easy to use!
- Acrylic Powder and Monomer Liquid: This is a classic for sculpting! You can create amazing shapes and textures by mixing these. It’s a bit of a learning curve, but totally doable. For more on acrylics, check out this helpful guide from Nail Career.
- Gel Products (Builder Gel, Hard Gel, Gel Polish): These are fantastic for adding dimension. Builder gels are thicker and great for creating raised elements. You can also use regular gel polish with dotting tools or fine brushes to create raised patterns.
- 3D Nail Art Gels: These are specifically formulated to be thicker and hold their shape, making them perfect for beginners wanting to try 3D effects without mixing powders.
- Rhinestones, Studs, and Charms: These are the easiest 3D elements to add! They just stick on with nail glue or your top coat.
- Stickers and Decals: Special 3D stickers can pop right off the sheet and onto your nail for instant dimension.
Genius Short 3D Nail Ideas for Beginners
Ready to dive into some fun designs? Here are some genius ideas that are perfect for short nails and easy for beginners to tackle. We’ll focus on techniques that give you that “wow” factor without needing professional skills!
1. The “Pearl Accent” Design
This is a super simple yet elegant way to add 3D flair. It involves strategically placing small pearls or beads onto your nails.
- What you’ll need:
- Base coat and your favorite nail polish color
- Top coat
- Small pearls/beads (usually found in nail art kits)
- Nail glue or a thick gel top coat
- How-to:
- Apply your base coat and then one or two coats of your chosen polish. Let it dry completely.
- Apply your top coat to the nail where you want the pearl.
- Using tweezers or a wax pencil, carefully pick up a pearl and place it onto the wet top coat. Press gently to secure it.
- Alternatively, apply a tiny dot of nail glue to the nail and place the pearl on top.
- For a more secure hold, especially with multiple pearls, apply a layer of top coat around the pearl, being careful not to cover its shiny surface completely.
- Repeat on other nails, perhaps just an accent nail, for a chic look.
2. “Raised Dot & Line” Texture
This design uses gel polish or even thick nail polish to create simple raised dots or lines. It’s all about building texture!
- What you’ll need:
- Base coat and polish
- Thick gel polish or a good quality nail polish
- A dotting tool or a fine-tipped nail art brush
- UV/LED lamp (if using gel polish)
- How-to:
- Paint your nails with your desired base color and let it dry (or cure if using gel).
- Dip your dotting tool or brush into the gel polish. Don’t wipe off all the excess; you want a little blob.
- Gently press the tool onto the nail to create a raised dot. You can make a single dot or a line of them.
- For lines, drag the slightly loaded tool across the nail in a straight or wavy motion.
- Cure under your lamp (if using gel). If using regular polish, let it air dry for a longer time, being careful not to smudge.
- You might need a second layer for extra height. Apply another small blob of polish and let it cure/dry.
- Finish with a top coat, being careful to go around the raised elements so you don’t flatten them.
3. “Minimalist Sculpted Flower”
This might sound advanced, but we’re keeping it simple! A single, small sculpted flower on an accent nail is stunning.
- What you’ll need:
- Base coat and polish
- 3D nail art gel or acrylics (white or a soft color works well)
- Small sculpting tool or a wooden cuticle pusher
- UV/LED lamp (if using gel)
- How-to (using 3D gel):
- Prepare your nails as usual with base coat and color. Cure if using gel.
- Take a small bead of 3D gel with your tool.
- Gently press and shape it into a petal on your nail. Make 3-5 small petals clustered together.
- You can add a tiny bead of a different color (like yellow) in the center for the stamen.
- Cure under the lamp.
- Apply a clear top coat around the flower, not over it, to keep its shape and shine.
4. “Geometric Gems”
Mix flat polish with tiny 3D elements like small studs or gems to create simple geometric patterns that have dimension.
- What you’ll need:
- Base coat and nail polish
- Top coat
- Small nail gems, studs, or caviar beads
- Nail glue or a strong top coat
- Tweezers
- How-to:
- Paint your nails and let them dry completely.
- Plan your geometric design. This could be as simple as placing a few studs in a line or a triangle.
- Apply a small dot of nail glue where you want each gem, or apply a layer of top coat to the area.
- Use tweezers to carefully pick up the gems or studs and place them onto the glued or sticky spots.
- Press down gently to secure.
- Once all gems are in place, carefully apply a top coat around them. Avoid getting too much top coat on the gems themselves, as it can dull their shine.
5. “Textured French Tips”
Give the classic French manicure a 3D upgrade with raised tips. This looks incredibly chic on short nails.
- What you’ll need:
- Base coat and nude or light pink polish
- White or colored polish for the tips (gel or thick regular polish)
- A fine nail art brush or a striper tool
- UV/LED lamp (if using gel)
- How-to:
- Apply a nude or light color polish to your entire nail. Let it dry or cure.
- Carefully paint a French tip line using your white or colored polish. For a slight 3D effect, make the line a little thicker than usual.
- If using gel polish, cure the tip. You can then apply another thin layer of gel polish just to the tip and cure again to build more height.
- For regular polish, apply a second slightly thicker tip line after the first has dried a bit. Gentle tapping with a cuticle pusher can help build a slight mound.
- Ensure the tips are fully dry or cured.
- Apply a top coat to the base of the nail, careful to avoid covering the raised tips completely if you want to maintain their texture.
Easy 3D Nail Art Techniques Table
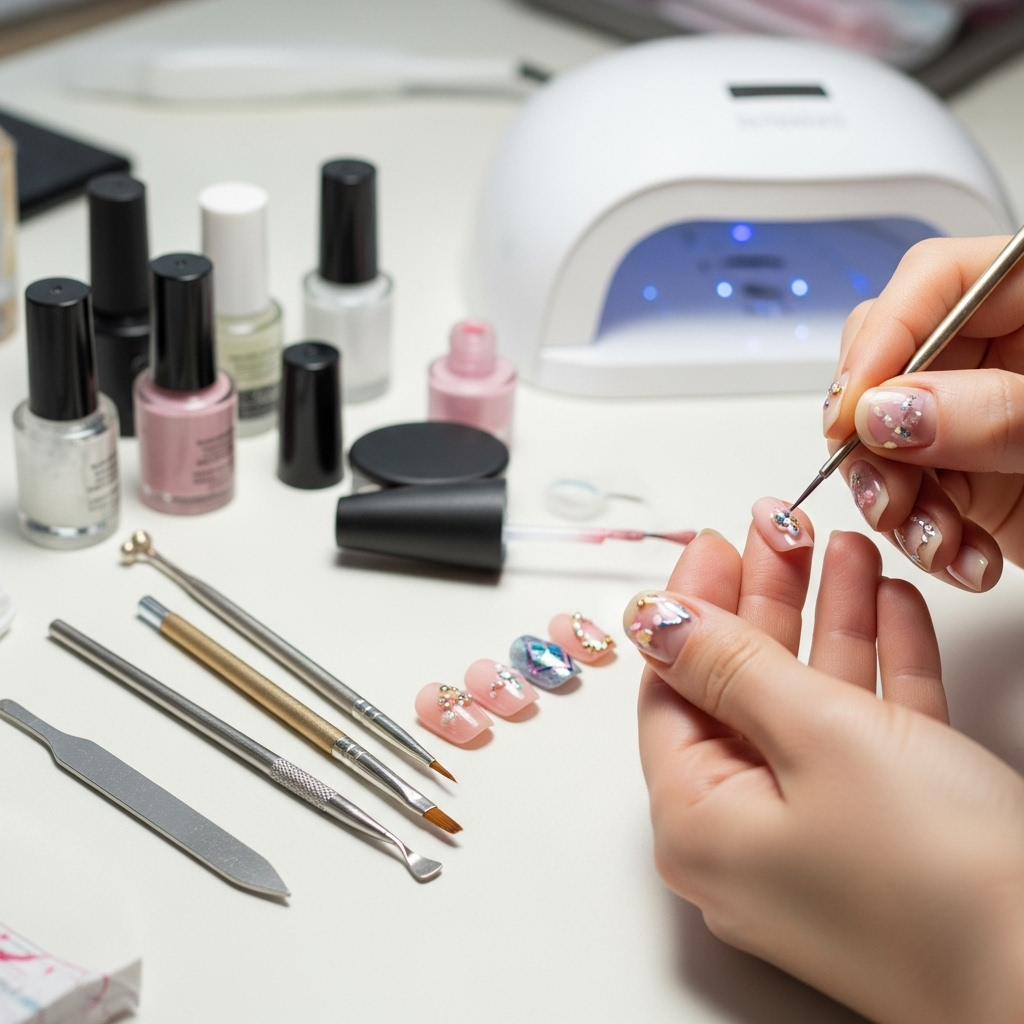
Here’s a quick look at some popular 3D techniques, their difficulty, and the typical look they create. This can help you choose which one to try first!
| Technique | Materials Used | Beginner-Friendly? | Typical Look | Best For |
|---|---|---|---|---|
| Pearl Accent | Small pearls, nail glue/top coat | Yes | Elegant, dimensional dots | Adding subtle sparkle and texture |
| Raised Dots/Lines | Thick gel/nail polish, dotting tool/brush | Yes | Textured bumps and lines | Creating simple patterns and tactile effects |
| Sculpted Flowers | 3D gel/acrylic, sculpting tool | Moderate | Raised, delicate floral shapes | Adding intricate, small-scale art |
| Geometric Gems | Gems, studs, caviar beads, nail glue/top coat | Yes | Sparkly, structured patterns | Quick, eye-catching accents |
| Textured French Tips | Thick polish/gel, fine brush | Yes | Raised, bold French tips | Elevating a classic manicure |
Tips for Perfect Short 3D Nails
Achieving beautiful 3D nails on short lengths is all about a few key practices. Keep these in mind:
- Start Small: Begin with one or two accent nails. It’s less pressure and still gives you that stylish 3D effect.
- Less is More: Don’t overload your nails with too many 3D elements. A few well-placed pieces can make a bigger impact.
- Use the Right Tools: Tweezers, dotting tools, and fine brushes make a world of difference. Invest in a basic nail art brush set; they are inexpensive and incredibly useful.
- Patience is Key: Let each layer dry or cure properly before adding the next. Rushing can lead to smudges or designs losing their shape.
- Secure Your Design: Make sure your 3D elements are well-adhered. A good quality top coat applied carefully around the edges will help them last. For extra longevity, especially for heavier elements like charms or larger gems, consider using dedicated nail glue.
- Consider the Shape: Rounded or squoval short nail shapes tend to be very forgiving and flattering for 3D designs.
- Practice Makes Perfect: Don’t get discouraged if your first attempt isn’t salon-perfect. Keep practicing, and you’ll see improvement with each manicure!
Maintaining Your 3D Nails
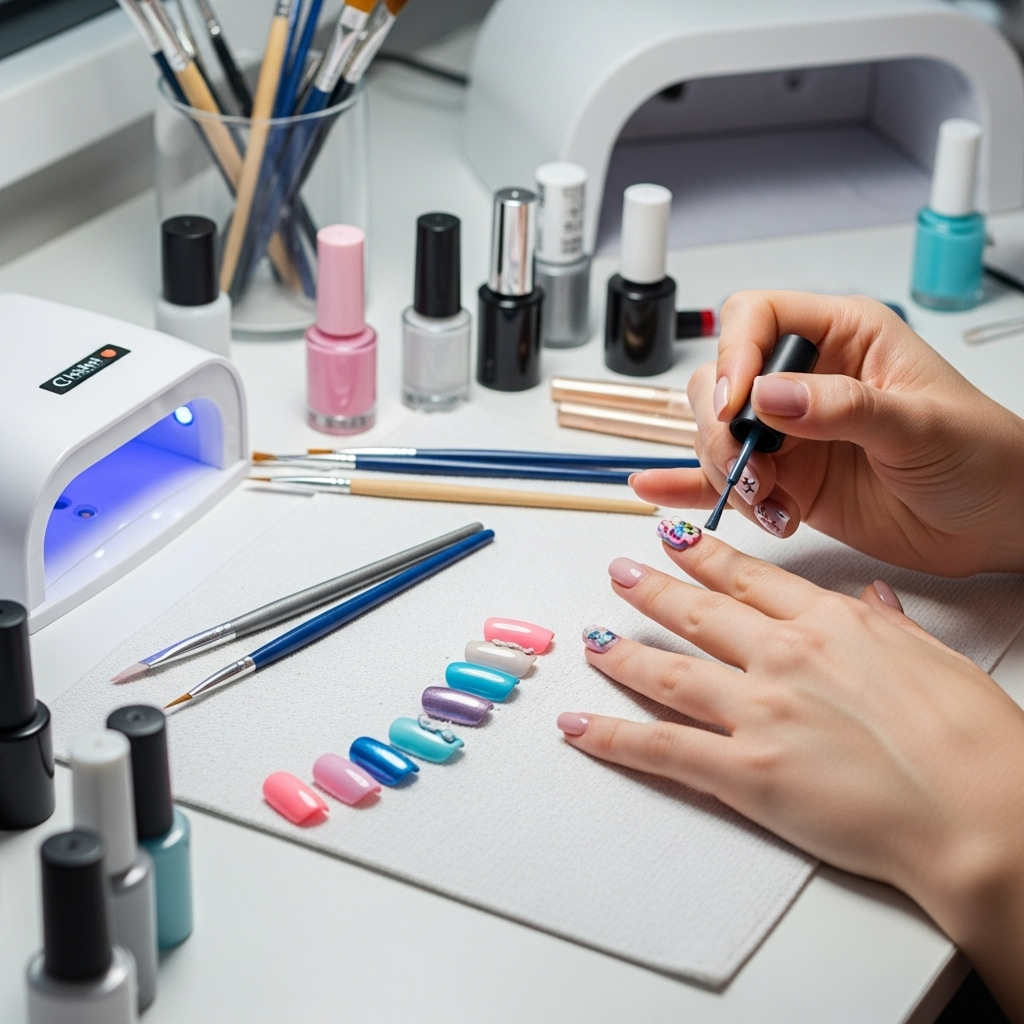
Once you’ve created your gorgeous 3D nails, you’ll want them to last! Here are some tips for keeping them looking fabulous:
- Be Gentle: Avoid using your nails as tools. Don’t pry, scratch, or scrape with them, especially the 3D elements.
- Wear Gloves: When doing chores like washing dishes or cleaning, wear rubber gloves. Water and harsh chemicals are the enemies of nail art.
- Moisturize: Keep your cuticles and the skin around your nails hydrated with cuticle oil. Healthy skin means healthier-looking nails and polish.
- Top Coat Touch-Ups: If you notice any dullness on gems or a slight lifting at the edges, you might be able to do a small touch-up with a clear top coat. Be very careful not to disturb the main design.
- Avoid Direct Heat: While cured gel is strong, some adhesives for charms or gems can be sensitive to extreme heat or prolonged sun exposure.
FAQs About Short 3D Nails
What is 3D nail art?
3D nail art refers to designs that have a raised, dimensional effect, meaning elements stand off the nail’s surface. This can include things like sculpted flowers, raised lines, dots, gems, and beads.
Are 3D nails good for short nails?
Absolutely! 3D designs can add personality and flair to short nails without looking overwhelming. They can make short nails look more interesting and stylish.
What is the easiest way to do 3D nails for beginners?
The easiest ways for beginners are using pre-made 3D elements like rhinestones, studs, and charms, or creating simple raised dots and lines with thick gel polish or acrylic. These require minimal sculpting skills.
How long do 3D nail designs last?
With proper application and care, 3D nail designs can last anywhere from 1-3 weeks, similar to regular manicures. Longevity depends on the materials used, the quality of application, and how well you care for them.
Can I do 3D gel nails at home?
Yes, you can! Products like 3D nail art gels are specifically designed for easy application at home. You’ll need a UV/LED lamp to cure the gel. Start with simple designs and practice!
Do 3D nail art elements fall off easily?
If applied correctly with strong nail glue or a good quality top coat, 3D elements should stay put. Proper adherence and avoiding rough use of the nails are key to preventing them from falling off.
What are the best colors for short 3D nails?
Almost any color works! Neutrals, pastels, and classic nudes are great for a sophisticated look. Bold colors can make your 3D elements pop. Contrasting colors often highlight the 3D effect the best.
Conclusion
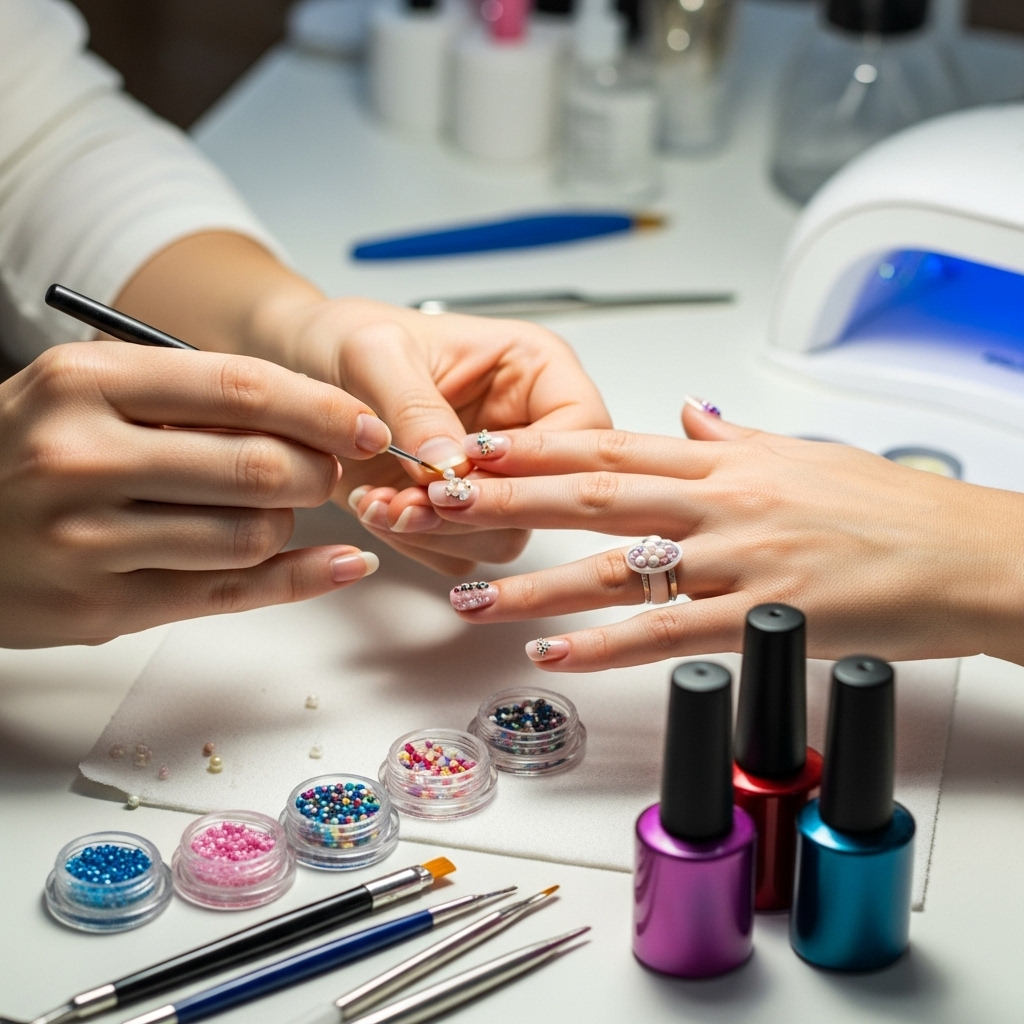
See? Short nails can totally embrace the fun and fabulous world of 3D nail art! Whether you’re adding a few shimmering pearls, creating a subtle textured line, or opting for a tiny sculpted flower, these designs are achievable and incredibly stylish. They’re a fantastic way to elevate your manicure and express your personal flair without needing long nails or professional-level skills. Remember to start simple, use the right tools, and most importantly, have fun with it. Your short 3D nails are ready to impress!

