Short 3D nails are a fantastic way to add flair and dimension to your manicure without the inconvenience of long nails. These stunning designs, using raised elements like gems, charms, or sculpted acrylic, offer incredible versatility. Perfect for beginners and experienced nail enthusiasts alike, short 3D nails prove that big style comes in small packages. Get ready to discover dazzling designs that are both achievable and essential for your next amazing mani!
Ever looked at those incredible 3D nail designs and thought, “Wow, that’s gorgeous, but way too much for my short nails?” Think again! Nail art is for everyone, no matter your nail length. Short nails can absolutely rock the 3D trend, offering a chic and convenient way to express yourself. Forget the drama of snagging long extensions; short 3D nails are all about smart detail and impactful style.
We’re here to show you that achieving stunning 3D effects on short nails is totally doable. Whether you’re a DIY novice or just looking for fresh inspiration, you’ll find super-easy ideas and essential tips. Say goodbye to feeling limited by nail length and hello to a world of amazing, dimensional manicures. Let’s dive into making your short nails the talk of the town!
Why Short Nails Rock 3D Designs
Short nails often get overlooked when it comes to intricate nail art, but that’s a huge mistake! They offer a more practical canvas for 3D elements, making them less likely to snag or break. Plus, the focus shifts to the detail, creating a sophisticated and eye-catching look. Here’s why short nails are perfect for dipping your toes into the 3D nail art world:
- Practicality: Less chance of catching on things, making daily activities easier.
- Sophistication: 3D elements look chic and intentional, not overwhelming.
- Focus on Detail: Smaller elements become the stars of the show.
- Versatility: Works for everyday wear or special occasions.
- Durability: Less stress on the added 3D components.
Getting Started with Short 3D Nails: Essential Tools
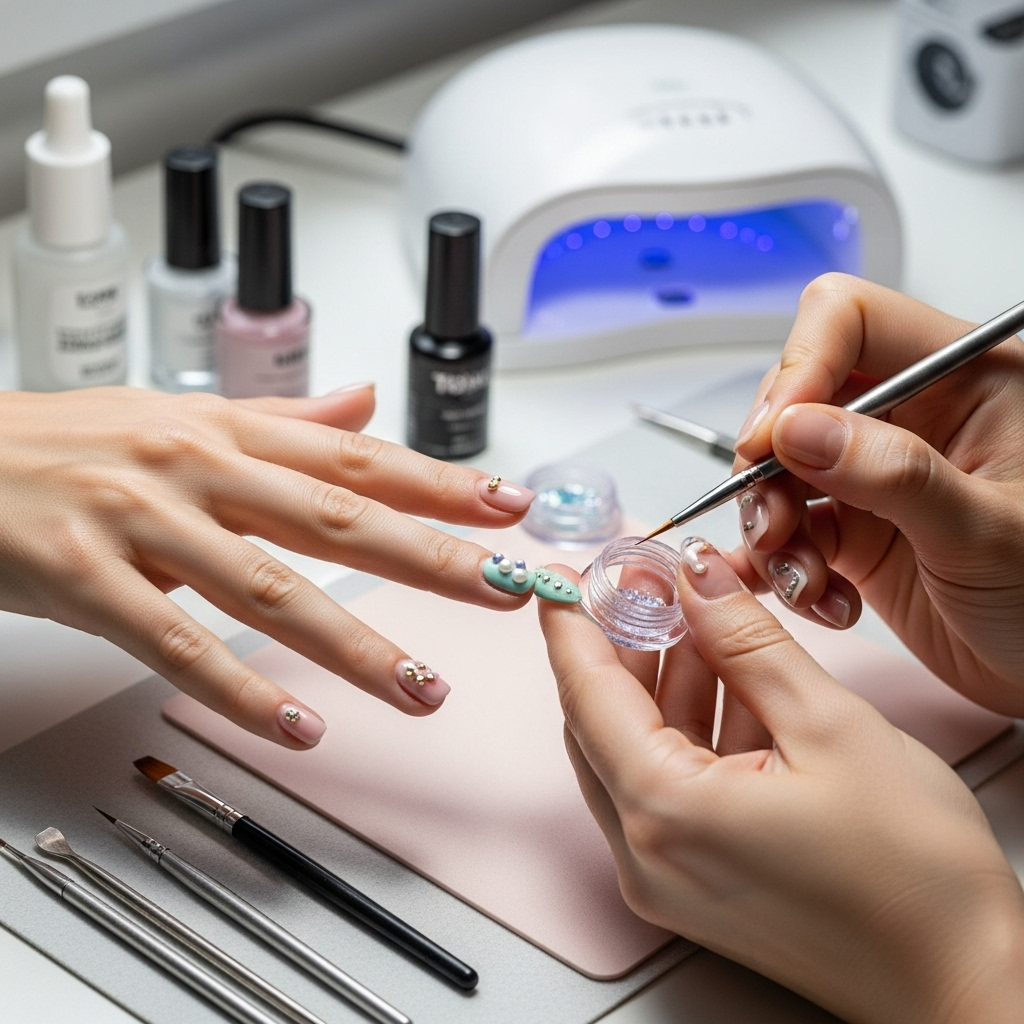
Starting with 3D nail art on short nails is easier than you think! You don’t need a whole professional salon in your home. A few key tools will set you up for success. Think of these as your secret weapons for creating mini masterpieces.
Must-Have Tools for 3D Nail Art:
- Nail Glue or Gel Adhesive: For securely attaching larger 3D embellishments like charms or stones. A good quality nail glue is essential for longevity. Some prefer builder gel or a strong top coat for lighter elements. Check out resources on nail adhesive safety from the FDA for general product safety.
- Tweezers: Especially fine-tipped ones, are crucial for picking up and placing small gems, beads, or charms precisely.
- Dotting Tools: These come in various sizes and are perfect for applying small dots of polish or gel that can act as a base for smaller gems or create simple 3D patterns.
- Small Brush (e.g., Liner or Detail Brush): For applying gel, acrylic, or even small amounts of polish to create raised designs or to help secure elements.
- Base Coat and Top Coat: Standard manicure essentials! A good base coat protects your nails, and a sturdy top coat seals everything in, including your 3D additions, for a lasting finish.
- Optional: UV/LED Lamp: If you plan on using gel polish or builder gel to create 3D elements or to secure your embellishments, a lamp is necessary for curing.
- Optional: Acrylic Powder & Monomer or Builder Gel: For sculpting more intricate 3D designs directly onto the nail. This is a bit more advanced but offers incredible creative freedom.
Beginner-Friendly Short 3D Nail Ideas
Ready to get creative? These ideas are perfect for beginners. They’re stylish, achievable, and will make your short nails shine!
1. Gemstone Clusters
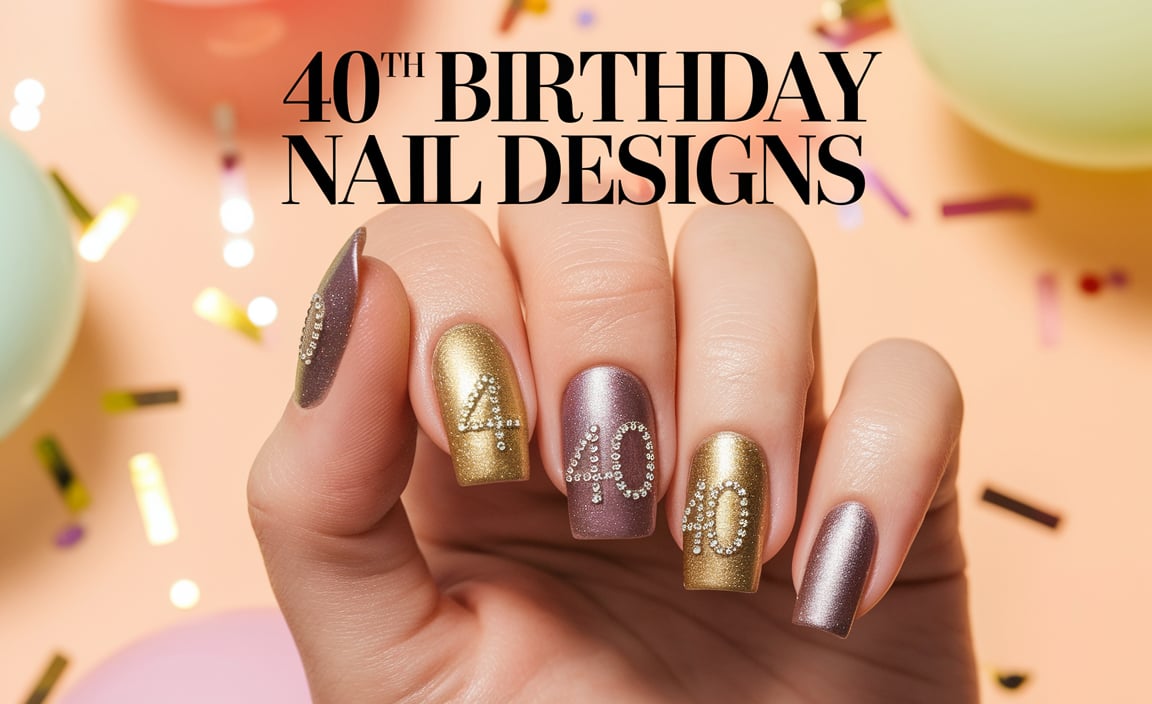
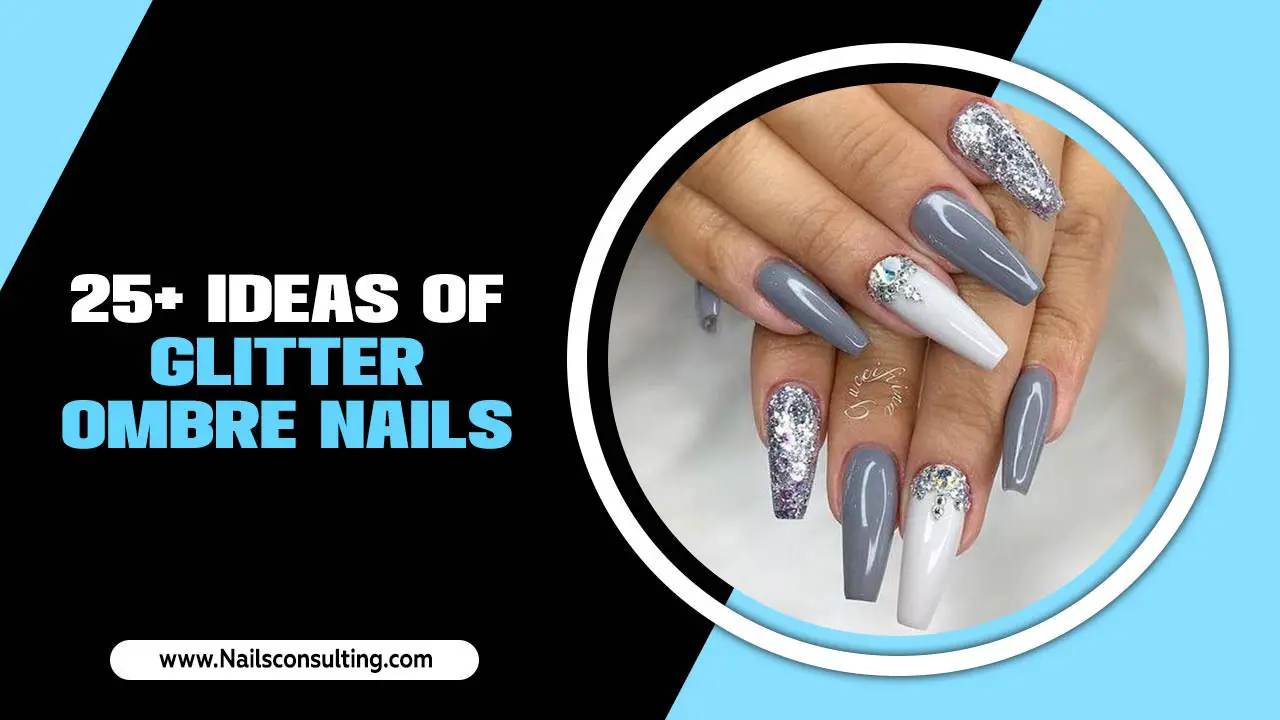
This is a classic for a reason! Adding a few well-placed rhinestones can transform a simple manicure into something special. On short nails, focus on one or two nails per hand for maximum impact.
How to do it:
- Start with your base nail color. Let it dry completely.
- On the nail(s) you want to decorate, apply a small dot of nail glue or a bead of top coat/builder gel where you want your cluster to be.
- Using your tweezers, carefully pick up rhinestones of various sizes.
- Place them onto the adhesive, starting with the largest stones and filling in gaps with smaller ones.
- Once placed, carefully add a tiny bit more top coat around the edges of the gems (be careful not to flood them!) to help secure them further. If using builder gel, cure under your lamp.
Pro Tip: Mix different colors and shapes of rhinestones for a dynamic look!
2. Pearl Accents
Pearls add a touch of timeless elegance. They’re subtle yet sophisticated, and perfect for short nails. Think of a classic French tip with a tiny pearl nestled at the base of each stripe, or a few scattered across a nude polish.
How to do it:
- Apply your desired base polish color and let it dry.
- Apply a small dot of nail glue or a bit of builder gel to the nail where you want a pearl.
- Use tweezers to place a pearl.
- Add a touch more top coat around the base of the pearl for extra security. If using gel, cure.
Variations: Try half-pearls for a flatter profile that’s even more snag-proof.
3. Tiny Bows and Charms
Nail charms come in endless adorable shapes – tiny bows, hearts, stars, and even miniature fruits! These add instant personality.
How to do it:
- Paint your nails and let them dry.
- Place a small dab of strong nail glue or builder gel on the nail.
- Carefully position your chosen charm with tweezers.
- Apply a thin layer of top coat around the base of the charm, avoiding covering the 3D detail. Ensure the charm is fully secured. Cure if using gel.
Tip: For short nails, choose smaller charms so they don’t overpower your nail bed.
4. Simple Raised Dots
This is the easiest 3D effect you can achieve! Using thicker polish or gel to create raised dots adds texture and visual interest without any added elements.
How to do it:
- Paint your nails with your chosen color.
- While the polish is still wet, use a contrasting color with a dotting tool to create small, raised dots in a pattern (e.g., a diagonal line, a scattered effect).
- Alternatively, use a thicker gel polish or a dotting tool dipped in clear gel/top coat to create raised dots. Cure if using gel.
Result: A subtle, tactile finish that’s super chic and practical.
5. Textured Gel Designs
Using a thicker builder gel or a specialized textured gel polish, you can sculpt simple shapes or lines directly onto the nail. This is fantastic because the gel cures hard, making it very durable.
How to do it:
- Apply your base gel color and cure.
- Take a small amount of builder gel or textured gel on a detail brush or specialized sculpting tool.
- Create simple designs like waves, swirls, or small geometric shapes directly on the nail surface.
- Cure the design under your UV/LED lamp.
- Apply a thin layer of top coat, being careful not to flatten your sculpted design. Cure again.
Consider: This method allows for a lot of creativity and results in a very long-lasting 3D effect that’s integrated with the nail.
More Advanced Short 3D Nail Ideas (If You’re Feeling Adventurous!)
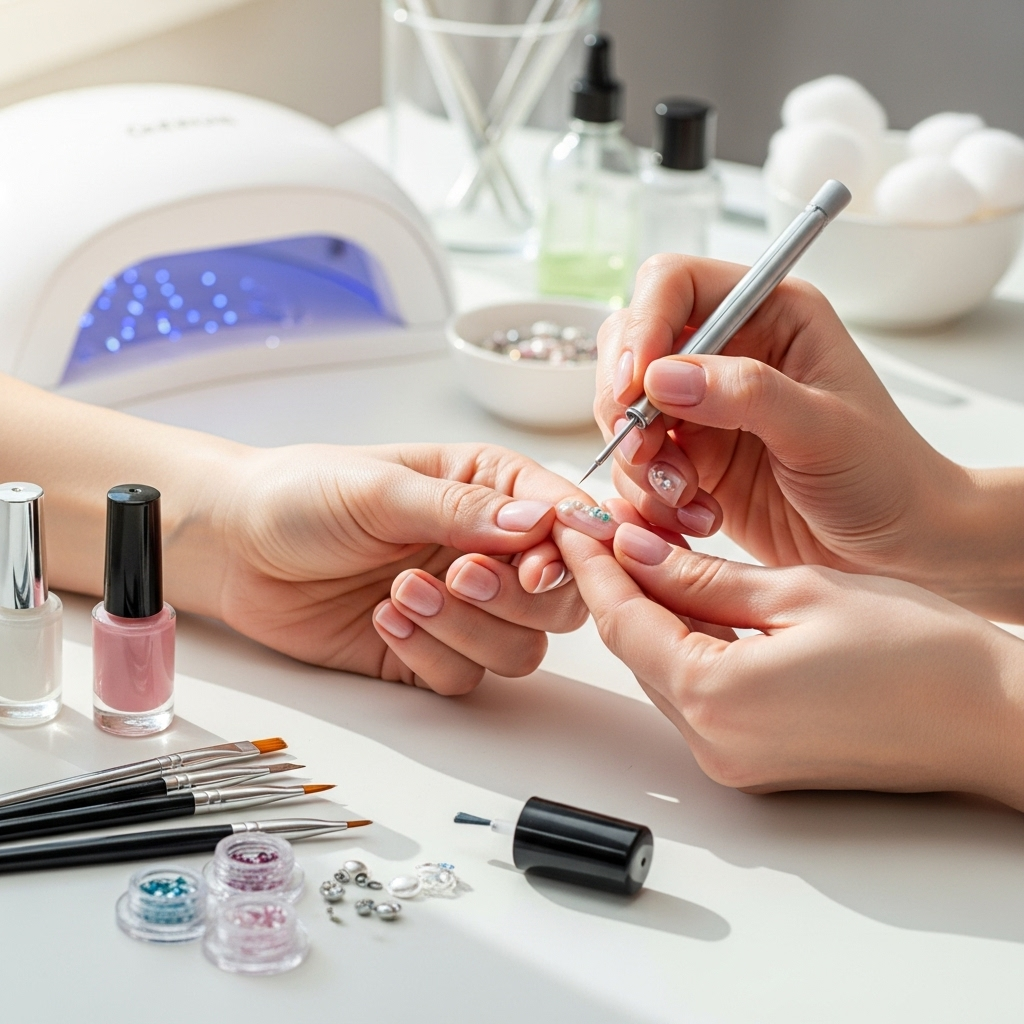
Once you’re comfortable with the simpler techniques, you might want to try something a little more complex. These ideas still work beautifully on short nails!
1. Miniature Sculpted Flowers
Using acrylic or builder gel, you can sculpt tiny, delicate flowers directly onto the nail. This looks incredibly intricate and is surprisingly durable once cured.
How to do it:
- Apply your base gel color and cure.
- Using acrylic powder and monomer, or builder gel and a brush, sculpt tiny petals one by one to form a flower shape.
- Work in small sections; you don’t need a huge amount of product.
- Cure the entire sculpted design.
- Apply top coat around the sculpted elements.
Tip: Practice the petal shapes on a piece of paper or a nail mixing palette before applying to your actual nail.
2. Metallic Accents with 3D Elements
Combine the modern look of metallic foils or chrome powder with a few 3D additions. A tiny metallic charm or a few strategically placed metallic studs can pop against a glossy background.
How to do it:
- Apply your base color (e.g., black or white gel) and cure.
- Apply transfer foil glue or rub on chrome powder for a metallic finish.
- Once your foil/chrome is applied, choose one or two nails to add 3D elements.
- Apply nail glue or builder gel and attach your chosen metallic charm, stud, or even a small cluster of rhinestones.
- Secure with top coat.
3. Subtle Texture with Caviar Beads
Caviar beads are tiny spheres that create a textured, almost bubbly effect. They work well on short nails because their small size adds texture without bulk.
How to do it:
- Apply your base polish and top coat to one nail.
- While the top coat is still wet (or apply a fresh layer), pour a small amount of caviar beads over the nail.
- Gently press the beads into the polish.
- Carefully scoop up excess beads.
- You can add a tiny bit more top coat around the edges for extra hold, but go lightly to avoid flattening the texture.
Consideration: While beautiful, caviar beads can sometimes be less durable than other 3D elements, so apply them carefully and be mindful of them during wear.
Quick Comparison: Attaching 3D Elements
Choosing the right adhesive is key to making your short 3D nails last. Here’s a quick look at common methods:
| Adhesive Method | Best For | Pros | Cons |
|---|---|---|---|
| Nail Glue | Charms, larger gems, flat-back decorations | Strong and fast-drying | Can be harsh on natural nails if removed improperly; can look bulky if too much is used |
| Nail Art Gel/Builder Gel | Gems, charms, sculpted elements, securing edges | Can be used to create a base or encapsulate; cures hard for durability; less harsh than glue | Requires a UV/LED lamp; application can be trickier for beginners |
| Strong Top Coat | Very small, lightweight gems or beads | Convenient, no extra cure needed (for regular top coat) | Least durable option; may not hold heavier elements; gel top coat requires curing |
Maintaining Your Short 3D Nails
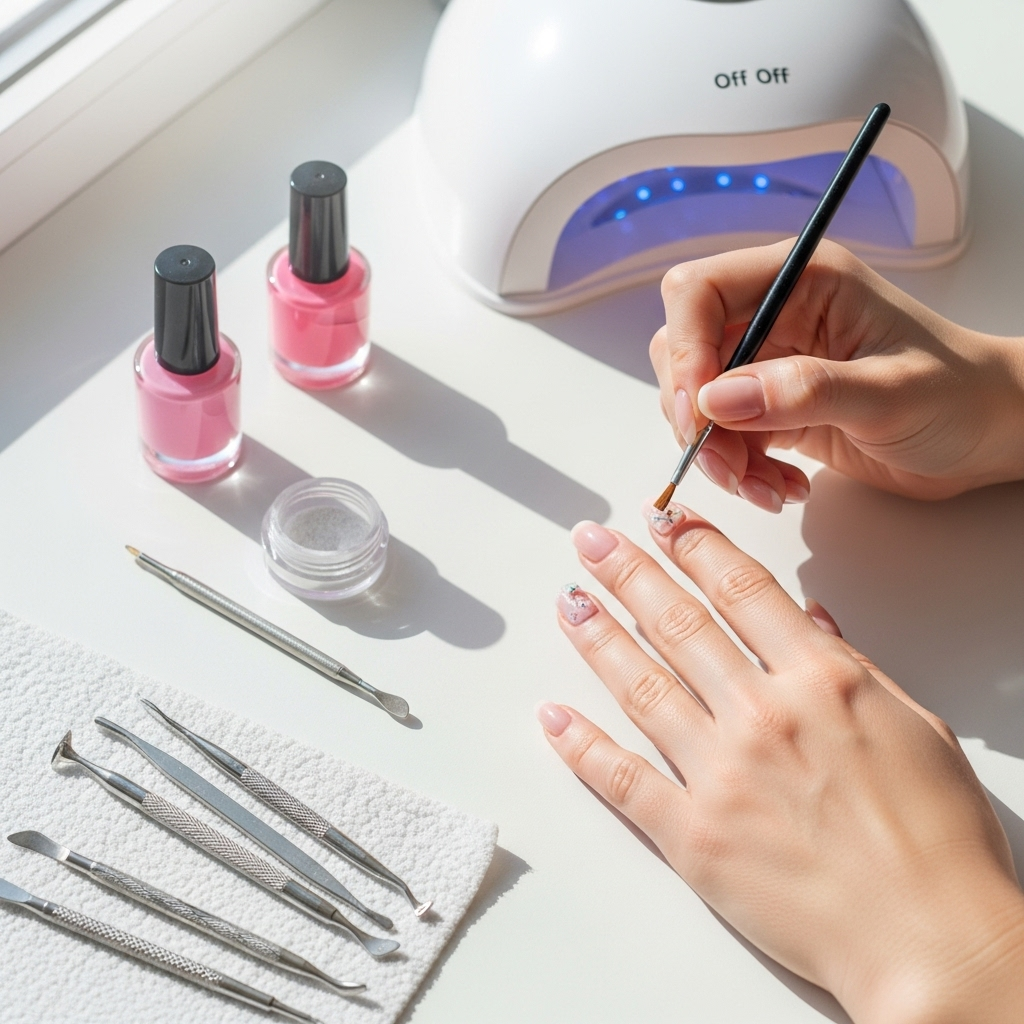
You’ve created gorgeous short 3D nails – now, how do you keep them looking fabulous?
- Be Gentle: When washing dishes, opening cans, or doing any manual task, be mindful of your embellished nails. Try to use gloves when possible.
- Avoid Harsh Chemicals: Strong cleaning products can weaken adhesives and damage gel or polish.
- Sealing is Key: Ensure your 3D elements are well-sealed with top coat (but don’t drown them!). For gel-applied elements, make sure they are fully cured.
- Touch-Ups: If a gem loosens, you can often re-glue it yourself with a tiny amount of nail glue or gel.
Frequently Asked Questions About Short 3D Nails
Q1: Can short nails really pull off 3D nail art?
A1: Absolutely! The key is to use smaller, proportionate 3D elements and focus on strategic placement. They add dimension without looking overwhelming.
Q2: Which type of adhesive is best for 3D nail art?
A2: For most beginners, strong nail glue is effective for charms and larger gems. For a more integrated and durable finish, especially for sculpted elements or securing gems, builder gel or acrylic is excellent but requires a UV/LED lamp.
Q3: How do I prevent my 3D nail decorations from falling off?
A3: Ensure your nail surface is clean and oil-free before applying. Use enough adhesive, but not too much that it looks messy. For gems and charms, a little extra top coat or gel around the base can add extra security after application.
Q4: What are the easiest 3D nail designs for beginners?
A4: Simple gemstone clusters, pearl accents, and raised dots made with polish or gel are great starting points. These require minimal skill and offer a big visual payoff.
Q5: Can I do 3D nail art at home without special tools?
A5: You can achieve basic 3D effects with DIY tools! Tweezers are essential for placing small items, and a dotting tool can create raised textures. For more substantial elements, a good nail glue or builder gel is usually necessary.
Q6: How do I remove 3D nail art safely?
A6: For glued-on elements, soak your nails in acetone remover to dissolve the glue. Gently try to lift the decoration with an orangewood stick once it loosens. If it’s gel-based, it will likely need to be filed off during a gel removal process.
Q7: Will 3D elements on short nails get in the way?
A7: Generally, 3D elements on short nails are much less likely to snag or interfere with daily tasks compared to long nails. Choosing flatter embellishments like half-pearls or smaller charms minimizes any potential inconvenience.
Conclusion
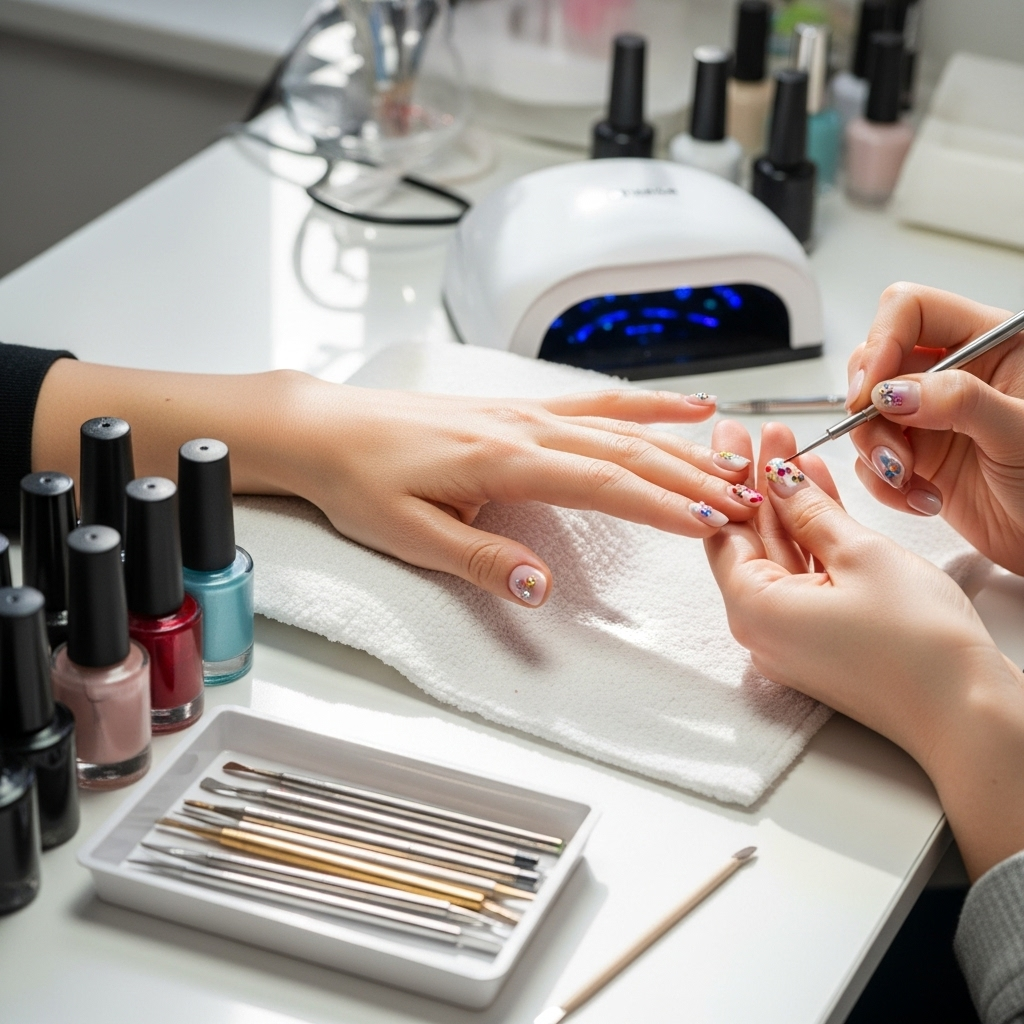
Short 3D nails are a brilliant way to add depth, personality, and that extra sparkle to your look without the fuss of long extensions. We’ve explored how simple tools can unlock a world of stunning designs, from elegant pearl accents to charming miniature motifs. Whether you’re a complete beginner trying out gemstone clusters or feeling inspired to sculpt tiny flowers, there’s a 3D nail idea perfect for you.
Remember, nail art is all about self-expression and having fun. Don’t be afraid to experiment! With a few basic supplies and a can-do attitude, your short nails can become miniature works of art. So go ahead, pick your favorite design, gather your tools, and get ready to wow yourself and everyone around you with your incredible 3D manicure skills. Happy nailing!

