Shellac nails have become popular for those seeking long-lasting, chip-free manicures. This hybrid nail polish, made from a blend of traditional polish and gel, promises to provide a high-shine finish lasting up to two weeks.
However, before jumping on the shellac bandwagon, several important factors must be considered. From the application process to the removal process, it is crucial to thoroughly understand shellac nails before trying them out.
We will explore everything you need to know about shellac nails, including the benefits and drawbacks, the maintenance required, and the potential risks. Whether you are a first-time user or a regular shellac enthusiast, this guide aims to equip you with all the necessary knowledge to make an informed decision about incorporating shellac nails into your beauty routine.
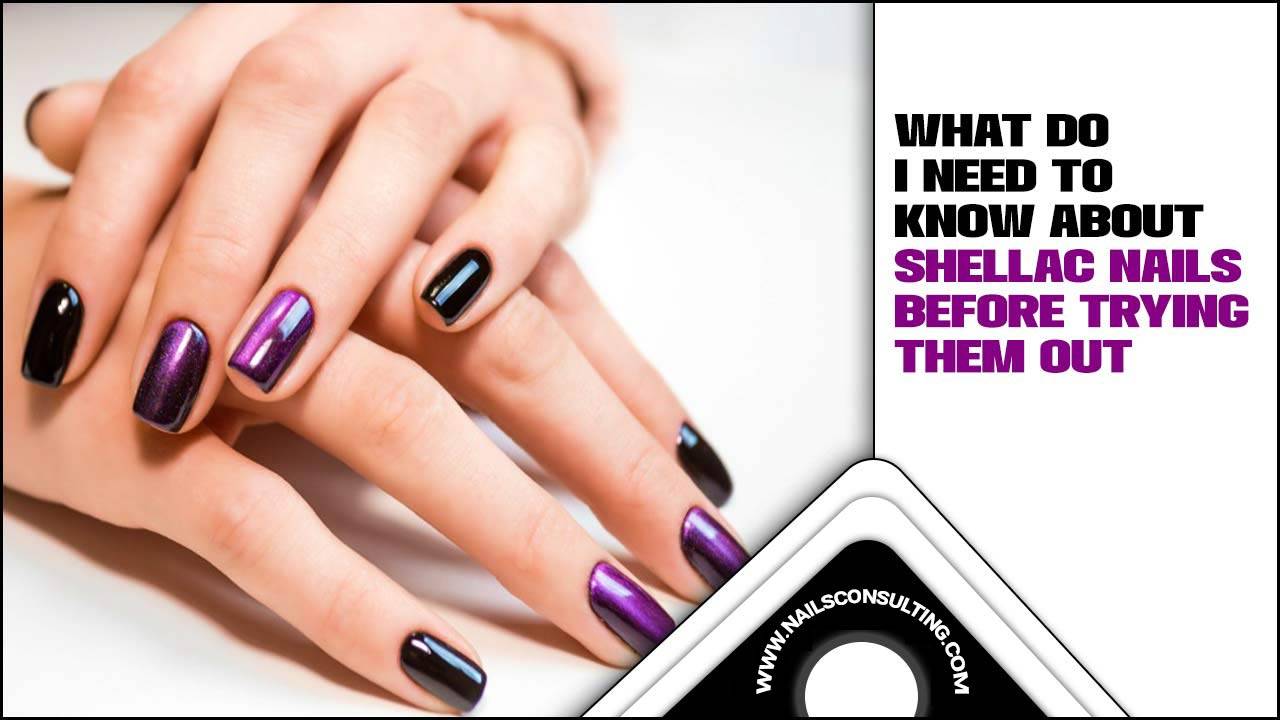
1.Inspirational Ideas For Shellac Nails
When trying out Shellac nails, there are plenty of inspirational ideas. Shellac is a type of nail polish that combines the benefits of gel and traditional polish, providing a long-lasting and chip-free manicure.
Whether you’re looking for a classic French manicure, a bold and vibrant color, or intricate nail art, Shellac offers endless possibilities. You can experiment with shades, finishes, and designs to create a unique, personalized look. From glitter accents to geometric patterns, there’s no limit to what you can achieve with Shellac nails.
2.Two-Сolor Ombre Manicure
The two-color ombre manicure is popular among nail enthusiasts, as it creates a stunning gradient effect on the nails. To achieve this look, follow these simple steps:
- Start with clean, well-prepared nails.
- Apply a base coat of gel nail polish to protect the nails.
- Choose two complementary colors of gel polish, one lighter and one darker.
- Apply the lighter color to the base of the nails, using even strokes.
- Apply the darker color to the tips of the nails, blending the two colors.
- Cure each coat of polish under a UV light for the recommended time.
- Finish with a top coat to seal the design and provide a glossy finish.
3.Reverse Half-Moon Shellac Nails
The reverse half-moon shellac nails are a modern and stylish twist on the traditional half-moon manicure. To achieve this unique design, follow these steps:
- Start with clean, natural nails.
- Apply a base coat of shellac polish to protect the nails.
- Using a cuticle pusher, gently push back the cuticles to create a clean and even surface.
- Apply the shellac polish to the nails, leaving the base exposed.
- Cure the polish under a UV light to ensure long-lasting wear.
- Finish with a top coat for added shine and protection.
4.Geometric Striped Designs
Geometric striped designs are a popular choice for Shellac nails. This design adds a modern and trendy touch to your manicure, making it stand out. This style will catch the eye whether you opt for simple diagonal stripes or intricate geometric patterns.
It’s important to note that achieving the perfect striped design with Shellac nails may require the skills of a professional nail technician. They have the expertise and precision to create clean lines, ensuring your manicure looks flawless. Additionally, it’s essential to choose high-quality nail polish colors that complement each other well for a cohesive and stylish look.
5.Minimalist Glitter Accents
Before trying out shellac nails with minimalist glitter accents, you should know a few things. Shellac nails are a manicure that combines gel and traditional nail polish to create a long-lasting, chip-resistant finish. The minimalist glitter accents add a touch of sparkle to your nails without being too overwhelming.
It is important to note that shellac nails require a UV or LED lamp for curing, so it may be worth investing in one if you plan on doing your nails regularly. Also, a professional should remove shellac nails to avoid damaging your natural nails. Overall, shellac nails with minimalist glitter accents can be a fun and stylish option for those looking for a long-lasting manicure with extra flair.
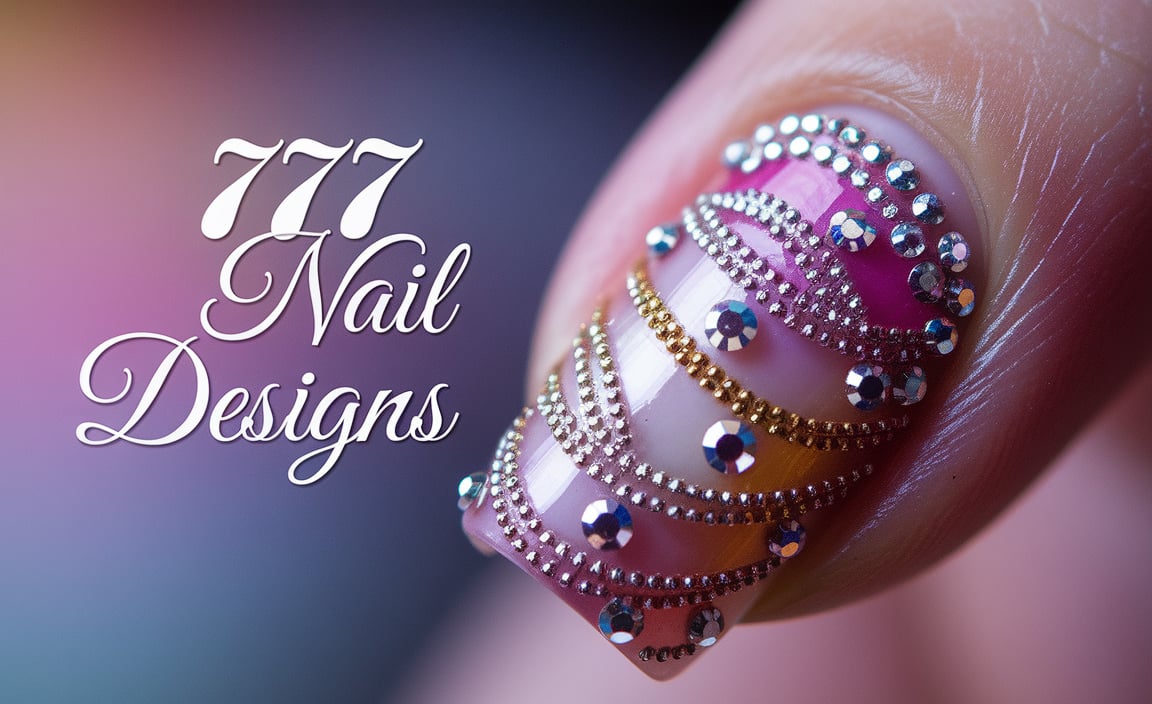
6.Low-Key Rhinestone Designs
Before trying out shellac nails with low-key rhinestone designs, you should know a few things. Shellac nails are nail polish cured under UV light, resulting in a long-lasting, chip-resistant manicure. Regarding low-key rhinestone designs, it’s important to consider the size and placement of the rhinestones. Too many or large rhinestones can make your nails look over-the-top and may not be suitable for everyday wear.
It’s also important to properly care for your shellac nails and avoid picking or peeling off the rhinestones, as this can damage your natural nails. Overall, low-key rhinestone designs on shellac nails can add a touch of elegance and sparkle to your manicure, but choosing a design that suits your style and lifestyle is important.
7.Two-Tone Manicure With Bold Accents
A two-tone manicure with bold accents is the perfect way to make a statement with your shellac nails. Here’s how you can achieve this bold and eye-catching look:
- Start by cleaning and shaping your nails to your desired length and shape.
- Apply a base coat of shellac nail polish to protect the nails.
- Choose two contrasting colors of shellac polish, one for the base and one for the accents.
- Apply the base color to the nails, using even strokes.
- Once the base coat is dry, use the second color to create bold accents on select nails or nail tips.
- Cure the polish under a UV light to ensure long-lasting durability.
- Finish with a top coat to seal the design and provide a glossy finish.
8.Glam Textured Foil Designs
Glam textured foil designs offer a luxurious and visually captivating nail embellishment. Here’s how you can achieve this glamorous look:
- Start by preparing your nails, ensuring they are clean and well-shaped.
- Apply a base coat of gel polish to protect the nails.
- Choose a textured foil, such as gold, silver, or holographic.
- Place the foil over the nails, ensuring full coverage and a smooth surface.
- Use a special LED lamp to cure the foil under UV rays, ensuring proper adhesion.
- Gently remove excess foil using a cotton pad soaked in nail polish remover.
- Finish with a top coat to seal the design and provide a glossy finish.
9.Beautiful Matte Nail Designs
Beautiful matte nail designs offer a sophisticated and velvety aesthetic to your shellac nails. Follow these steps to achieve this chic look:
- Begin with clean, well-prepared nails.
- Apply a base coat of shellac nail polish to protect the nails.
- Choose a matte top coat, ensuring it is compatible with shellac polish.
- Apply the matte top coat to the nails, covering the entire surface.
- Allow the polish to dry completely, ensuring a smooth and even matte finish.
- Finish with a top coat to seal the design and provide added protection.
10.Animal Print Designs For Shellac Nails
Animal print shellac nails offer a bold and trendy nail art option. Follow these steps to achieve the perfect animal print design:
- Start with clean, well-prepared nails, whether they’re natural nails or gel nails.
- Apply a base coat of shellac nail polish to protect the nails.
- Choose the animal print design you want to recreate, such as leopard, zebra, or snakeskin.
- Use nail extensions, if desired, to create the desired nail length and shape.
- Apply the shellac polish to the pattern of the animal print design, using even strokes.
- Cure the polish under a UV lamp for the recommended time.
- Finish with a top coat to seal the design and provide added durability.
- Animal print designs for shellac nails are a fun and trendy way to showcase your style and nail art skills.

