Shellac nail design explained: get salon-quality, long-lasting, chip-free manicures at home with our easy guide to vibrant colors, simple application, and amazing finishes that wow! Discover essential secrets for stunning, durable nail art.
Are you dreaming of gorgeous, chip-free nails that last for weeks? You’ve probably admired those flawless manicures and wondered how they get them so perfect. Well, guessing games about nail polish are over! Shellac nails are here to make your manicure dreams a reality. It’s a special type of polish that gives you that incredible, lasting shine without endless touch-ups. Don’t worry if you’re new to this; we’re going to break down exactly what Shellac is and how you can achieve beautiful Shellac nail designs right at home. Get ready to transform your nails!
What is Shellac Nail Design?
Think of Shellac as the superhero of nail polish. It’s a unique, patented hybrid formula that combines the best features of regular nail polish and gel polish. This means you get the vibrant color and shine of a traditional polish along with the incredible durability and long-lasting power of a gel. Unlike regular polish that can chip easily and gel polish that can be tricky to remove, Shellac offers a beautiful, resilient finish that’s also surprisingly easy to take off.
Essentially, Shellac nail design is the art of applying this special polish to create beautiful, eye-catching looks. It’s renowned for its mirror-like shine, its ability to resist smudges and scratches, and its impressive wear time – often lasting up to 14 days or even longer with proper care. It’s the go-to choice for anyone who wants their manicure to look freshly done, day after day, without the hassle.
Why Choose Shellac for Your Nails?
So, why has Shellac become such a popular choice for nail enthusiasts and busy individuals alike? It’s all about the benefits:
- Long-Lasting Wear: This is the star feature. Shellac manicures are famous for their durability, typically lasting around two weeks without chipping, smudging, or fading.
- Stunning Shine: Shellac provides a high-gloss, mirror-like finish that looks incredibly professional and luxurious.
- Quick Application: The application process for Shellac is surprisingly fast, usually taking about 30-45 minutes from start to finish for a professional application.
- Easy and Safe Removal: One of the biggest advantages is that Shellac can be removed in as little as 10 minutes using a gentle remover. This is much less damaging than some other gel removal processes.
- No Drying Time: Shellac cures under a UV or LED lamp, meaning there’s no air-drying involved. Your nails are completely dry and smudge-proof the moment they come out from under the lamp!
- Thin and Natural Feel: Unlike some thicker gel formulas, Shellac is applied in thin coats, giving your nails a natural look and feel without bulk.
- Protects Your Natural Nails: When applied and removed correctly, Shellac can actually help protect your natural nails from breaking or peeling.
Shellac vs. Gel vs. Regular Polish: What’s the Difference?
It’s easy to get confused between Shellac, gel polish, and regular polish. Let’s clear things up:
| Feature | Shellac | Gel Polish | Regular Polish |
|---|---|---|---|
| Formula | Hybrid (combines liquid polish and gel) | 100% gel | Liquid lacquer |
| Application | Requires UV/LED lamp curing between coats | Requires UV/LED lamp curing between coats | Air dry |
| Durability | Up to 14 days, chip and smudge-resistant | Up to 21 days, very durable | 2-7 days, prone to chipping |
| Removal | Fast (approx. 10 mins) with remover solution | Can be longer and potentially more damaging if filed aggressively | Easy with standard nail polish remover |
| Finish | High-gloss, thin | High-gloss, can be thicker | Varies, often less glossy than gel/Shellac |
| “Natural” Nails | Considered gentler for natural nails (applied only to nail plate) | Can be applied over natural nails or extensions | Can be removed easily, but prone to chipping |
The key takeaway is that Shellac is a specific brand and formula by CND, designed for optimal performance and gentler removal directly on the natural nail plate. While other brands offer “gel polish” that functions similarly, Shellac is often praised for its ease of use and salon-quality results.
Essential Tools for Shellac Nail Design at Home
Getting that professional Shellac look at home might seem daunting, but with the right tools, you can achieve stunning results. Here’s a list of what you’ll need to get started:
- Shellac Base Coat: This is crucial for adhesion and protecting your natural nail.
- Shellac Color Coat(s): Choose your favorite shades from the vast Shellac collection or other reputable hybrid polish brands.
- Shellac Top Coat: This seals in the color and provides that signature high-gloss shine and durability.
- UV or LED Nail Lamp: This is non-negotiable for curing the Shellac polish. LED lamps are generally faster and more energy-efficient than UV lamps.
- Nail Prep/Cleanser: A good nail prep solution (often isopropyl alcohol or a specific nail cleanser) removes oils and ensures proper adhesion.
- Cuticle Pusher/Orange Stick: To gently push back cuticles for a clean nail canvas.
- Nail File & Buffer: A fine-grit file (around 180-240 grit) to gently shape and a buffer to smooth the nail surface without damaging it. Avoid overly coarse files.
- Lint-Free Wipes: Essential for applying cleanser and removing the sticky inhibition layer after curing.
- Cuticle Oil: To moisturize cuticles after the manicure.
- Acetone Remover: For the in-home removal process.
- Cotton Balls or Pads: For soaking nails during removal.
- Aluminum Foil: To wrap nails for efficient removal.
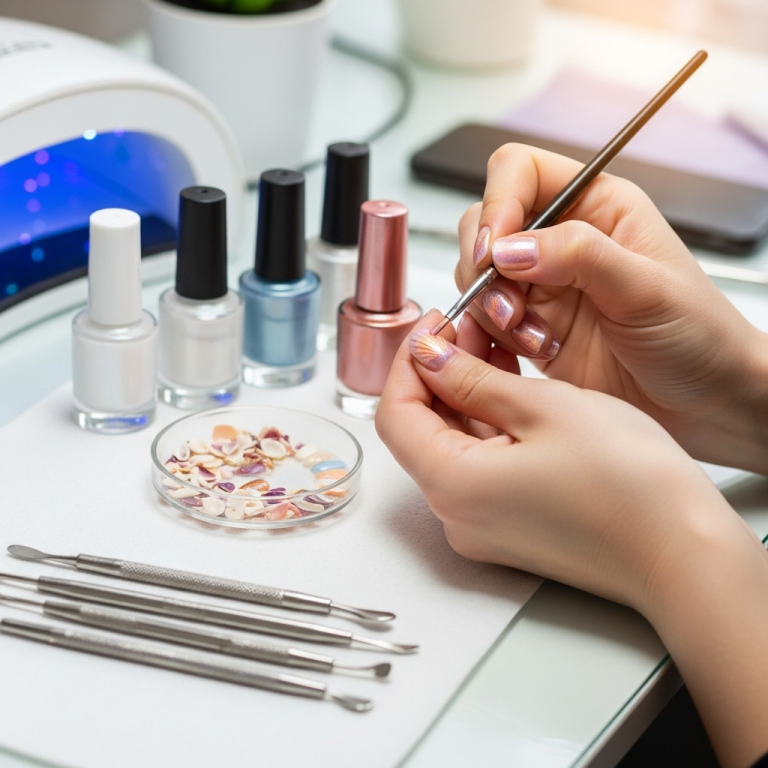
- Optional: Nail Art Tools: If you’re feeling adventurous, consider fine brushes, dotting tools, striping tape, or stencils for more intricate designs.
Having these items will set you up for success and make the process much smoother. Remember, quality tools can make a big difference!
Preparing Your Nails for Shellac Perfection
A flawless Shellac manicure starts with impeccable nail preparation. Skipping this step is like building a beautiful house on a weak foundation – it won’t last long! Take your time with these essential prep steps:
- Cleanse Your Hands: Start with clean, dry hands. Wash them thoroughly to remove any dirt or product residue.
- Remove Old Polish: If you have any old nail polish (regular or gel) on your nails, remove it completely using an appropriate remover and a lint-free wipe.
- Push Back Cuticles: Gently push back your cuticles using a cuticle pusher or an orange stick. This creates a clean nail plate and a larger surface for the polish to adhere to, preventing lifting. Be gentle; you don’t want to cut your cuticles unless absolutely necessary and you know what you’re doing.
- Gentle Buffing: Lightly buff the surface of your natural nails with a fine-grit file or a buffer. The goal here isn’t to remove length, but to remove the natural shine and create a slightly rough surface that the base coat can grip onto. Think of it as giving the polish something to “stick” to. Avoid over-buffing, which can thin and weaken your nails. You can learn more about proper nail filing techniques from resources like the NHS on how to keep your nails healthy.
- Shape Your Nails: File your nails to your desired shape. Ensure all nails are even in length before you begin the polish application.
- Wipe Nails Clean: Use a lint-free wipe saturated with nail cleanser or isopropyl alcohol to thoroughly wipe down each nail. This removes any dust, oils, and residue from buffing and filing. Ensure nails are completely dry before moving on.
Properly prepped nails are the secret to a long-lasting, beautiful Shellac manicure. It ensures the polish adheres correctly and prevents premature lifting or peeling.
Applying Shellac Color Coats Like a Pro
Now for the fun part – applying that gorgeous Shellac color! While it’s similar to regular polish, there are a few key differences due to the curing process. Here’s how to get a smooth, even application:
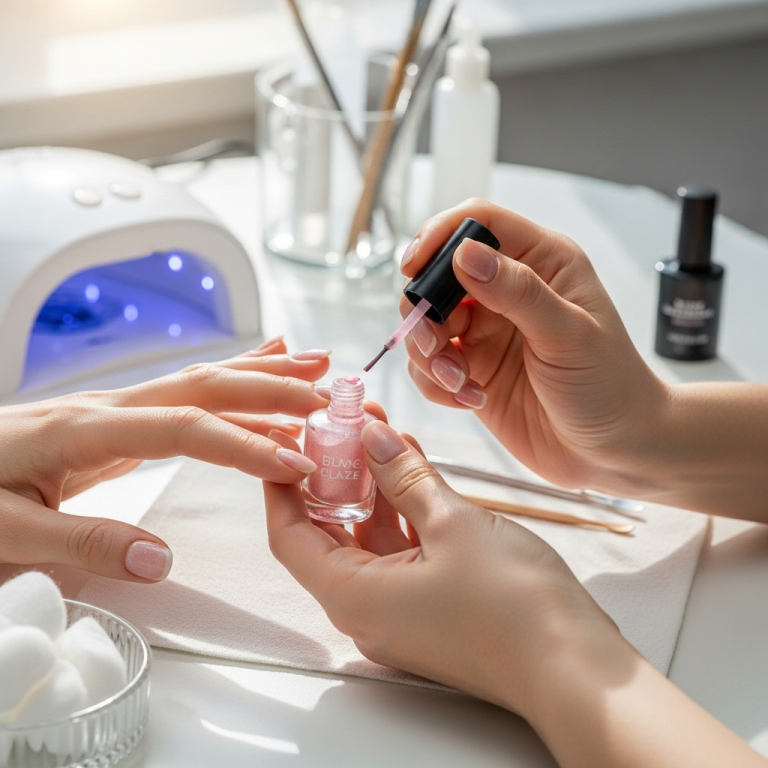
- Apply Base Coat: Apply a thin, even layer of Shellac Base Coat to each nail. Cap the free edge by sweeping the brush along the tip of the nail. This helps seal the polish and prevent chipping.
- Cure the Base Coat: Place your hand under the UV or LED lamp for the recommended time (usually 10-30 seconds, check your lamp’s instructions). Your nails will still feel slightly tacky – this is normal!
- Apply First Color Coat: Apply a thin, even layer of your chosen Shellac color. Again, cap the free edge. Work from the cuticle towards the free edge. Avoid flooding the cuticle area or sides of the nail. If you get polish on your skin, gently wipe it away with an orange stick or a fine brush dipped in cleanser before curing.
- Cure the First Color Coat: Place your hand under the lamp for the recommended curing time (this is usually longer than the base coat, typically 30-60 seconds for LED lamps).
- Apply Second Color Coat: Apply a second thin, even layer of the same color. This coat builds opacity and deepens the richness of the color. Cap the free edge once more.
- Cure the Second Color Coat: Cure under the lamp again for the recommended time.
- Apply Top Coat: Apply a thin, even layer of Shellac Top Coat, ensuring you cap the free edge. This step is vital for the high-shine finish and durability.
- Cure the Top Coat: Cure under the lamp for the final time, usually for the longest duration (e.g., 30-60 seconds).
- Wipe Off Inhibition Layer: After curing the top coat, there will be a slightly sticky, “inhibition” layer. Use a lint-free wipe saturated with nail cleanser or isopropyl alcohol to gently wipe away this tacky residue. This reveals the perfect, glossy finish!
The key to smooth, streak-free color is applying thin coats and ensuring each layer is fully cured. Patience here really pays off!
Creating Stunning Shellac Nail Designs
Once you’ve mastered the basic application, the world of Shellac nail designs opens up! Shellac is incredibly versatile, allowing for a range of simple to complex designs.
Simple Yet Chic Designs
These are perfect for beginners and busy bees:
- The Classic French Manicure: Apply a nude or sheer pink base, then use a fine brush and white Shellac to create a crisp tip. Cap with top coat.
- Accent Nail: Paint all nails one color, then choose one nail (usually the ring finger) and add glitter, a simple dot, or a stripe with a contrasting Shellac color.
- Color Blocking: Use striping tape to create geometric shapes on your nails, paint them with different Shellac colors, cure, peel off the tape, and seal with top coat.
- Ombre/Gradient: Use a sponge to gently dab two or three colors onto the nail, blending them from cuticle to tip for a seamless gradient effect.
More Advanced Designs
Once you’re comfortable, try these:
- Marble Effect: Swirl white and another color (like grey or gold) together on a palette, pick up some of the mixture with a fine brush, and gently swirl it onto the nail, then cure.
- Stamping: Use metal stamping plates and dedicated stamping polish (or thin Shellac) with a stamper and scraper to transfer intricate designs onto your cured Shellac color. Seal with a clear top coat.
- 3D Accents: While Shellac itself is flat, you can use gel-builder to create subtle 3D elements or apply small charms or rhinestones using a strong gel adhesive.
- Hand-Painted Art: With practice and fine brushes, you can paint delicate flowers, abstract patterns, or even tiny characters.
Always remember to cure each color layer before adding the next, especially when layering different colors or adding nail art. For detailed designs, use thin lines and ensure they are fully cured to prevent smudging during the final top coat application.
Removing Shellac Safely at Home
One of the biggest perks of Shellac is its easy removal. Here’s how to do it without damaging your natural nails:
- Gently File the Top Coat: Using a fine-grit nail file (around 180-240 grit), gently buff away the shine of the top coat. You don’t need to file down to the color; just remove the protective seal.
- Soak Cotton with Remover: Saturate a small piece of cotton ball or pad with 100% acetone remover.
- Wrap the Nails: Place the soaked cotton directly onto each nail, ensuring full coverage.
- Secure with Foil: Wrap a small piece of aluminum foil tightly around each fingertip to keep the cotton in place and help the acetone work its magic.
- Wait and Gently Scrape: Let the nails soak for about 10-15 minutes. After the time is up, gently twist and pull off the foil. The Shellac should be softened and ready to be gently scraped off with an orange stick or cuticle pusher. If it’s not coming off easily, re-wrap and soak for another few minutes. Never force it!
- Moisturize: Once all the Shellac is removed, wash your hands and apply a generous amount of cuticle oil and hand lotion to rehydrate your nails and skin.
If you encounter any difficulty or your nails feel sensitive, visit a professional salon for removal. Safe removal is key to maintaining nail health for future manicures.
Troubleshooting Common Shellac Issues
Even with the best intentions, you might run into a few bumps along the road. Here’s how to tackle common Shellac problems:
- Lifting or Peeling: This is often due to the nail not being properly prepped (oils left on the nail), the base coat not capping the free edge, or the polish flooding the cuticle. Ensure a clean, dry, and buffed nail surface, and always seal the free edge with every coat.
- Chipping: Similar to lifting, chipping can occur if the free edge isn’t capped properly with each layer, or if the top coat wasn’t cured sufficiently. Make sure to cap the edge with base, color, and top coat.
- Bubbling: This can happen if the polish is applied too thickly, or if it’s exposed to air for too long before curing (e.g., if the lamp isn’t curing properly). Always apply thin coats.
- Uneven Color Application: Thin coats are your friend! If you see streaks, apply a very thin second coat and ensure it’s evenly distributed. Over-buffing or not buffing enough can also contribute to unevenness.
- Sticking to Skin: If polish gets on your skin, wipe it off with an orange stick or a fine brush dipped in cleanser before curing. Once cured, it’s very hard to remove without damaging your nail or skin.
- Dull Finish: This usually means the inhibition layer wasn’t fully removed

